


Recycled Crafts
How to Make Cart Using Plastic Straw Easy Tutorial

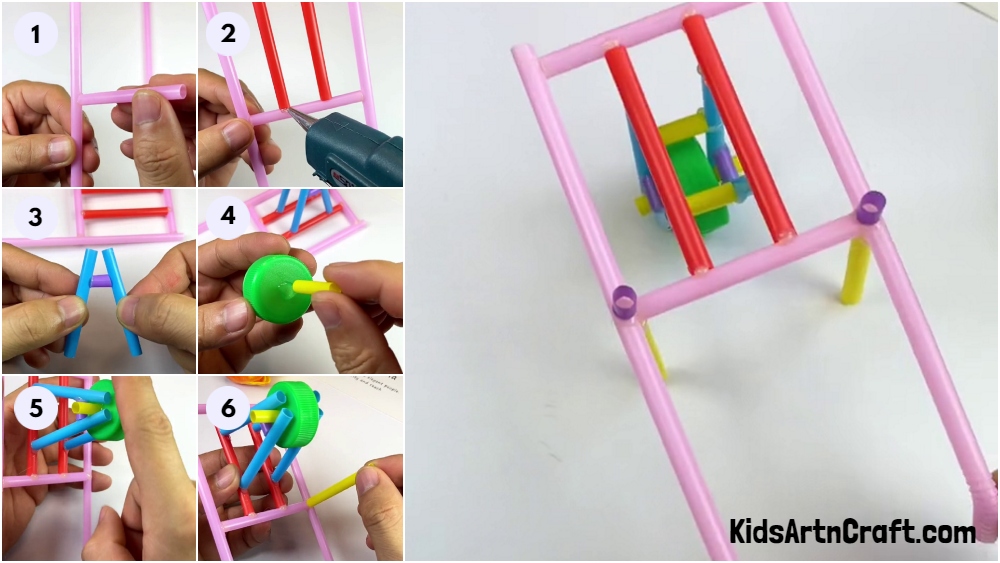
This tutorial will show you how to create a cart using plastic straws! It’s a great project for both kids and adults, and can be used for pretend play or decoration. Follow the steps to make your own unique cart.
Today’s tutorial focuses on making a small trolley out of some plastic straws. Don’t worry it just sounds difficult but isn’t. Just pay attention to each and every detail mentioned in the tutorial and be patient with the process. It is unique and will help you in strengthening your artistic skills and techniques. It will also be immensely satisfying to complete the process and finally hold the object in your two little hands as it will give you a solid sense of accomplishment. Collect all the stuff required to make this craft and let’s get started.
Easy to Make Plastic Straw Cart
Read More: DIY Easy Paper Cup Octopus Craft For Kids
Materials Required
- Plastic drinking straws in five different colors (Pink, blue, purple, yellow, and red)
- A bottle cap
- Glue gun
- A pair of scissors
Procedure
Step 1: Starting With The Pink Straws
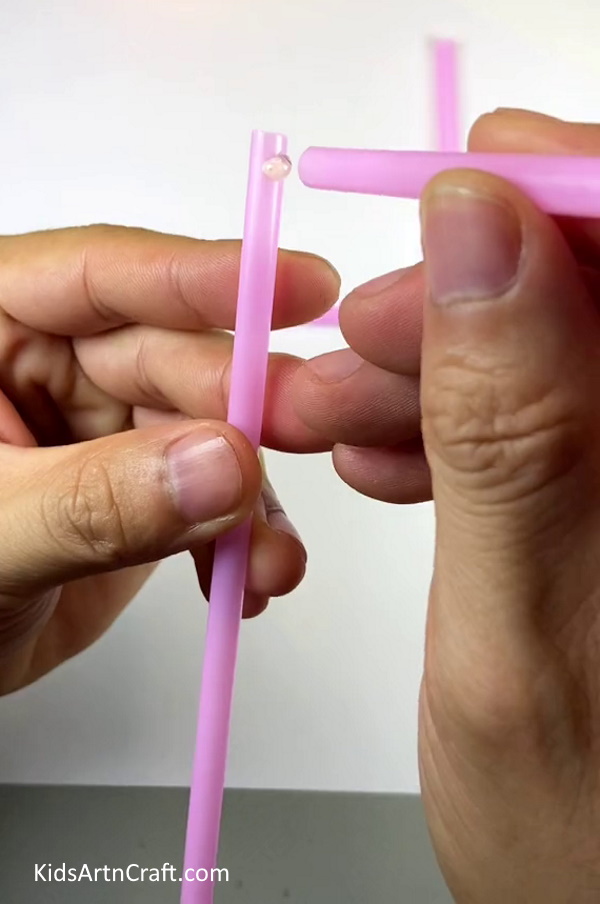
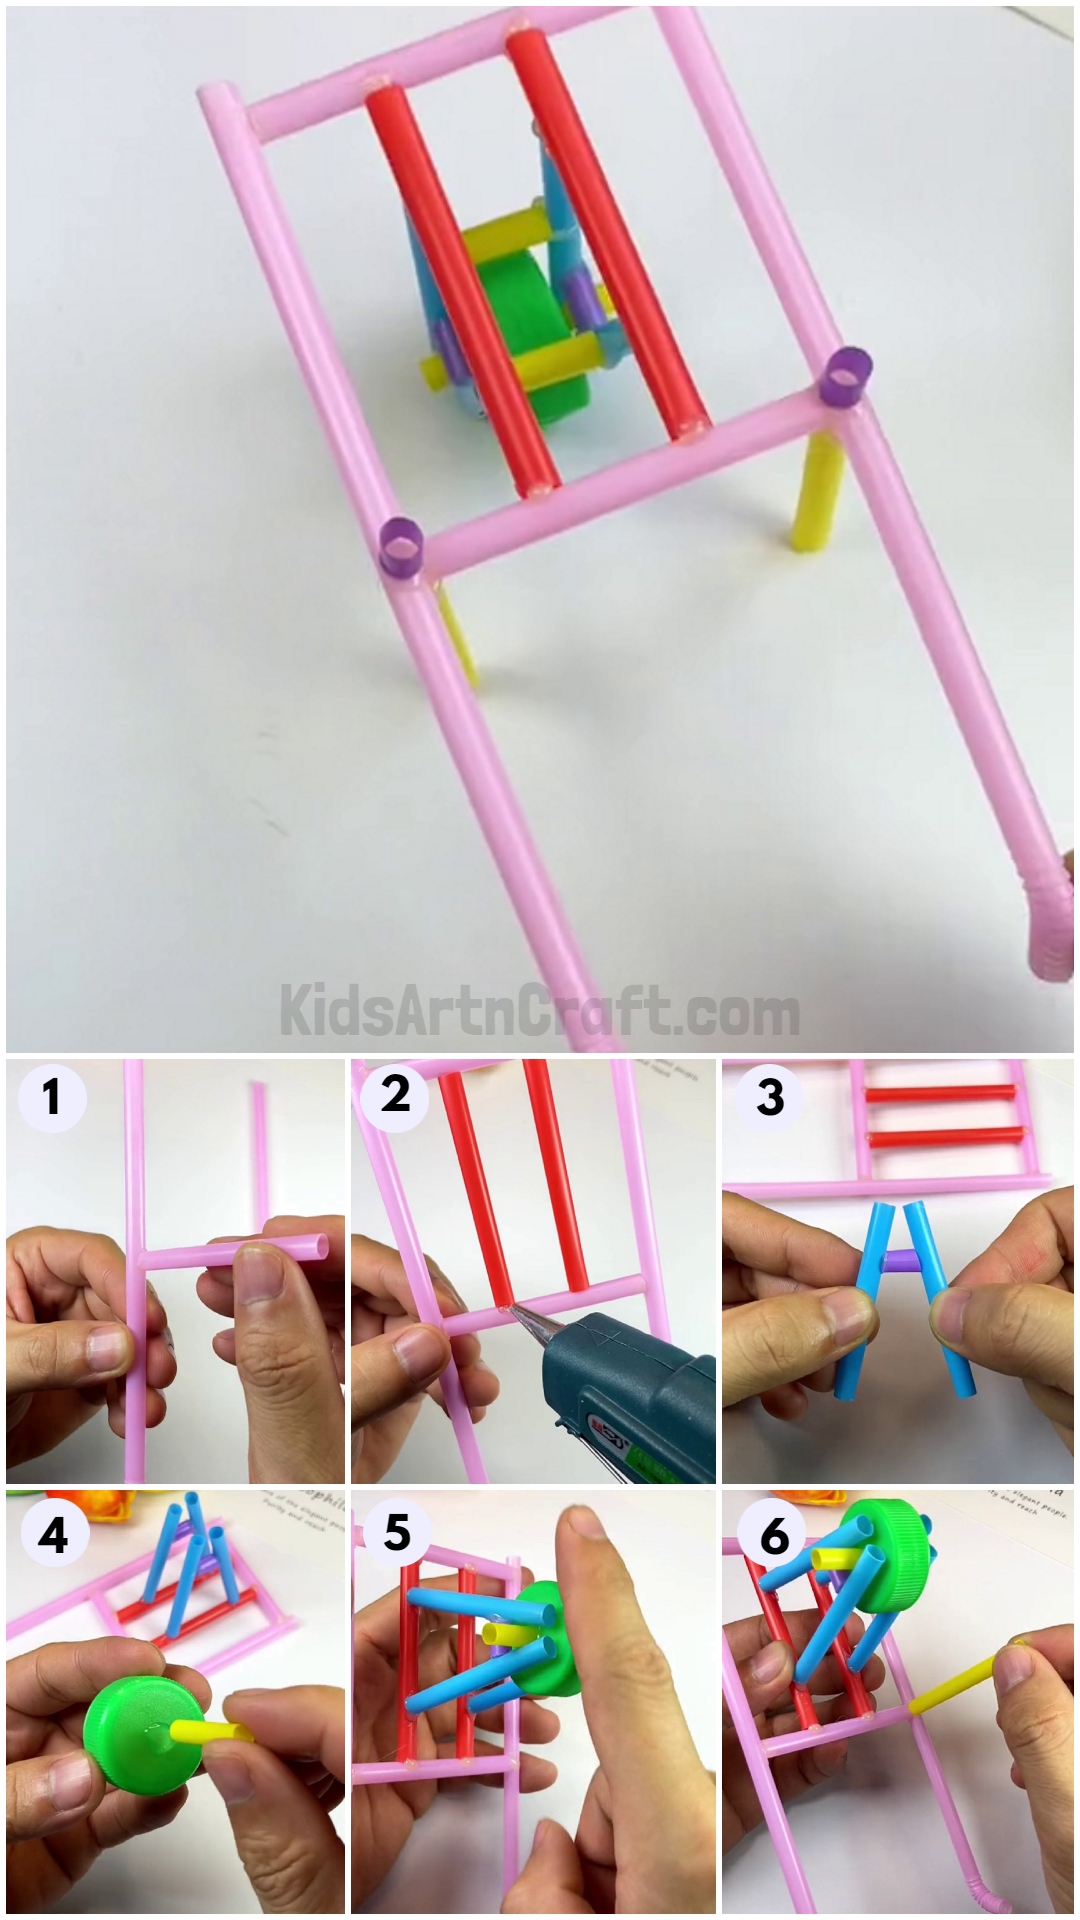
Take two pink straws and apply some glue at the top side of one of the straws, with a glue gun. Now, take another straw, cut it in half, and paste one of the ends of this straw into the glue applied earlier. See the picture below for reference.
Step 2: Pasting Another Straw
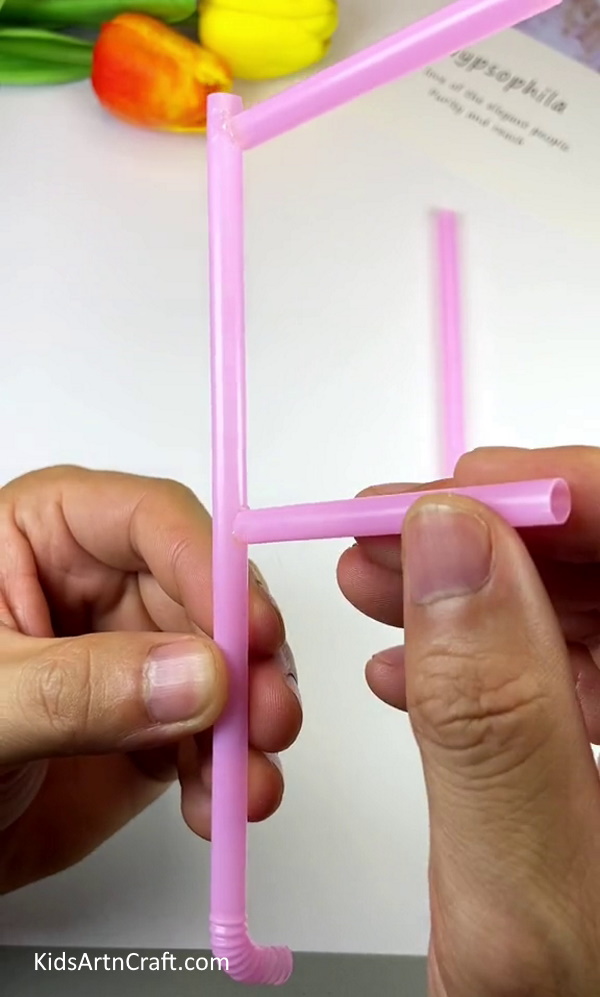
Take another pink straw and cut it in half as well. Now, paste it on the middle of the big straw using the same glue gun as shown in the picture below.
Step 3: Pasting Another Big Straw
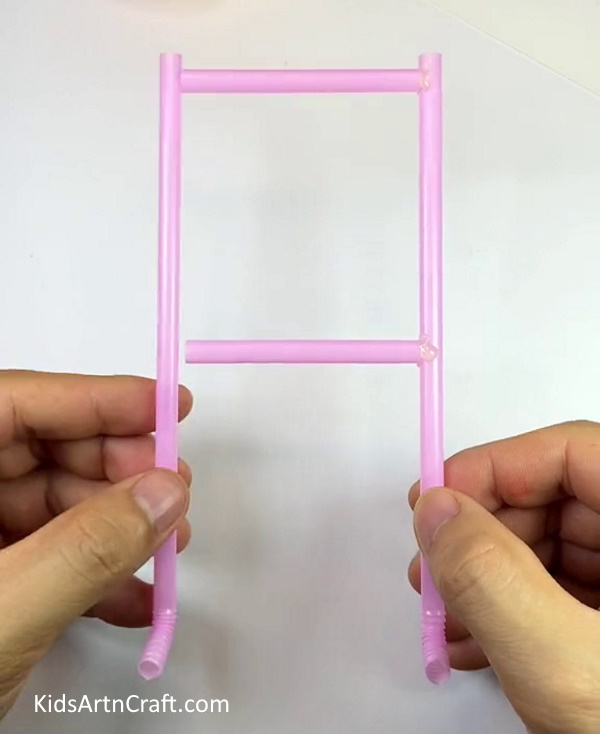
Take another pink straw and paste it into the two half-straws you pasted in the previous steps. Use a glue gun to do that. See the picture below for reference.
Step 4: Pasting The Red Straws
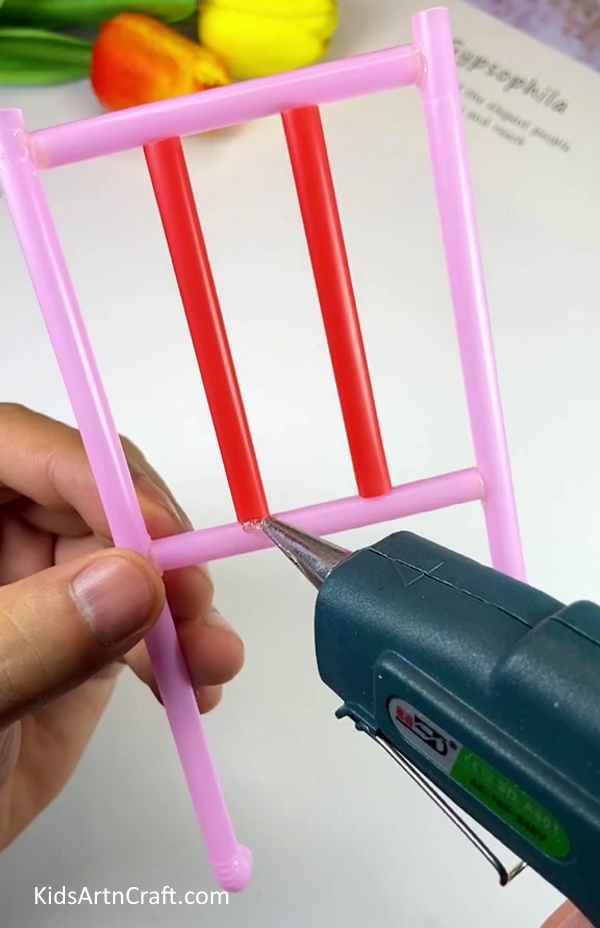
Take a red straw and cut it in half. Apply some glue on both the pink, half straws in the middle. The glue needs to be applied in two spots on each straw, parallel to each other at a distance in the middle. Paste the ends of the red straws on all four glue spots to seal them in between the two pink straws. See the picture below for reference.
Step 5: Using A Blue And A Purple Straw
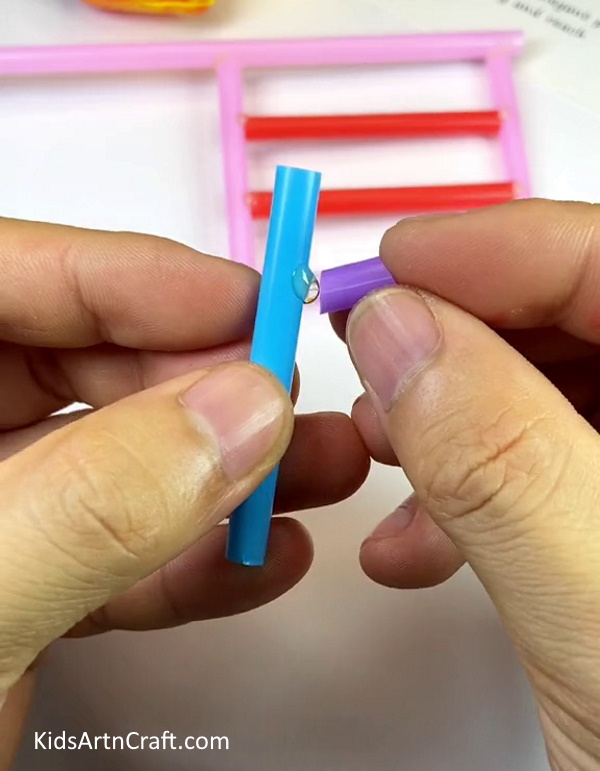
Take a blue straw and cut it into two halves. Now, take a purple straw and cut a small piece out of it. The ends of this small piece need to be shaped a little slanted as shown in the picture below. Apply a little glue at the top side of the blue straw and paste one of the ends of this purple piece to it.
Step 6: Pasting The Other Half Of The Blue Straws
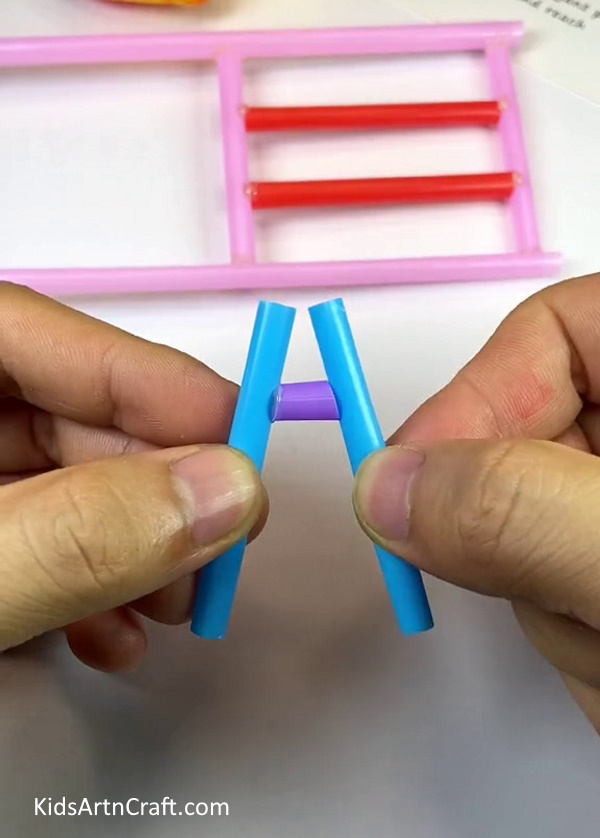
Take the other half of the blue straw you chopped in the previous step and apply glue in the same spot you did on the other half of this blue straw. Now, stick the open end of the purple piece to it and press down to lock the pieces with each other. Repeat the process and make one more such shape using the same colored straws.
Step 7: Connecting This Shape To The Red Straws
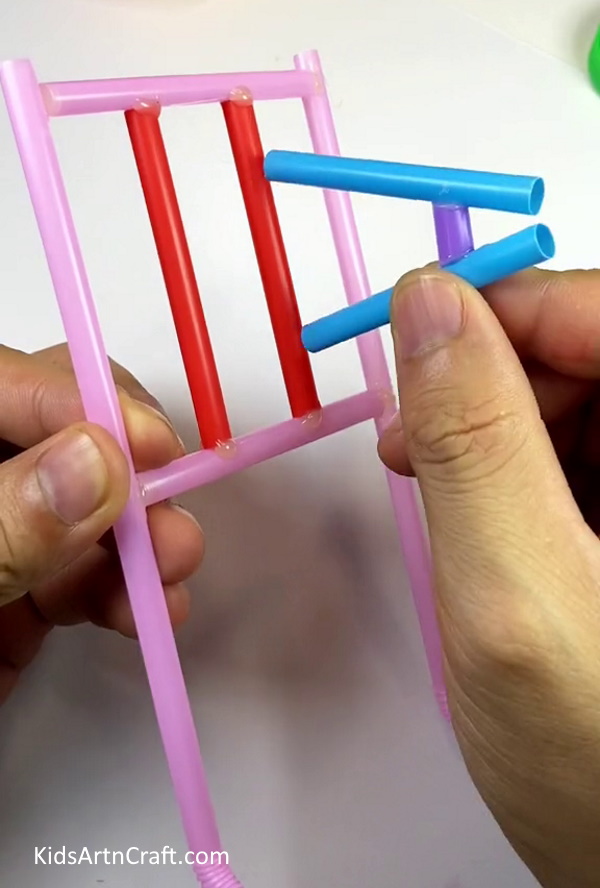
Paste this shape on the structure you made earlier by applying a little glue on one of the ends of both the blue straws and sticking them on the red straw as shown in the picture below.
Step 8: Pasting The Other Similar Shape
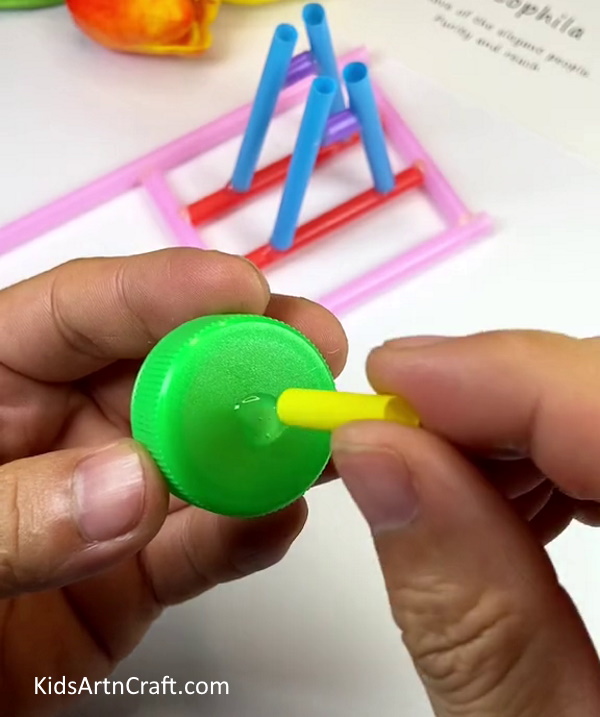
Take the other same shape you made earlier and paste it in a similar fashion on the other red straw. Now, take a yellow straw and cut two small pieces out of it. Apply some glue in the middle of a bottle cap.
Finally, paste the straw to the glue right in the middle of the cap. Repeat the process on the other side of the cap with the other piece of the same yellow straw you chopped earlier. See the picture below for reference.
Step 9: Fitting The Cap In The Structure
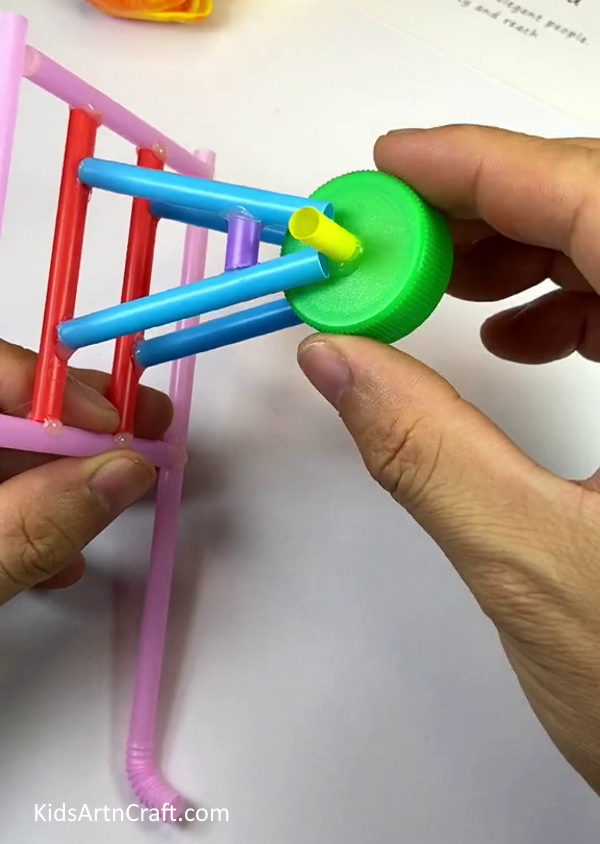
Take this cap and adjust it in the top section of the structure you made out of blue straws. Use both the yellow straws to fit it in between the blue straws as shown in the picture below.
Step 10: Seeing If The Wheel Works
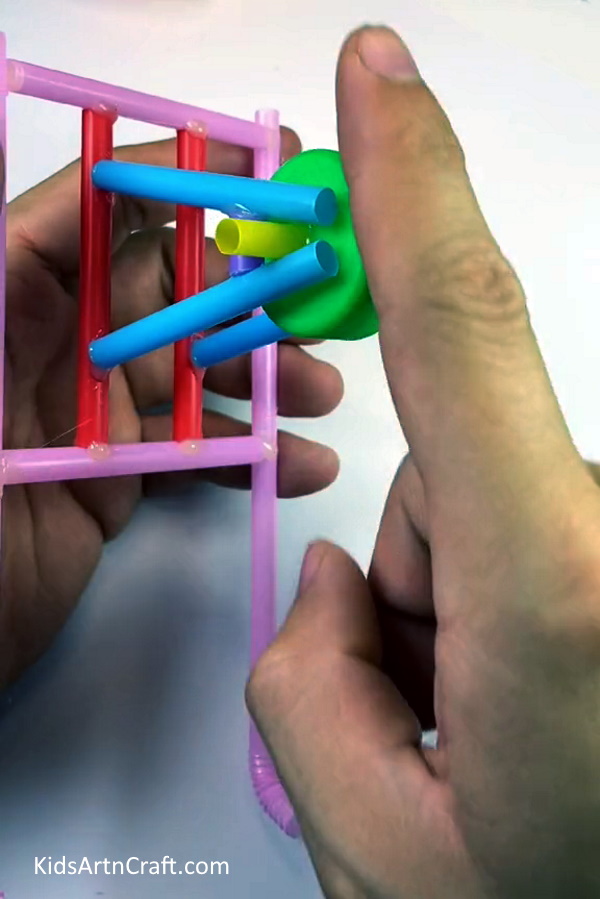
This cap will act as the wheel of our trolley. Spin the cap with your finger to check whether it works or not.
Step 11: Pasting More Yellow Straws
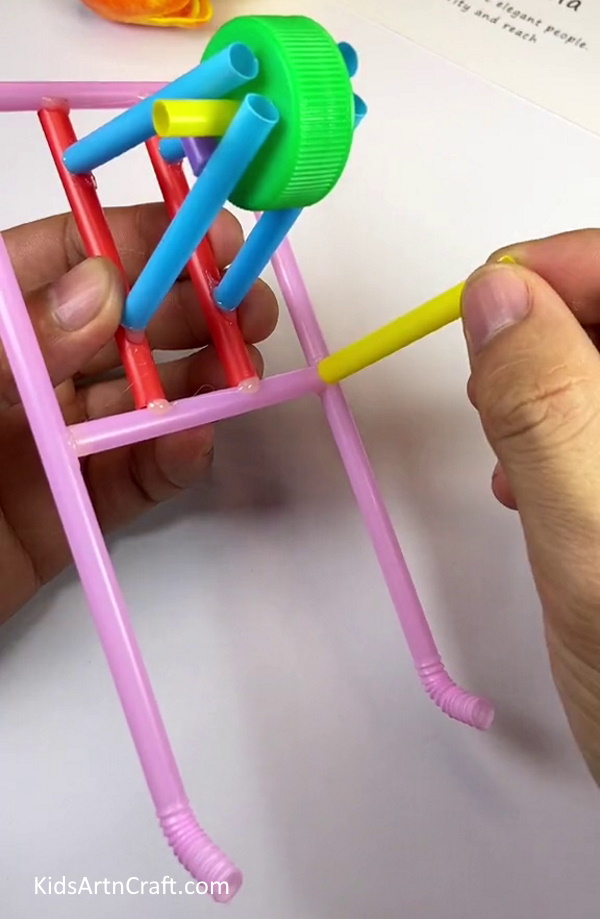
Take a yellow straw and cut it into two halves. Apply glue at one of the ends of the straw and paste it on the structure right at the intersection of the two pink straws as shown in the picture below.
Finally, Your craft Is Ready By Pasting The Final Straw
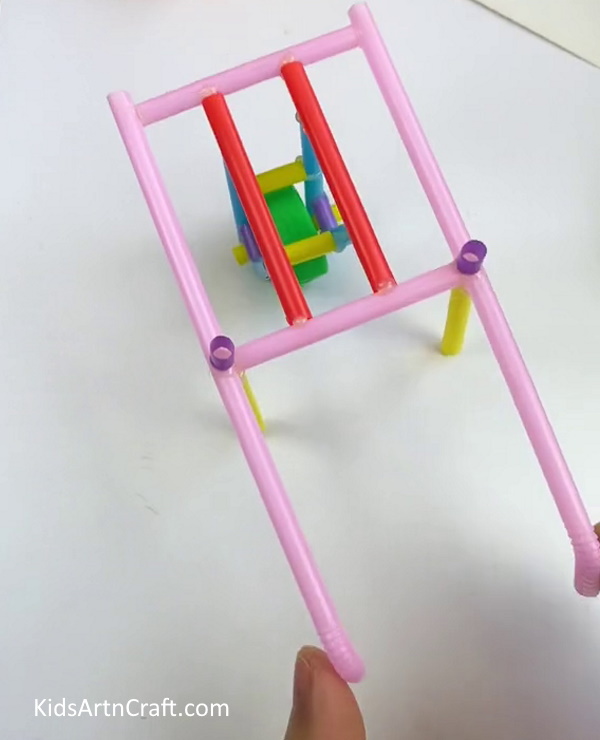
Take the other half of the yellow straw and paste it on the other intersection of the pink straws. See the picture for reference. And finally, your craft is ready to show.
We are left with an innovative craft that you can play with or decorate on your study table. It taught you good pasting and cutting skills. And the most fun part about it is that the trolley can move and has an actual, working wheel. You can also put it to rest, thanks to the resting yellow straws. Think of more such ideas to use these techniques on and help your craft grow. Keep practicing and keep growing. Good luck and goodbye.
Follow us on Youtube for art and craft tutorials and much more.
More Articles from Kids Art & Craft
- How to Make Beautiful Caterpillar Using Straw
- Peanut Shell Bunny Craft Tutorial For Kids
- Paper Mug With Straw Craft Easy Tutorial
- Egg Carton Caterpillar Craft Tutorial For Kids
- Lion Face Craft Using Orange Peel For Kids


