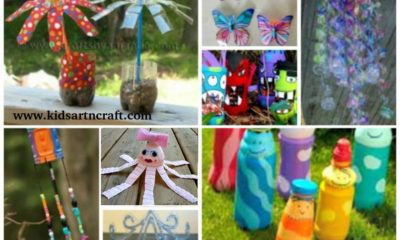


Recycled Crafts
Learn To Make Recycled Bottle Butterfly Tutorial

Make your own beautiful butterfly from a recycled bottle! This step-by-step tutorial will show you how to create a unique, eye-catching decoration out of everyday materials. Perfect for kids or adults alike, this project will help you reduce waste and practice creative upcycling.
Welcome to this fun and eco-friendly DIY butterfly craft! This craft is perfect for anyone looking for a unique activity to do with their children, or just a fun project to do on their own. Not only is this craft eco-friendly, but it also is a great way to upcycle bottles that you would otherwise throw away or recycle. In this tutorial, we will walk you through the steps of how to make a beautiful butterfly out of a recycled bottle. This craft is both easy and fun, so let’s get started!
DIY Butterfly Craft Using Recycled Bottle
Read More: Paper Woven Crafts & Designs for Kids
Materials Required
- White Milk Bottle
- Construction Papers
- Scissors
- Glue
- Black Marker
- Pencil
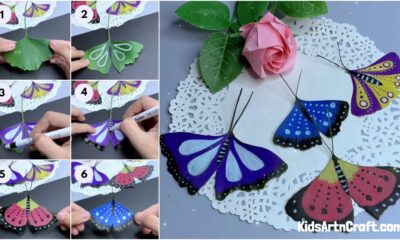
Step 1: Getting Ready With Paper
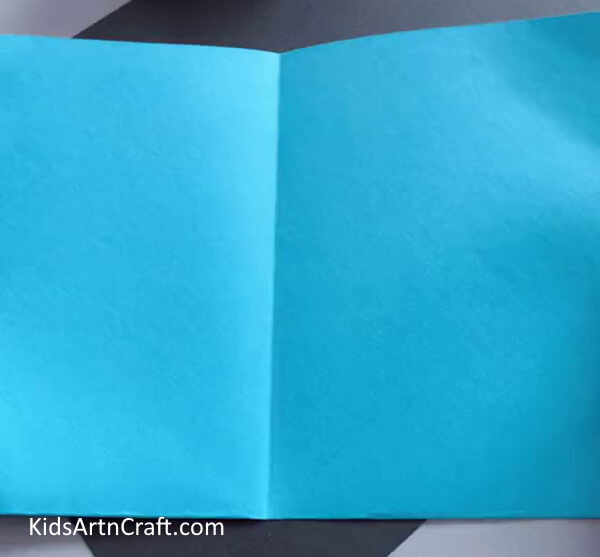
To make a butterfly craft, get ready with blue rectangle paper.
Step 2: Folding Paper In Half
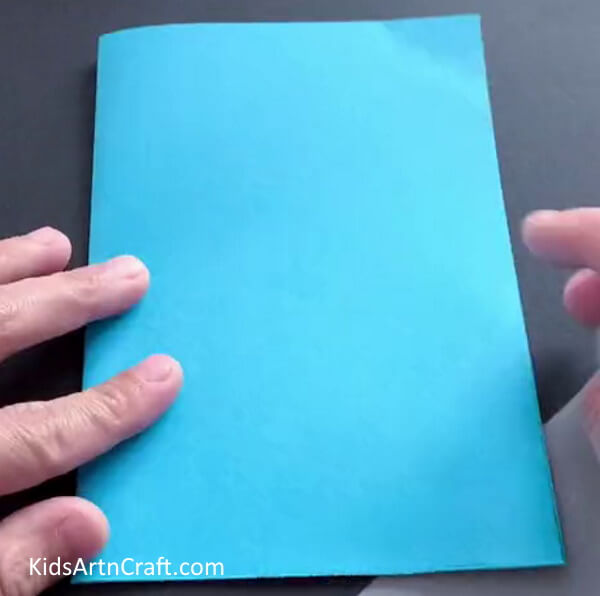
Fold the paper in half.
Step 3: Drawing Tape Outline
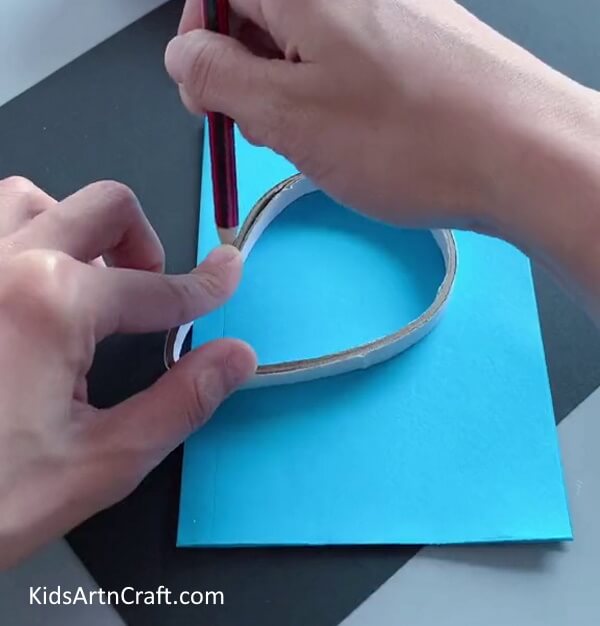
Using tape and pencil, outline the wing. Press the tape from one side to give it a wing shape and place it on the corner edge of the paper. Trace the outline using a pencil.
Step 4: Drawing Outline To Make Wing
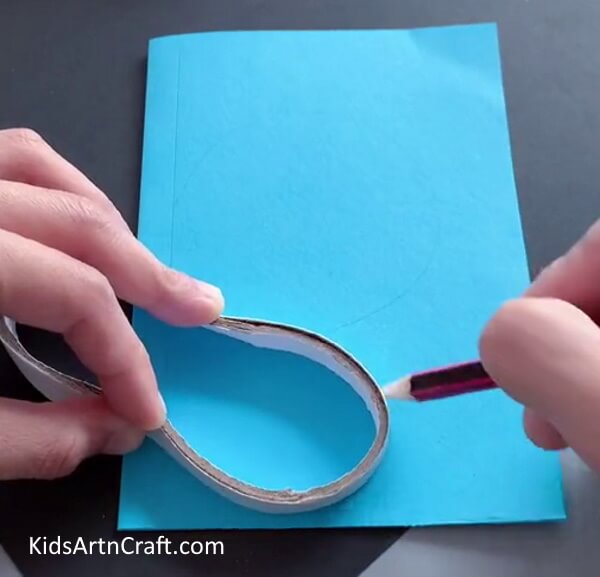
Place the tape in the same way but this time in a downward direction. Again, trace the outline.
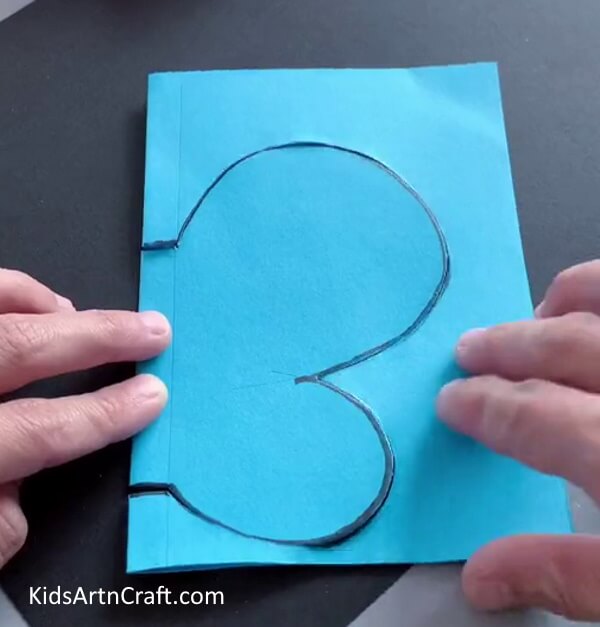
Step 5: Tracing Outline With Black Marker
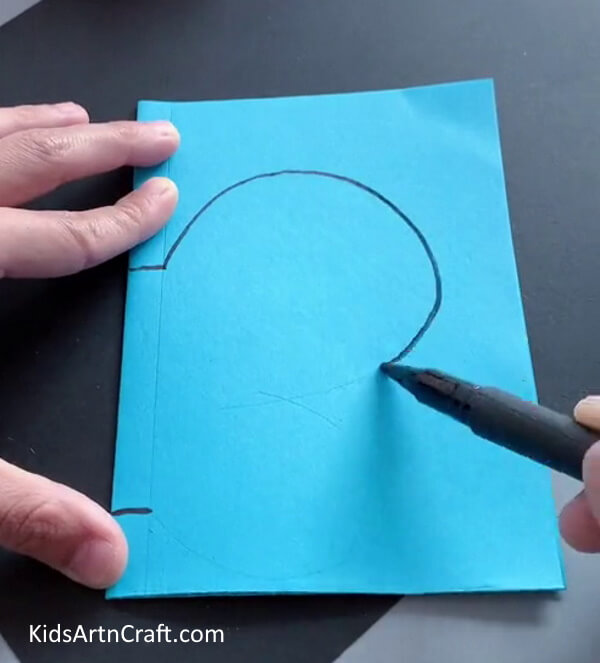
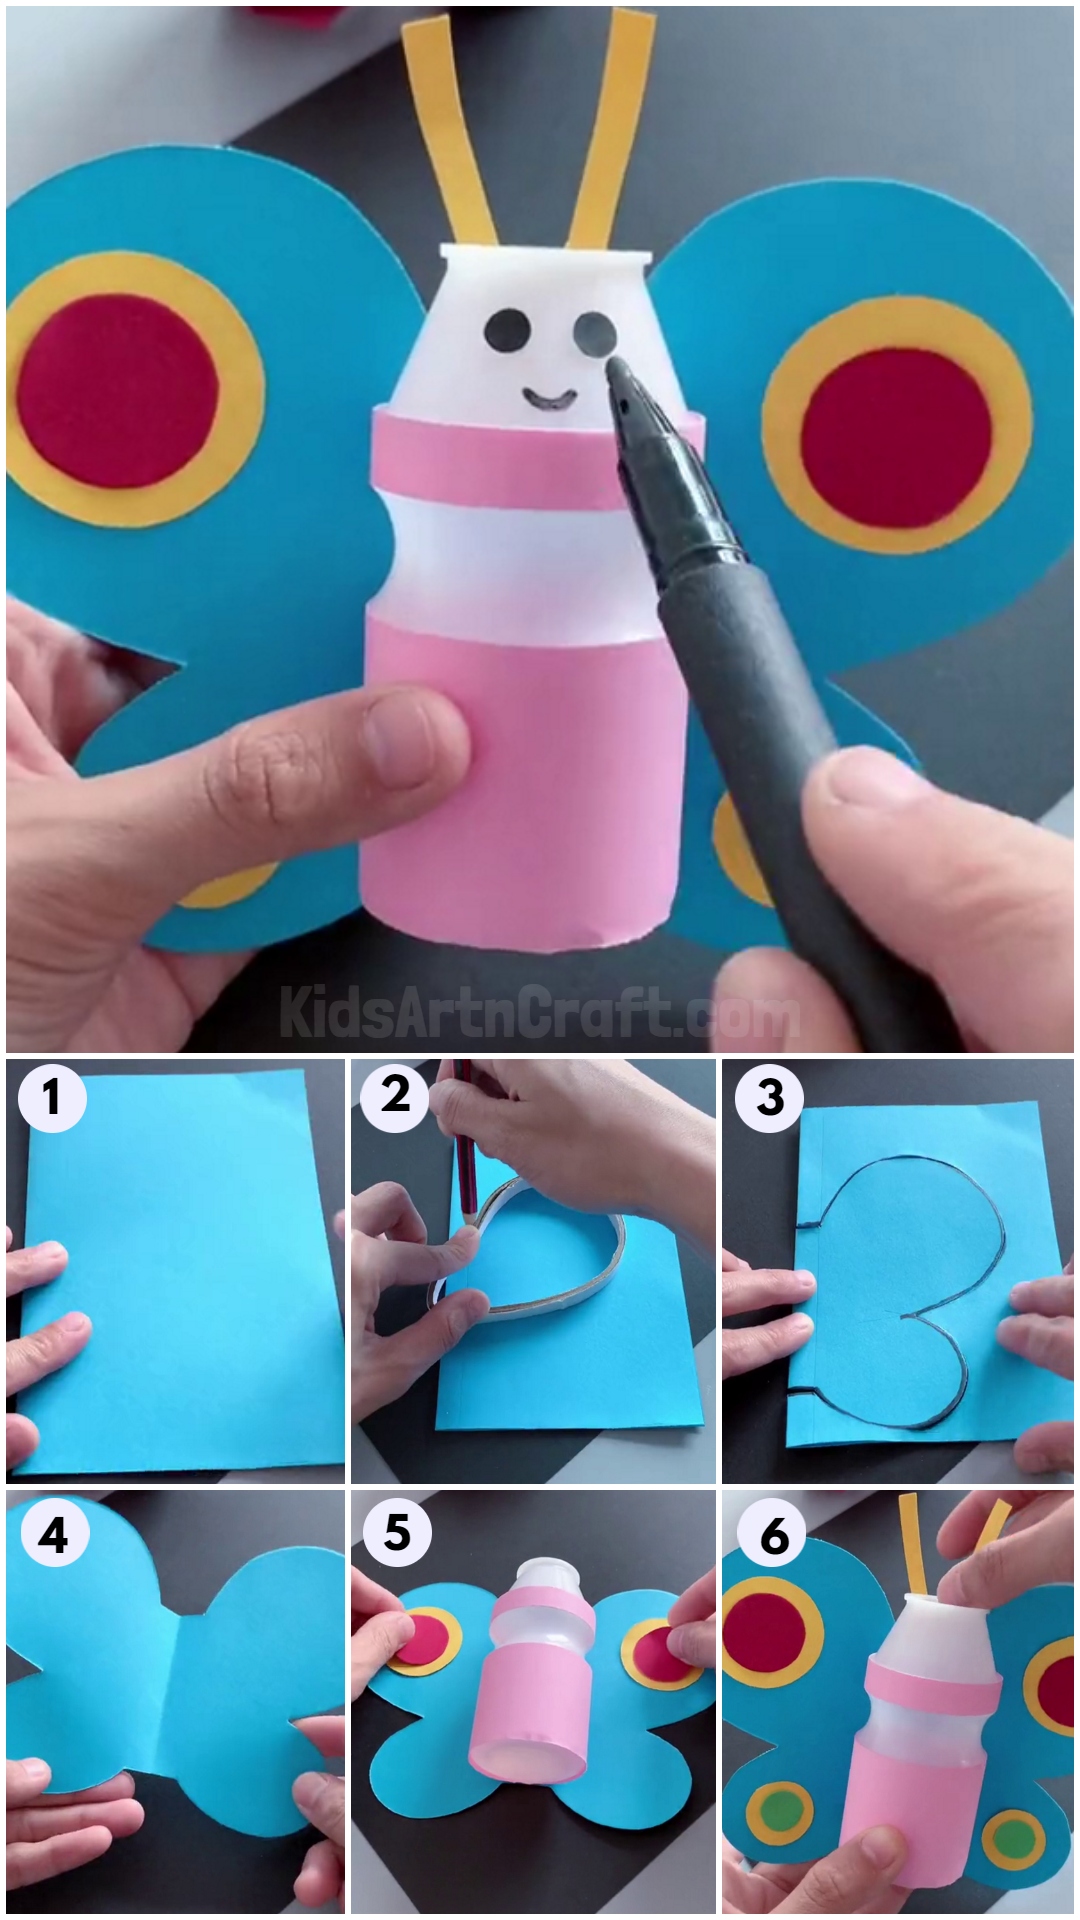
Now, trace the pencil outline using a black marker.
Step 6: Cutting Wings
Cut the wings out of the paper using scissors.
Step 7: Unfolding Wings
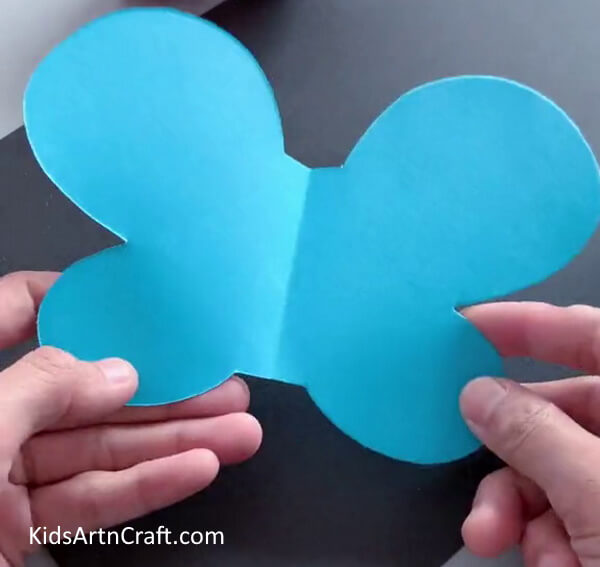
Unfold the paper and it should give a wing shape.
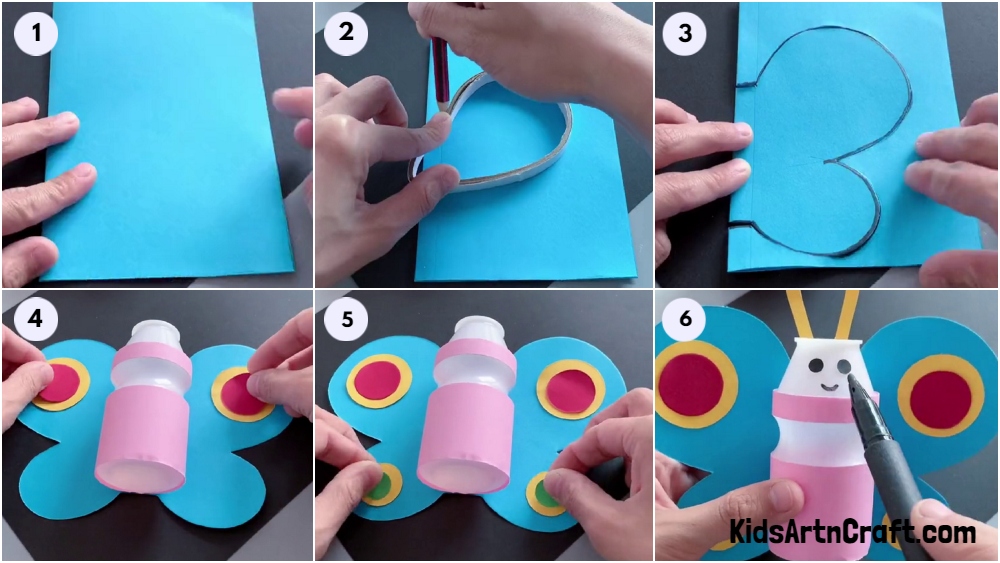
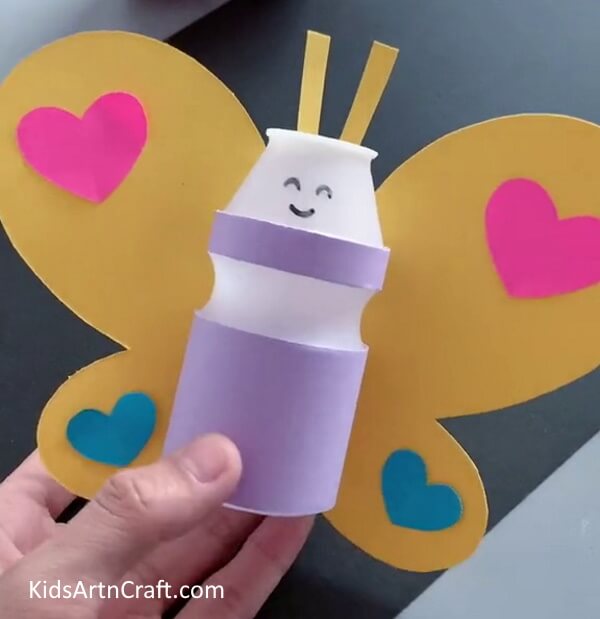
Step 8: Pasting Pink Paper Strip To Bottle
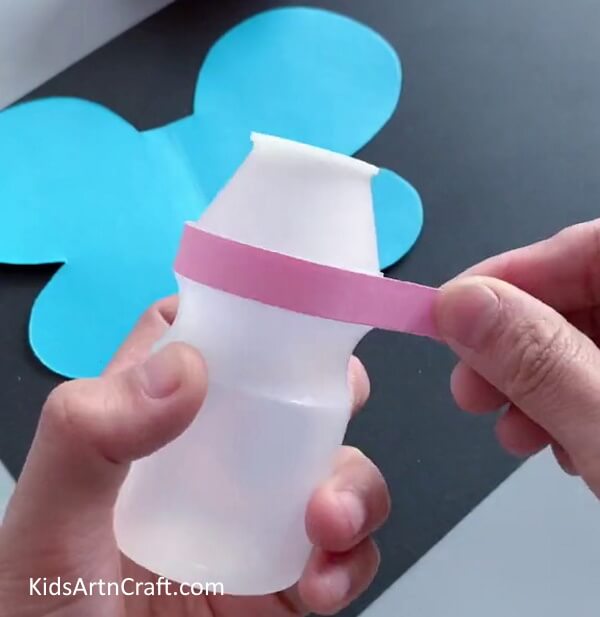
Once the wings are ready, take a white milk bottle and a pink long paper strip. Now, wrap the paper strip around the top of the bottle surface.
Step 9: Covering Bottle With Paper
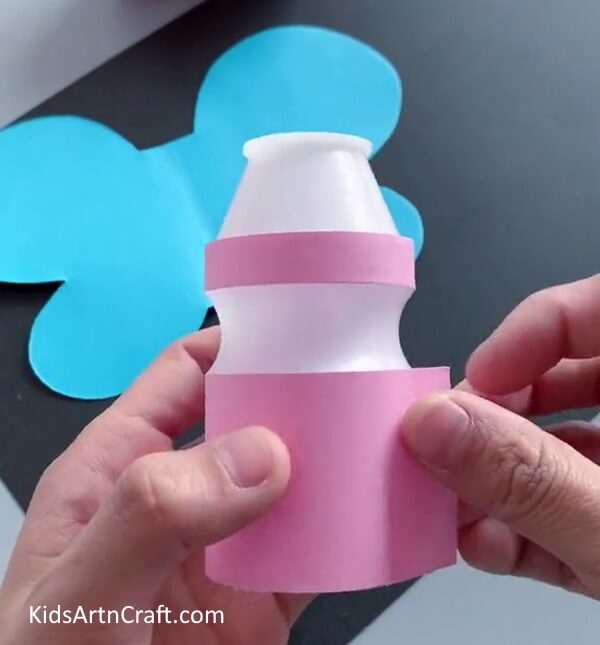
Cut a pink rectangle and also wrap it around the bottom surface of the bottle to cover the bottle. And paste the edge of the paper to another using glue.
Step 10: Pasting Wings To Bottle
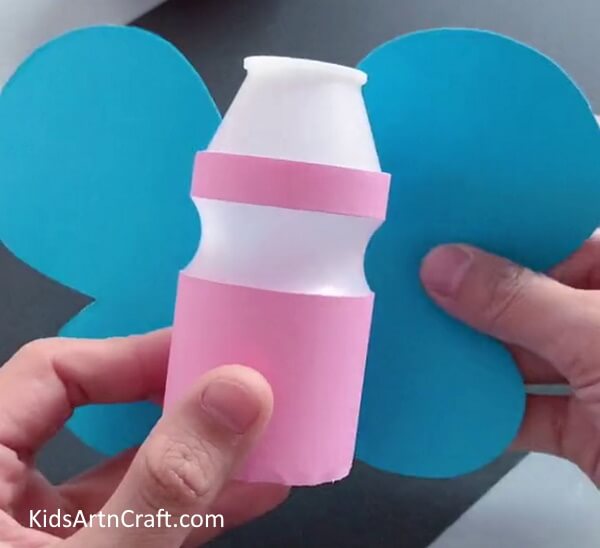
Paste the wings to the back of the bottle.
Step 11: Pasting Circles On Wings
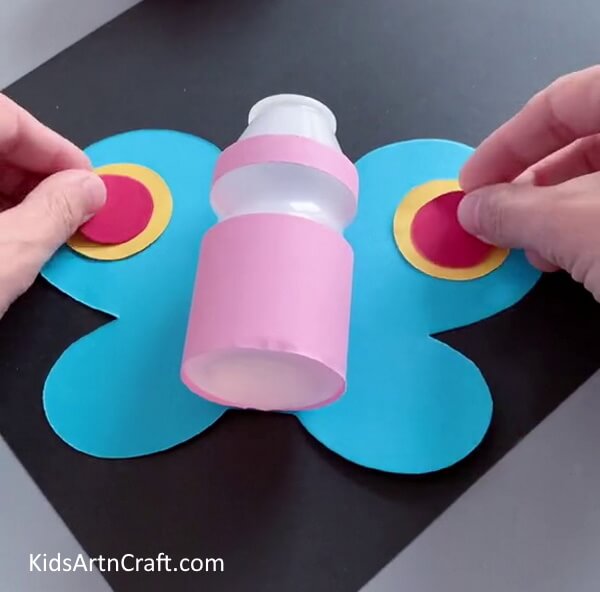
Cut two yellow circles and two red circles. Paste the red circles on the yellow circles, and now paste them on each wing of the butterfly.
Step 12: Pasting Circle Design On Wings
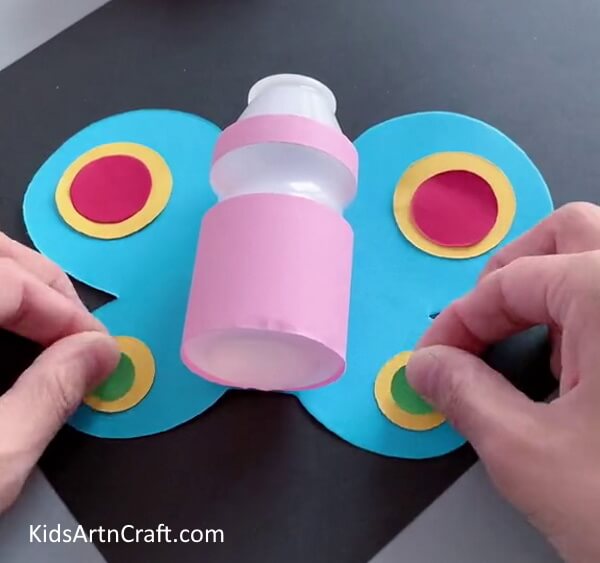
In the same way, paste green and yellow circles on the bottom of the wings.
Step 13: Adding Antlers To Butterfly
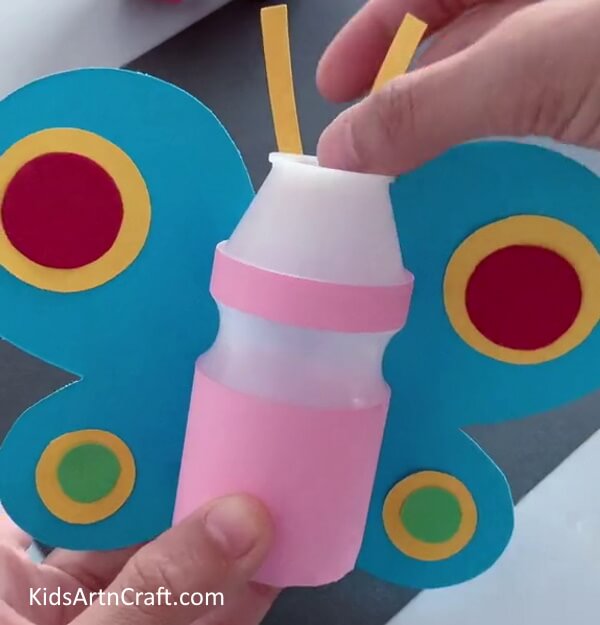
Cut long rectangles out of the yellow paper and paste them inside the bottle using glue to make the antlers of the butterfly.
Step 14: Making Face Of Butterfly
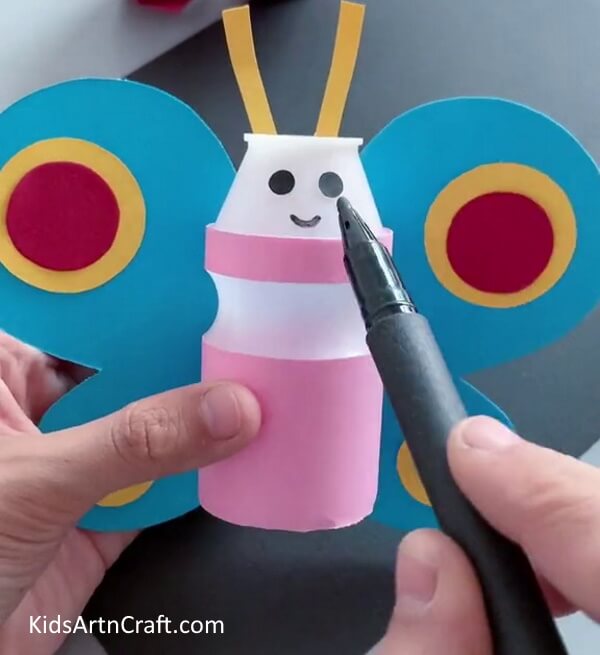
Using a black marker, make the eyes and the smile on the face of the butterfly.
Step 15: Customizing Design
You can customize your design as per your need and preference.
Hanging Butterfly Craft Using Paper For Kids
Image Source/Tutorial: Kids Art & Craft
This fun craft is perfect for kids of all ages. It is easy to make and requires minimal materials. All you need is paper, scissors, and glue to create a beautiful hanging butterfly craft. Let your creativity soar and make your own unique butterfly!
Step 16: Adding Stick To The Butterfly

Finally, add a green stick to the back side of the butterfly.
Bottle Butterfly Craft Is Ready!
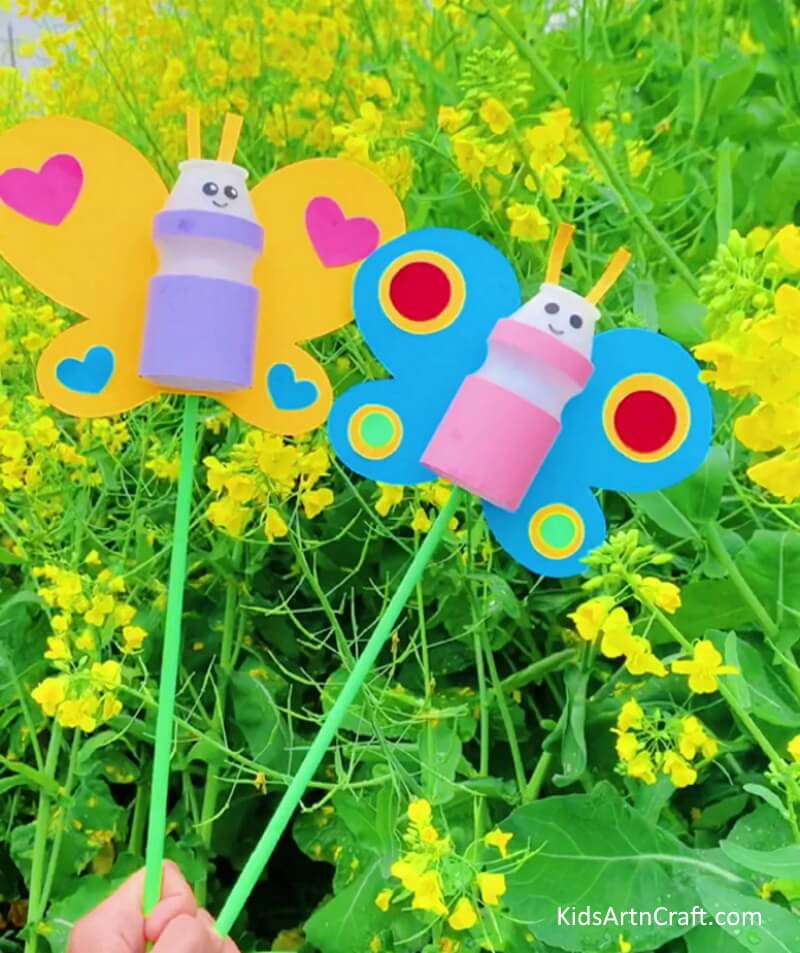
Congratulations! Your Bottle Butterfly Craft is now ready to be admired. This DIY butterfly craft is a creative way to recycle an old plastic bottle and turn it into something beautiful! With a few simple steps and materials, you can make your butterfly craft in no time. Have fun showing it off to your family and friends!
This recycled bottle butterfly tutorial is a fun and creative way to upcycle your empty bottles while making something beautiful. This project is perfect for a summer craft night with friends or family, or to decorate your home with something unique and handmade.
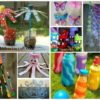
For More Butterfly Craft Tutorial
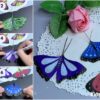
Creating a Paper Butterfly For The Children
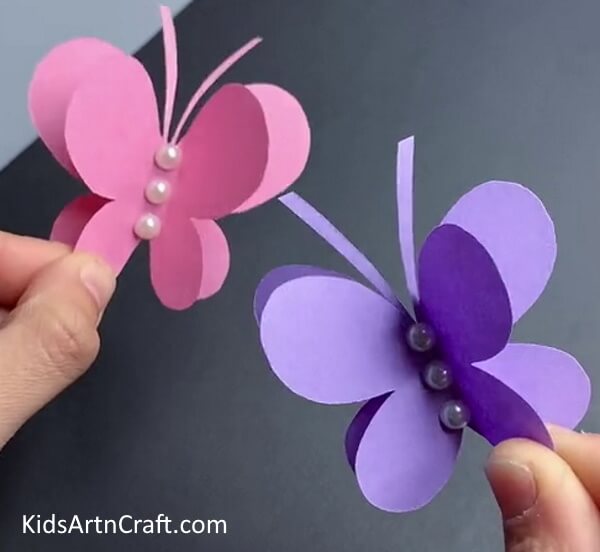
Image Source/Tutorial: Kids Art & Craft
Creating a paper butterfly is a fun and easy craft for kids to make. Let the kids have fun designing their own butterflies!
Simple To Make Leaf Butterfly Crafts For Kids
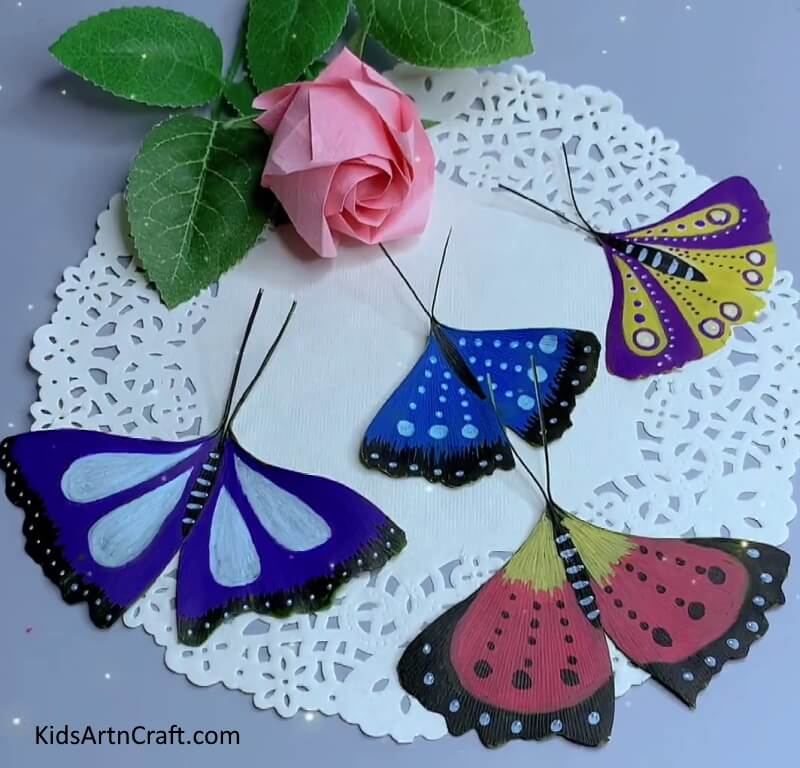
Image Source/Tutorial: Kids Art & Craft
Leaf butterfly crafts are a fun and easy way to get kids interested in nature. They can use various leaves to create colorful and unique butterflies, adding a touch of creativity and imagination to the natural environment. This craft is a great way to introduce children to the beauty of nature and its many creatures.
Unique Butterfly Craft Using Paper for Kids
Image Source/Tutorial: Kids Art & Craft
This easy and fun craft for kids is sure to be a hit! They will learn how to make a beautiful butterfly with just a few simple supplies like colorful paper and glue. It’s a great way to encourage creativity and have some fun!
FAQs Related To Learn To Make Recycled Bottle Butterfly Tutorial
1. What do I need to make a recycled bottle butterfly?
To make a recycled bottle butterfly, you’ll need an empty plastic bottle, scissors, paint, glue, and construction paper. Cut the bottle in half and paint it in your desired colors. Glue construction paper to the wings and attach the two bottle halves together. Now you have a beautiful butterfly to decorate your room!
2. What types of materials can I use to make a recycled bottle butterfly?
You can create a recycled bottle butterfly with a variety of materials such as paper, cardboard, felt, fabric, paint, and glue. With these materials, you can make a beautiful butterfly to hang in your home or garden.
3. How long does it take to make a recycled bottle butterfly?
Making a recycled bottle butterfly is easy and quick! It only takes about 10 minutes to put together all the pieces and create a beautiful butterfly. It’s a fun way to recycle a plastic bottle and make a unique decoration.
4. What kind of tools do I need to make a recycled bottle butterfly?
You will need a pair of scissors, a ruler, a marker, and craft glue to make a recycled bottle butterfly. You can also add other decorations such as glitter, colored paper, or buttons to make it unique.
5. How do I cut the bottle to make a recycled bottle butterfly?
Using a pair of scissors, cut the top of the bottle off. Cut the bottom part of the bottle into two equal pieces. Fold the two pieces inwards and use a glue stick to secure the middle. You have now created the body of the butterfly!
6. How do I attach the wings to the body of the butterfly?
Attach the wings of the butterfly to its body by using a thin layer of glue. Make sure to apply the glue evenly and carefully so that the wings are perfectly secured. Allow the glue to dry before handling the butterfly.
Follow us on Youtube for art and craft tutorials and much more.
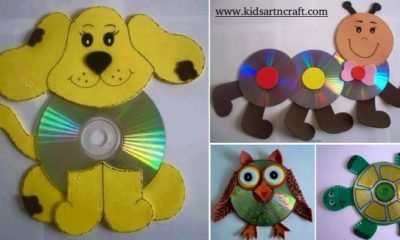
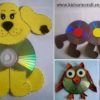
More Articles from Kids Art & Craft
- Recycled Plastic Jewellery Craft Ideas
- DIY Paper Crafts Video Tutorial for All
- Recycled Plastic Bottle Bird Feeders – Easy DIYs
- Fabric Twine Crafts
- DIY Fun Craft Activities At Home Video Tutorial