


Paper Crafts
Origami Paper Bulldozer Craft Tutorial For Kids

Learn to make a budget-friendly bulldozer toy using up paper sheets! This step-by-step tutorial will serve you as a guide for the same!
Love toys, but find them expensive? Worry not because today we brought you an amazing paper craft for making a toy bulldozer!! This bulldozer is just like the one you can find in the market! With this step-by-step tutorial, you will be able to make this bulldozer craft toy in just the blink of an eye! This is a fun activity to do in the boring time rather than engaging in those harmful screens and devices! You can unleash your creative skills and innovation skills in this craft making! Let’s begin!
DIY Bulldozer Origami Paper Craft

Read More: How To Make Paper Doll From Craft Paper
Materials Required
- Yellow Origami Paper Sheets (Various Dimensions)
- Glue
- Scissors
- Black And White Paper Sheets
Procedure
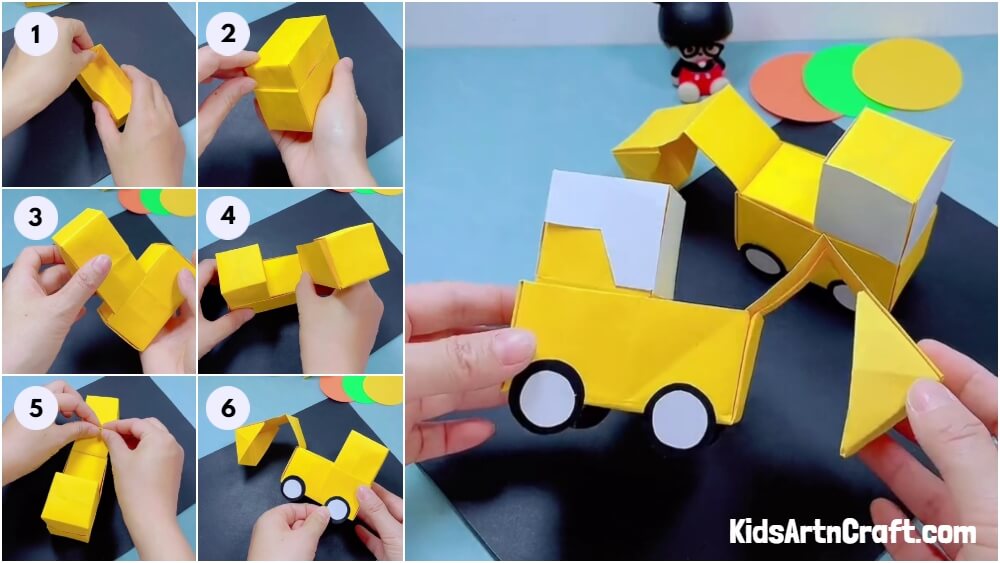
Step 1: Taking A Yellow Origami Paper
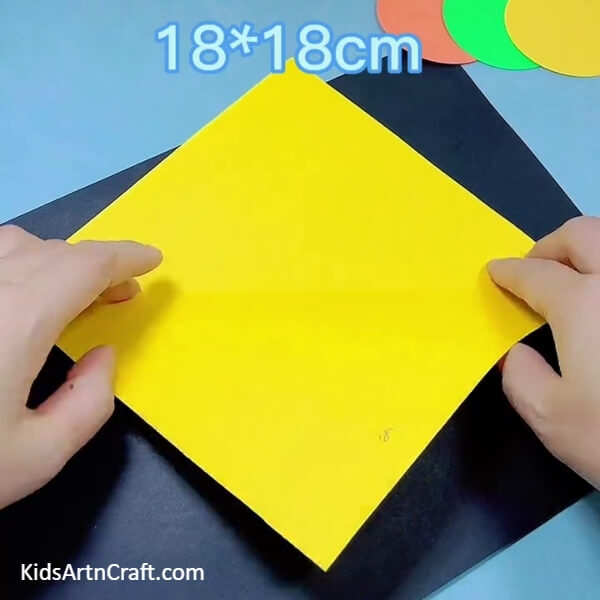
Start this craft by taking a yellow origami paper of 18x18cm dimensions.
Step 2: Making ‘X’ Creases
Fold the paper from one corner to the opposite one to form a diagonal crease and again from the other corners to form an ‘X’ crease over the square paper.
Step 3: Folding The Corner To the Center
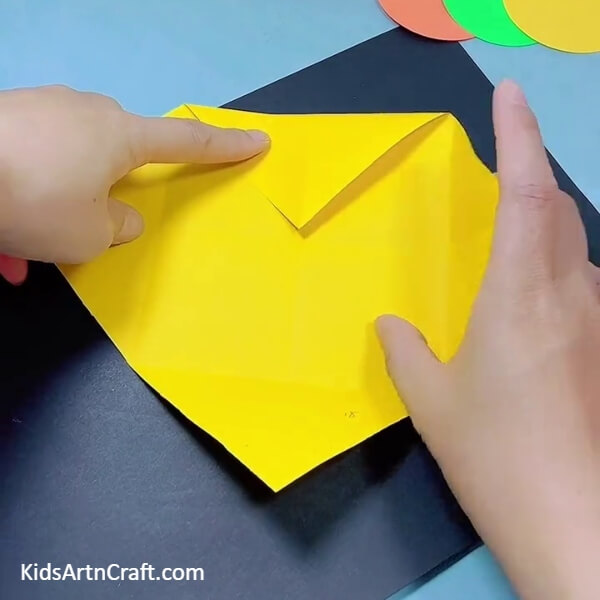
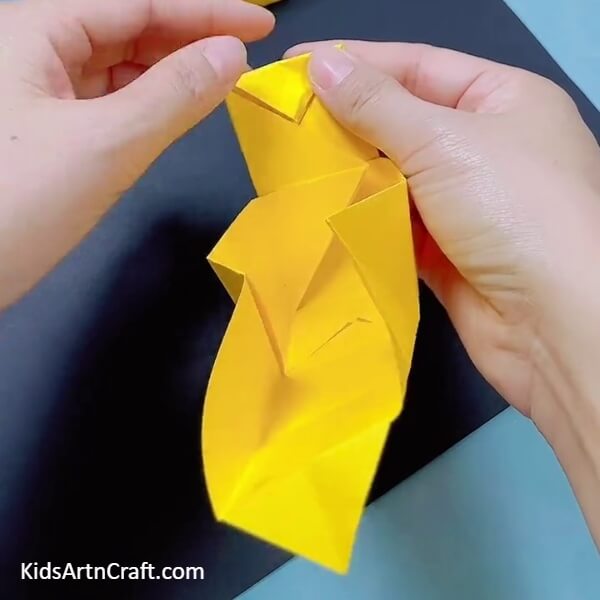
Fold a corner of the paper to the center of the ‘X’ crease
Step 4: Making A Small Square
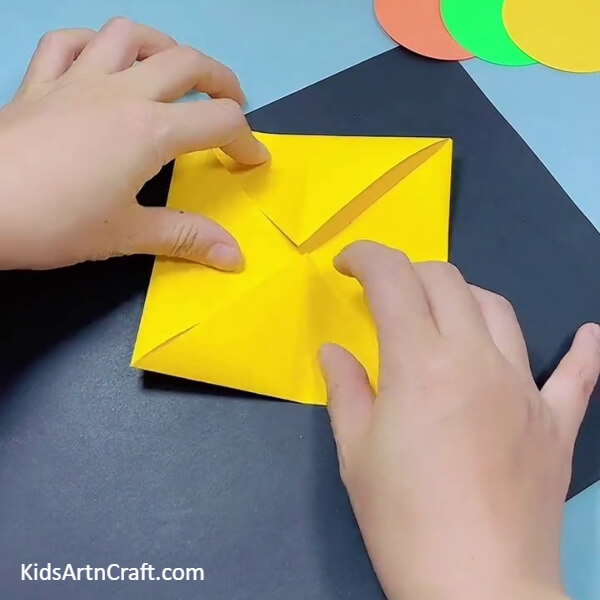
One by one fold all the corners to the center of the ‘X’ crease to make a small square.
Step 5: Folding 1/3rd Of Square
Fold one side of the small square to 1/3rd of it
Step 6: Making Checks Creases
Fold the opposite side of the square over the folded one to make line creases and unfold again. Now, from the adjacent side of the folds, again fold the paper 1/3rd and gain 1/3rd and make creases and unfold again. You will see checks crease over your small square.
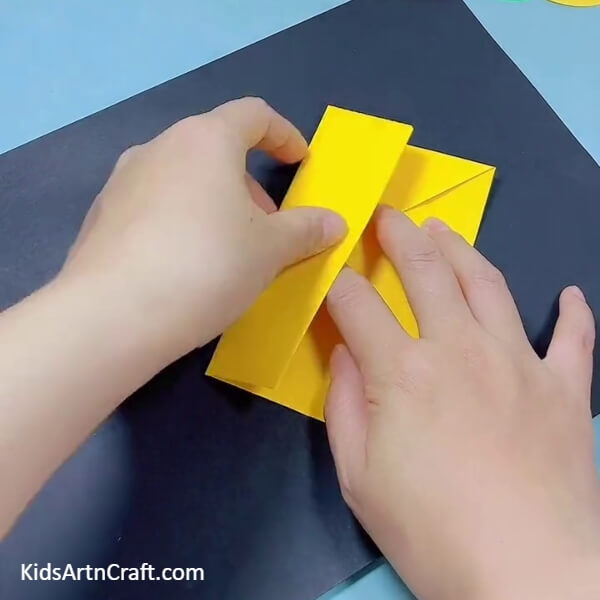
Step 7: Creating A Strip
Unfold the upper and bottom partitions of the small square and fold the side ones over each other along the 1/3rd creases. You will see a strip with 2 sharp ends.
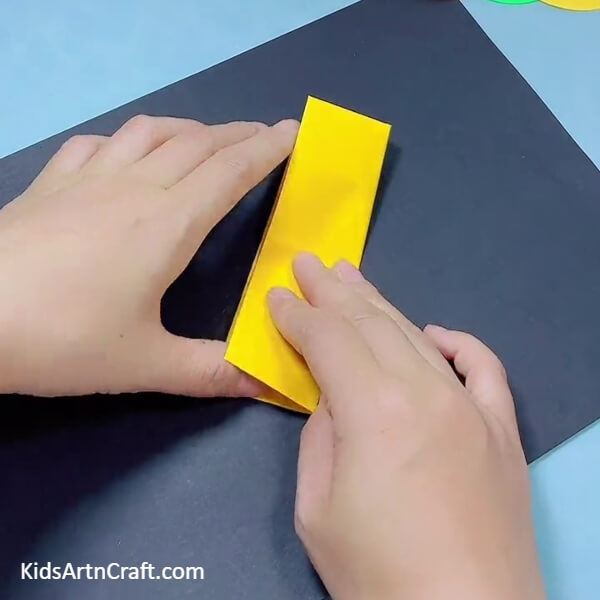
Step 8: Making A Box With An Opened End
Put the recent 1/3rd folds in a right angle and from the diagonal crease fold it to the back, one over the other to form a box with a opened end.
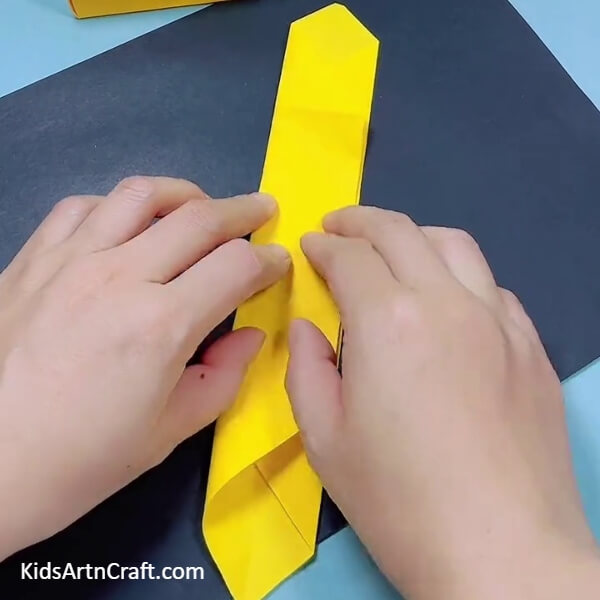
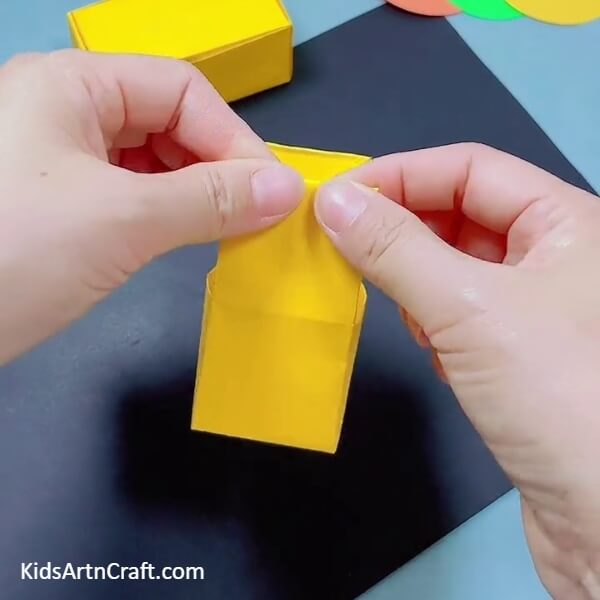
Step 9: Perfectly Making The Box With An Opened End
Fold the upper sharp end of the strip inside the box to perfectly make it a box with an opened end
Step 10: Completing The Box

In the same way, fold the other sharp end inside the box from the diagonal crease to complete the box and secure the folds with glue.
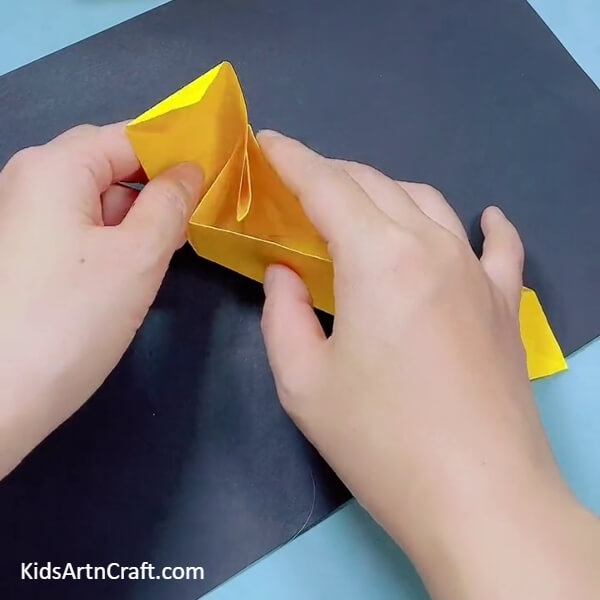
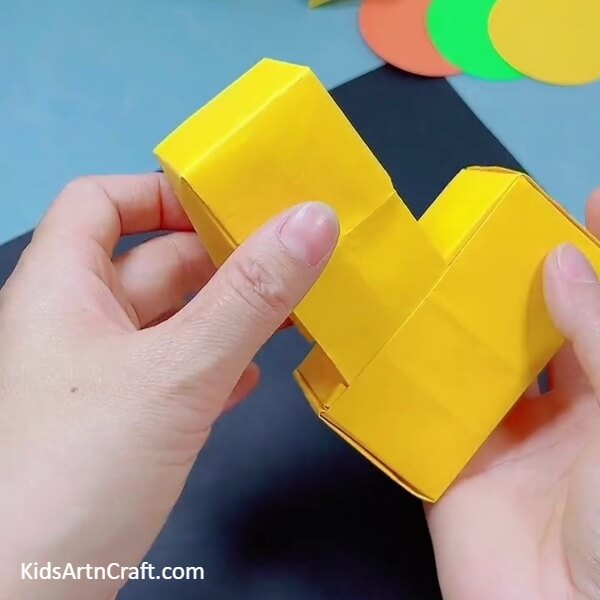
Step 11: Making An Enclosed Box
Following all the previous steps make another box. Now, invert this box and put it inside the other box to make it an enclosed box.
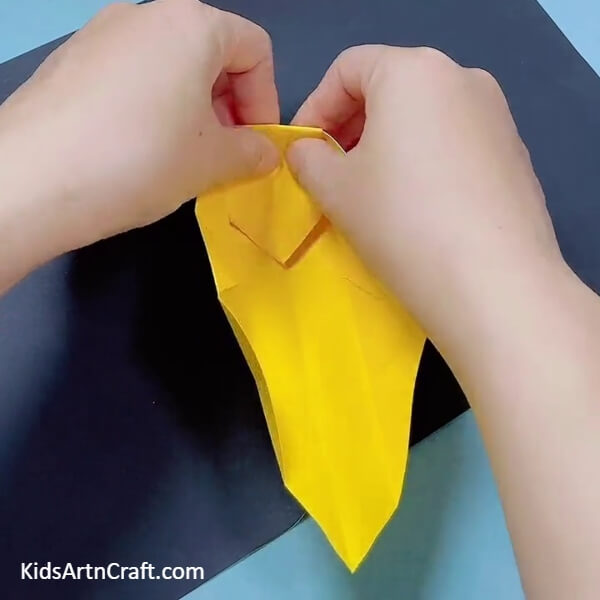
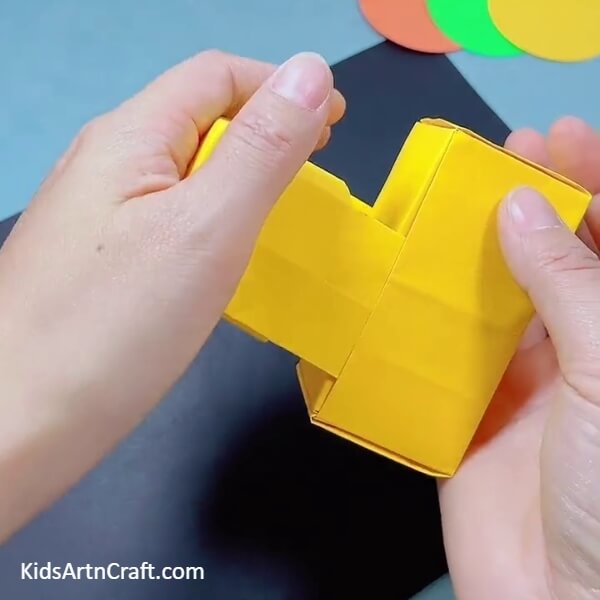
Step 12: Making Another Imperfect Box With Opened End
Repeat steps 1-8 to form an imperfect box with an opened end with one sharp end strip straight above and secure the folds with glue.
Step 13: Folding The Sharp End
Fold the sharp end of the strip inward as shown in the image.
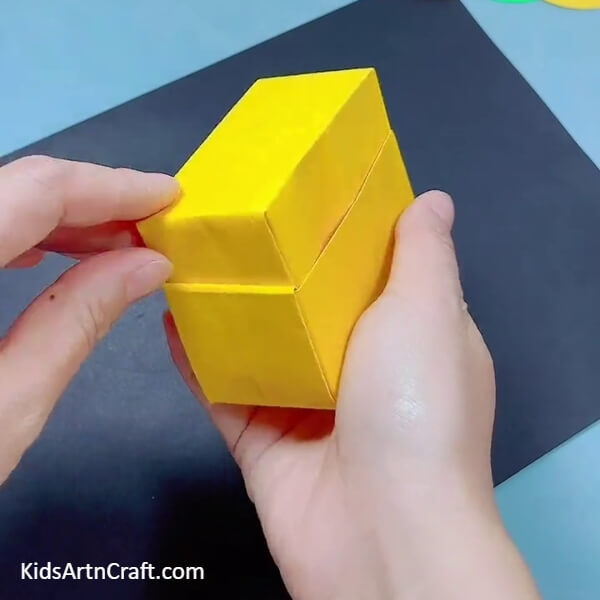
Step 14: Completing The Square Box
Following the same, complete the box from the opened end side to make a square one this time and again secure it with glue and fold its sharp end too.
Step 15: Putting The Strips Of The Square Box Inside The Enclosed One
Inward the squared box to keep the strip below and put the strips inside the enclosed one from one side as shown in the image.
Step 16: Placing The Square Box Over The Enclosed One
Slide the strips inside to keep the square box over the enclosed one.
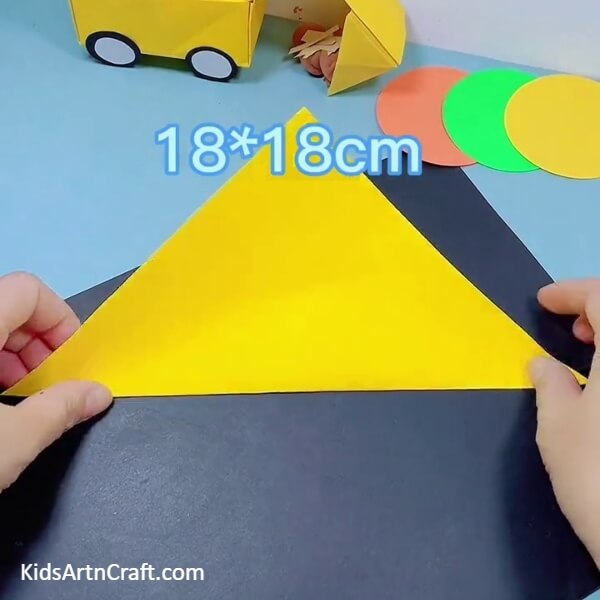
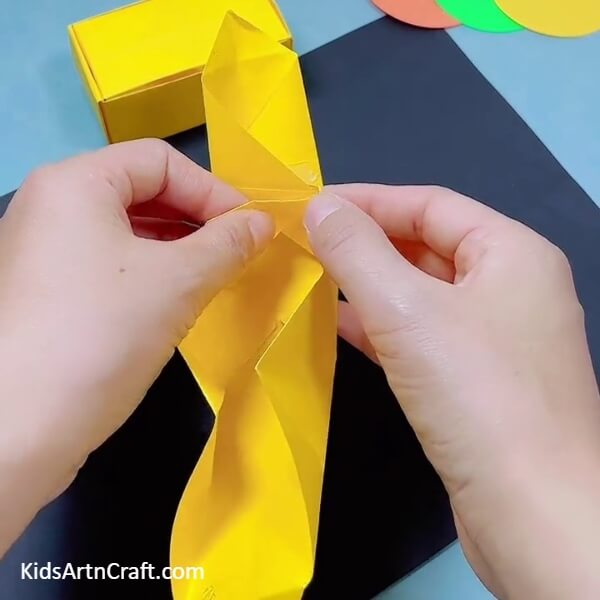
Step 17: Making ‘X’ Creases On Ends Of A Strip
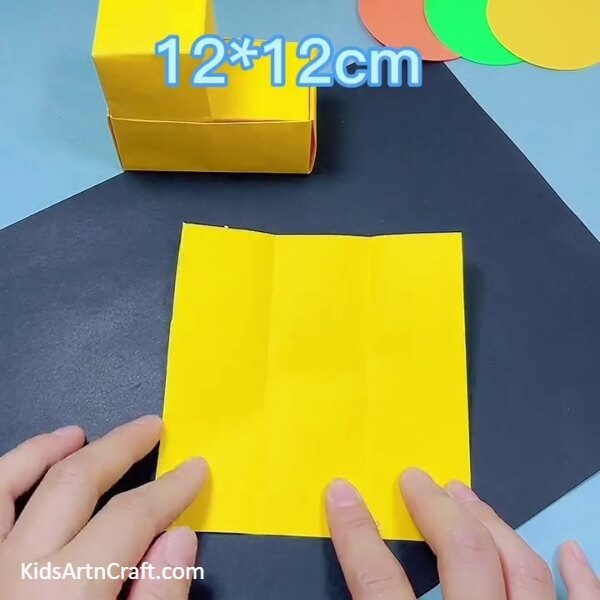
Take another yellow origami piece of paper of 12×12 cm dimensions and fold one 1/3rd side over it and again fold the other side over the 1/3rd fold and make creases to form a strip of the paper. Now, fold the one end corner of the strip over the other side of it to form a triangle and make a diagonal crease over it then unfold again. Following the same from the other corner of the same end to the other side to again form a triangle and diagonal crease. Unfold this triangle too and you will see an ‘X’ crease on that end of the strip.
Follow the same for the other end of the strip to make ‘X’ creases over that end too.
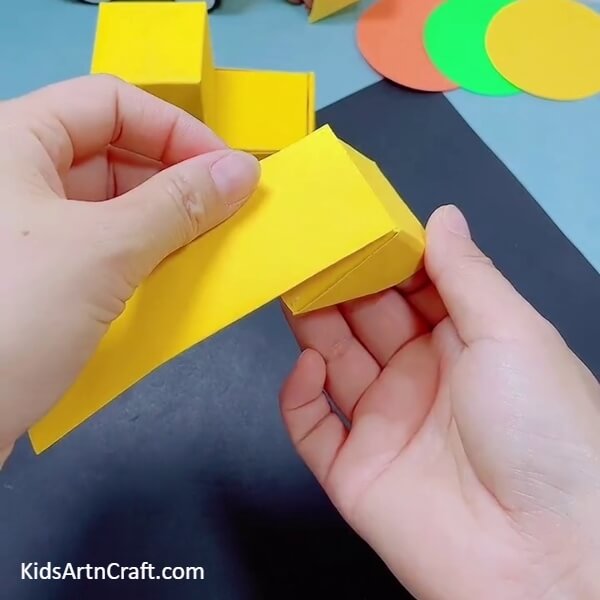
Step 18: Making An Opened-End Triangular Box
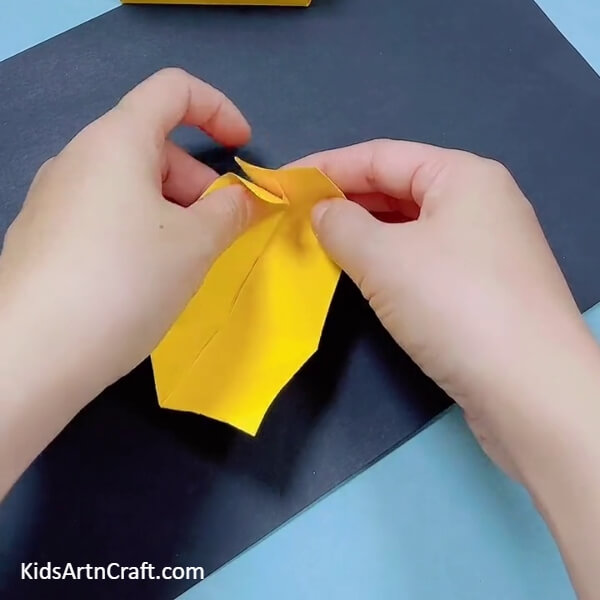
Unfold the one 1/3rd fold of the strip. Place one end of the unfolded strip over the folded strip and push out the loop strip from the diagonal crease over folded one to make a strap end on that end. Now, fold that sharp end inward to make a triangular box with one opened end.
Step 19: Completing The Triangular Box
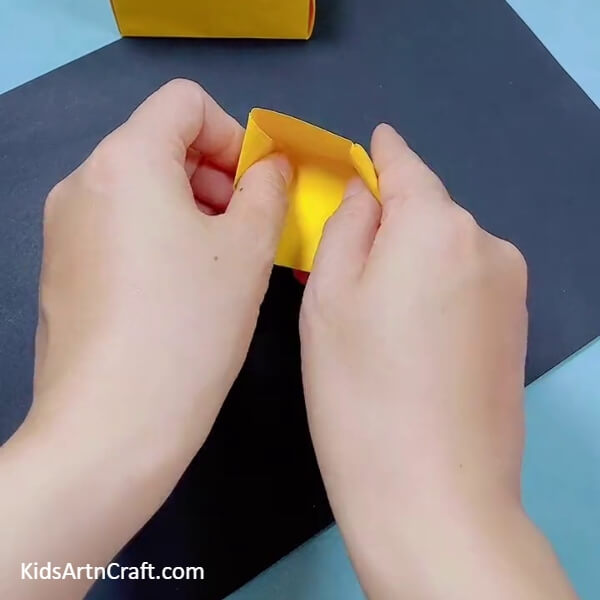
Follow the previous same step on the other side to complete the triangular box. And make sure to sharpen the creases, curves, and folds of this box.
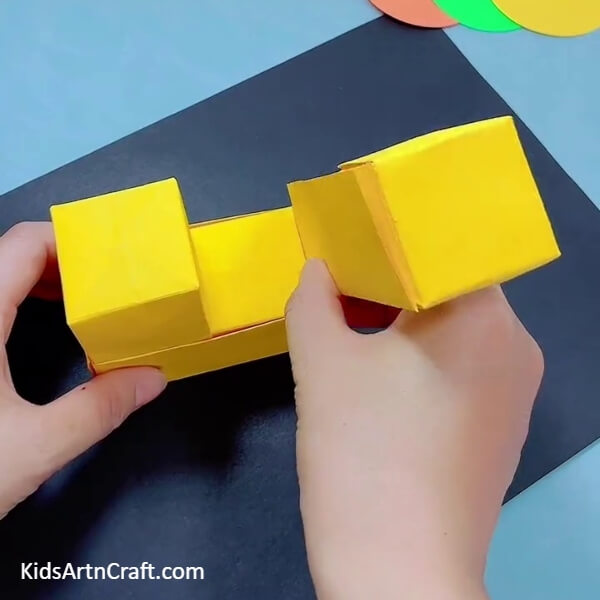
Step 20: Making A Long Strip
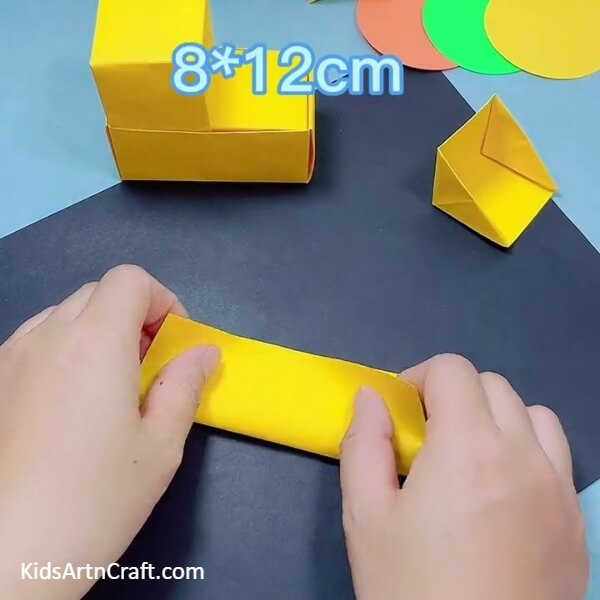
Take another piece of yellow origami paper of 8x12cm dimensions and fold it in half from the shorter side to make a strip of it and secure it with glue.
Step 21: Pasting The Strip Over Triangular Box
From the back of the rectangular side of the triangular box apply glue and paste the long strip end over it.
Step 22: Placing The Strip Inside The Enclosed Box
Fold the other end of the strip a little and place it inside the enclosed box’s other end as shown in the image.
Step 23: Folding The Strip Into Half
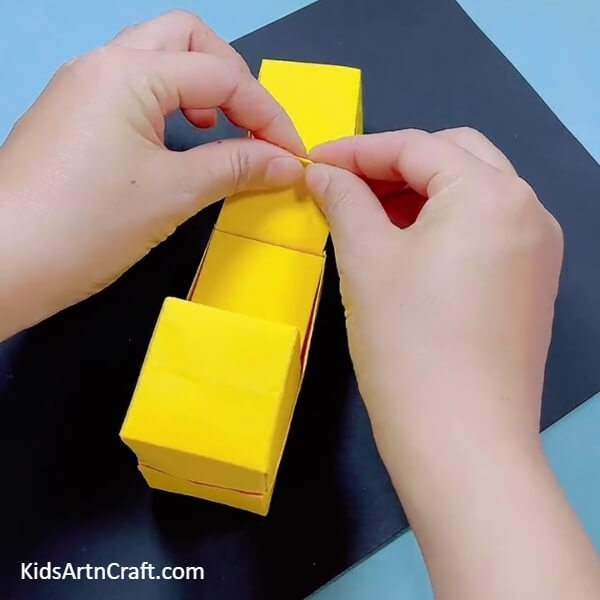
Fold the strip in half to make a crease over the strip as shown in the image.
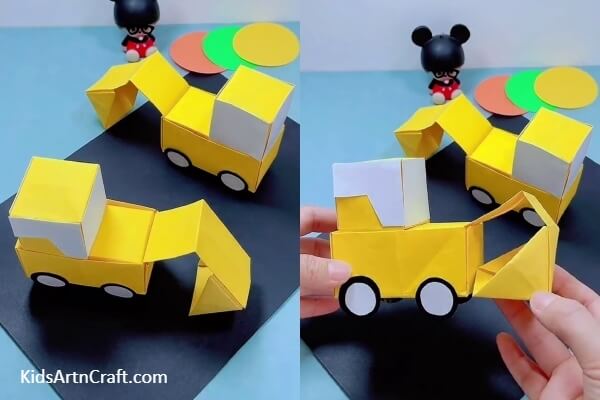
Step 24: Adding Tires To The Bulldozer
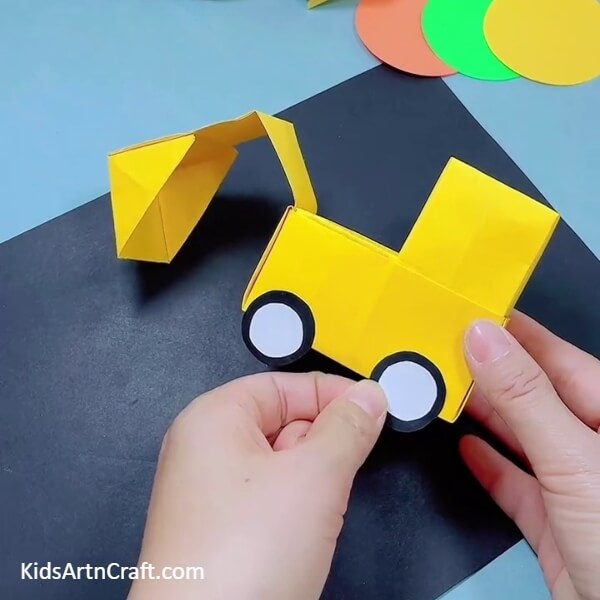
Cut out 4 circles from black paper and 4 from white a little smaller than the black ones. Paste the white circles over the black ones to form the tires. Now, paste the tires on the ends of the bulldozer using glue. Make sure to paste the tires only half over the bulldozer.
Step 25: Adding Windows To the Bulldozer
From the white sheet paper, cut out 3 squares the size of the square box over and cut out triangles from 2 of the squares, these will be the windows of the bulldozer. Paste the 2 on the sides of the bulldozer’s square box and the square over the middle one as shown in the image.
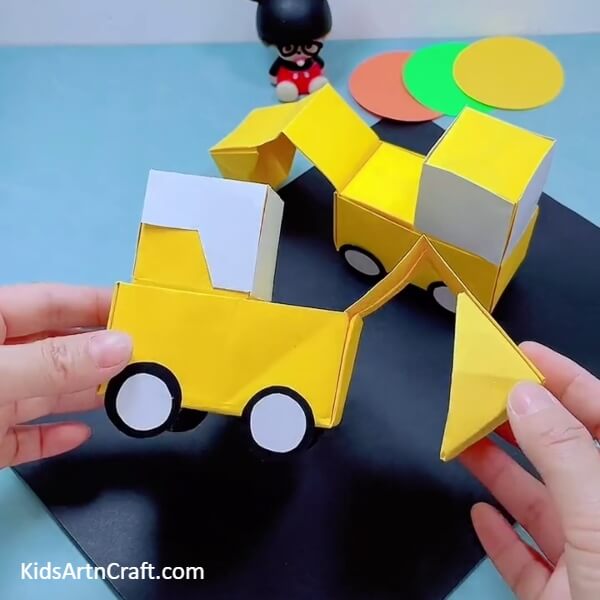
This Is The Final Look Of Your Origami Bulldozer!
Whoa! Look at the astonishing results!! Your paper bulldozer is ready!
You can now play with your paper toy! Create more of these to get a whole collection of paper toys! Through this tutorial, you can even make more of the vehicle crafts just by using up some creativity of yours! Show it off to everyone and even flaunt your crafting skills by teaching your friends and family to make it! Make a crafty afternoon for all of them! Raise the amazingness of your craft collection by adding this paper toy!
Hope you liked this article, if yes, then don’t forget to give it a like and share with your buddies! Let us know your feedback and crafting journey in the comments section! We would love to hear from you!
Follow us on Youtube for art and craft tutorials and much more.
More Articles from Kids Art & Craft
- DIY Bird Nest Paper Craft For Kids
- Learn To Make Tree with paper step by step Tutorial
- DIY Paper Mask Step by Step Tutorial For Kids
- Paper Snowflake Pattern Step by Step Tutorial
- How to Make an Easy Paper Craft Bird Artwork


