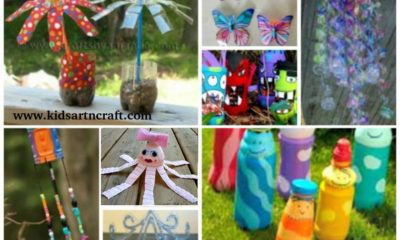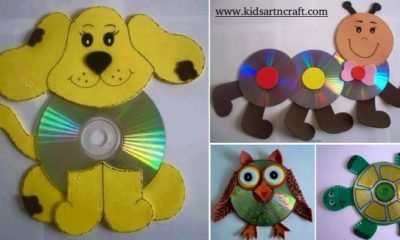


Recycled Crafts
DIY Snowman Paper Cup Craft Tutorial For Kids

Easy Snowman Paper Cup Craft For Kids
Read More: Easy to Make Snowman by Bottle Craft Tutorial
Materials Required
- White Paper Cup
- A paper cutter
- Thick white paper
- A toothpick
- White, black, red, and orange craft paper
- Scissors
- Glue
- Black and red sketch pens
- A pencil
- Paper clip or wooden clip
- Paper punching machine
Procedure
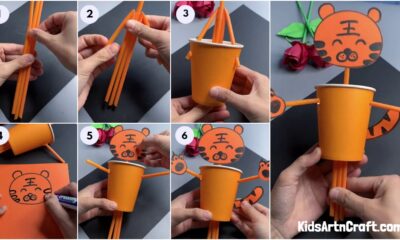
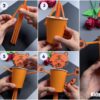
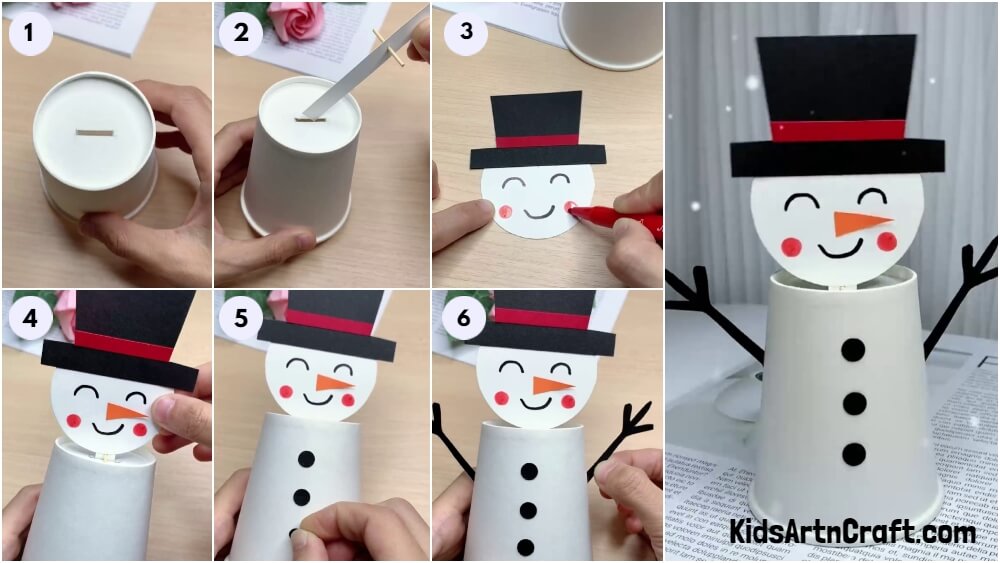
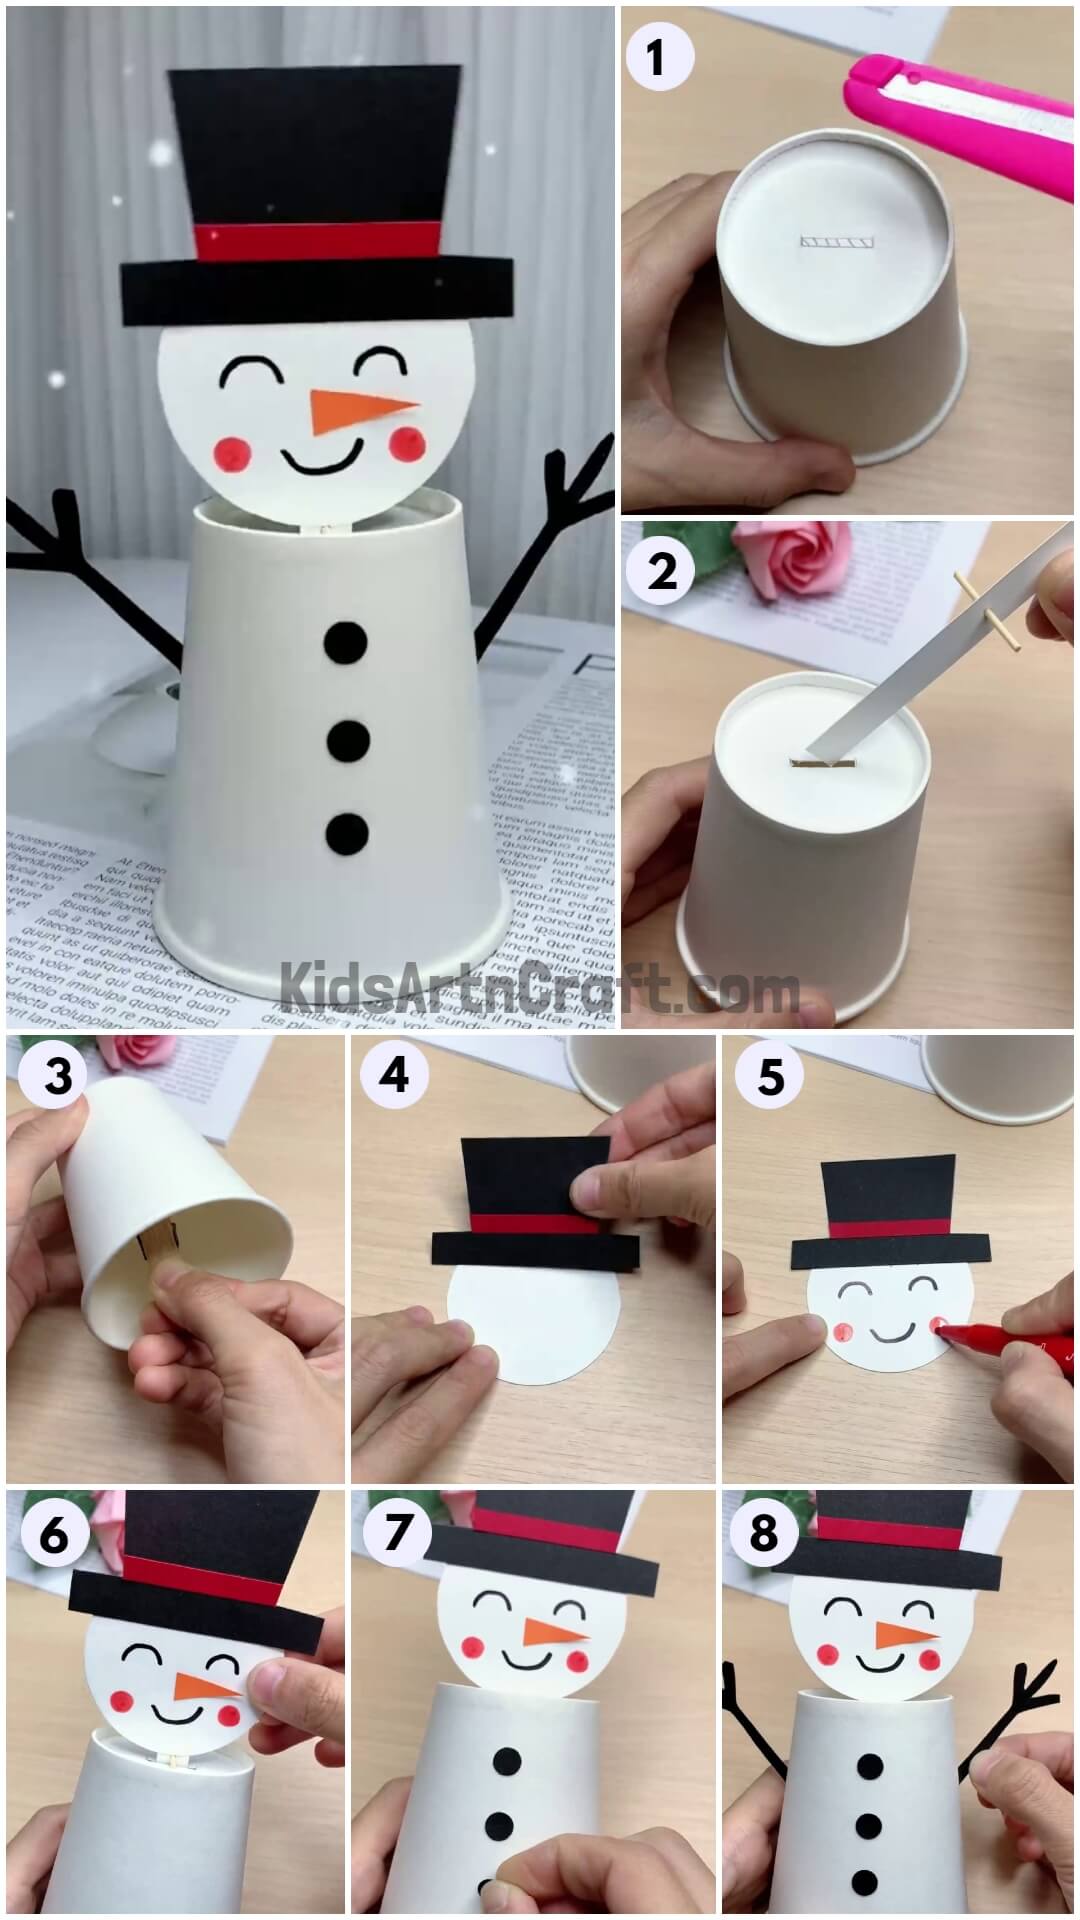
Step 1: Starting With the Paper Cup
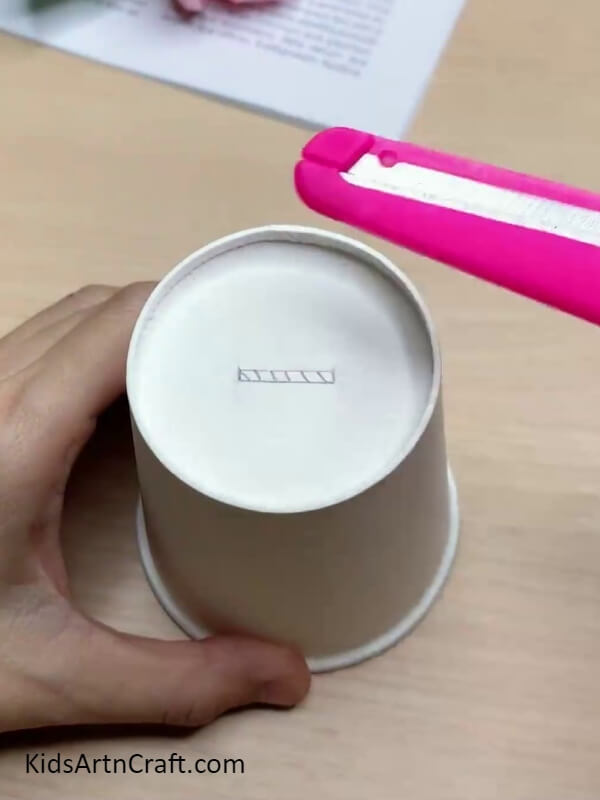
Grab your paper cup and pencil. Flip the cup upside down and draw a small slit in the middle of the cup. Don’t make the slit too thin or thick.
Step 2: Cutting the Slit
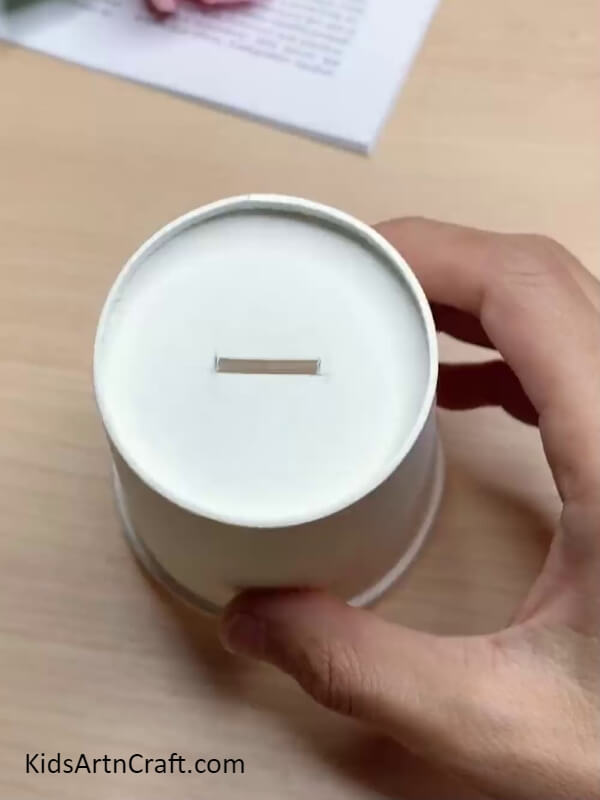
Now grab your paper cutter and carefully trace around your drawn slit and cut it out.
Step 3: Making the Stand
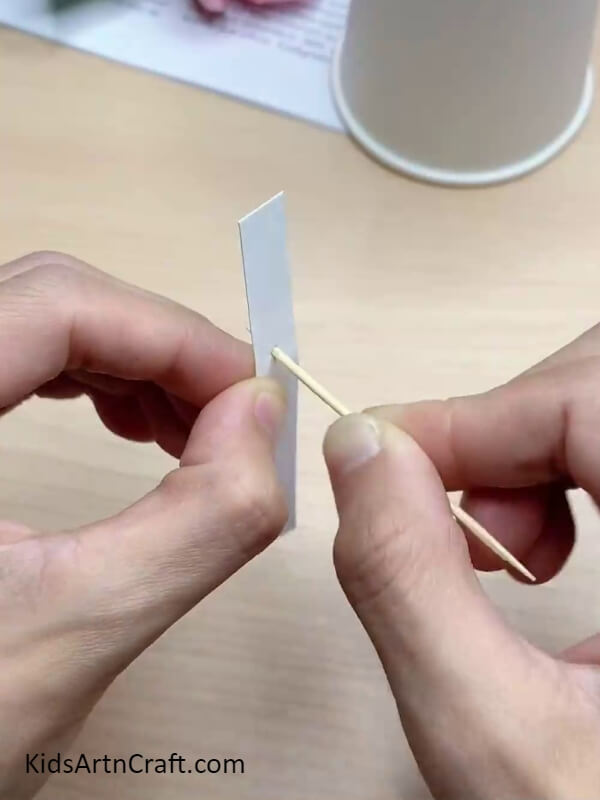
You will now proceed to make the paper holder for your snowman’s head. Take your thick white paper and cut out a long rectangle from it. Grab your toothpick and pierce it through the rectangular strip. Make sure it’s not pierced exactly through the middle but such that the top length is a little shorter than the bottom length.
Step 4: Shortening the Toothpick
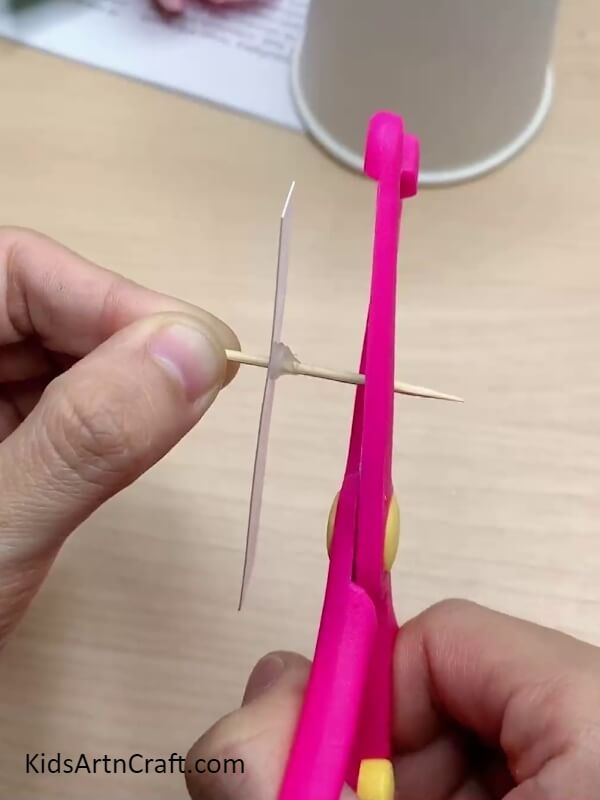
You will now cut off the sharp end of the toothpick to make another flat surface for the toothpick. Make sure to cut off only enough of the toothpick such that the stick has equal lengths on either side of the rectangular strip.
Step 5: Inserting the Strip
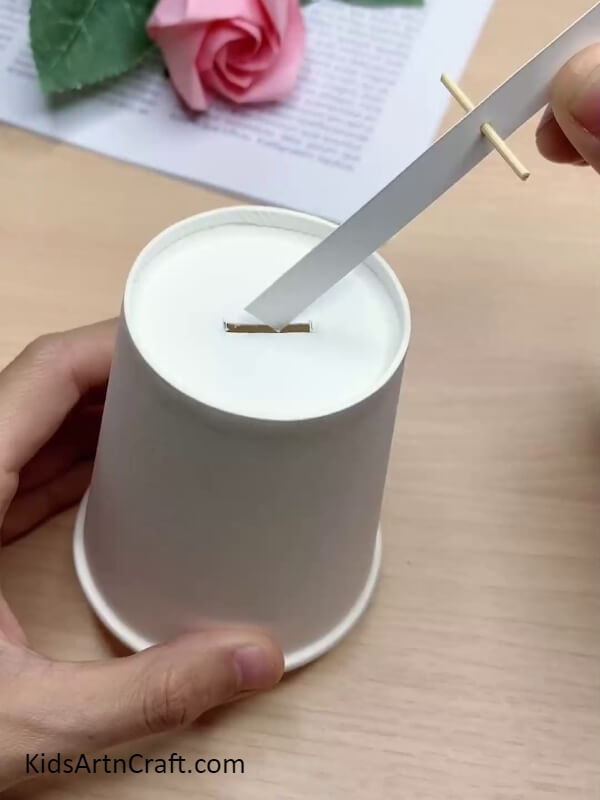
You will now insert the strip into the the slit you made earlier in the paper cup. Insert the longer side of the strip.
Step 6: Balancing the Stick.

You now need to make sure that the inserted strip stays inside the cup. To do so add something heavy to the part of the strip that is inside the the cup, like a paper clip or wooden clip. This will help you balance your snowman.
Step 7: Making the Head of the Snowman
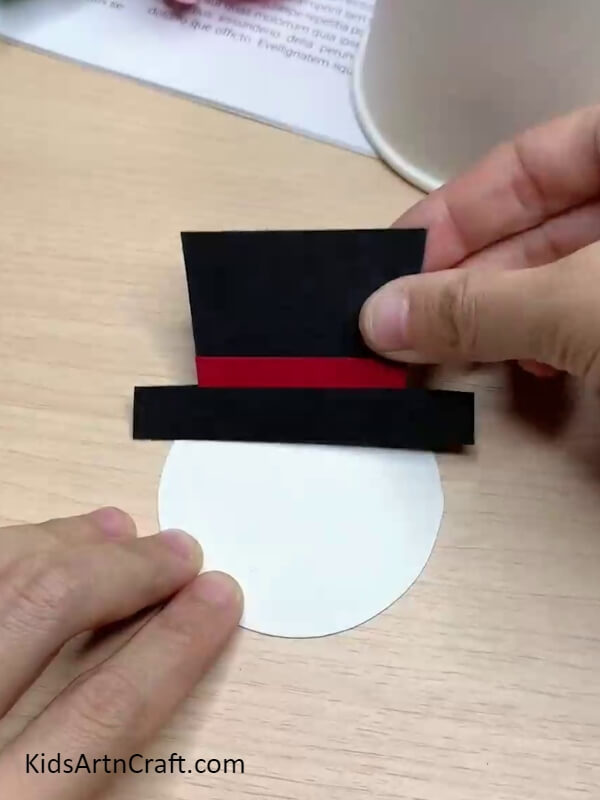
Next, start with the head of the snowman. Draw and cut out a circle from a white craft paper. This will be the face and head of your snowman. Now draw a hat onto the black craft paper and a thin rectangle strip on the red craft paper. Cut these out as well. Take the red strip and stick it to the hat, above its base. Ta-da! Your snowman’s hat is ready. Stick the hat onto the head of the snowman.
Step 8: Making the Face of the Snowman
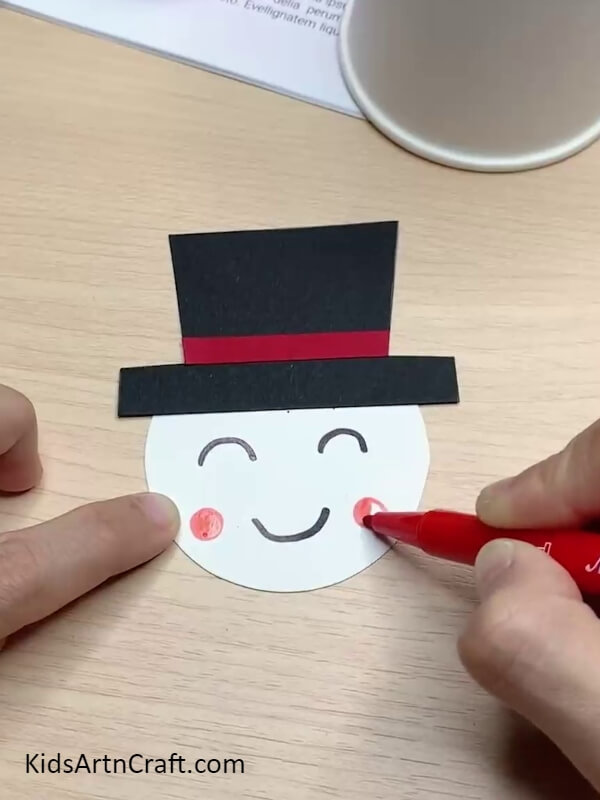
Grab your black sketch pen and draw two eyes and a smiley onto the face. With the red sketch pen add two blush spots on the cheeks of the snowman.
Step 9: Sticking the Nose
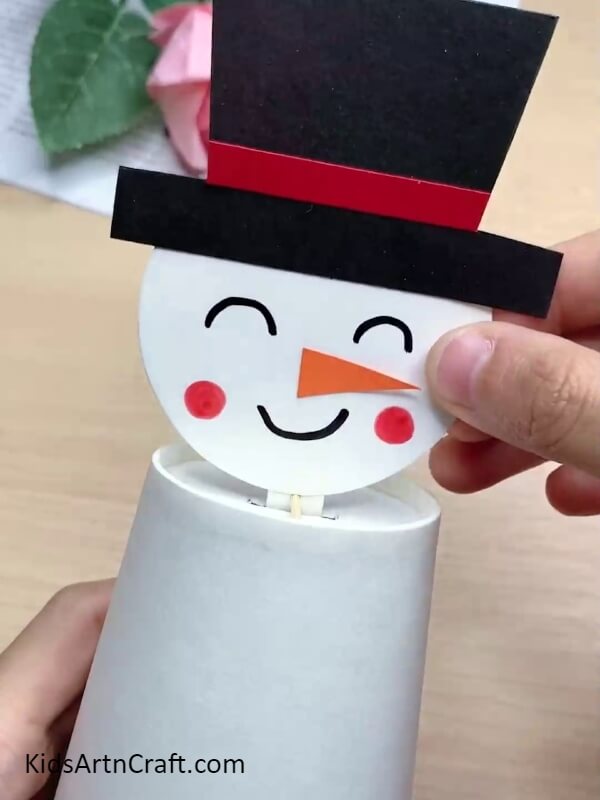
You will now make a little triangle nose for your snowman. Do this by cutting a small triangle from orange craft paper. Using glue, stick it on the snowman’s face. Now that the face is done, stick it onto the rectangular strip of paper that is sticking out of the cup.
Step 10: The Snowman’s Buttons
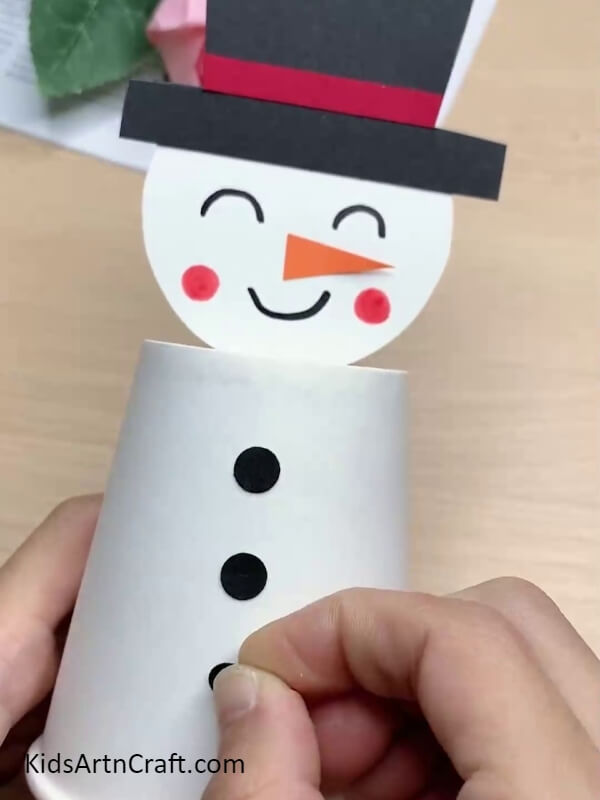
Using the punching machine, punch out three small circles. Stick theses in a vertical line on the centre of the paper cup body of the snowman. Theses will be the buttons.
Step 11: The Arms of the Snowman
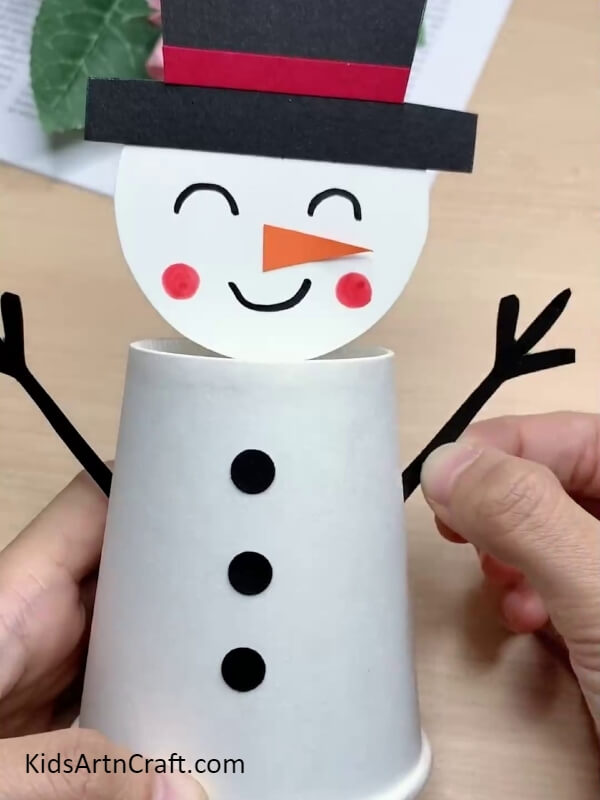
Your last step would be making the arms. Draw two arms on the black craft paper. Cut them out and stick them on the paper cup.
Finally, the Paper Cup Snowman craft is already!!

And there you have it! Your DIY Paper cup Snowman craft is all ready!!
With this easy tutorial, kids can make an easy and beautiful craft in minutes. Use it as gifts or decorations or as anything you want! This DIY is engaging, fun and creative and will be liked by all kids! So give it a try and engage your kids in a fun craft-learning activity!
Hope you like this amazing DIY Paper Cup Snowman Craft step-by-step tutorial. We would love to hear your thoughts in the comment section below. And be sure to visit our other articles for more ideas!
Thank You for visiting our website!
Follow us on Youtube for art and craft tutorials and much more.
More Articles from Kids Art & Craft
- DIY Easy Paper Cup Octopus Craft For Kids
- Easy Paper Cup Fish Craft In Simple Steps
- DIY Paper Cup Fan Craft Ideas For Kids
- How to make Sunflower From Paper Cup Craft
- Recycled Egg Cartoon Bee Craft Tutorial For Kids