


Clay Crafts
Clay Chicks Craft Artwork Step-by-step Tutorial

Learn how to create beautiful clay chicks artworks with this step-by-step tutorial. Get inspired and follow the step-by-step instructions to create your own unique clay chick craft artwork.
Welcome budding artists! Are you looking for a fun and interesting tutorial on how to make a clay craft? If yes, then you have reached the perfect destination! You can easily follow all the steps mentioned in this tutorial and make an absolutely delightful craft for yourself. You can use it as home decor or the kids can even display it in their classrooms. Let the kids engage in this amazing activity. So, grab the craft supplies, and let’s get started!
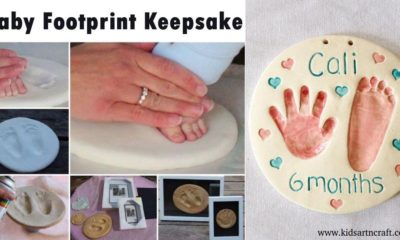
Handmade Clay Chick Craft For Kids
Read More: How to Make Clay Flower Easy Tutorial for Kids
Materials Required
- Clay dough(Yellow, Green, Orange, Blue)
- Glue
- Scissors
- Craft sheet(White)
- Black marker
- Googly eyes
- Fork
- Black marker
Procedure
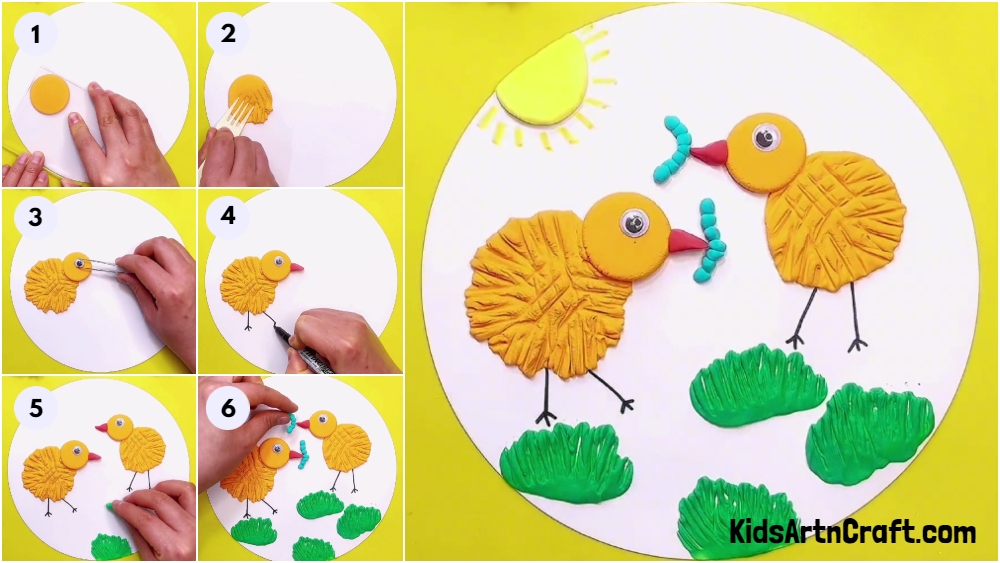
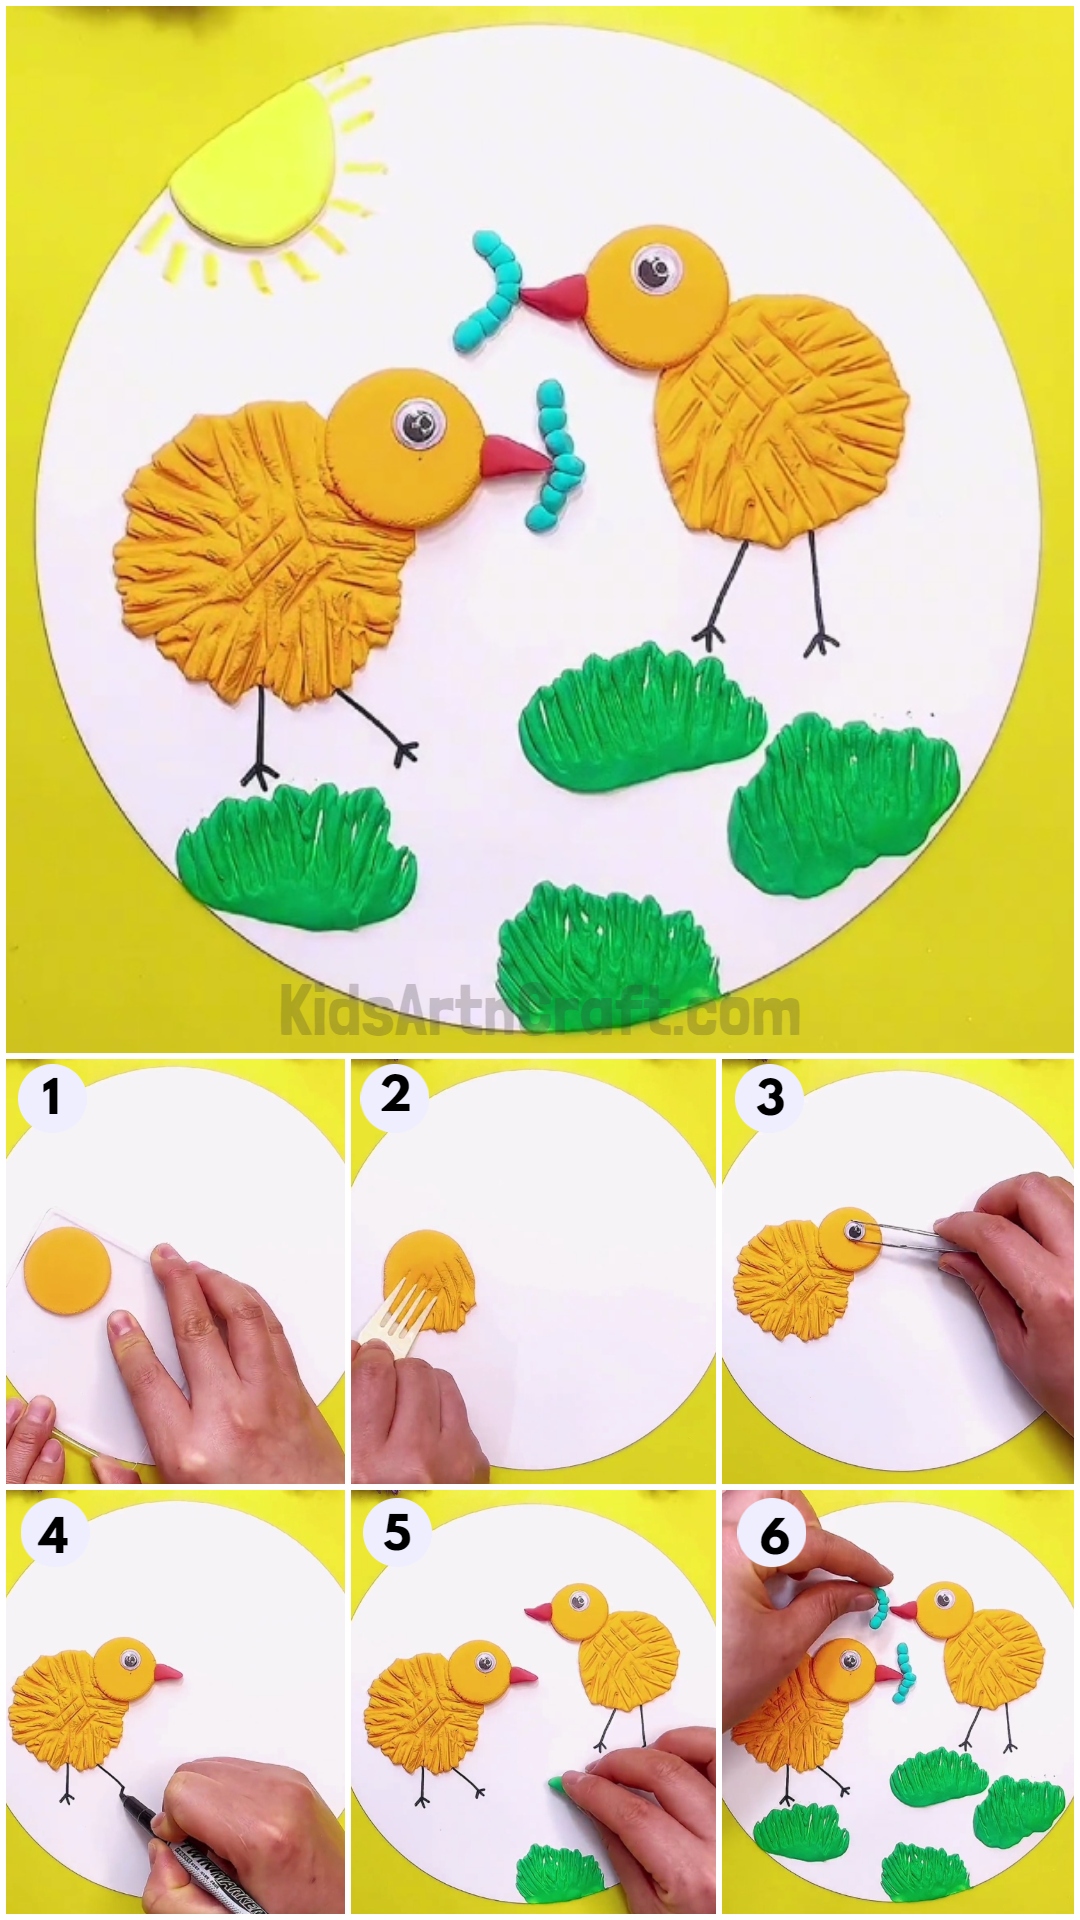
Step 1: Getting Yellow Clay Dough
Let’s begin by taking a white craft paper. Cut it into a circle. This will become the base of our craft. Now, take the yellow clay dough and start molding and preparing it.
Step 2: Making A Yellow Clay Ball
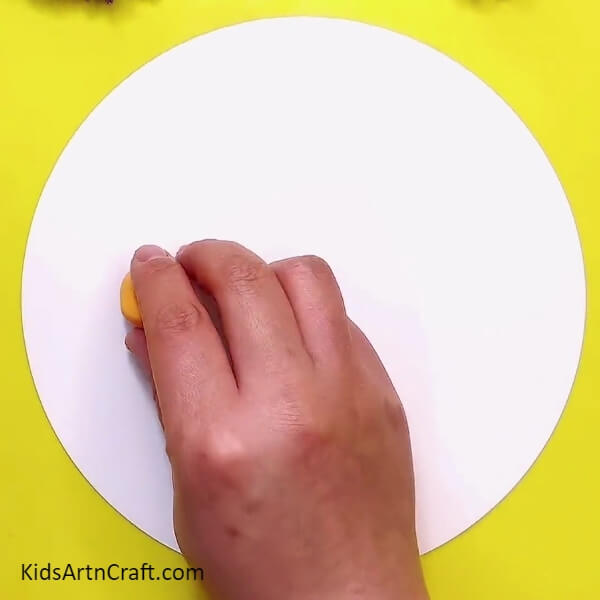
Take the yellow clay and make a small ball out of it. Place it on the left corner of the white circle.
Step 3: Flattening The Yellow Clay
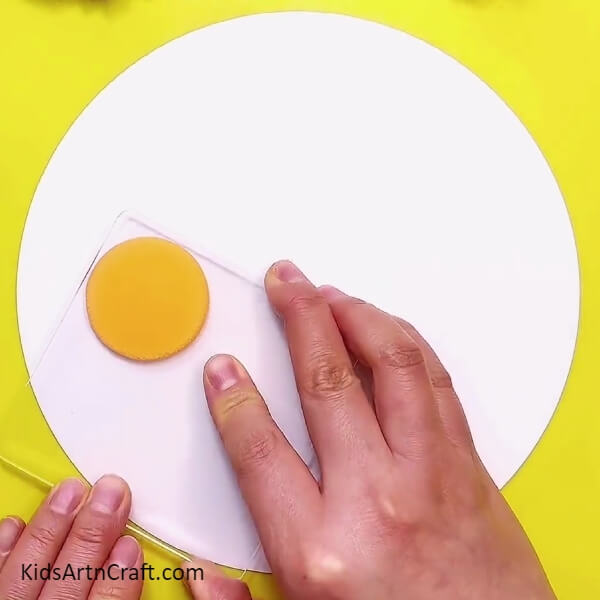
Take a flat surface such as a glass or ruler and press and flatten the yellow clay ball into a circle as shown in the image.
Step 4: Making The Feather-Like Texture
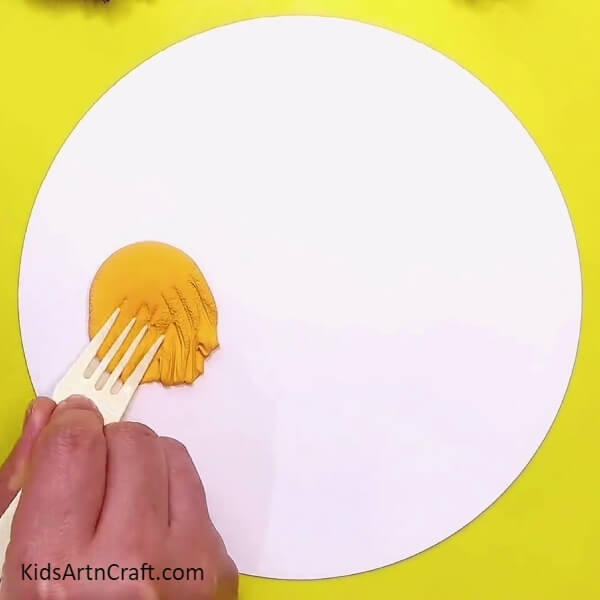
Take a steel fork and make the feather-like texture on the yellow clay circle as shown in the image. This step will make the body of the chick look more natural.
Step 5: Making The Head Of The Chick
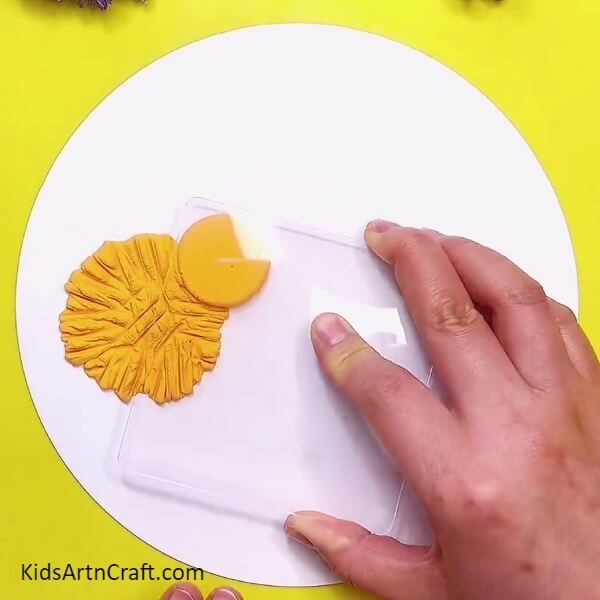
Take the yellow clay dough and make a small clay ball out of it. Place it on the right side of the chick’s body and flatten it with a flat surface to get a yellow clay circle as shown.
Step 6: Making The Eye
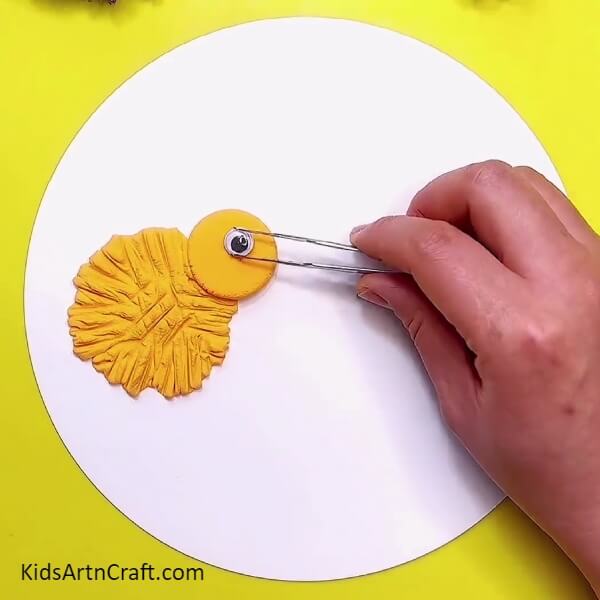
Take a googly eye and paste it on the head of the chick as shown in the image.
Step 7: Making The Beak
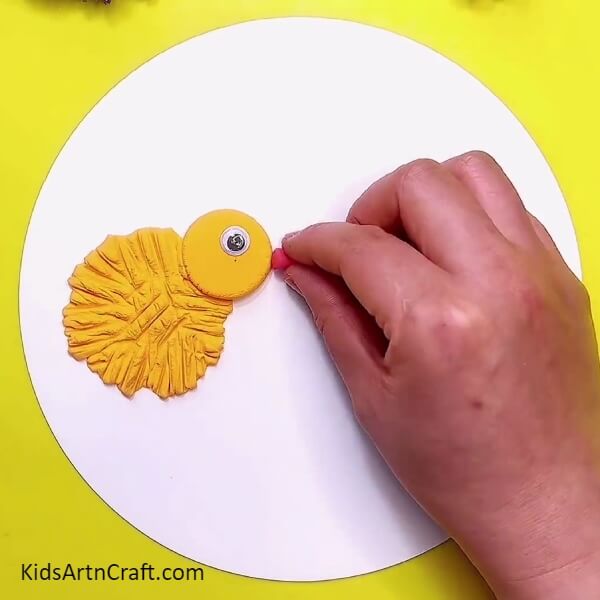
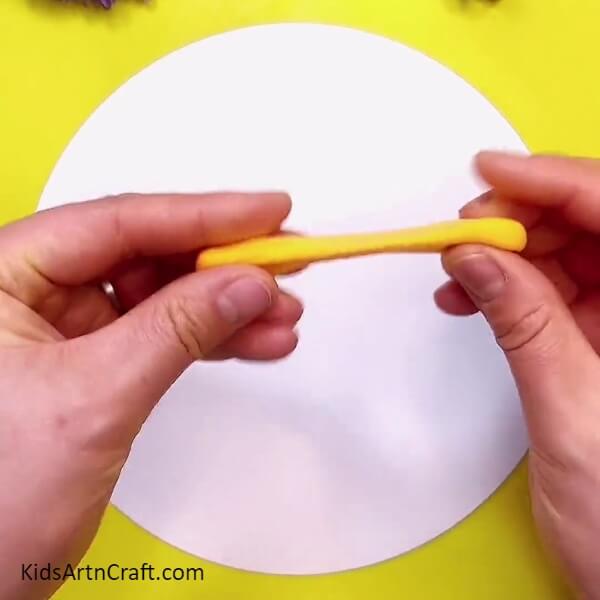
Take orange clay dough and make a conical shape out of it. This will become the beak of the chick as shown in the image.
Step 8: Drawing The Legs

Take a black marker and draw the legs of the chick as shown in the image.
Step 9: Making One More Chick And Drawing The Grass
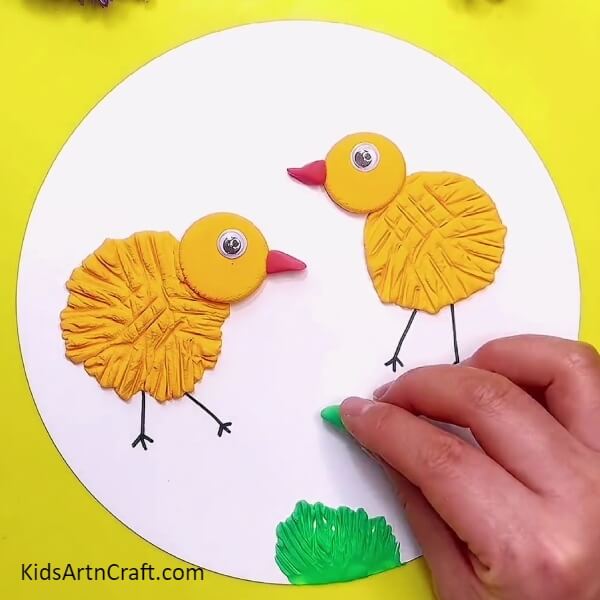
Repeat the above steps, and make one more chick as shown. To make the grass take green clay dough. Make an oval shape out of it. Place it in the bottom and using a fork, try to make the grass blades on the top edge as shown in the image.
Step 10: Making One More Grass Bush
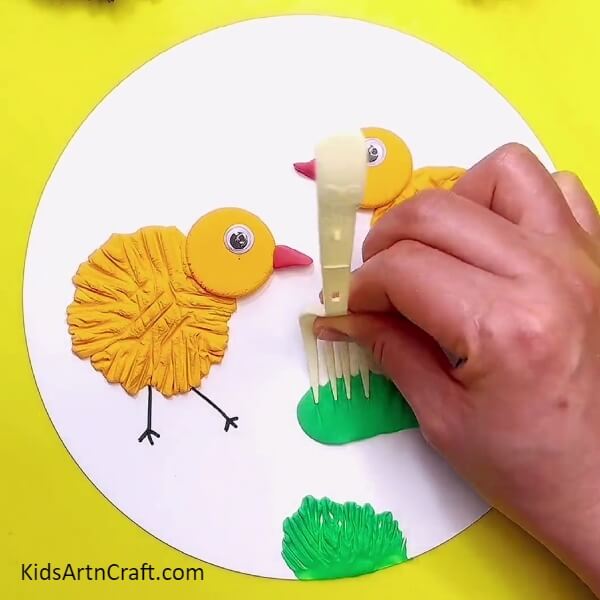
Take the green clay dough and repeat the above step to make one more green grass bush as shown in the image.
Step 11: Making Two More Grass Bushes
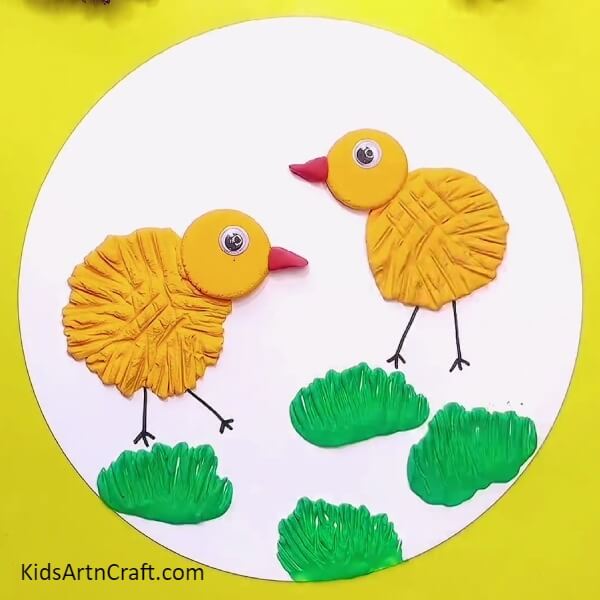
Using the green clay dough and repeating the above steps, make two more grass bushes to complete the bottom portion of the clay craft.
Step 12: Making The Body Of The Worms
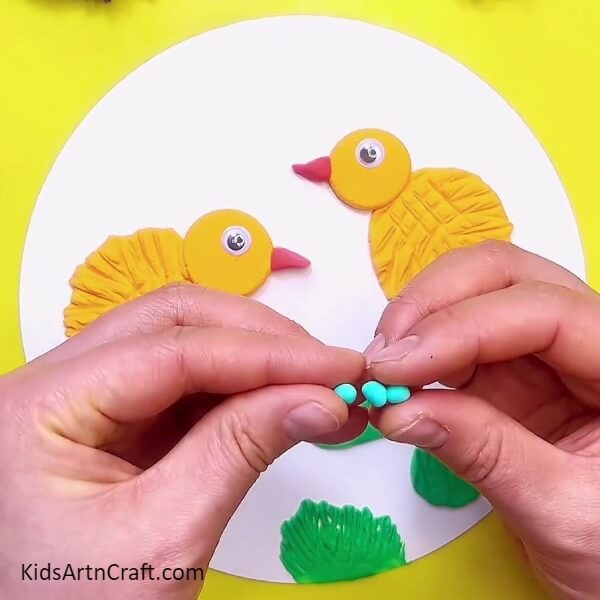
We all know that the chicks feed on worms. Therefore, our clay craft will be incomplete without the worms. To make the body of the worms, take blue clay dough and make tiny blue balls out of it as shown.
Step 13: Pasting The Blue Balls Together
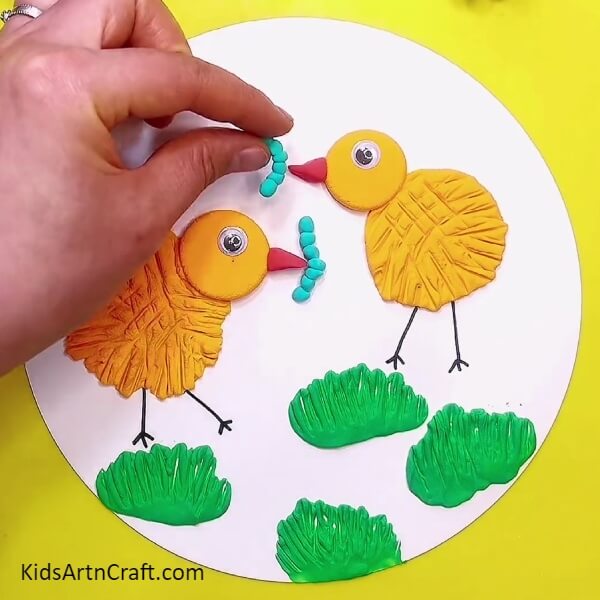
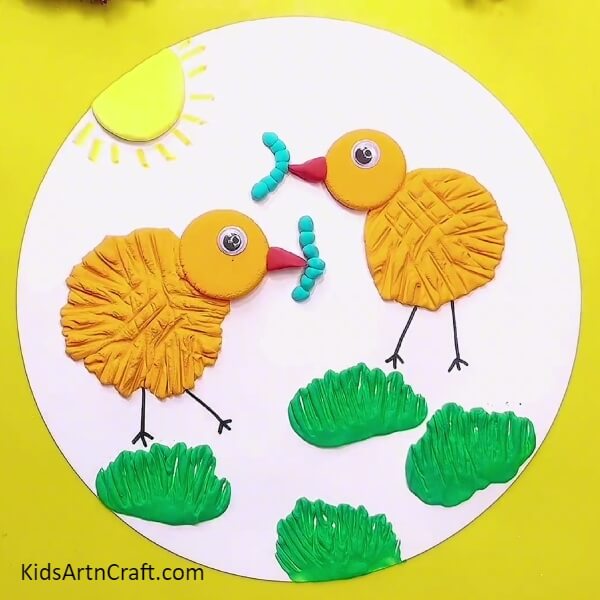
Now, paste six to seven blue balls together to make the body of the worm. Paste the body of the worms near the beaks of the two chicks as shown in the image. You can also make the sun using the yellow clay dough. Make sure to use a lighter shade of yellow to make the sun. Take reference from the below image.
The Clay Chicks Craft Artwork Is Ready!
Congratulations on completing the clay chick craft artwork successfully!
Clay shaping activities help kids to develop their fine motor skills. It also helps them to improve hand-eye coordination skills and encourages creativity. Clay art and craft encourages play-based learning and also increases the attention span of the children. They learn to pay attention to detail and also learn to focus on the given tasks and finish them with concentration. It is also therapeutically beneficial. Keep following our website for more fresh ideas.
Thank you for visiting our website!
Follow us on Youtube for art and craft tutorials and much more.
More Articles from Kids Art & Craft
- DIY Clay Giraffe Step-by-Step Tutorial For Kids
- Clay watermelon ice cream easy craft tutorial
- How to Make Worms Using Clay For Kids
- DIY Miniature Clay Cake Craft Activities for Kids
- Water Bottle Airplane Tutorial for Kids