Clay Crafts
How To Make A Clay Fish Easy Animals Art For Kids

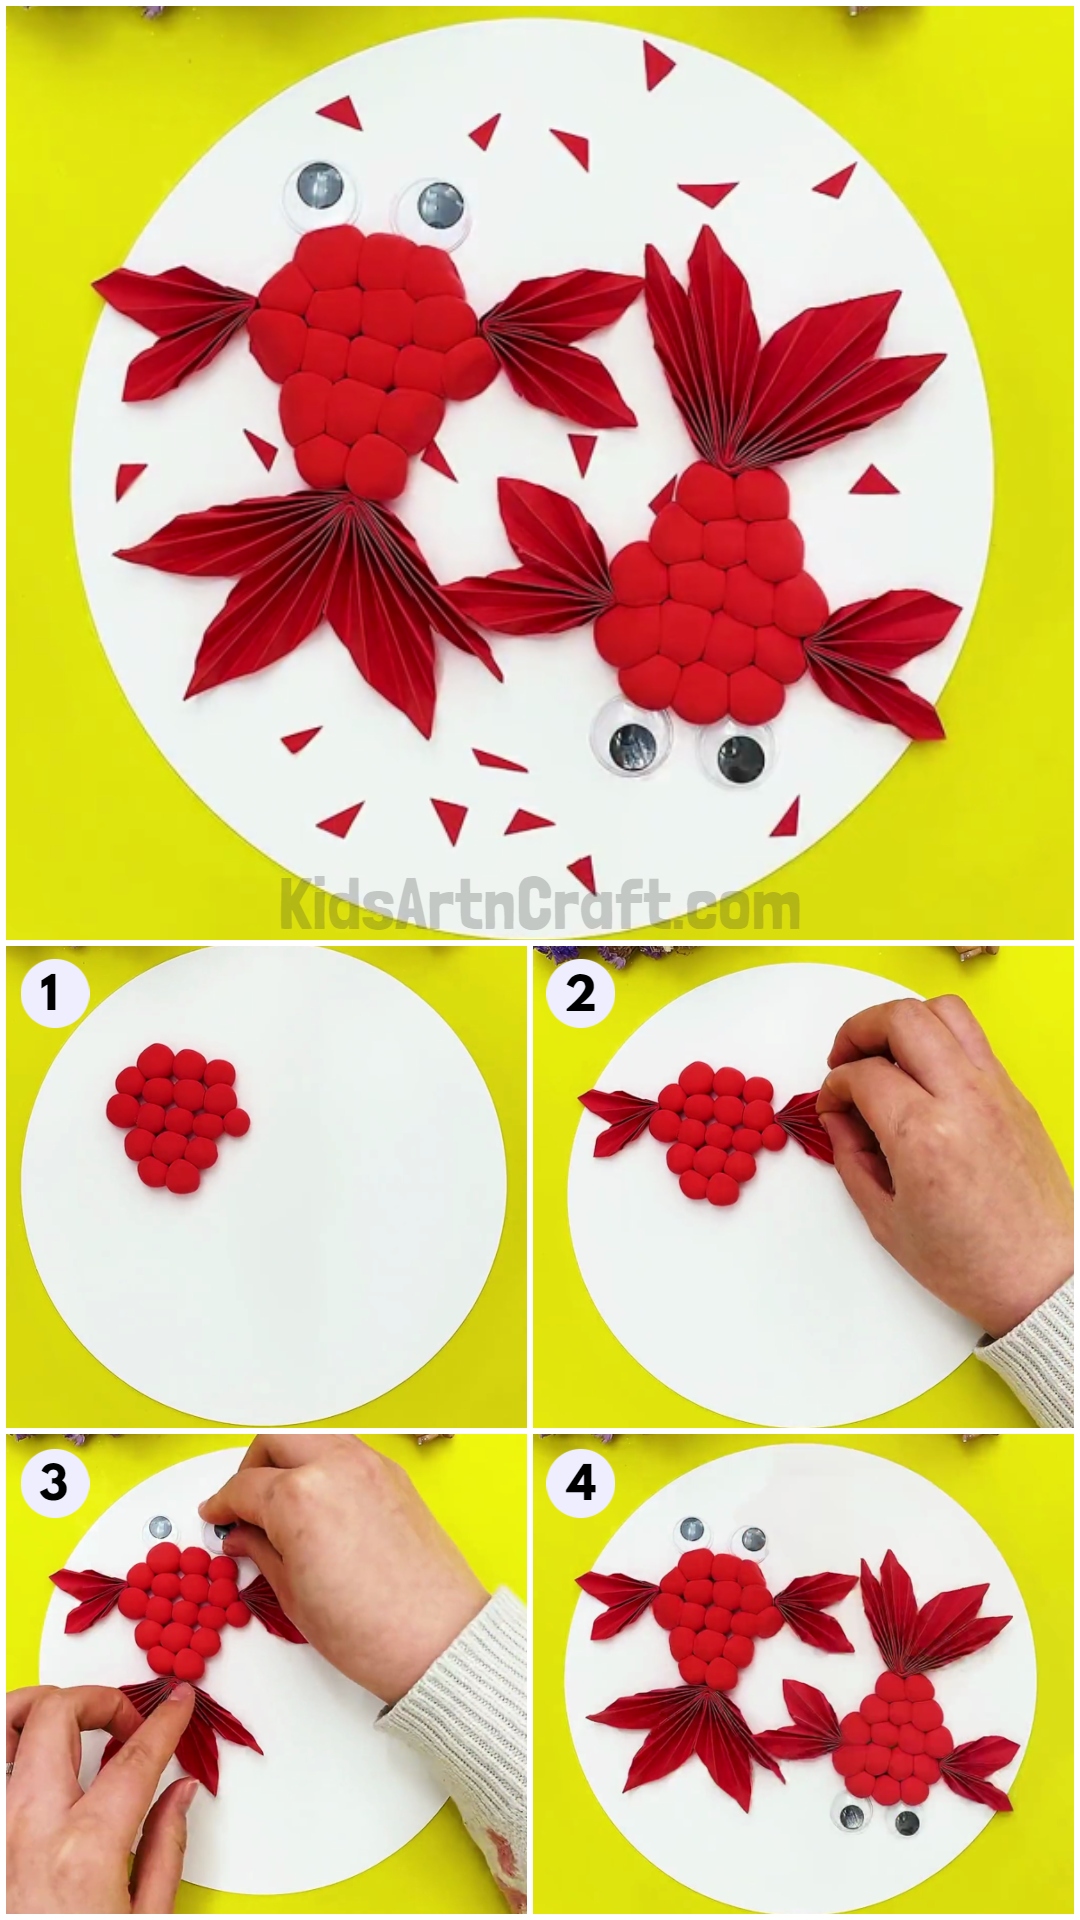
Bored of the usual fish artwork?! Try out this easy and unique fish craft making using clay and paper! Unleash your creativity and imagination in a craft that will blow out your mind!
Welcome little artists! Well, today we brought you this amazing and unique fish art that will leave you stunned! This can be a fabulous new addition to your underwater art and craft collection! These fish are made using clay and the tail and fins use paper! This craft is full f motor skills as it includes fun with clay doughing and shaping, also paper folding and cutting! Engage your kids to make up this unique piece of art that they will love to show off to everyone! You can also hang it up in your room to brighten up your boring wall! Grab the supplies and let’s get started!
DIY Clay Fish Animal Artwork For Kids
Read More: DIY Paper Fish Craft Easy Tutorial for Kids
Materials Required
- White And Red Paper Sheet
- Scissors
- Glue
- Red-colored Clay
- Googly Eyes
Procedure
Step 1: Doughing Red Clay Balls
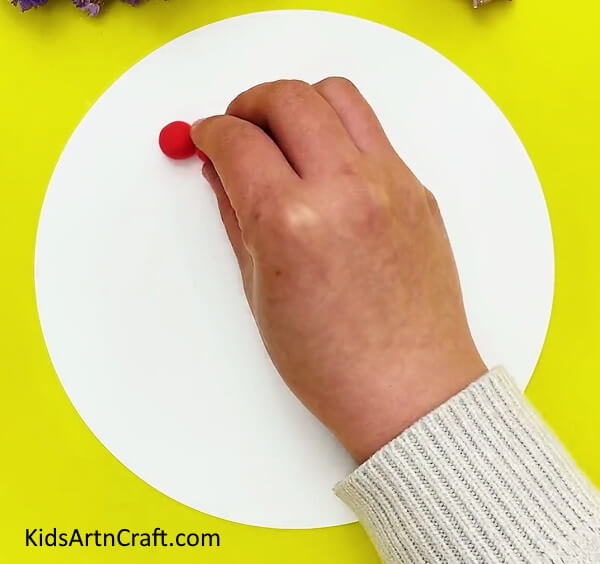
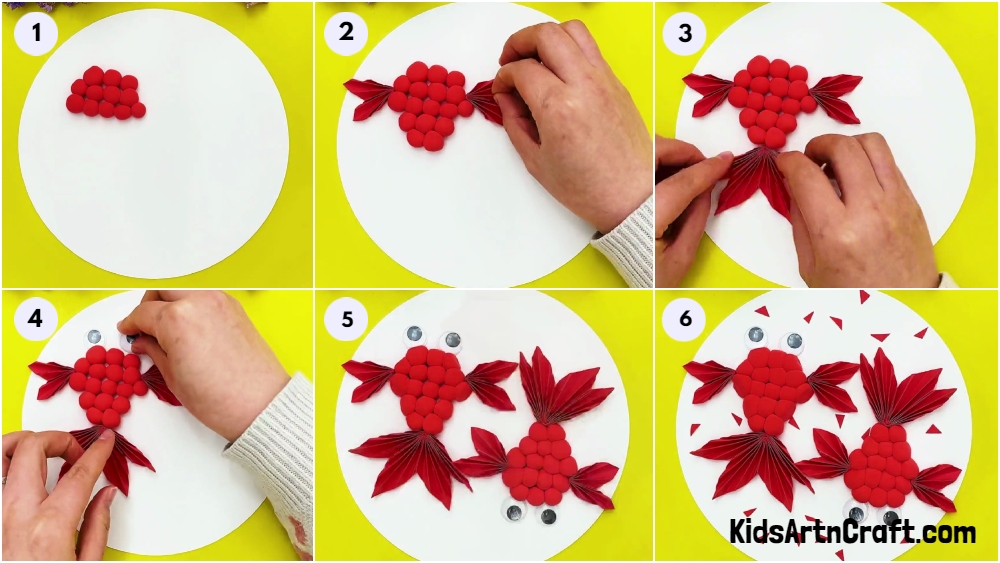
To begin this craft, take a white sheet and using scissors, cut it down into a circle. Now, take red clay and start doughing it into small balls.
Step 2: Making Fish Body
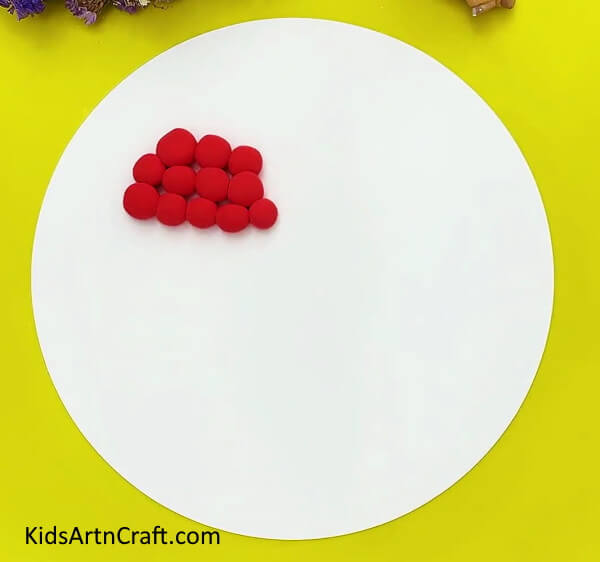
Place the red clay balls closely, making 3 lines of them in ascending order (3-4-5)
Step 3: Completing Making Body Of The Fish
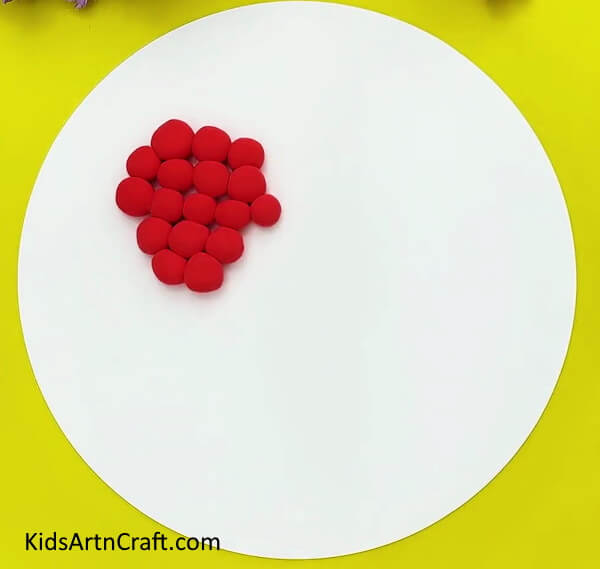
Make 2 more lines below them in descending order (3-2). This makes the body of the fish and presses it gently to make it stick over the paper.
Step 4: Making Fins Of The Fish
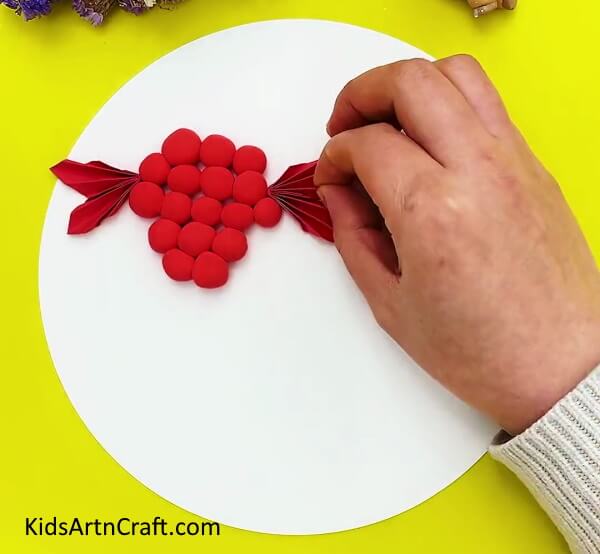
Take a red sheet of paper and cut out 2 long hexagons from it using scissors. Fold the hexagon from the short side to make zigzag strips of it and then fold the strips from the longer side into half to form fins. Paste these fins on each side of the fish’s body using glue. Also, paste the ends of the folded strips to each other.
Step 5: Making A Tail Of The Fish
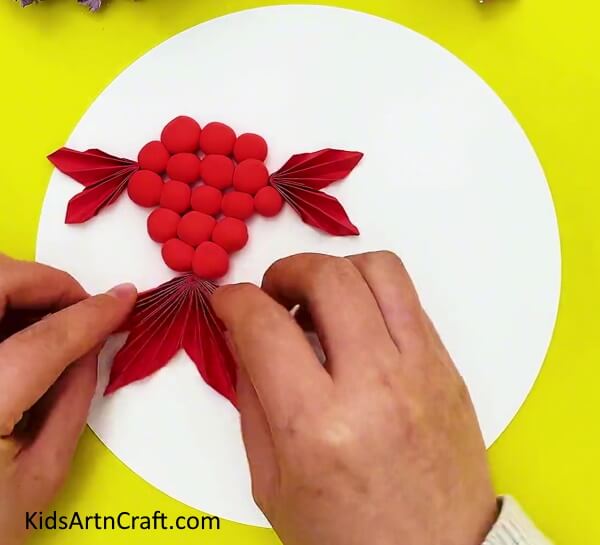
For the tail, cut out 2 hexagons from a red sheet, this time one bigger than the other. Now, follow the same previous steps over these hexagons, then paste the small strips behind the bigger ones and using glue make them stick together, this forms the tail. Paste the tail behind the fish using glue.
Step 6: Pasting Googly Eyes
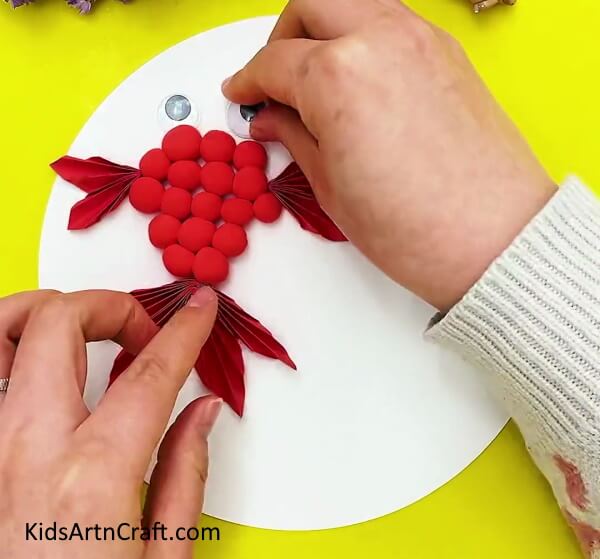
Paste 2 googly eyes side-by-side above the fish’s body using glue.
Step 7: Making Another Fish
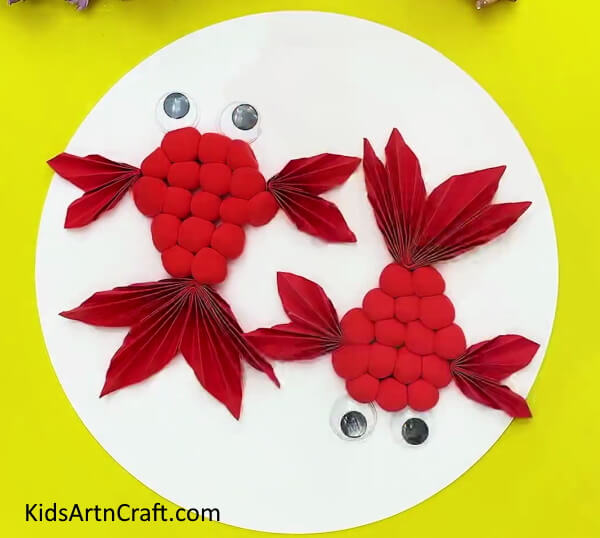
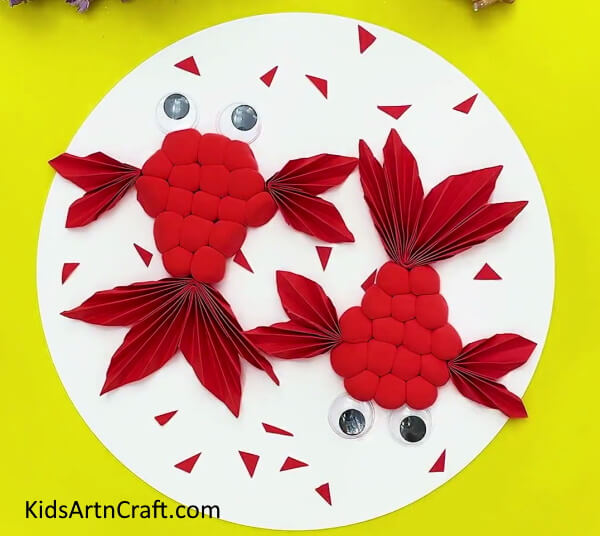
Follow the previous steps to make another fish over the sheet, but this time upside down to the first fish.
Now, Your Fish Clay Craft Is Ready!
For the last step, cut out some tiny irregular triangles for the red sheet and paste them randomly over the white paper using glue.
Woohoo! Your clay and paper fish craft is thriving!
This paper and clay fish craft was an easy and fun way to engage the kiddos in a productive and creative activity! You can now use your artwork to decorate your room or you can even use it as your Schoolcraft project! Either way, it will thrive for sure! You can also customize your fish in different colors and textures over the clay!
Follow us on Youtube for art and craft tutorials and much more.
More Articles from Kids Art & Craft
- DIY Miniature Clay Cake Craft Activities for Kids
- Clay watermelon ice cream easy craft tutorial
- How to Make Worm Using Clay For Kids
- Simple & Tasty Ice-Cream Craft Using Clay – Step by Step Tutorial
- How to Make Easy Paper Fish Craft For Kids


