Fall & Autumn
DIY Dinosaur with Leaf Easy Craft Tutorial For Kids

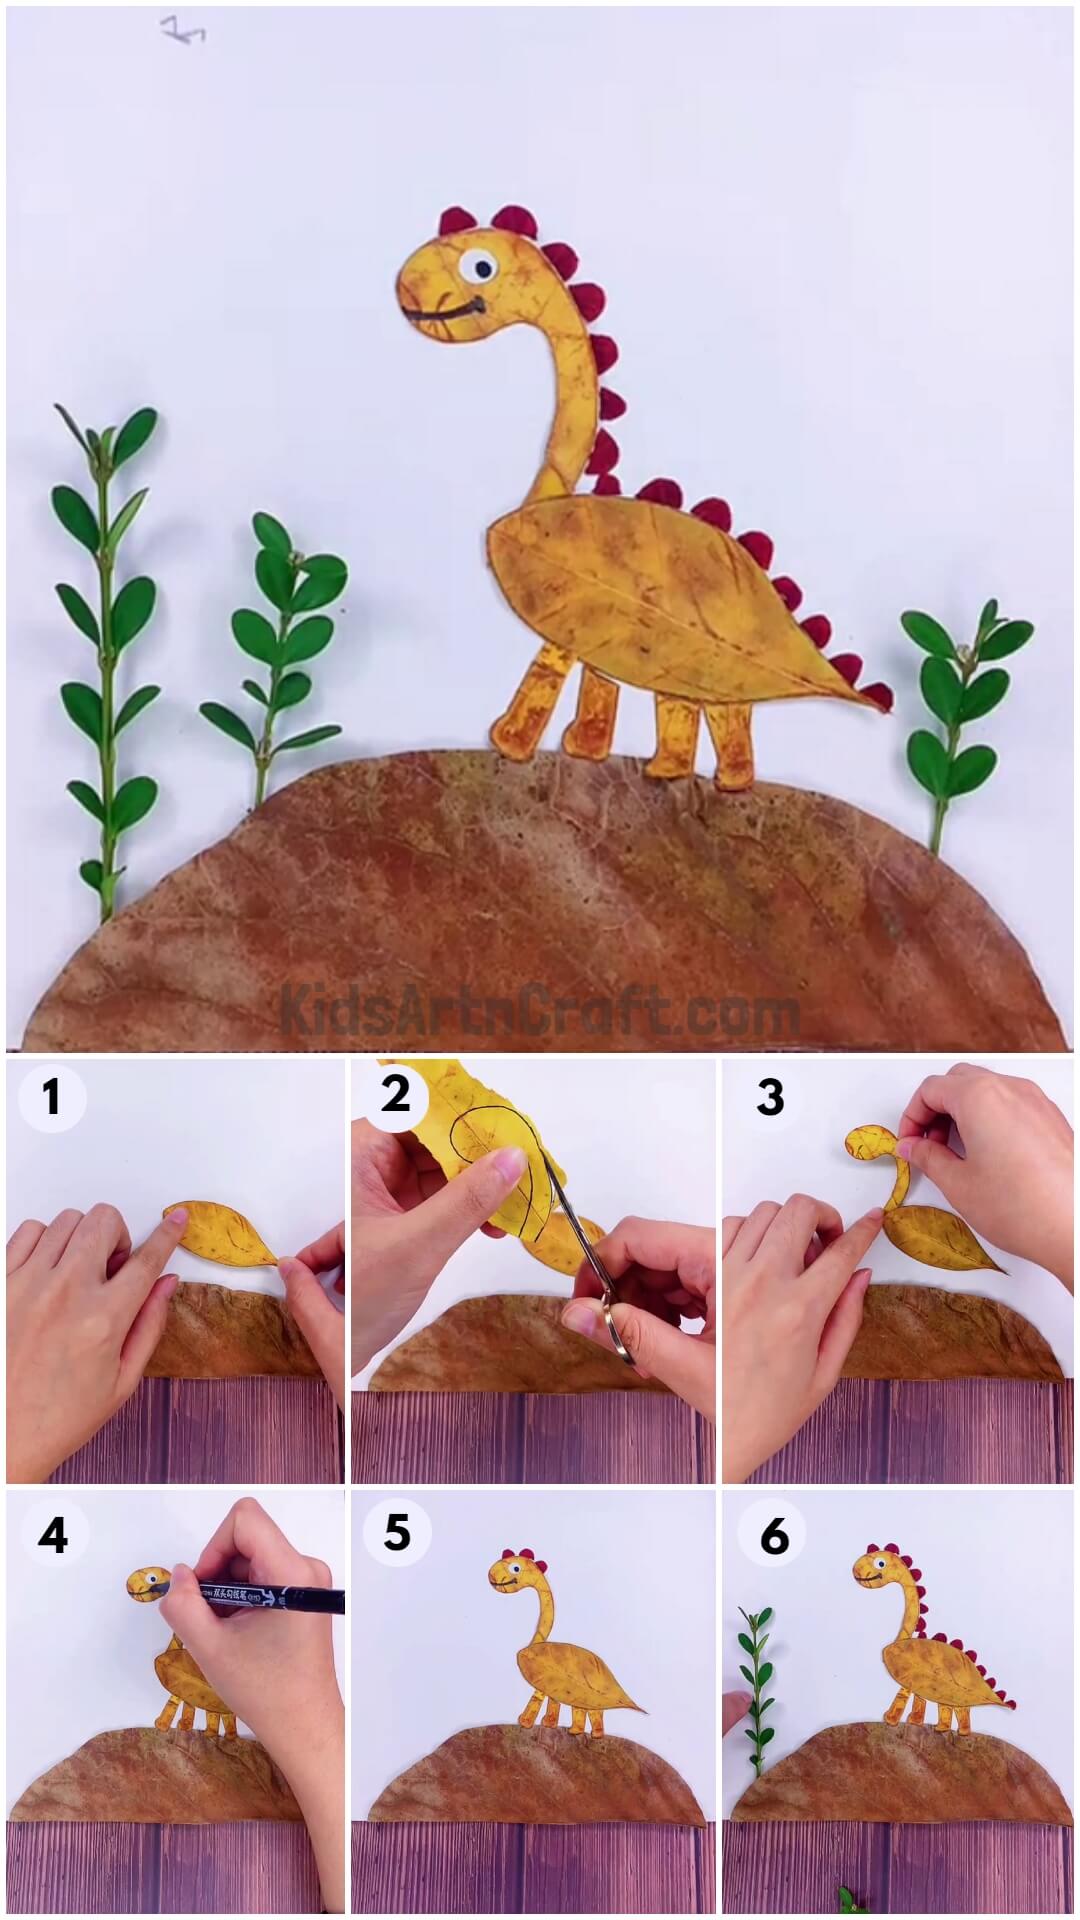
Learn how to make a DIY dinosaur with a leaf! This easy craft tutorial is perfect for kids of all ages. Follow along to make your own dinosaur and let your creativity run wild!
Welcome everyone! Have you watched The Good Dinosaur? It’s one of my favorite animated films. Not only for adults and also kids should like those cute dinosaurs in that film. Not all dinosaurs are bad, but some of them are good too. This film is an example of that good dinosaur and this tutorial too. In this tutorial, we going to learn how to create a dinosaur craft using leaves. It is a cute craft and also an interesting craft to create with less effort.
DIY Leaf Dinosaur Easy Craft For Kids

Read More: Easy Dinosaur Craft For Kids Using Fresh Leaf
Materials Required
- White sheet
- Leaves (yellow, red& orange color leaves and a big tried leaf)
- Scissors
- Some pieces of plant
- Glue
- Black pen
- Pencil
Procedure
Step 1: Pasting Tried Leaf on a white sheet

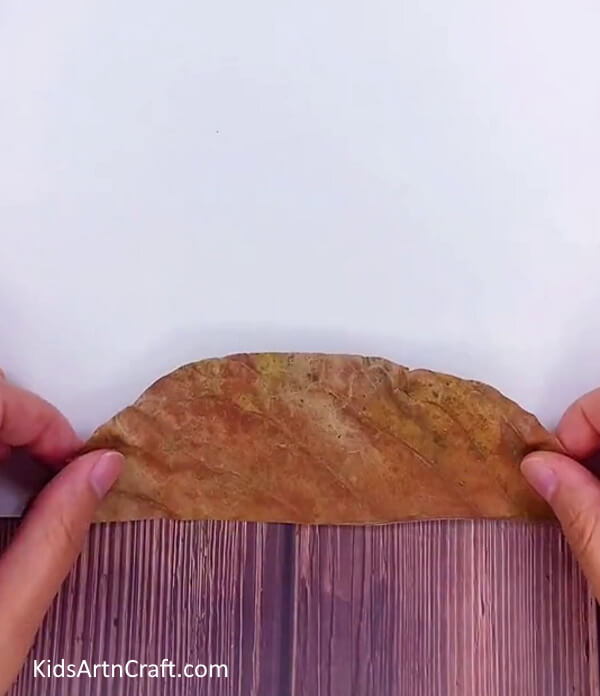
Cut tried big leaf into half and past it under the white sheet with the use of glue.
Step 2: Pasting Yellow Leaf On White Sheet
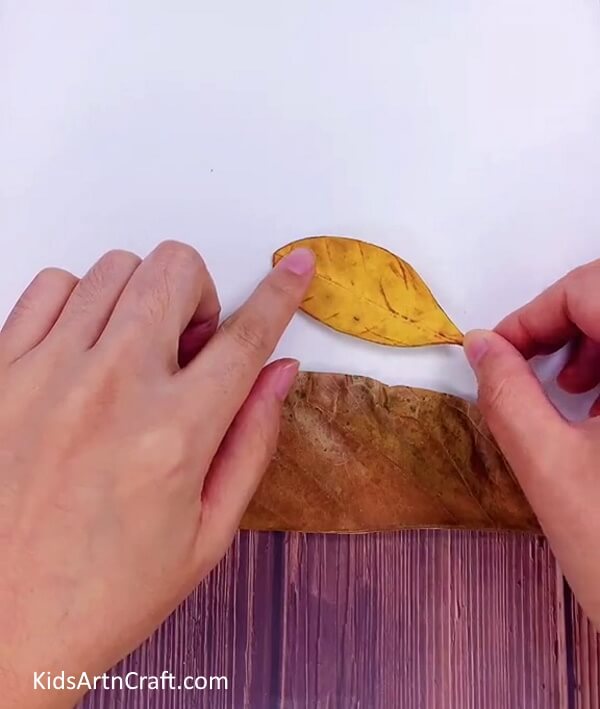

We going to paste one yellow leaf above the tried leaf to make a dinosaur’s body. Take medium size yellow leaf and paste it above the tried leaf using some glue and let it dry.
Step 3: Cutting Head Piece From Yellow Leaf
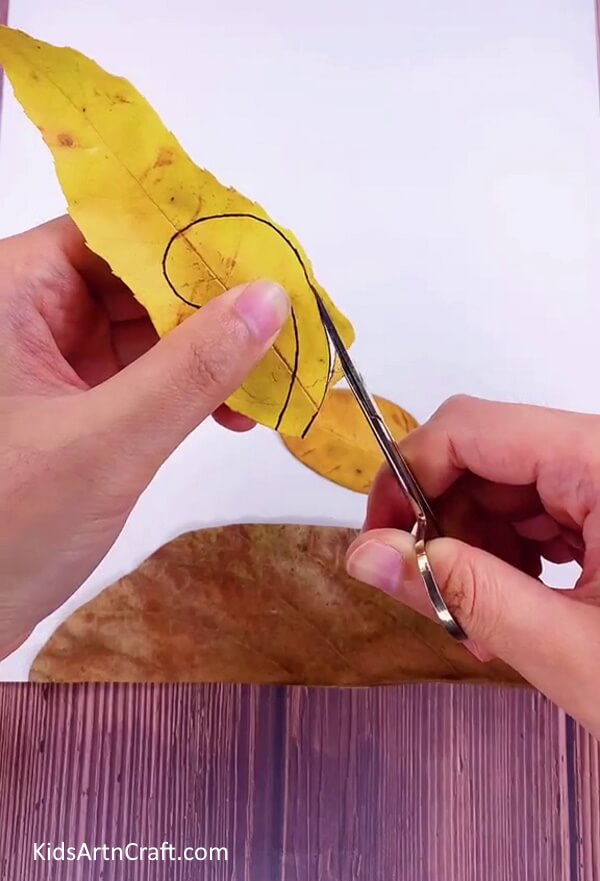

For our dinosaur’s head, take a long yellow leaf and draw a head with the neck on it, as shown in the image, and cut it using scissors.
Step 4: Pasting Head For Dinosaur

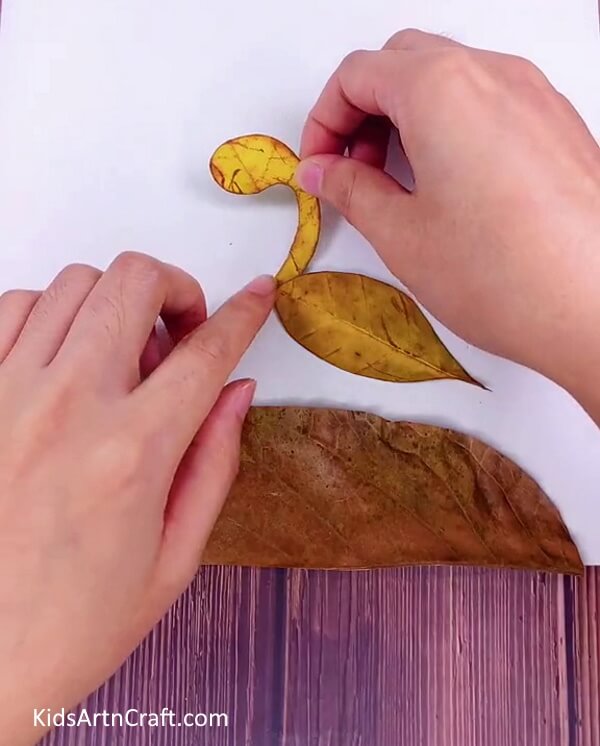
Paste the headpiece of the leaf above the body as shown in the image.
Step 5: Cutting Four Small Pieces From Yellow Leaf
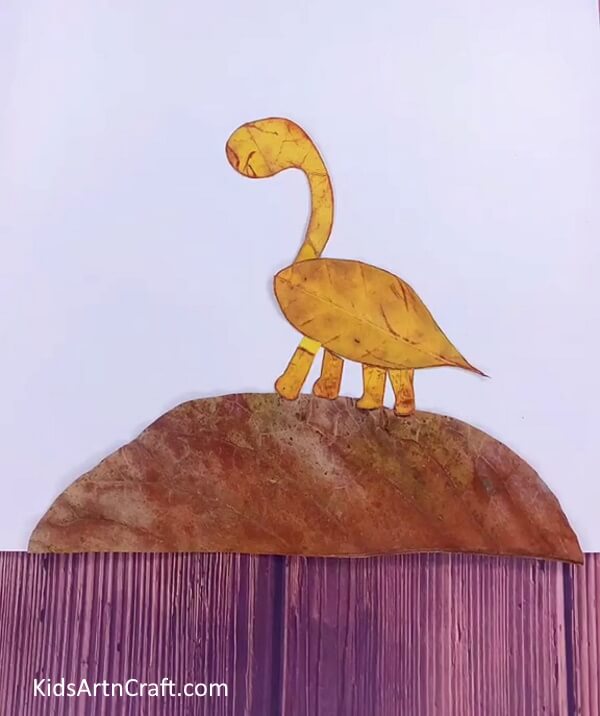

Draw four legs on the yellow leaf and cut all those four small pieces from the yellow leaf. Paste all those pieces under the body of the dinosaur with the use of some glue.
Step 6: Pasting Eyes For Dinosaur
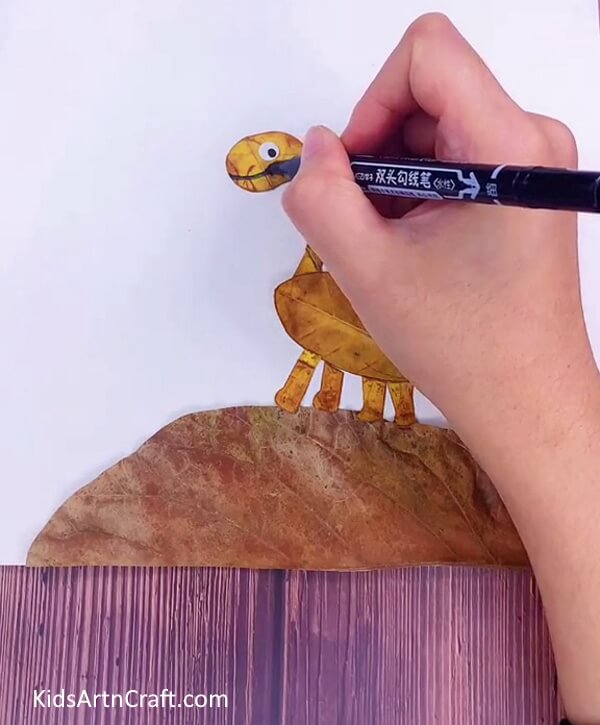

In this step, we going to paste eyes for dinosaurs. Cut a small circle from white paper and with the use of a black pen put a small dot on it, also you can use doll eyes. Then, paste it on the dinosaur head. Draw a small curvy line under the eye for his mouth as shown.
Step 7: Cutting Small Circles From Red Leaf
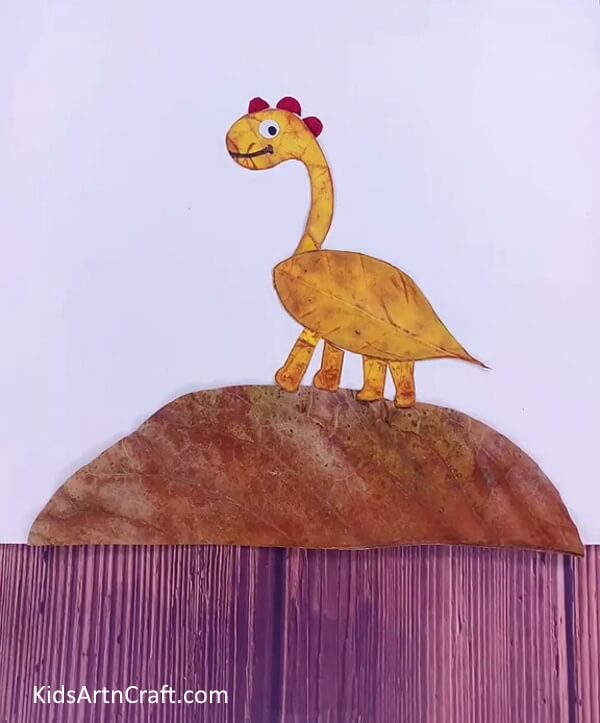

Now, we going to make spikes. For spikes, cut small circles from red color leaf and cut it into half.
Step 8: Pasting Spikes on Dinosaur’s Body
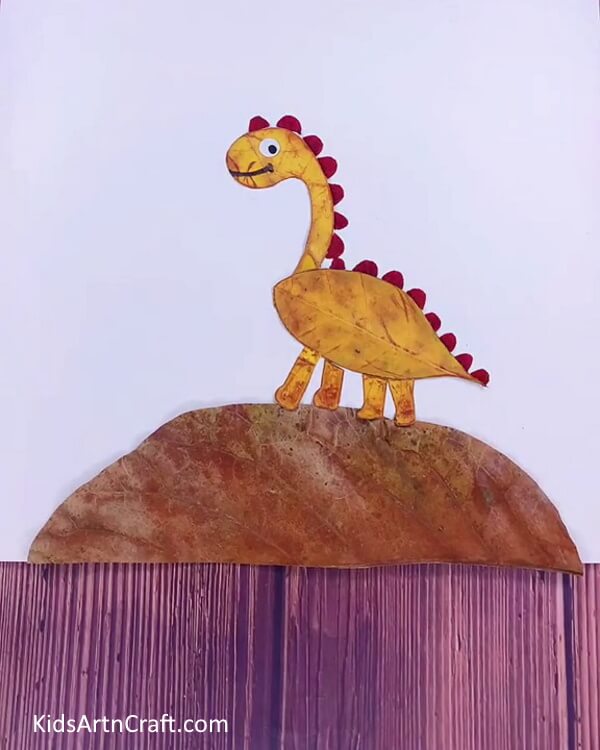

Paste all pieces of red leaf above of the dinosaur’s body as shown in the image.
Step 9: Cutting Orange Leaf


Cut a circle from an orange color leaf and paste it at the top-right corner of the white sheet.
Step 10: Drawing Birds on White Sheet


With the use of a pencil, draw some birds on the left side of the white sheet as shown in the image.
Step 11: Pasting Small Piece of Plant
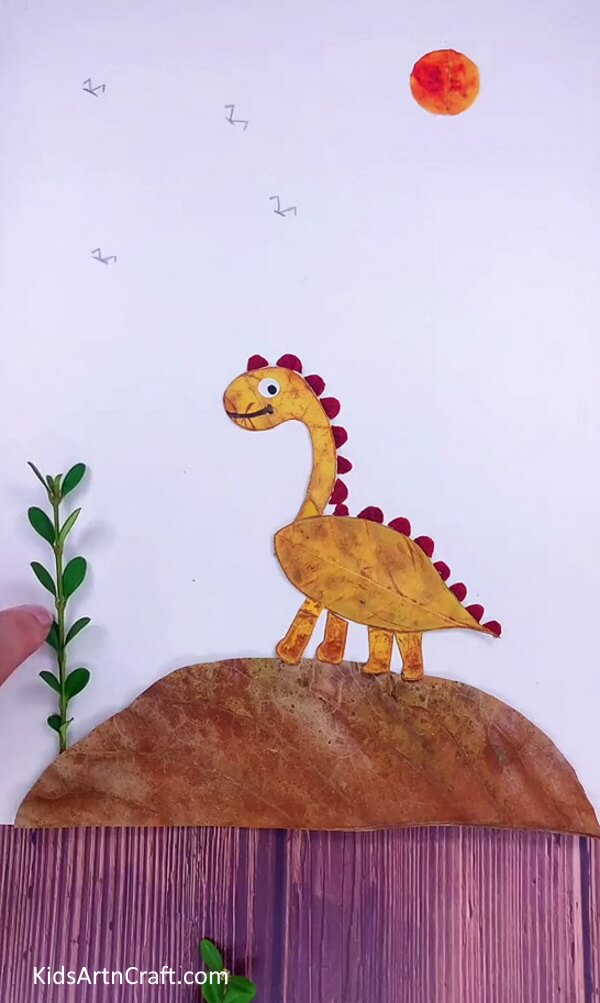

Take one small piece of any plant and paste it on the left side of a white sheet, above a tried leaf.
Yeah! We Complete Our Dinosaur Craft
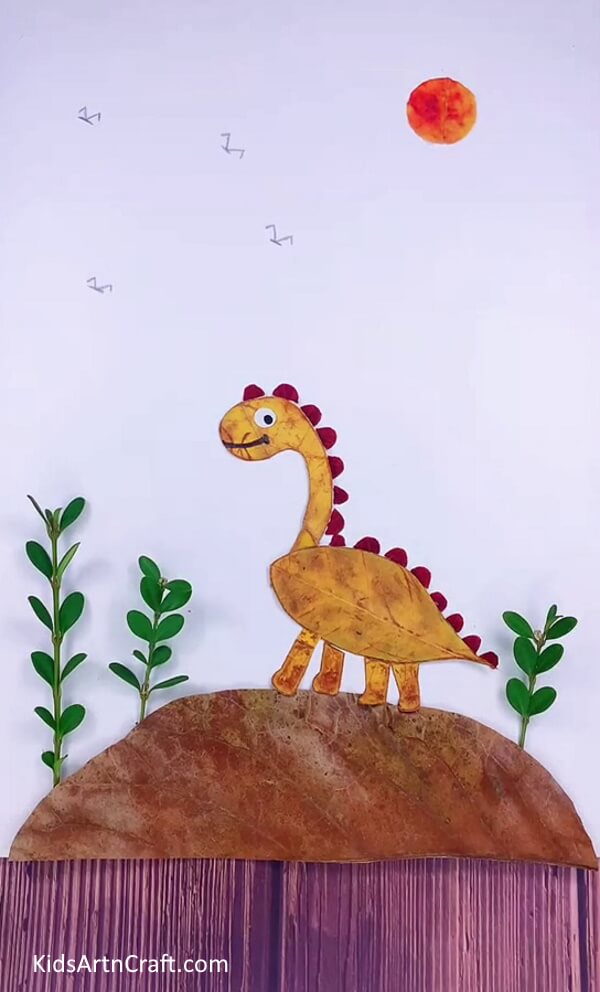

Paste two more pieces of plant on a white sheet near our dinosaur and complete your craft.
Some More Dinosaur Craft Tutorial
How to Make Dinosaur Craft Using Leaves

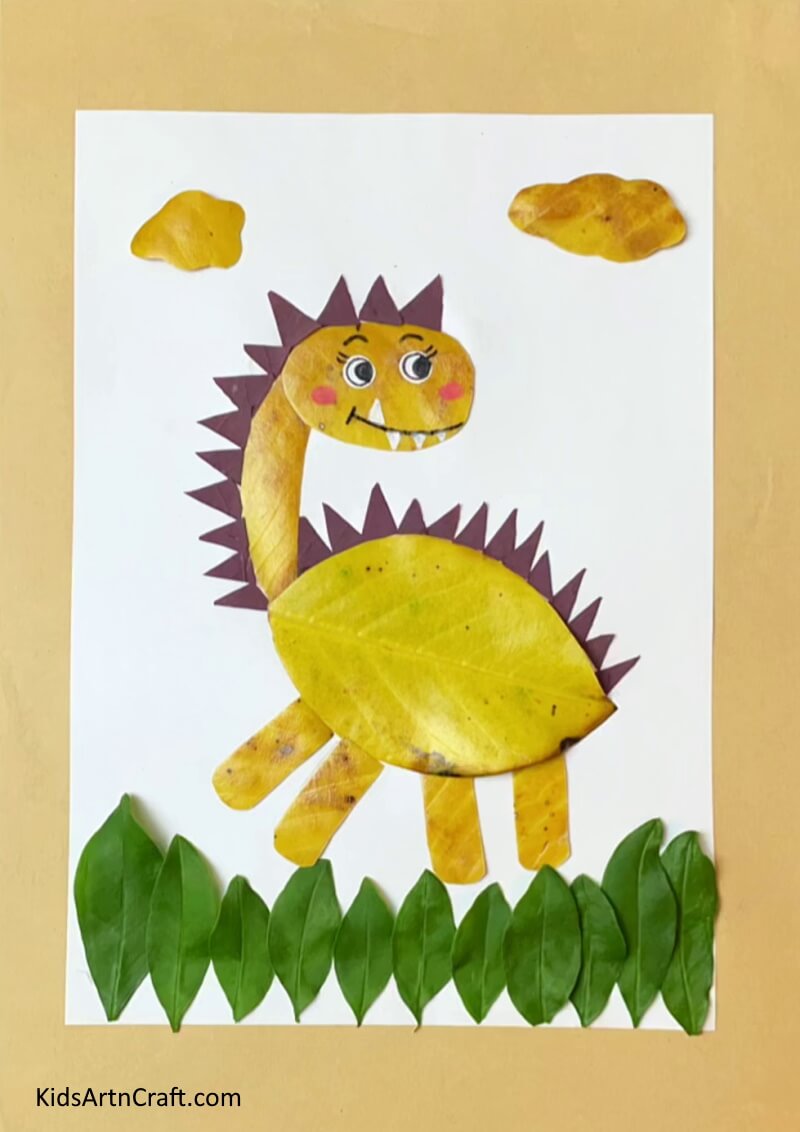
Image Source/Tutorial: Kids Art & Craft
Making a dinosaur craft using leaves is an easy and fun activity that children will enjoy. All you need is some leaves, glue, and construction paper or cardstock. Gather the leaves together and arrange them into a dinosaur shape and glue them on the paper. You can add other decorations to complete the look.
Hope you like this step-by-step easy craft tutorial, which is about how to make dinosaurs using different colored leaves. This is a beautiful craft and easy to make, which is perfect for kids. With simple craft materials, anyone can create this craft with less time. Type some comments in the comment box to encourage our work and visit our website for more useful and beautiful craft tutorials.
Thank you for visiting us!
Follow us on Youtube for art and craft tutorials and much more.
More Articles from Kids Art & Craft
- Easy Snail Craft using Egg Carton and Leaf – Step by Step Tutorial
- Fresh Leaf Hedgehog Craft Tutorial For Kids
- How To Make Bee Craft Using Egg Carton for Kids
- How To Make Easy Fall Tree Craft From Leaves
- Beautiful Fall leaf Doll Art and Craft for Kids