Cardboard Craft
DIY Heart Shooter Tutorial for Kids

This tutorial will show you how to make a fun and safe homemade heart shooter for children. With just a few simple materials, you can give your kids a fun and creative way to play and express themselves. Learn how to make your own heart shooter and discover the joy of DIY projects with your kids.
Want to give your children a fun and creative craft activity? This DIY Heart Shooter Tutorial for Kids is perfect for it! It’s an easy and enjoyable way for kids to make their own heart shooters, which they can then decorate in any way they wish. This craft is affordable as it requires basic craft supplies that are easily available at home. With only a few materials, your kids will be able to make their own heart shooters in no time! So, let’s get the supplies and begin!
Easy Step-by-Step DIY Heart Shooter Tutorial To Play

Read more: DIY Cardboard Tube Bat Craft Tutorial For Kids
Material Required
- Cardboard
- Paper Cutter
- Rubber Band
- Pencil
- Scissors
- Glue
Procedure
Step 1: Drawing Shapes On Cardboard
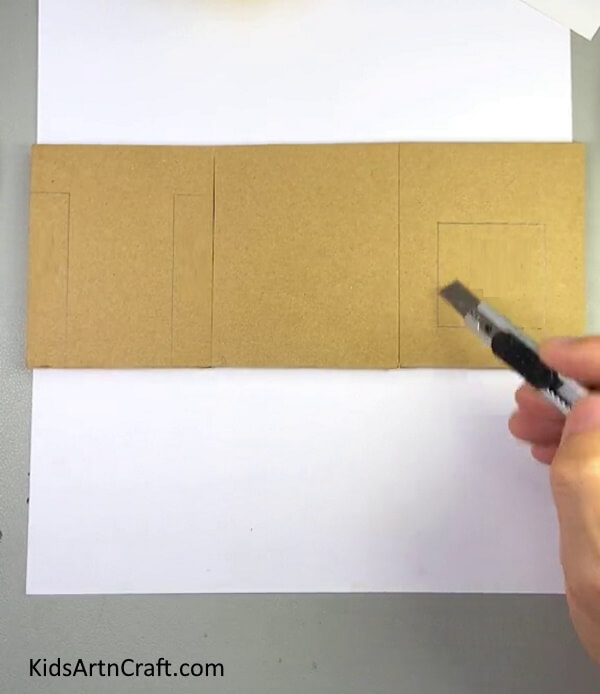

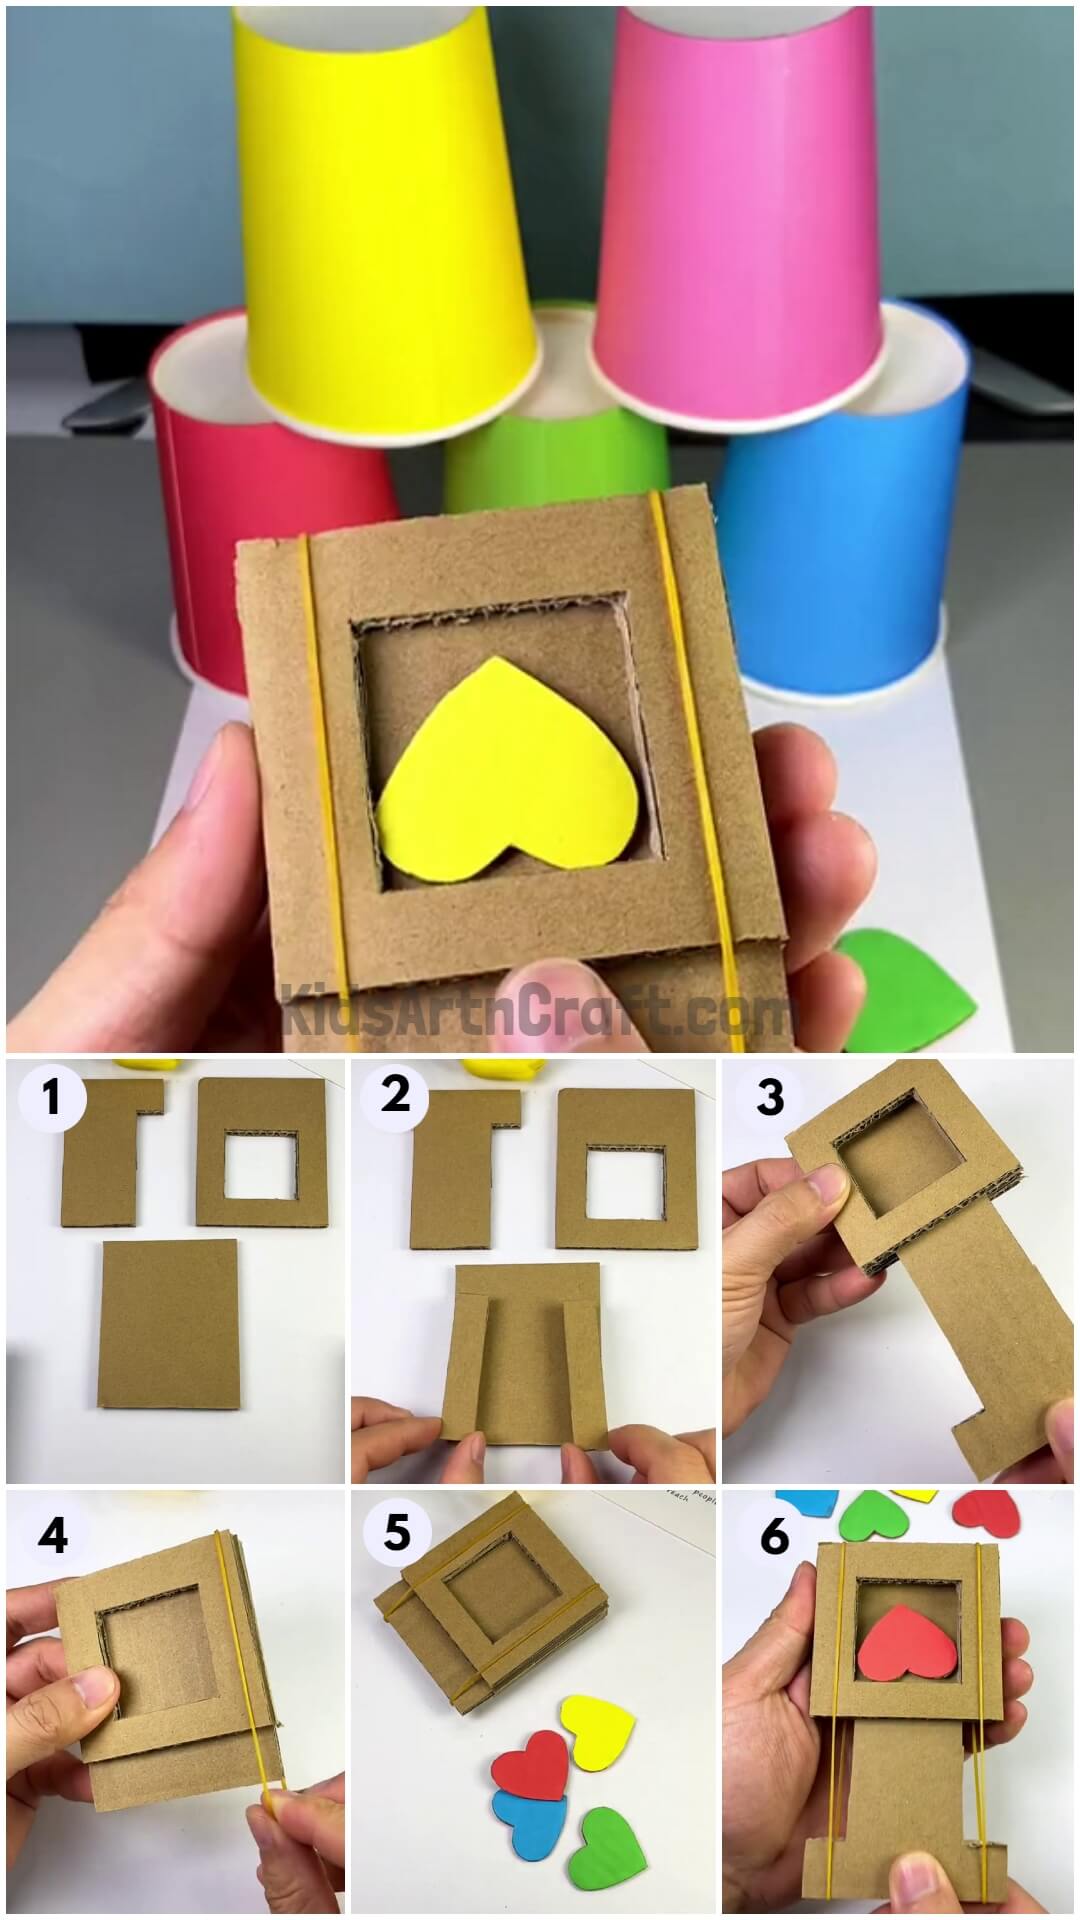
Begin the craft by taking a cardboard rectangle and dividing it into three equal parts. Draw a ‘T’ shape in the first, and a square in the last segment using pencil. Keep the middle blank.
Step 2: Cutting The Shapes Out
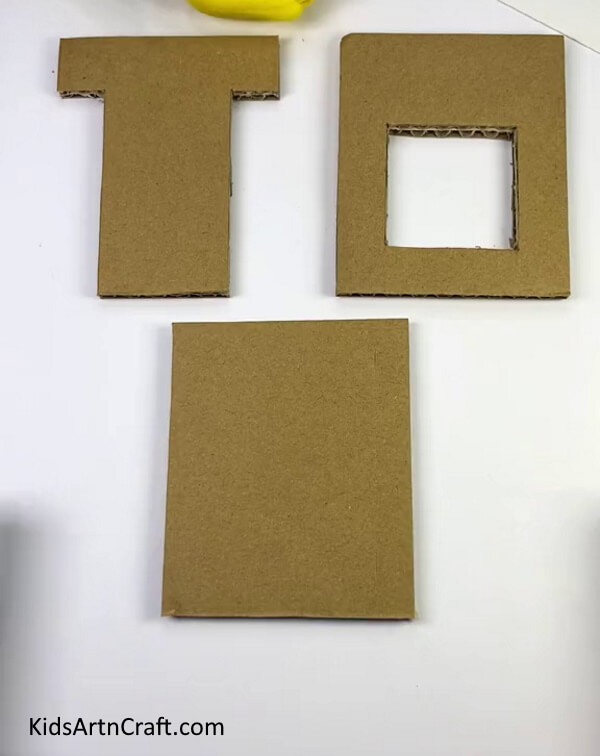

Cut the shapes out of the cardboard using a paper cutter.
Step 3: Pasting Cardboard On Square Sides
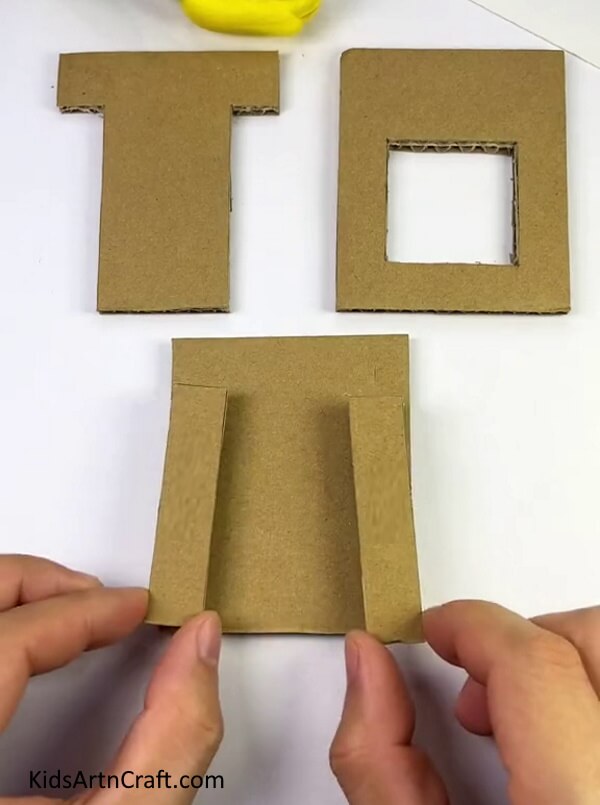

Cut two rectangles out of the cardboard and paste them on the sides of the square cardboard.
Step 4: Pasting Another Square
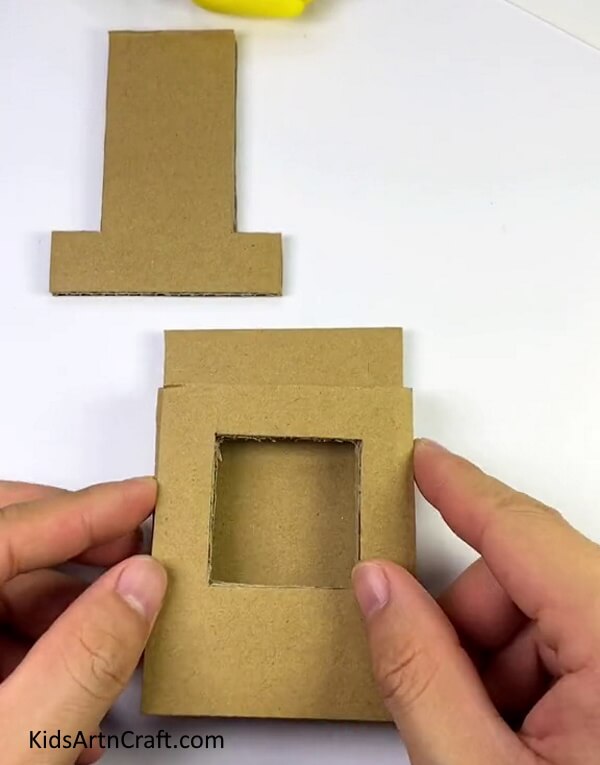

Paste another square cardboard that has a square cut on it, on the first piece of cardboard using glue by leaving some space on the top.
Step 5: Trimming The Left Over Cardboard
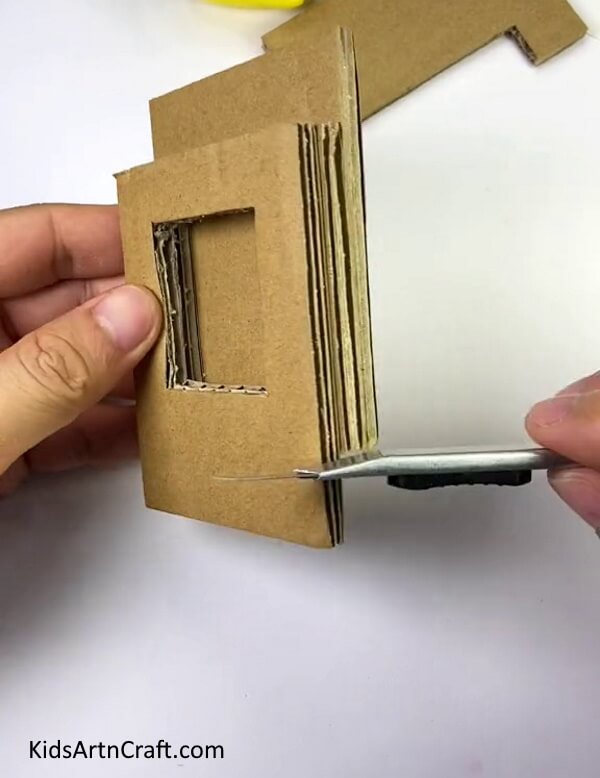

Trim the leftover cardboard at the bottom using a paper cutter.
Step 6: Inserting ‘T’ Shape
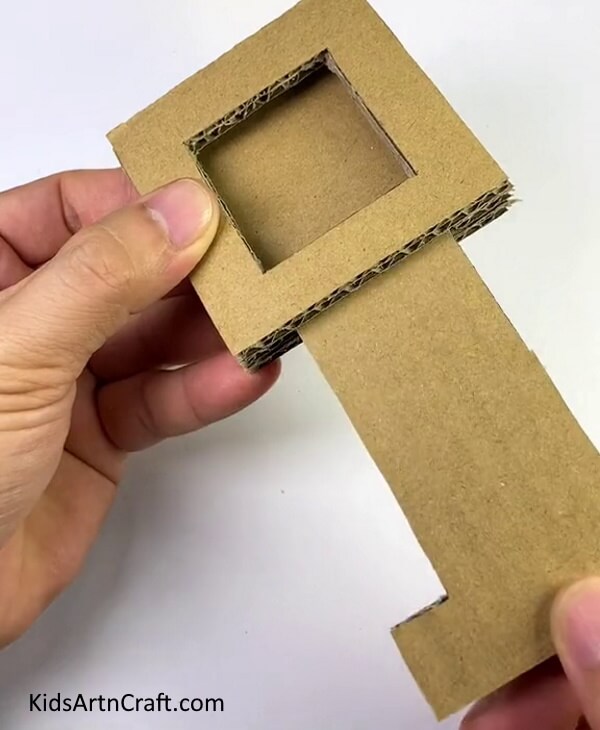

Net, insert the inverted T shape between the squares.
Step 7: Securing Rubber Bands
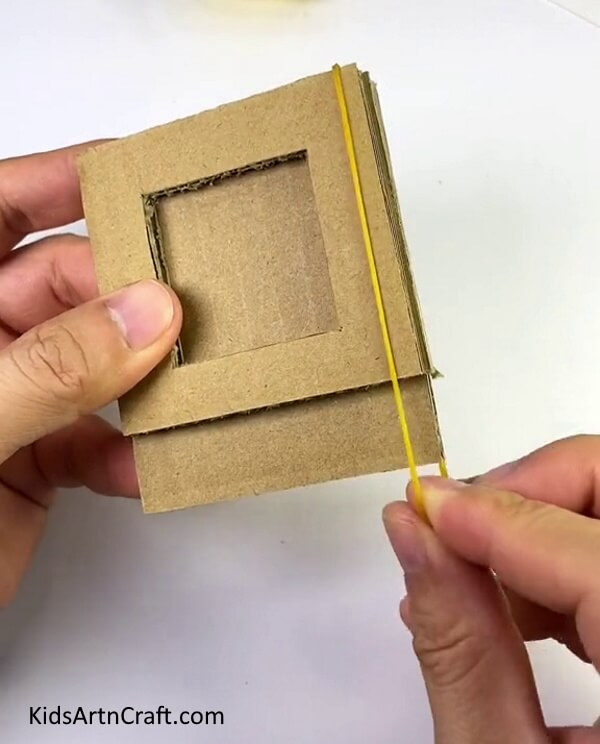

Secure the cardboard by tying rubber bands on both sides of the cardboard.
Step 8: Taking A Piece Of Cardboard
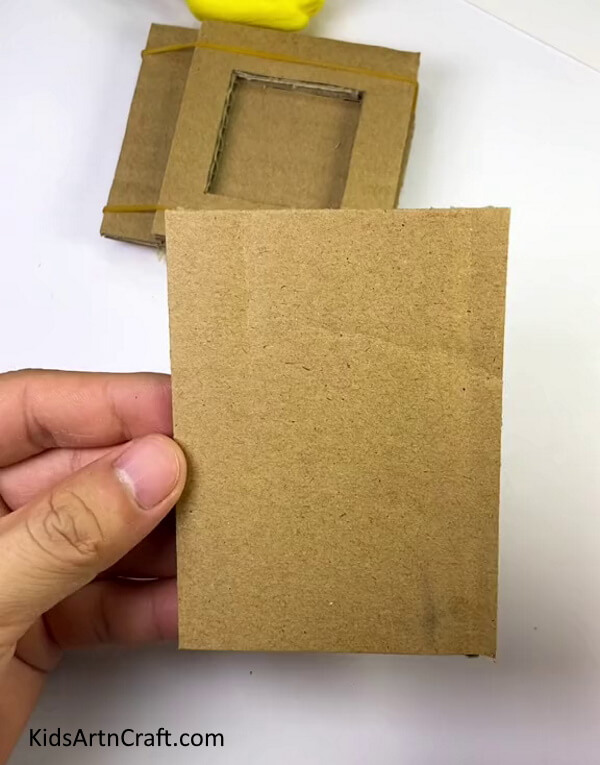
Now, take another piece of cardboard.
Step 9: Pasting Red Paper On Cardboard
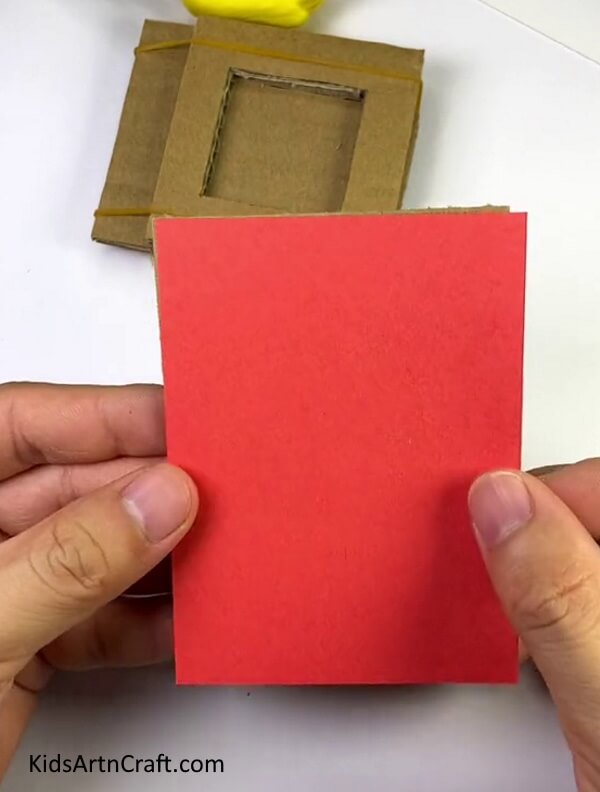

Paste red paper on the cardboard using glue.
Step 10: Cutting Hearts Shapes
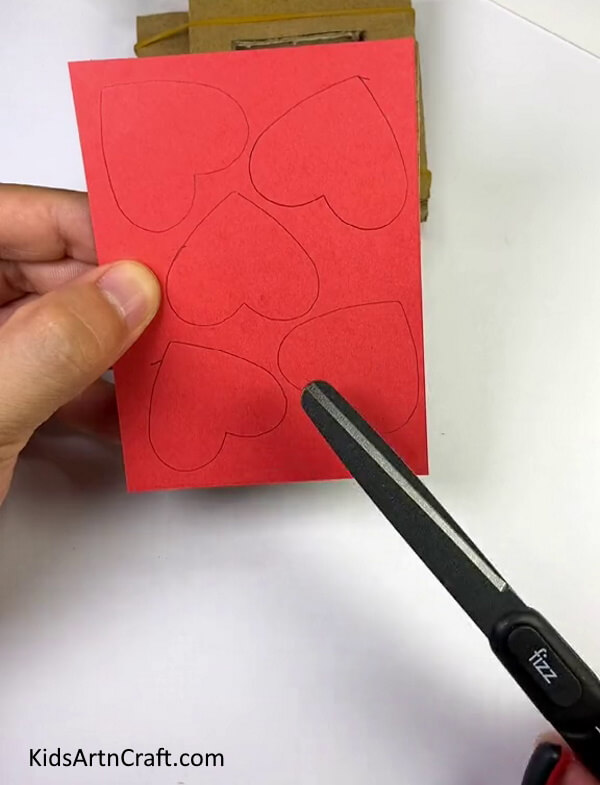

Using a pencil, draw some heart shapes on paper and cut them out using a pair of scissors.
Step 11: Gathering Crafts
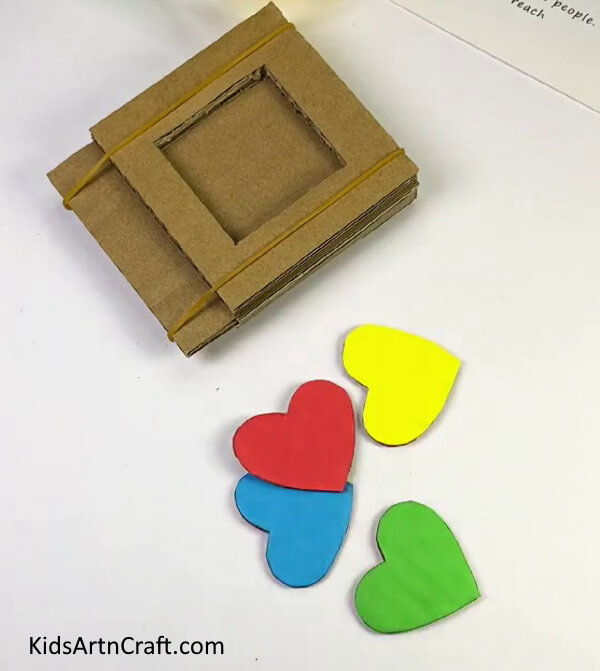

Similarly, make hearts of different colors. Gather the shooter and hearts together.
Step 12: Shooting Hearts
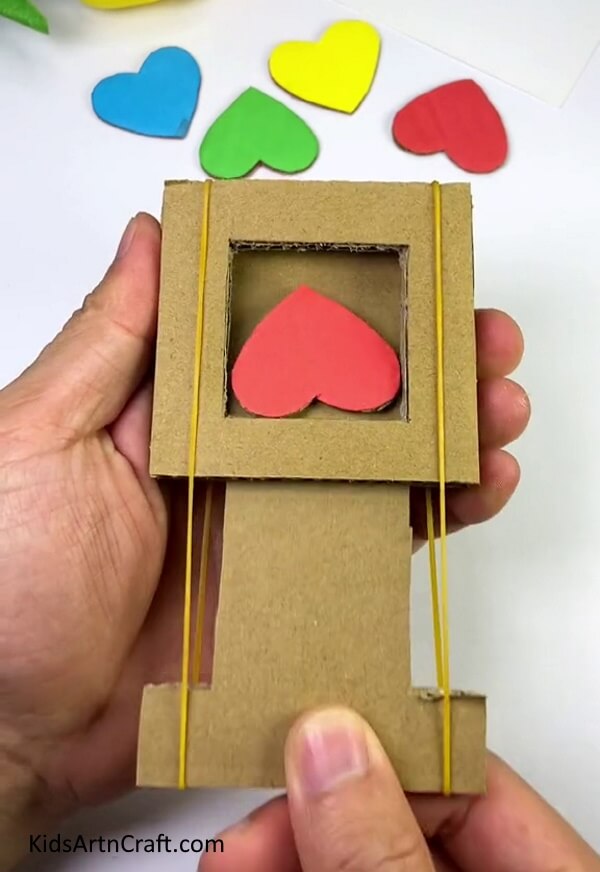

Now, pull the T shape of cardboard and place a heart in the shooter. Release the T shape of cardboard to shoot.
DIY Heart Shooter Craft Is Ready To Play!


Your DIY Heart Shooter is ready to play with. You can place some paper cups in a tower form to shoot them. Get, Set, and Shoot!
This activity is an excellent mix of fun and creativity! Kids will have a blast making their own heart shooters and have hours of fun shooting them. It’s a great way for kids to enjoy themselves and express creativity. Let them have a blast with this DIY tutorial! Give this craft a try today!
Follow us on Youtube for art and craft tutorials and much more.
More Articles from Kids Art & Craft
- How to Make Cardboard Ice cream Craft in Easy Steps
- Easy Cardboard Tube Tiger For Kids
- DIY Cardboard Tube Owl Craft
- Easy Cardboard Tube Shark Craft for Kids
- How to Make Bubble Wrap Corn Craft Easy Tutorial