DIY and Crafts
DIY Paper Basket Step by Step Tutorial For Kids

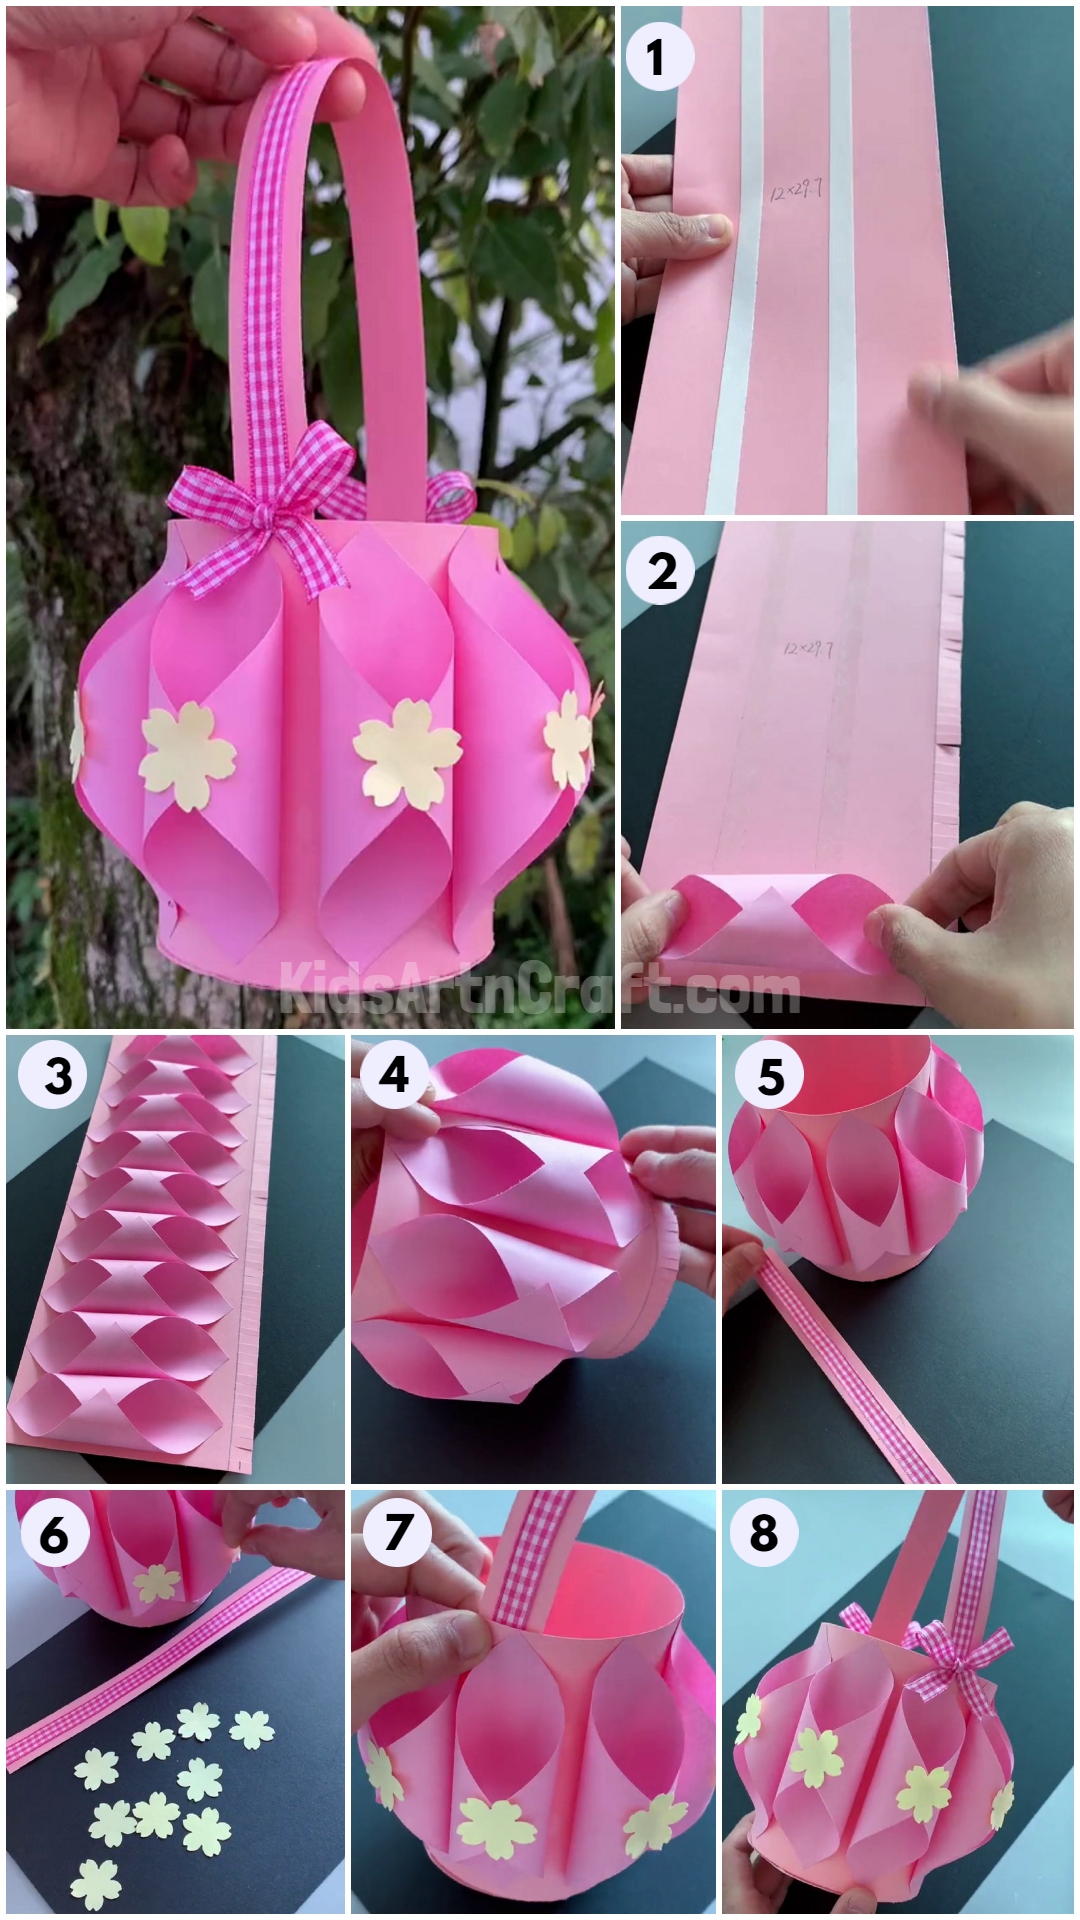
This step-by-step tutorial will show you how to make a paper basket with your kids, perfect for a fun weekend activity to do with your family. Whether you need a place to store small items or just want to get creative, this DIY project is perfect for all ages.
Creating a paper basket is a great way for kids to explore their artistic side and get creative. Kids will have fun making a paper basket that can be used for a variety of purposes, from holding small items to displaying flowers or other decorations. With just a few simple materials, kids can make a beautiful paper basket in no time!
Welcome to this step-by-step tutorial on how to make a DIY paper basket! This tutorial is specifically tailored for kids, so it’s a great way to get your kids involved in a creative and fun craft project. With just a few simple materials, you will be able to make a beautiful and unique paper basket that your kids will be proud to show off. Let’s get started!
Easy Paper Basket Craft To Make At Home

Materials Required:-
- Pink & Yellow Paper
- Flower Craft Punch
- Scissors
- Glue
- Ribbon
- Double Side Tape
Read More: Incredible Paper Hacks Video Tutorial for Kids
Step 1: Applying Double Side Tape On Rectangle Paper
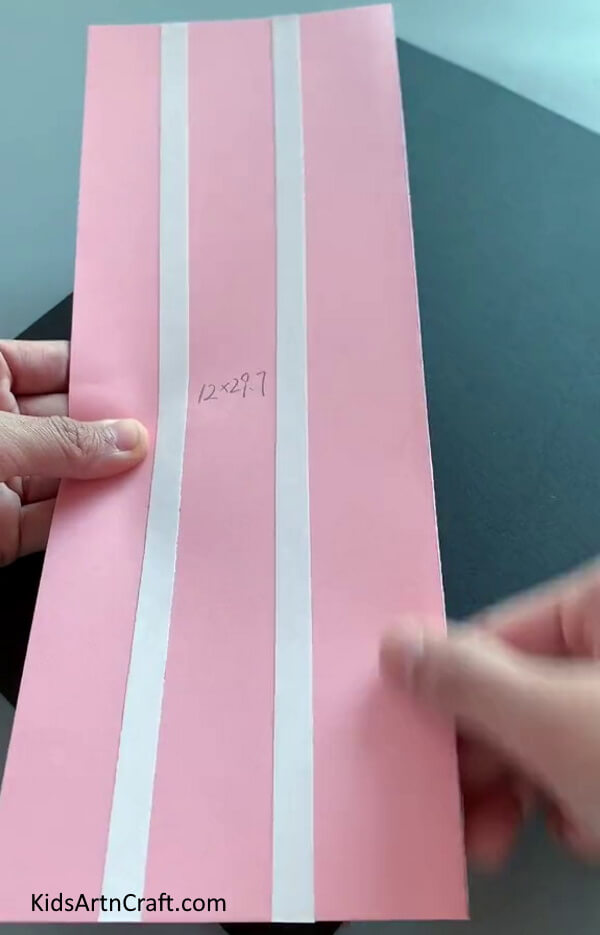

To begin with the paper basket craft, first, take a pink paper rectangle of size 12*29.7 cm. Apply double side tape in the middle of the long side of the rectangle.
Step 2: Cutting Fringe From Edge
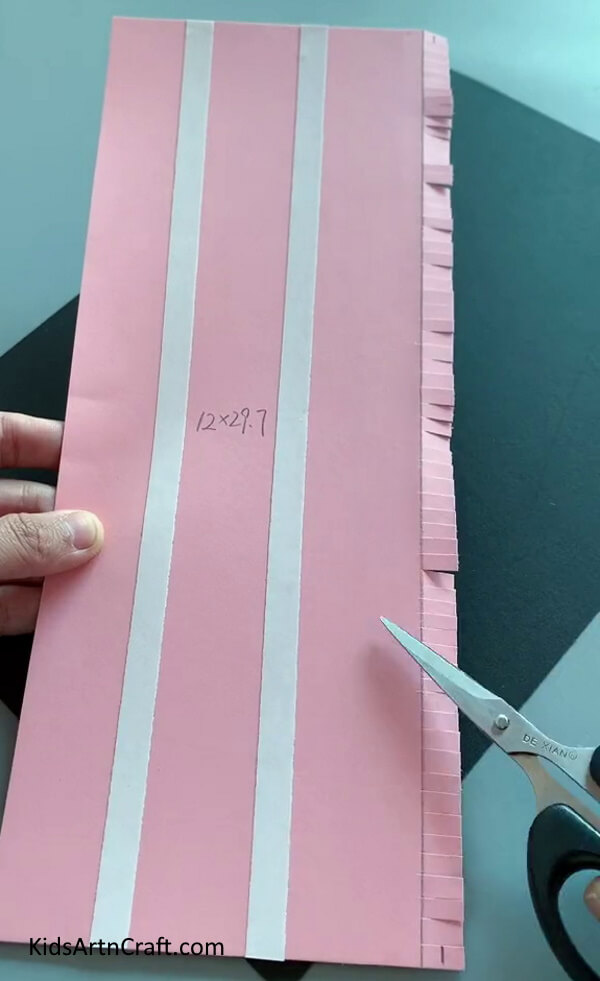

Now, cut fringes on one side of the length of the rectangle using scissors of about 1 cm.
Step 3: Taking A Square Pink Paper
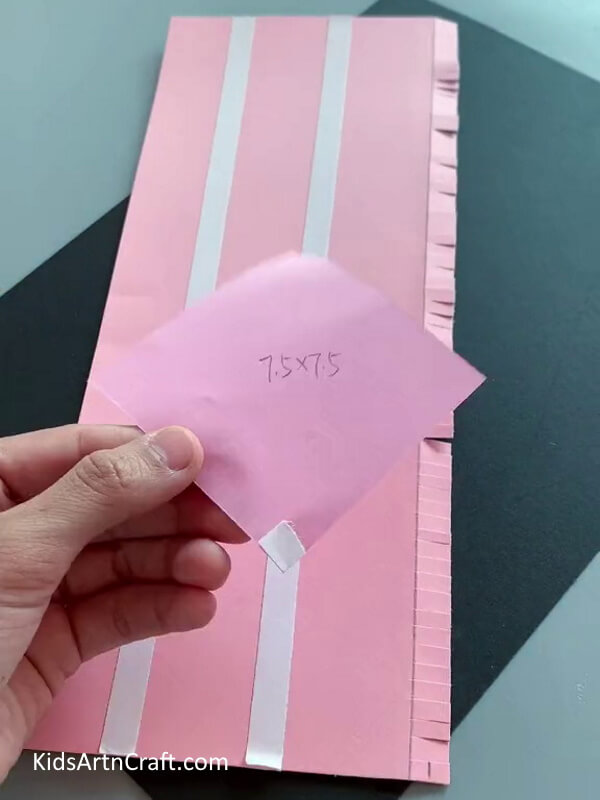

Take a piece of pink square paper of size 7.5*7.5 cm. Turn it around to make a diamond shape and apply double side tape on one of its corners.
Step 4: Folding Square


Now, fold the square in such a way that one corner meets the opposite corner and make a paper roll.
Step 5: Pasting Roll On Rectangle
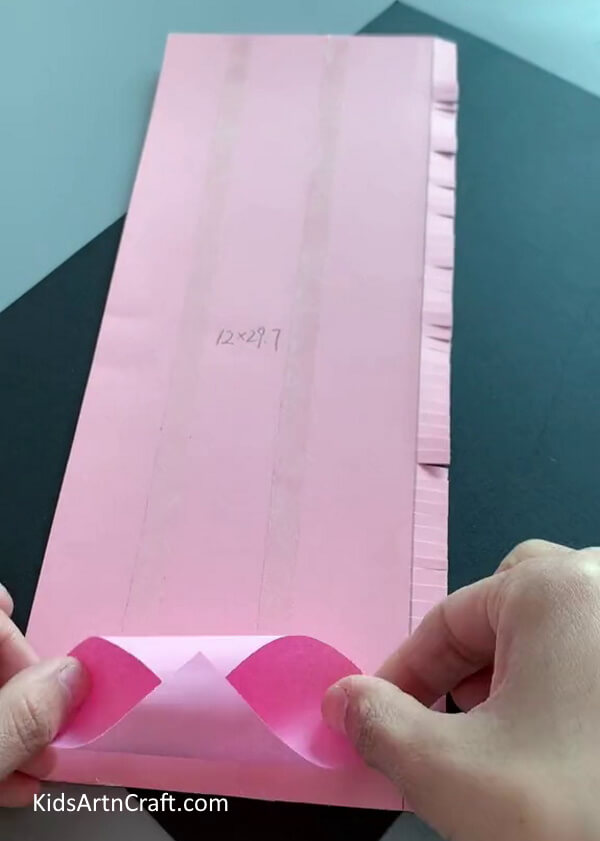

Paste the roll on the pink rectangle.
Step 6: Making More Rolls
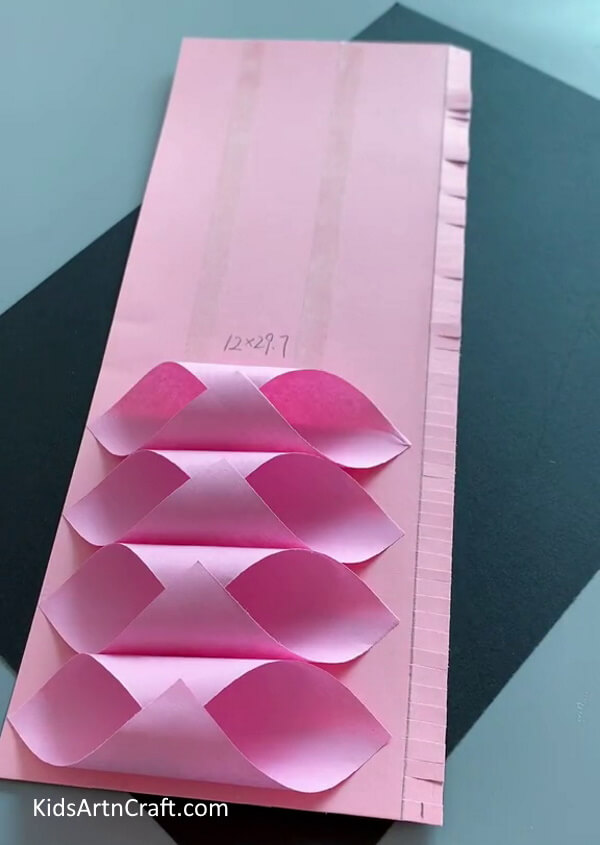

Using the same process, form many pink rolls and paste them on the pink rectangle.
Step 7: Pasting Rolls To Cover Rectangle
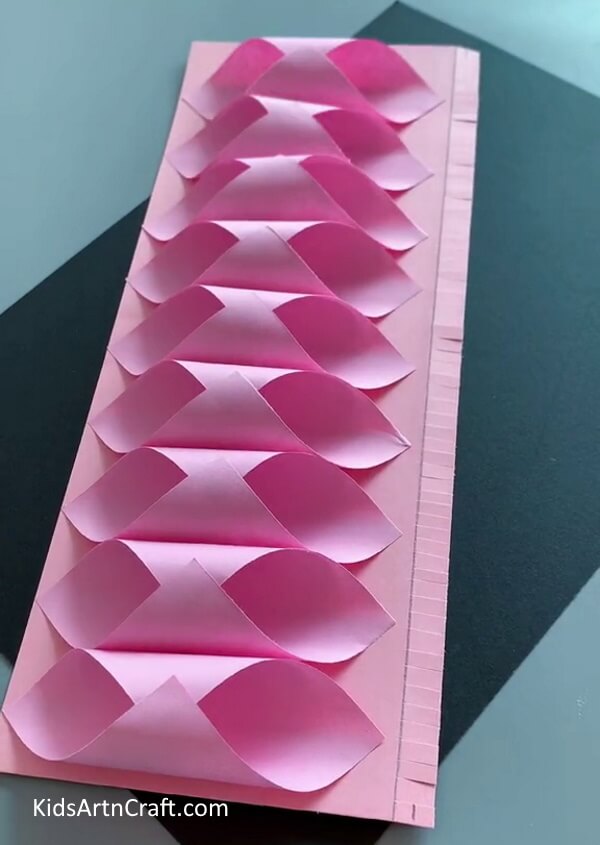
Cover the rectangle with the pink paper rolls.
Step 8: Folding Rectangle Into Cylinder
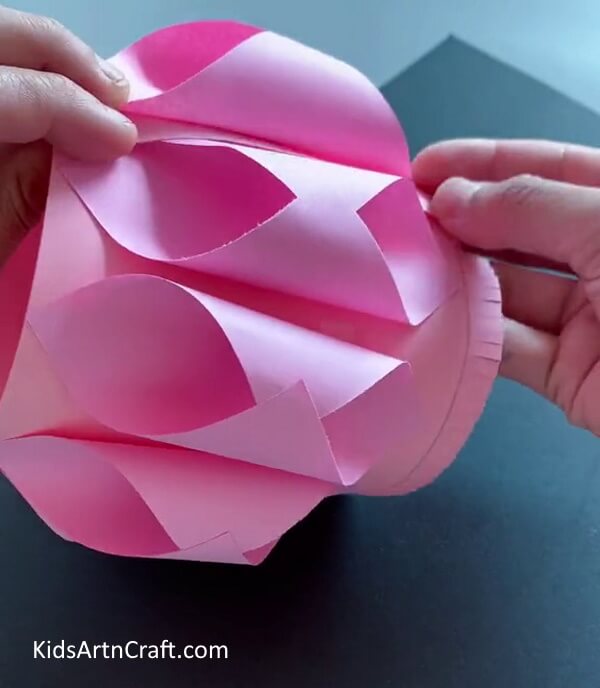

Fold the pink rectangle to form a cylinder. And paste it edges using glue.
Step 9: Folding Fringe
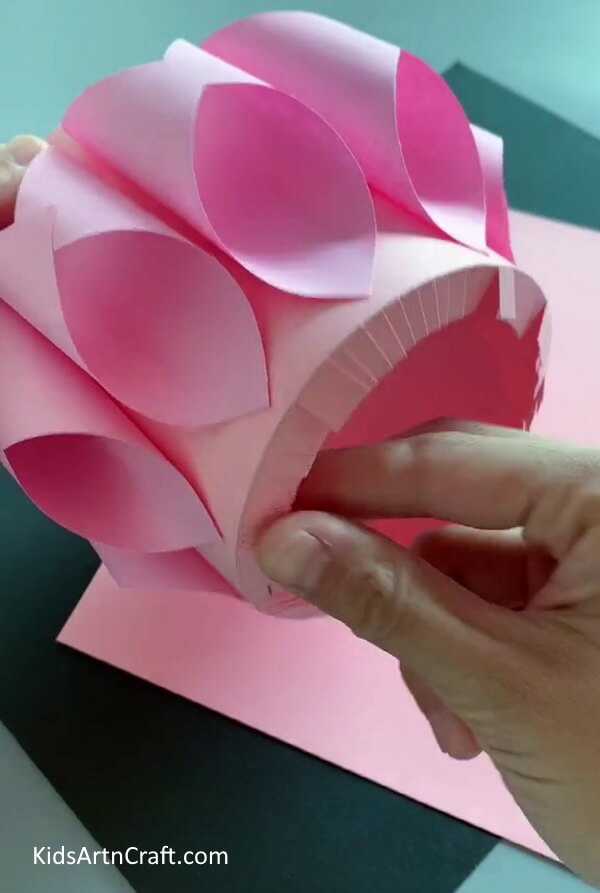

Fold the bottom fringe inside the basket as shown in the above image.
Step 10: Cutting Pink Strip
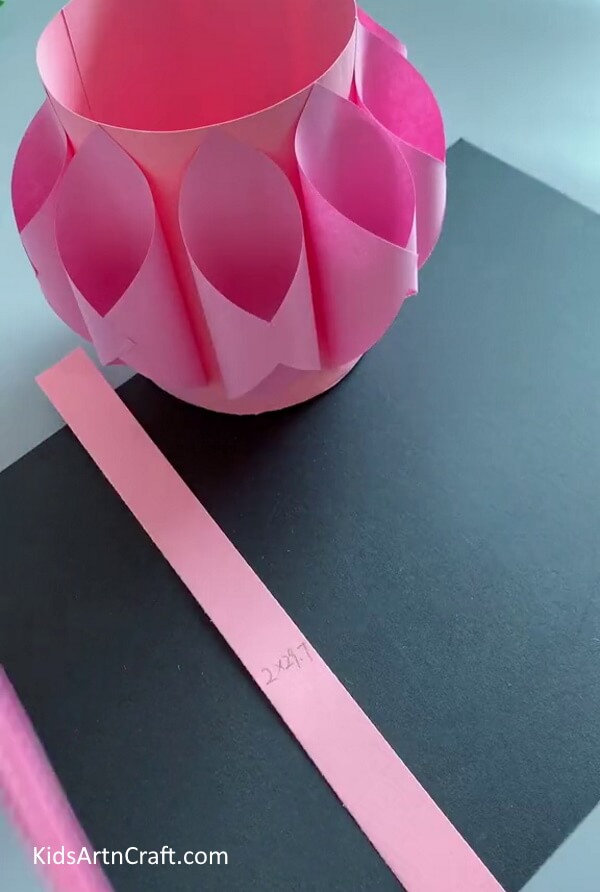

Now, cut a pink paper strip of size 2*29.7 cm.
Step 11: Pasting Ribbon On Pink Strip
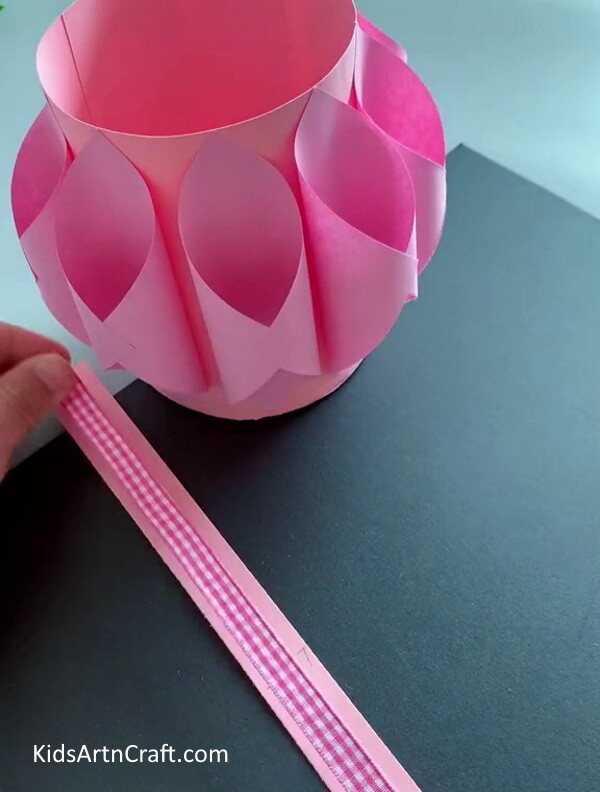

Paste a pink ribbon on the paper strip.
Step 12: Punching Flower From Paper
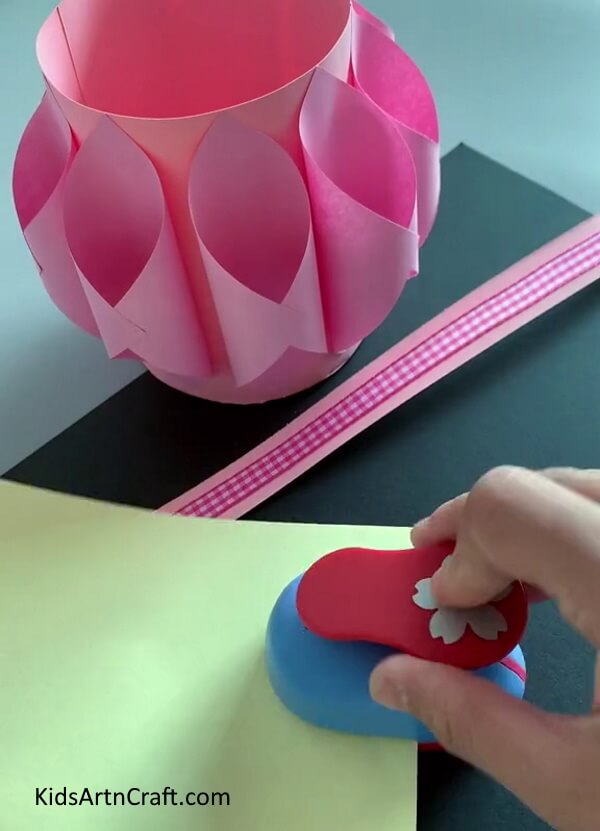

Now, to make some flower crafts, take a yellow paper and punch some flowers out of it using a flower craft punch.
Step 13: Pasting Paper Flowers
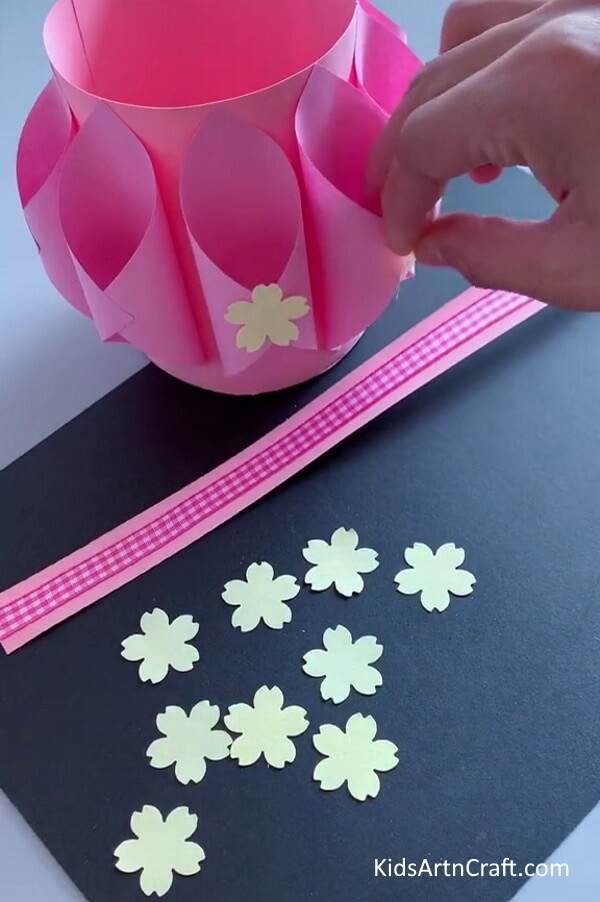

Paste the yellow flowers on each pink roll using glue.
Step 14: Pasting Strip On Basket
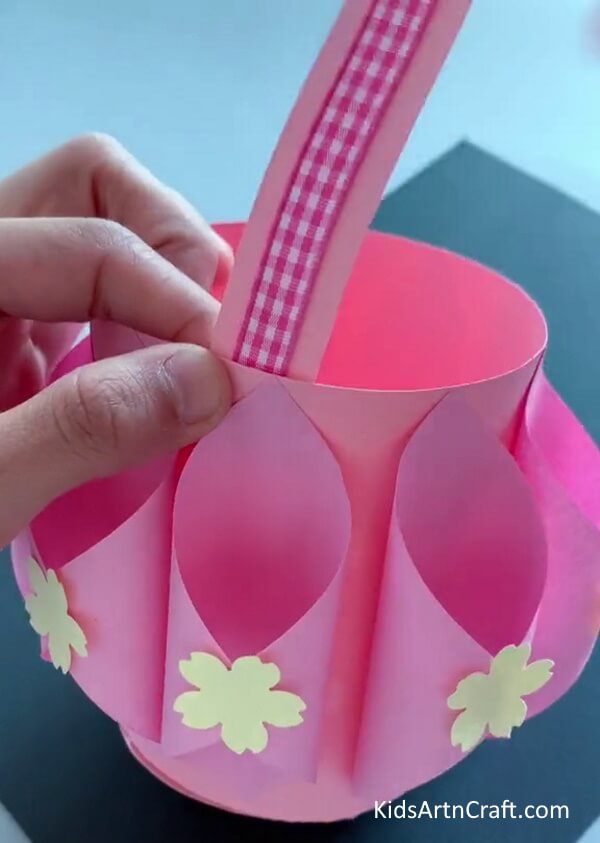

Paste the strip on the top inside of the basket using glue.
Step 15: Making Basket Handle

Paste the strip on the other side to make the handle of the basket.
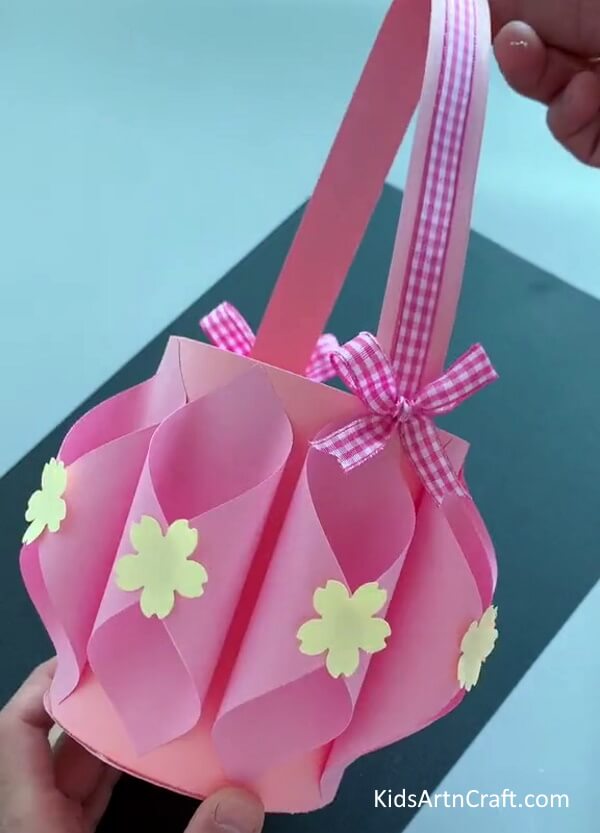
Final Image – Beautiful DIY Paper Basket Craft Is Done!


And that’s it! Your paper basket is ready to use. Kids can use their paper baskets to store small items or use them to display flowers or other decorations. This project is great for kids of all ages and is a fun way for them to get creative. What are you waiting for? Make your own paper basket today! Have fun!
FAQs DIY Paper Basket Craft
1. What materials do I need to make a paper basket craft?
You will need paper, scissors, glue, and a ribbon.
2. What type of paper should I use for this project?
You can use any type of paper, including construction paper, cardstock, or scrapbook paper.
3. How big should I make the paper basket?
You can make the paper basket any size you want. Just make sure the sides are even and the bottom is secure.
4. How do I make the basket handle?
You can make the handle by cutting a strip of paper and gluing it on the basket.
5. Do I need to use glue for this project?
Yes, you will need to use glue to make sure the paper basket is secure.
6. How long will it take to make the paper basket?
It should take approximately 30 minutes to complete the paper basket craft.
7. Can I use other materials to decorate the basket?
Yes, you can use other materials such as ribbons, buttons, fabric scraps, etc. to decorate the basket.
8. Can I make the paper basket craft with the kids?
Yes, this craft is suitable for kids of all ages.
9. Can I use the basket for anything?
Yes, the paper basket can be used for various purposes such as storage, decoration, gift wrapping, etc.
10. Is this craft easy to do?
Yes, this craft is easy to do and does not require any special skills.
Making a paper basket is a fun and simple way to get creative with your kids. With just a few supplies and some guiding steps, you and your kids will have a beautiful, handmade basket in no time.
Follow us on Youtube for art and craft tutorials and much more.
More Articles from Kids Art & Craft
- Easy Paper Craft Activities At Home Video Tutorial for All
- DIY Fun Craft Activities At Home Video Tutorial
- Easy Craft Ideas Make At-Home Video Tutorial
- Simple Way To Make Paper Flower Tree Craft
- Easy Paper Craft Ideas and Fun Activities Video Tutorial for Kids