DIY and Crafts
DIY Paper Car Scenery Craft tutorial for kids

Welcome to this step-by-step tutorial on how to craft a car scenery using paper. This craft is for kids to spend their summer afternoons at home.
Kids can easily create this craft with this guide which involves easy-to-follow instructions and steps. This craft is affordable and inexpensive as it basically requires paper only. Using a bit of creativity, kids will have a blast customizing their own paper car and creating a fun scenery. So, grab your materials and follow the steps.
Let the fun begin!


Read more: DIY Balloon Chick Craft Tutorial For Kids
Material Required
- Construction Papers
- A4 Size White Paper
- Popsicle Sticks
- Ruler
- Paper Cutter
- Scissors
- Glue
Procedure
Step 1: Cutting A Red Semicircle
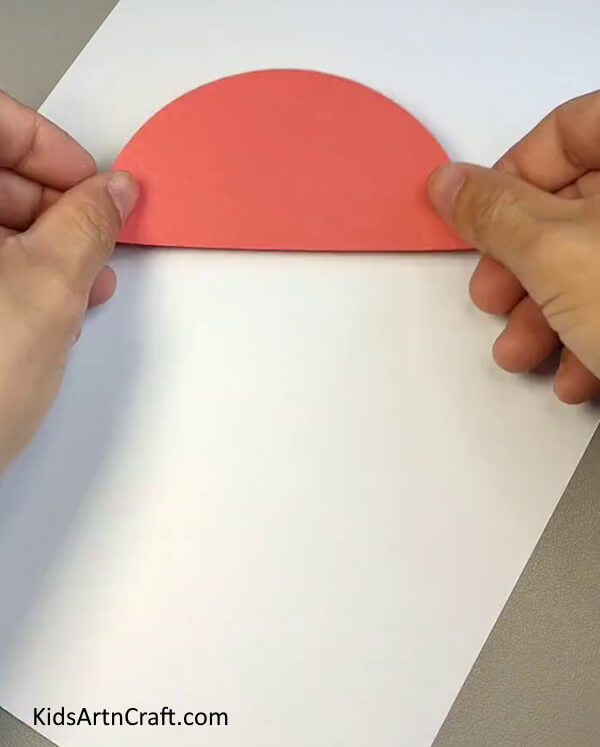

As a first step of the craft, cut a semicircle out of red paper using scissors.
Step 2: Pasting Rectangle On Semicircle
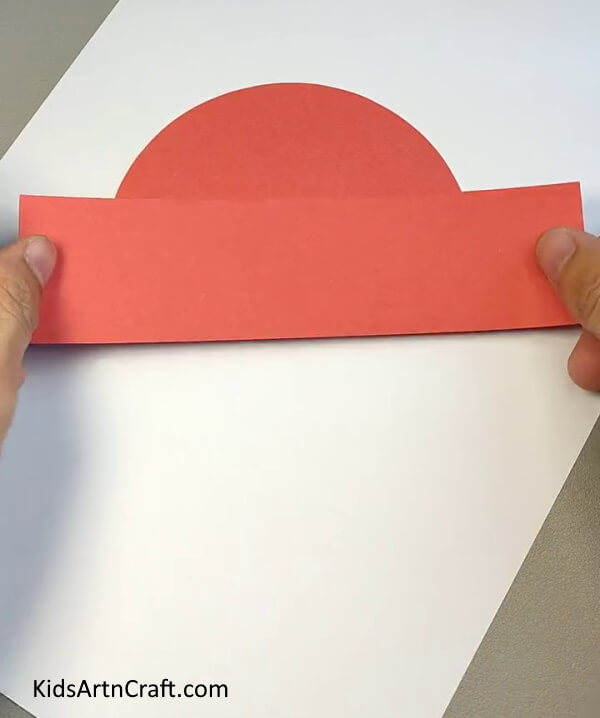

Cut a long rectangle out of red paper and paste it on the semicircle by covering its bottom half.
Step 3: Making Windows Of Paper Car
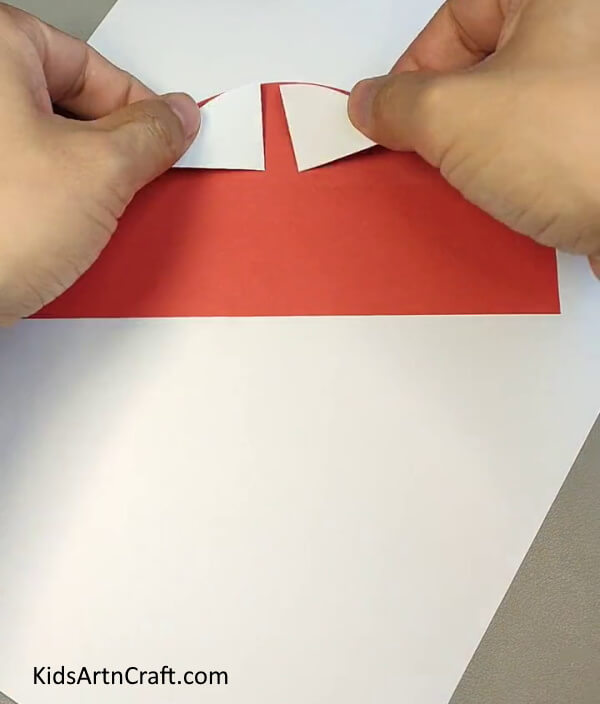

Now, to make windows of the car, cut two pizza slices shape out of white paper and paste them as shown in the above image using glue.
Step 4: Making Wheels Of Car
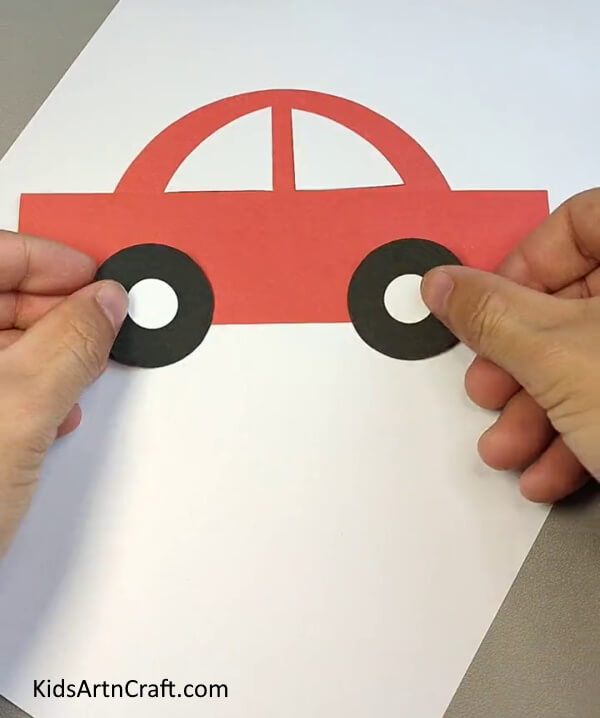
Cut two black circles and two small white paper circles. Paste the white circles in the middle of each black circle to make the wheels of the car. Paste the wheels on the bottom edge of the rectangle using glue.
Step 5: Pasting Popsicle Stick
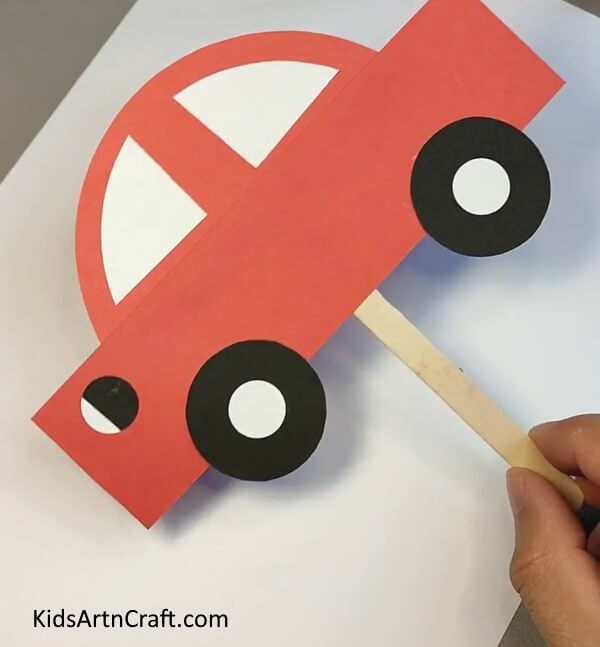

Once the paper car is ready, paste a popsicle stick on the back middle of the car using glue.
Step 6: Pasting Long Rectangle To Make a Road
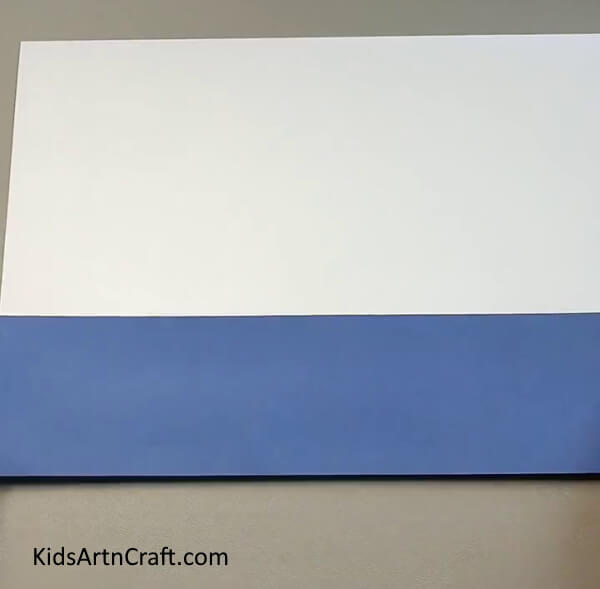

Now, put an A4 size white sheet in a landscape manner. Cut a rectangle with a length of A4 size out of blue paper and paste it on the bottom of the white sheet.
Step 7: Pasting Thin & Long Rectangles
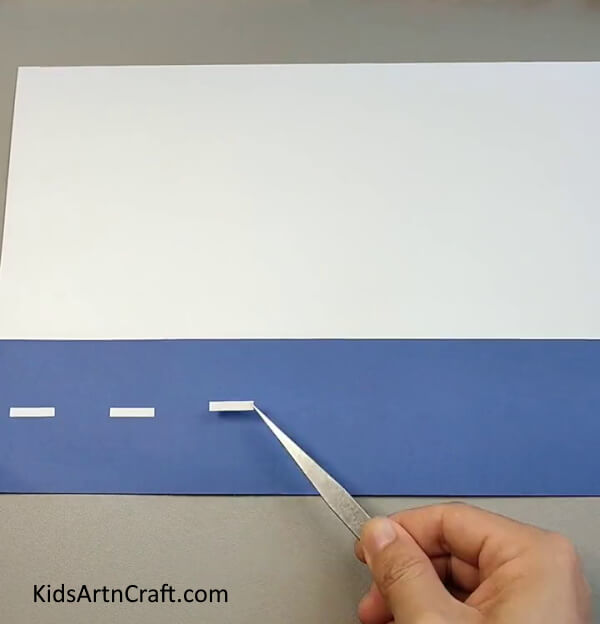

Now, cut some long and thin white rectangles to make the strips of road. And paste them on the middle of the rectangle by forming a straight horizontal line.
Step 8: Making Green Paper Bushes
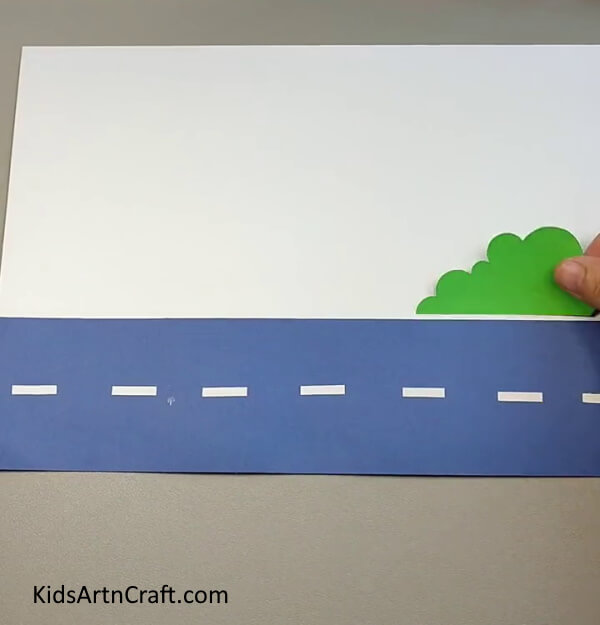

Now, cut bushes shape from green paper and paste them on the left and right top of the road using glue.
Step 9: Pasting Clouds On Sky
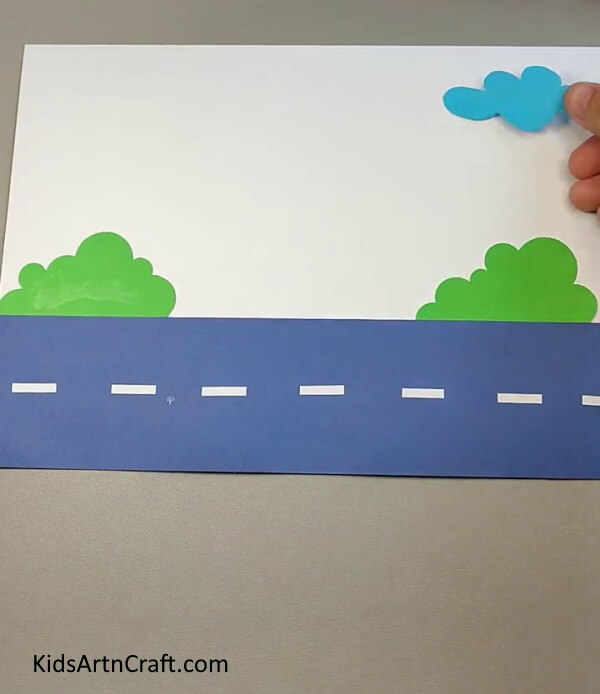

Make clouds by cutting and pasting clouds from blue paper.
Step 10: Pasting Paper Sun
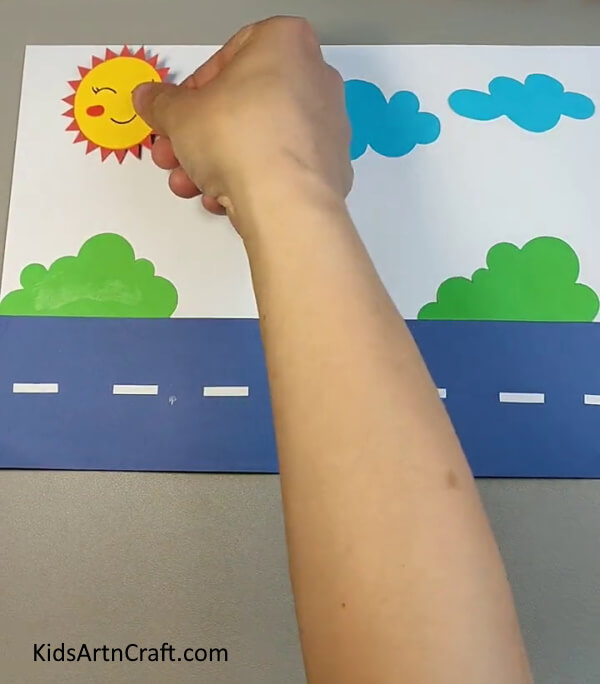

Craft the sun using yellow and orange paper. Also, make a smile and eyes on it using a black pen. Don’t forget to add the cheeks of the sun using a red pen.
Step 11: Making a Cut On Road
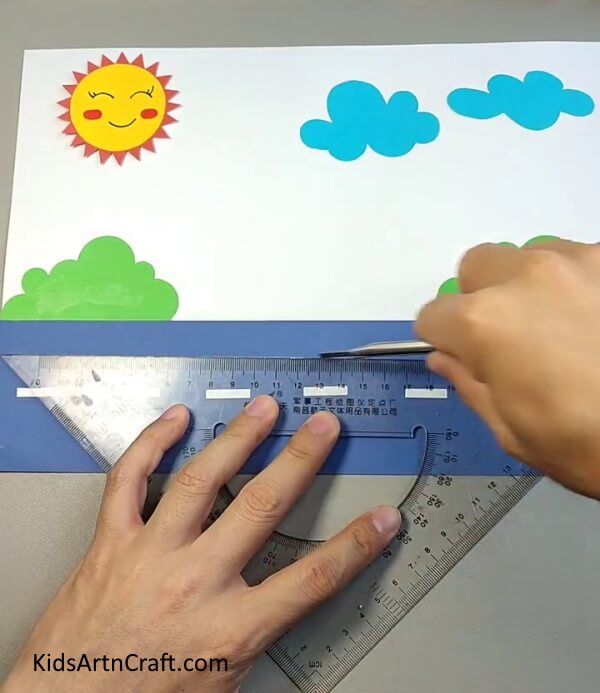

Place a ruler on the paper road horizontally and cut the line using a paper cutter.
DIY Paper Car Scenery Craft Is Ready!
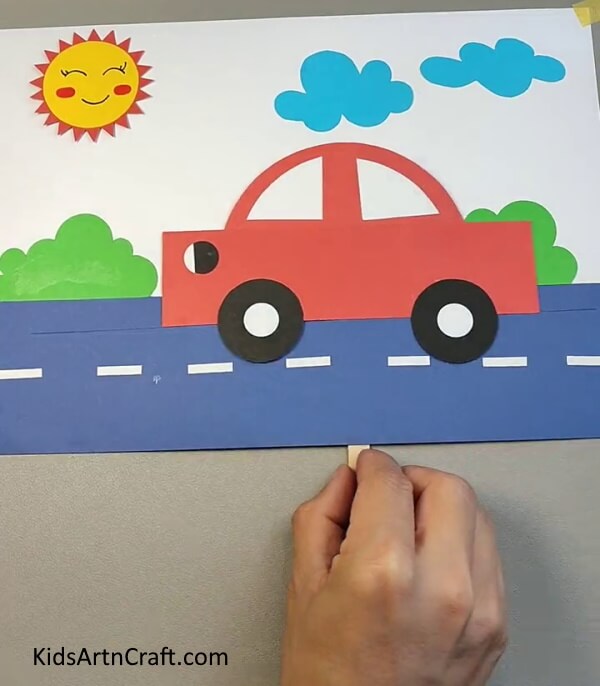

Finally, insert the popsicle stick in the cut so that you can move the car easily on the road using the popsicle stick. That’s it! You’re done with the paper car craft in a few simple steps.
This Paper Car Scenery Craft is the perfect way to keep your little ones entertained and creative during the summer days! Kids will be able to create a fun, colorful, and unique paper car scenery in no time. You can use this craft as a summer school project or a pastime activity. What are you waiting for? Get, Set, and Craft!
Follow us on Youtube for art and craft tutorials and much more.
More Articles from Kids Art & Craft
- DIY Bird Nest Paper Craft For Kids
- Learn To Make Paper Duck Craft Tutorial
- Easy Paper Robot Craft Step By Step Tutorial
- DIY Easy Paper Strawberry Tutorial For Kids
- DIY Paper Basket Step by Step Tutorial For Kids