Paper Crafts
DIY Paper Snail Craft For Toddler To Play At Home

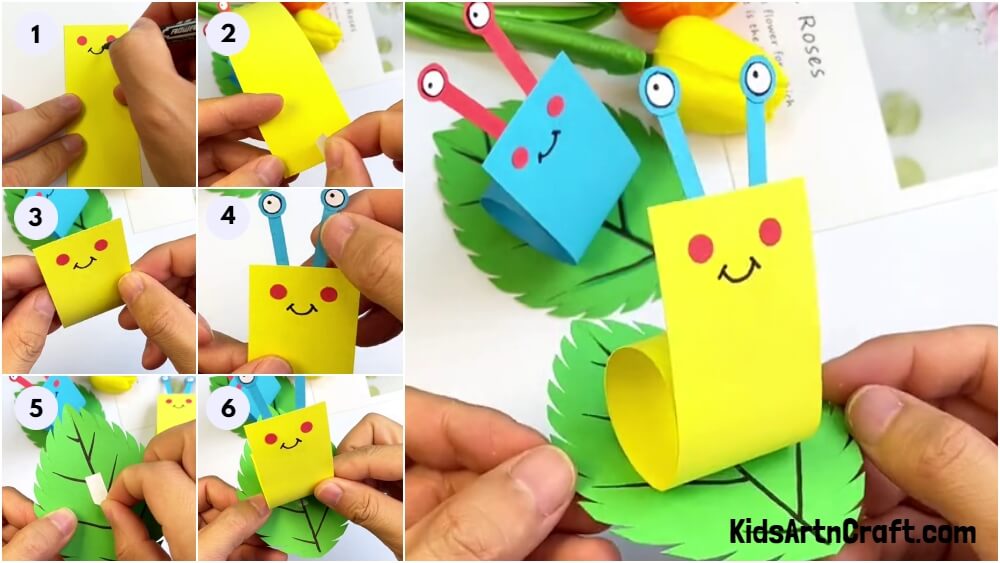
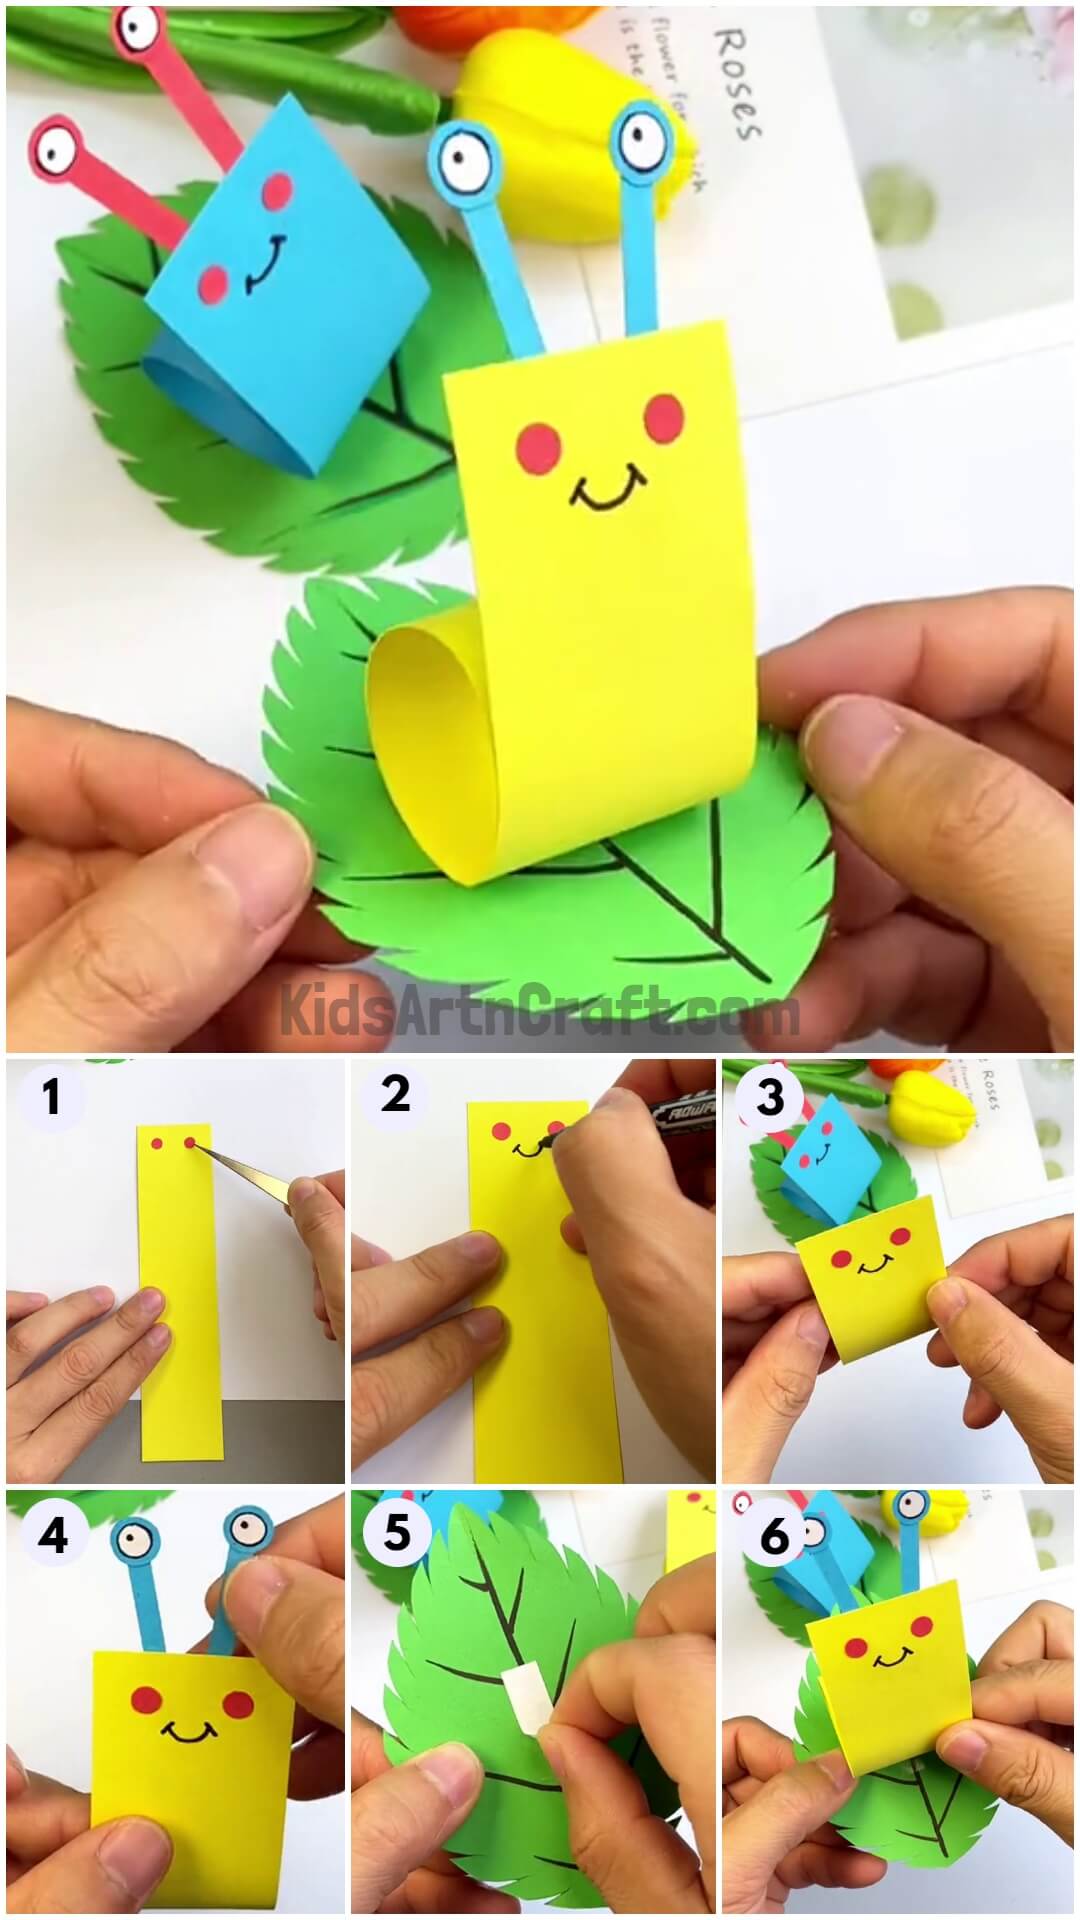
This craft project is perfect for young children to do at home. It’s easy and requires just a few materials such as paper, scissors, and glue. The instructions and images will guide you on how to make a colorful snail.
Nowadays, in a rainy season, there are creatures crawling and coming out of their burrow to experience the rain. Creatures like earthworms, frogs, etc. One little creature called snails also come out in the rainy season to enjoy the rain to their fullest. So, today we are going to make snail to let them enjoy in the rain. Let’s begin!
To make a cute snail, bring all the materials to the table and follow the given steps.
DIY Paper Snail Craft For Kids
Read More: Ladybug paper Ring Craft Easy Tutorial for kids
Materials Required
- Craft paper (Yellow, Red, Blue, White, Green)
- Black marker/sketch pen
- Thin double sided tape
Procedure
Step 1: Take A Yellow Craft Paper
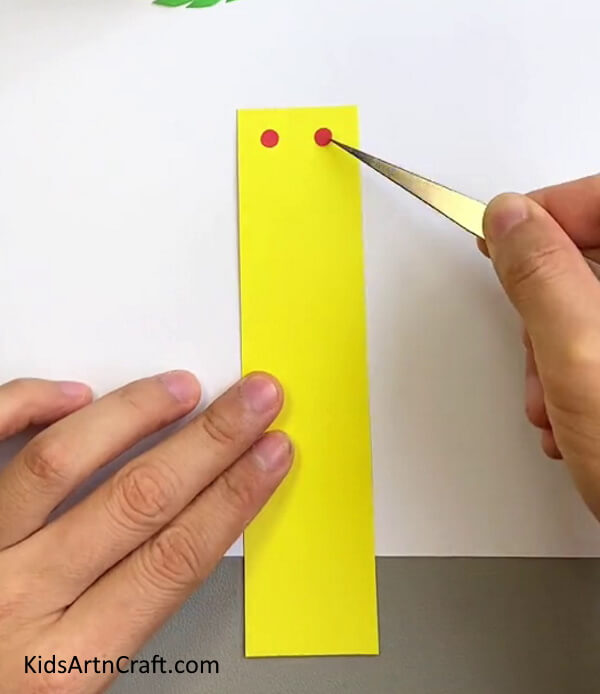
Your first step is to take a yellow coloured craft paper. The yellow coloured craft paper should be in rectangle shape.
After taking a yellow coloured rectangular craft paper, take a red coloured craft paper. After taking a red coloured craft paper, make two very small small circles with the help of red coloured craft paper. After making two small circles with the help of red coloured craft paper, stick the two red coloured circles beside each other on the top part of the yellow coloured craft paper with the help of glue.
Step 2: Make A Smile With Black Marker/sketch pen
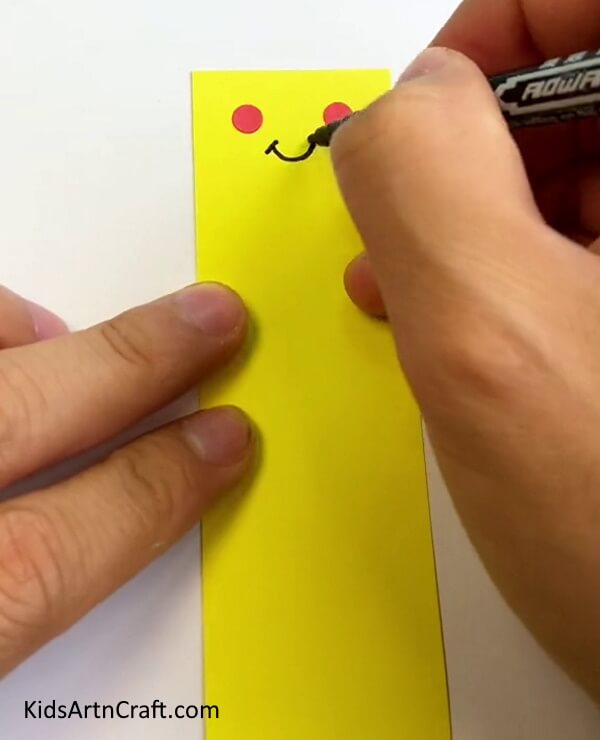
Now, take a black marker/sketch pen. After taking a black marker/sketch pen, make a smile on the yellow coloured craft paper. Make the smile just below where you have stuck the two red coloured circles, with the help of black marker/sketch pen.
Step 3: Stick A Thin Double Sided Tape On Yellow Craft Paper
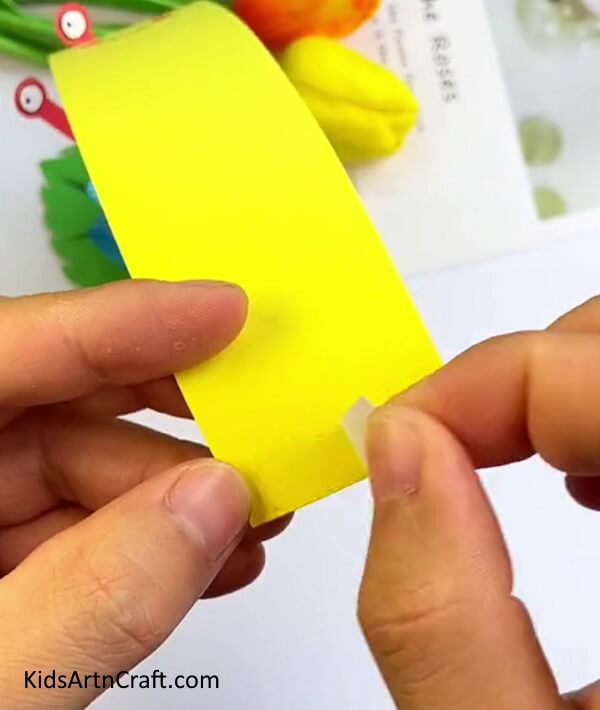
Take a thin double sided tape. After taking a thin double sided tape, stick the thin double sided tape on the backside of the yellow coloured rectangular craft paper. You have to stick the thin double sided tape on the bottom part of the backside yellow coloured craft paper.
Step 4: Fold The Yellow Craft Paper From Backside
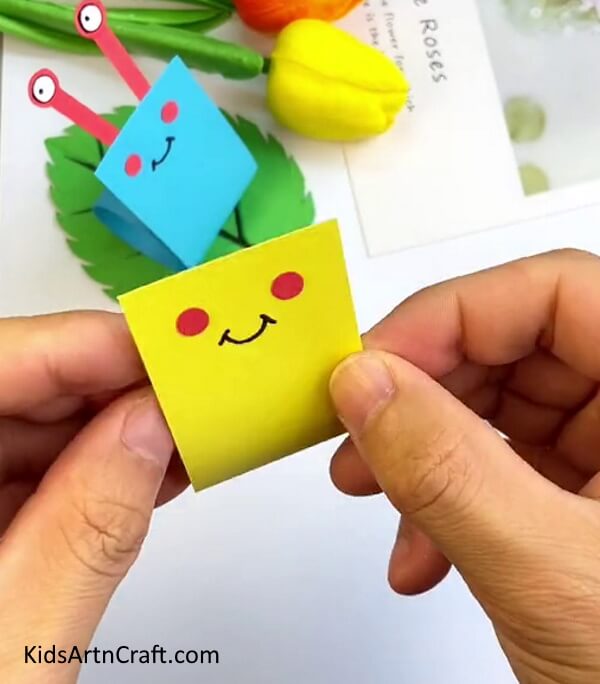
After putting a tape on the bottom backside of the yellow coloured craft paper, fold the backside of the yellow coloured craft paper and after folding you have to join and stick the sticky part of the thin double sided tape to the upper backside of the yellow coloured craft paper as shown in the picture.
Step 5: Make An Antenna With Blue Craft Paper
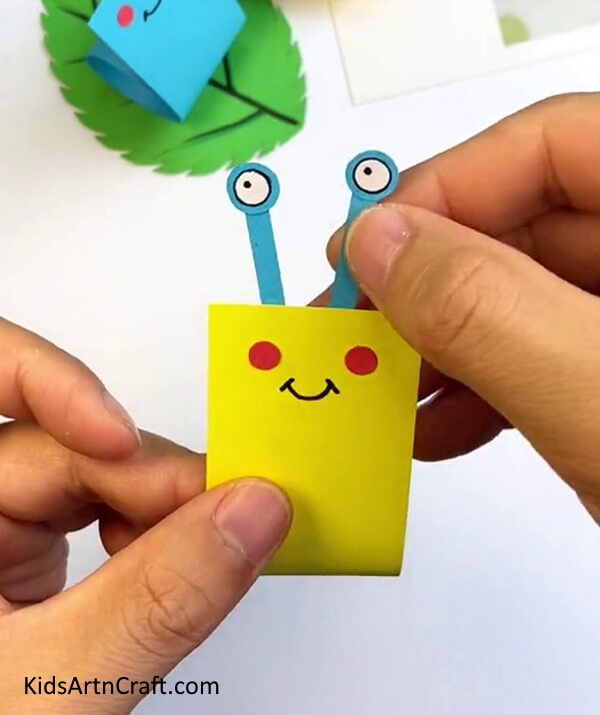
Now, take a blue coloured craft paper. After taking a blue coloured craft paper, make two thin rectangle shape with the help of blue coloured craft paper. After making two thin rectangle shapes, you have to make two circles with the blue coloured craft paper.
After making two circles with blue coloured craft paper, you have to stick the two blue coloured circles on the top of the each blue thin rectangle. After sticking the two circles on the rectangle, you have to stick both the bottom part of the rectangle behind the upper part of the yellow coloured craft paper with the help pf glue. Then, take white coloured craft paper and after taking a white coloured craft paper, you have to make two small circles. The white circles should be smaller than the blue circles. Then, stick the white coloured circles on each of the blue coloured circles with the help of glue.
Then, take a black marker/sketch pen. After taking a black marker/sketchpen, you have to make the outline of the two white coloured circles which you have stuck on the blue coloured circles. After making the outline with black marker/sketch pen, you have to make one dot on each of the white coloured circle with the help of black marker/sketch pen.
Step 6: Make A Leaf With Green Craft Paper
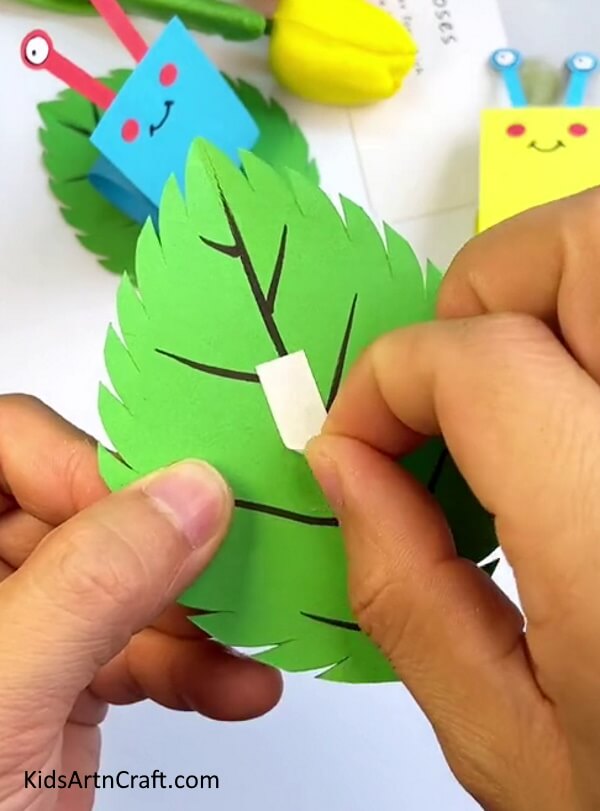
Take a green coloured craft paper. After taking a green coloured craft paper, you have to make a leaf with the help of green coloured craft paper. After making the leaf with the help of green coloured craft paper, you have to make the veins of the leaf with black marker/sketchpen as shown in the picture.
After making a leaf and the veins of the leaf, you have to stick the thin double sided tape on the middle of the leaf which you have made from green coloured craft paper and black marker/sketchpen.
Step 7: Stick The Snail On The Leaf With Thin Double Sided Tape
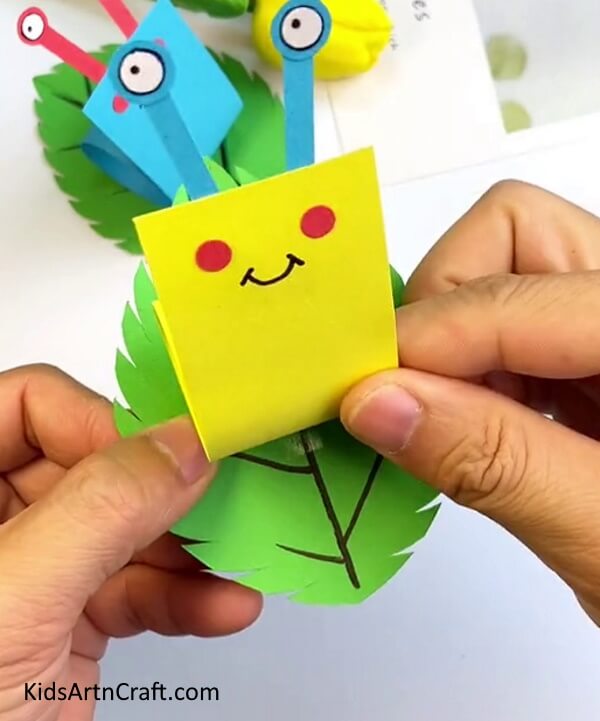
Now, take the snail which you have made from yellow coloured craft paper and blue coloured craft paper. After taking the snail, stick the snail which you have made, on the leaf which you have made with green coloured craft paper and black marker/sketchpen with the help of thin double sided tape which you have already stuck on the leaf in the above step.
Your Craft Is Ready!!
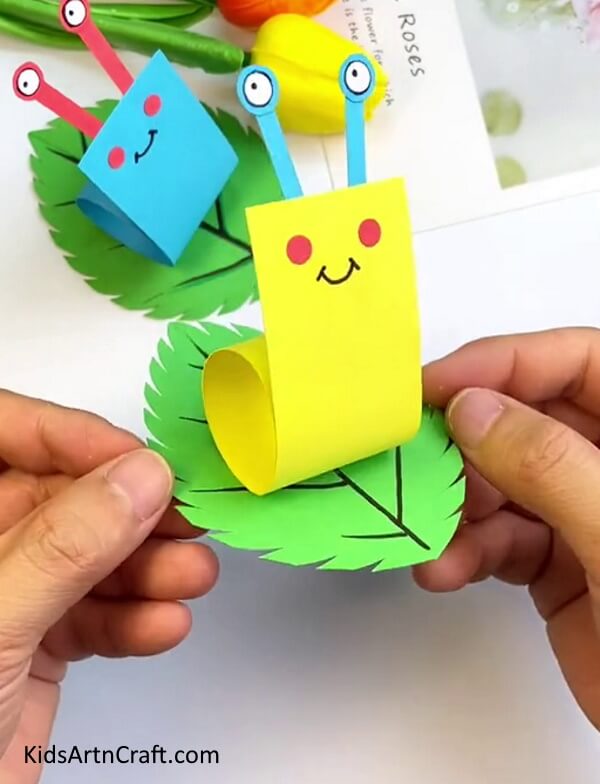
Finally your cute little snail is ready to crawl in the rain and enjoy it to the fullest. This is the cutest little creature ever. This craft is really very simple and easy to make. Kids can learn so many things from this craft such as about the rainy season, the creatures and ofcourse the craft techniques itself.
Some More Snail Craft Tutorial
Make Your Own Snail Craft Using Clay
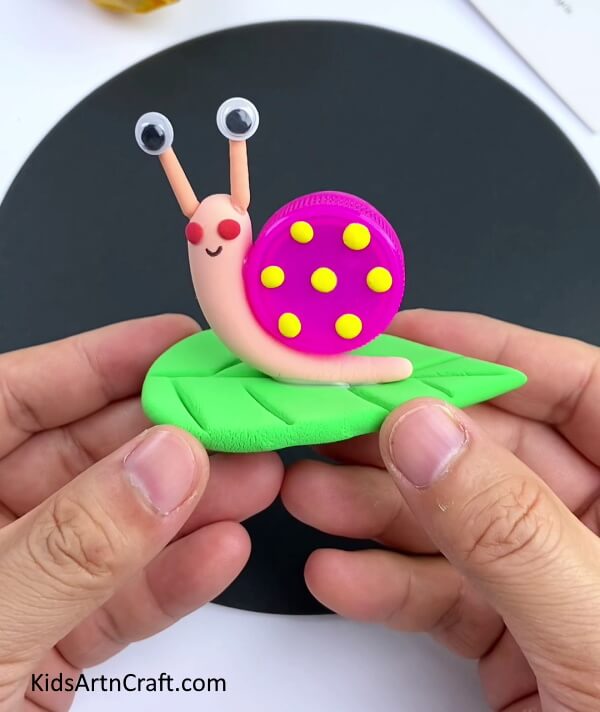
Image Source/Tutorial: Kids Art & Craft
Make your own unique clay snail craft! This fun project is perfect for kids of all ages and allows them to get creative with their own designs. With a few simple supplies, you can create a delightful snail that can be used as a decoration or a toy.
Easy To Make Snail Craft Using Recycled Egg Carton
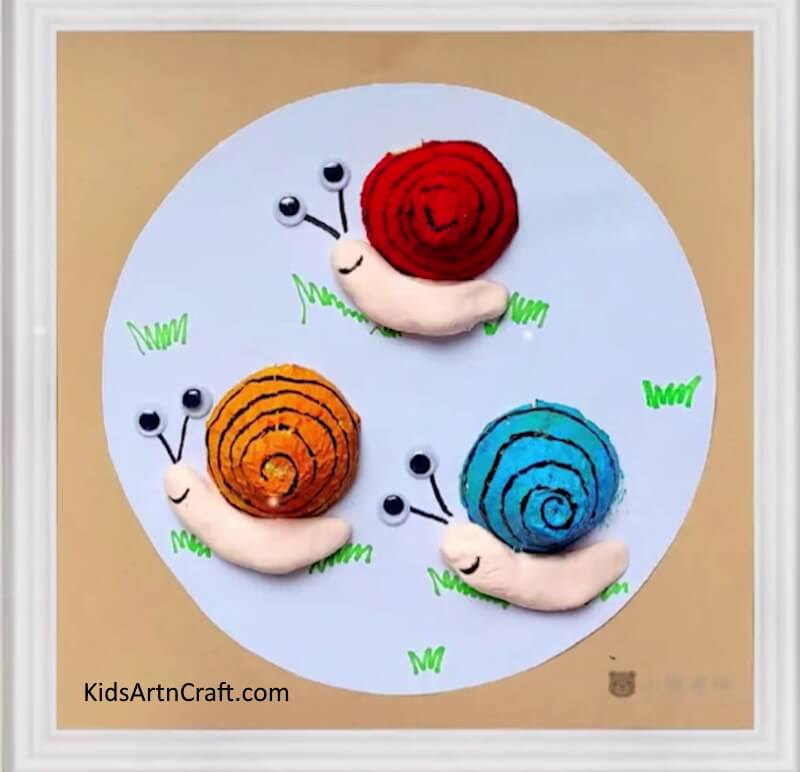
Image Source/Tutorial: Kids Art & Craft
This craft is a great way to upcycle an old egg carton and make something fun and creative. With just a few basic materials, you can easily make a delightful snail craft. It’s a fun and simple activity that can be enjoyed by both adults and children.
Do you also like rainy season? Then this is the perfect craft for you to make this rainy season and enjoy the rains with your new cute little snail buddy. Enjoy!
Follow us on Youtube for art and craft tutorials and much more.
More Articles from Kids Art & Craft
- Hedgehog Crafts & Activities for Kids
- Pigeon Drawing & Sketches For Kids
- Fairies in Jar Craft Ideas for Kids
- DIY Christmas Yarn Wreath Ideas
- Farm Animal Crafts for 3 Year Olds


