DIY and Crafts
How to Draw herd of Sheep Easy Tutorial for kids

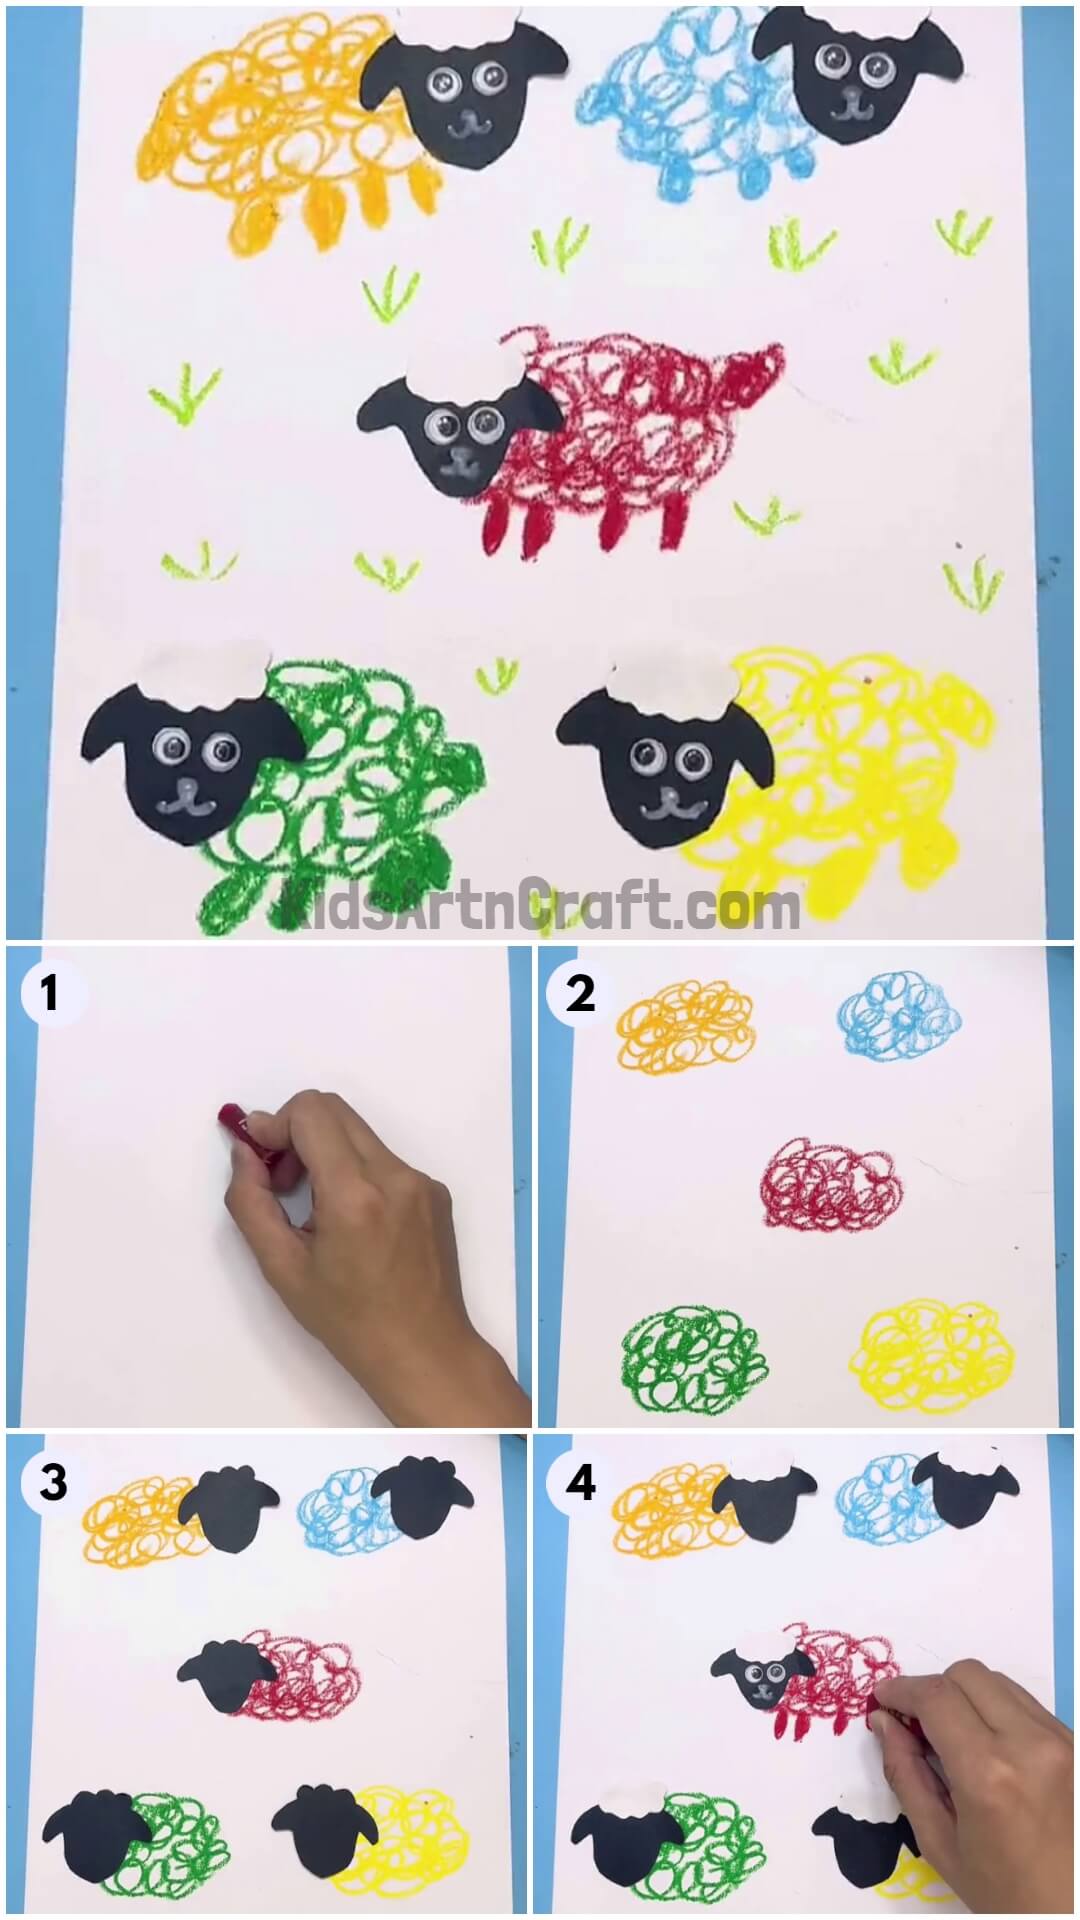
This tutorial will show kids how to draw a group of cute sheep using simple shapes and lines. It’s an easy, step-by-step guide.
In this tutorial, we bring to you a lovely herd of sheep of different colours. How cool and out worldly is that! It is extremely simple to make and can be made by people new to art. It involves a unique play with colours and sketching. With just a sheet of white paper, you make this beautiful art. Take a break from your studies, play or complex art designs and make this fun craft and guarantee you pure enjoyment yet a profound piece of art. Go, collect all the material and start making it.
DIY Draw Herd Of Sheep

Read more: How to Make Paper Sheep With Step By Step Tutorial
Materials Required
- Two White Sheets Of Paper
- Crayons In Blue, Green, Yellow, Red And Mustard Colour
- A Pencil
- A Black Sheet Of Paper
- A Pair Of Scissors
- A Glue Stick
- Googly Eyes
- White Sketch Pen
Procedure
Step 1: Taking A Sheet Of Paper

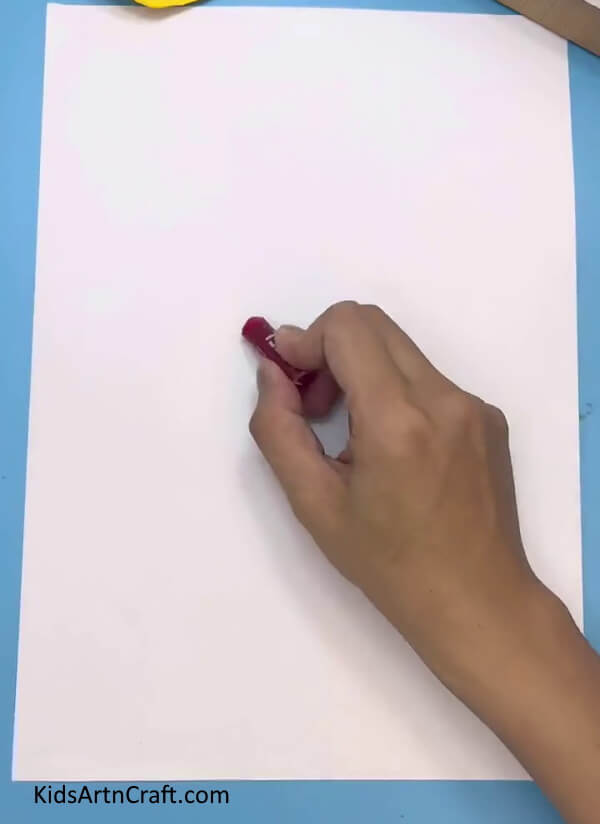
Take a white sheet of paper and place it on the table. Pick a red rayon in your hand and start drawing.
Step 2: Making Five Scribbles On This Sheet
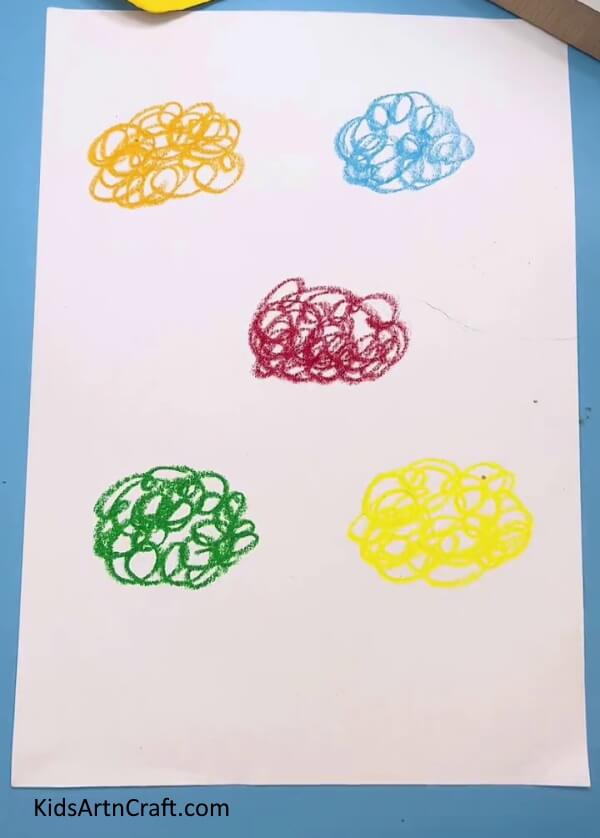

With this crayon start scribbling in small circles in the middle of the sheet rock. These scribbles should form a circular shape. Now take the blue crayon and repeat the process at the top right side of the middle circle. Take a mustard crayon and do the same at the top left side of the centre circle. In a similar fashion draw another circle at the bottom right side of the centre circle using a yellow crayonDraw another circle at the bottom left side of the centre circle using a green crayon. Remember to make these circles at a distance from the red circle as shown in the picture below. This gives our sheep a look resembling wool.
Step 3: Making The Head Of The Sheep
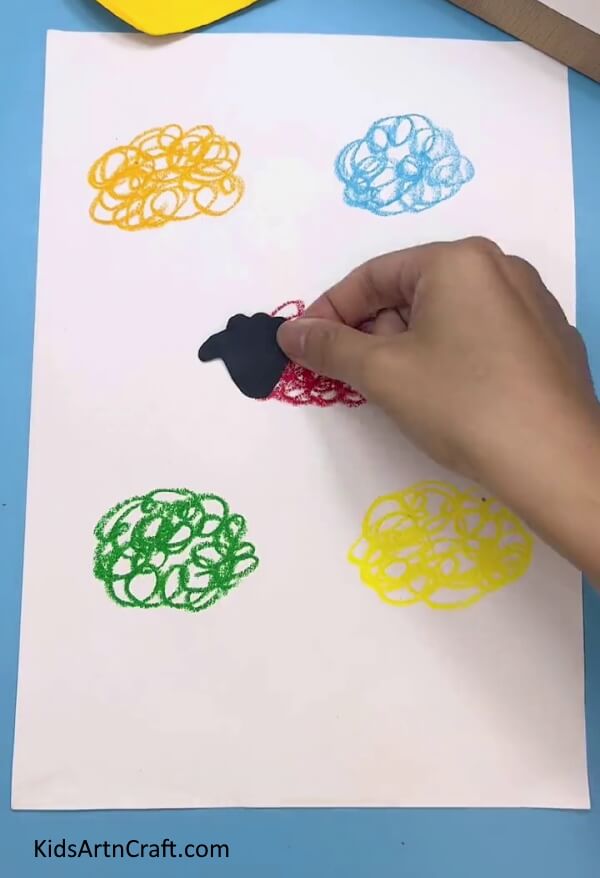

Take a black sheet of paper and a pencil and draw a sheep head with a curved chin at the bottom, two ears at the top sides and two bumps at the top as shown below. With a pair of scissors cut the drawing in a proper shape. In a similar way make four more such heads.
Step 4: Pasting The Heads On The Bodies
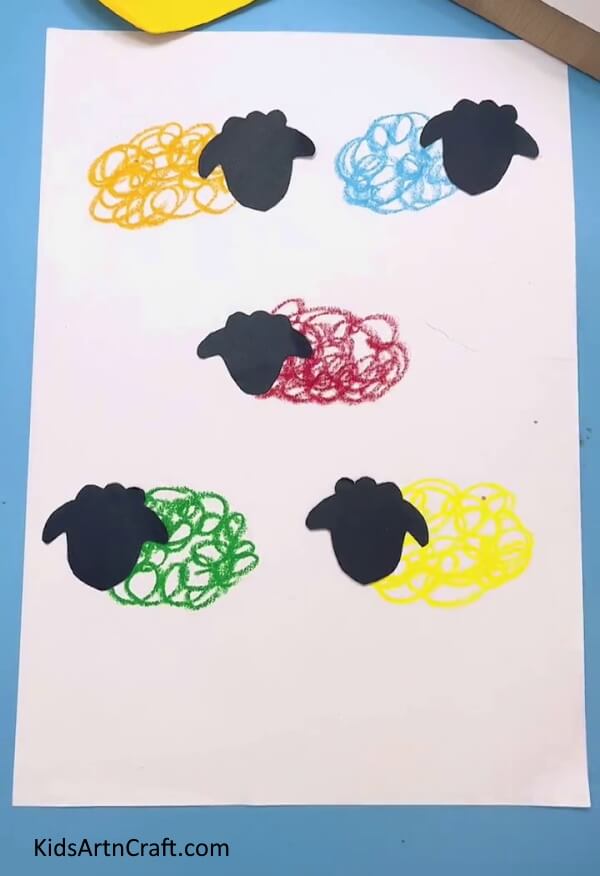

With the help of a glue stick, paste these paper heads on the circles you made earlier. For the top two circles, paste the heads on the right side. For the middle and bottom two circles, paste the heads on the left side of the circles.
Step 5: Making Cloud Cutouts


Take a white sheet of paper and draw five small cloud shapes and cut all of them out with the help of scissors. These shapes should be much smaller than the head. See the picture below for reference.
Step 6: Pasting The Clouds On The Heads
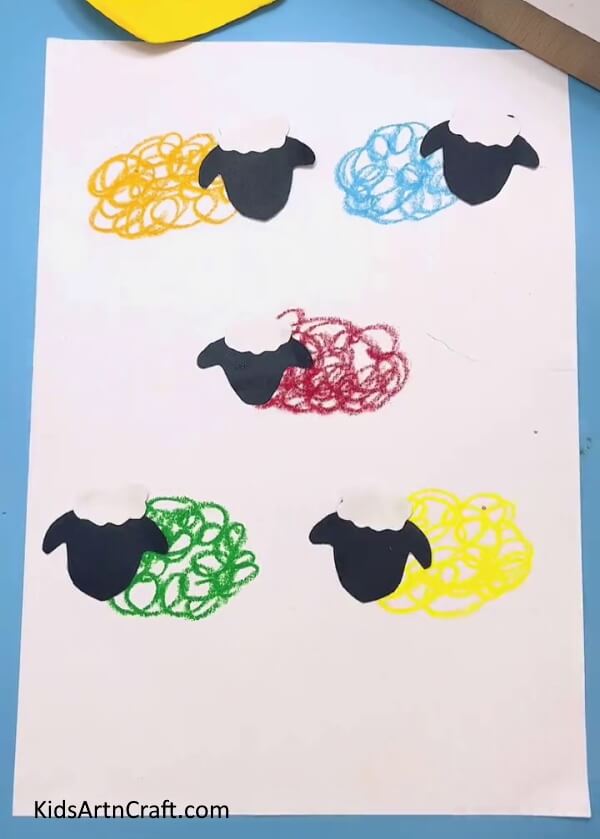
Apply glue to the cloud shapes and paste them on the top of the heads of these sheep. It should cover the two bumps at the top of the head.
Step 7: Pasting The Eyes
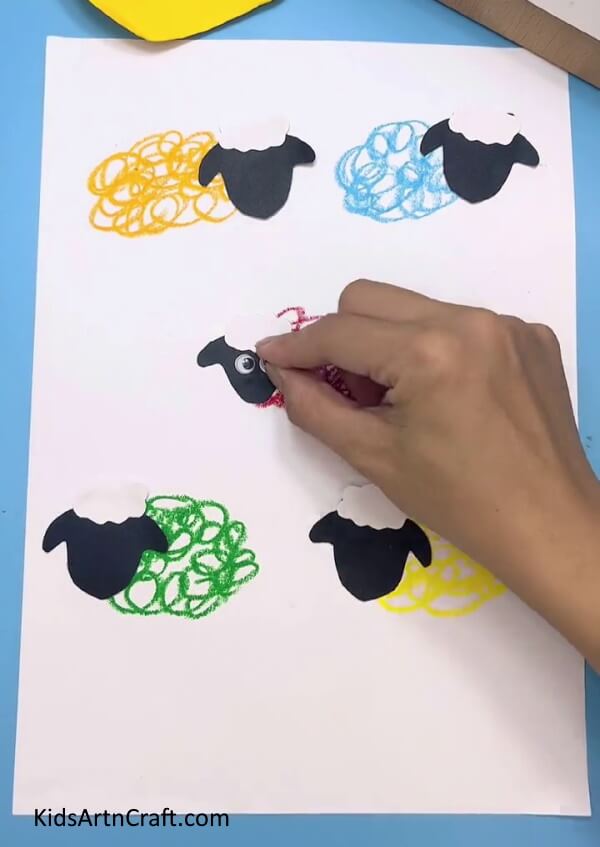

Take a pair of googly eyes and paste them on the head next to each other. Repeat the process on all five sheep.
Step 8: Giving It a Smile
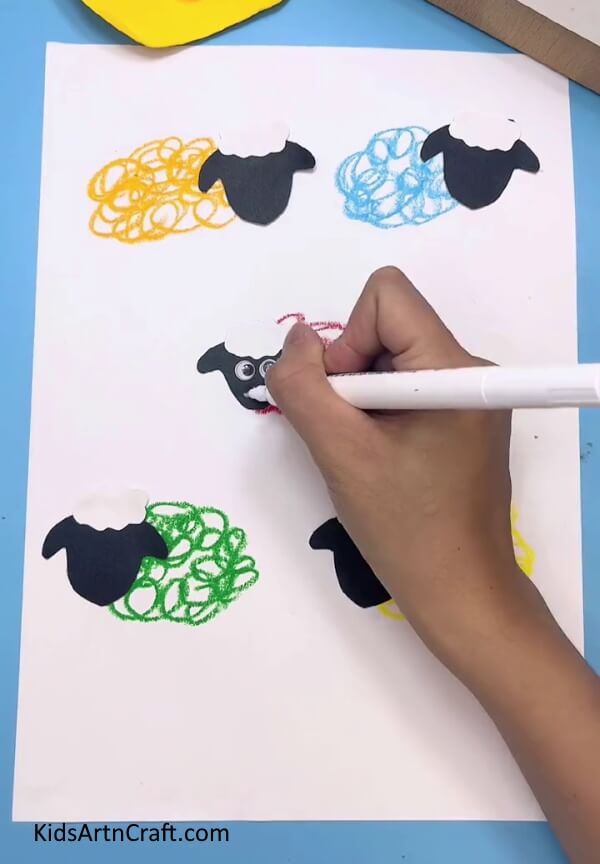

With a white sketch pen make a smile on its face as shown in step nine. Do that to all five sheep.
Step 9: Attaching Tails To The Sheep
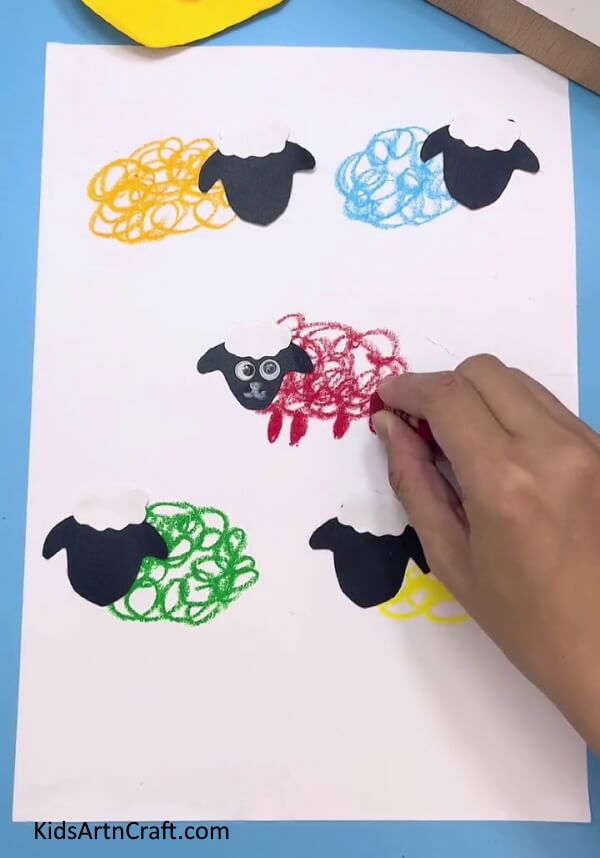

Take the crayons and start making small tails on the sides of these sheep keeping in mind the colours of the circles.
Finally Add The Sheep With Some Legs And Grass
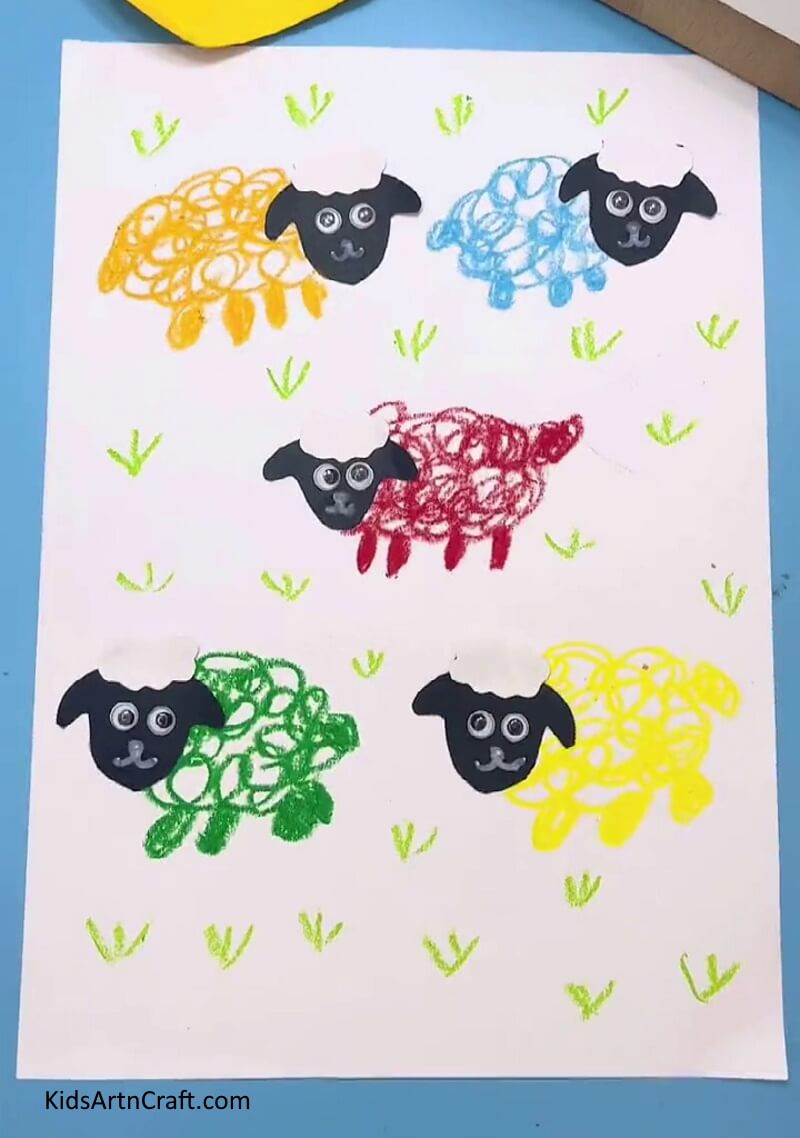

Make four thick dots at the bottom of each scribbled circle to make the shape of the legs of a sheep, keeping in mind the colours of each circle. Now, draw some grass on the sheet to make it look like they are grazing in a meadow. To do that draw connected three lines in the blank spaces between the sheep with green crayons. And that’s just it, a happily frolicking herd of sheep.
Follow us on Youtube for art and craft tutorials and much more.
More Articles from Kids Art & Craft
- Step-by-Step Drawing Tricks Video Tutorial for Beginners
- Simple Animal Drawings Tricks Video Tutorial for Kids
- Easy Drawing Tricks Learn At Home Video Tutorial for Kids
- How to Draw Animals Video Tutorial for Kids
- DIY Easy Paper Cup Octopus Craft For Kids