


Paper Crafts
DIY Moving Paper Tiger Craft for Kids

This craft project is fun and easy for kids to do! You don’t need special skills to make a cute paper tiger, just a few materials. It’s a great activity for kids to have fun with.
Tigers are one of the most beautiful-skinned animals on earth with perfectly crafted stripes and deep colors. They are strong, mighty, and ferocious yet their faces are adorable like that of a cat. The urge to pet one is immense but dangerous as well. So, what to do? Looks like we have a solution for this problem. Creating one through art and petting it as much as you want. It will be quite similar to the original as it can move but don’t worry, it won’t bite, you can be friends with it. So let’s begin the process of making this beautiful creature.
Easy To Make a Moving Paper Tiger Craft For Kids
Read more: How to Make A Moving Paper Toy – Robot
Materials Required
- An Orange Chart Paper
- A Small White Sheet Of Paper
- A Glue Stick
- A Pair Of Scissors
- A Sketch Pen
- Red Crayon
Procedure
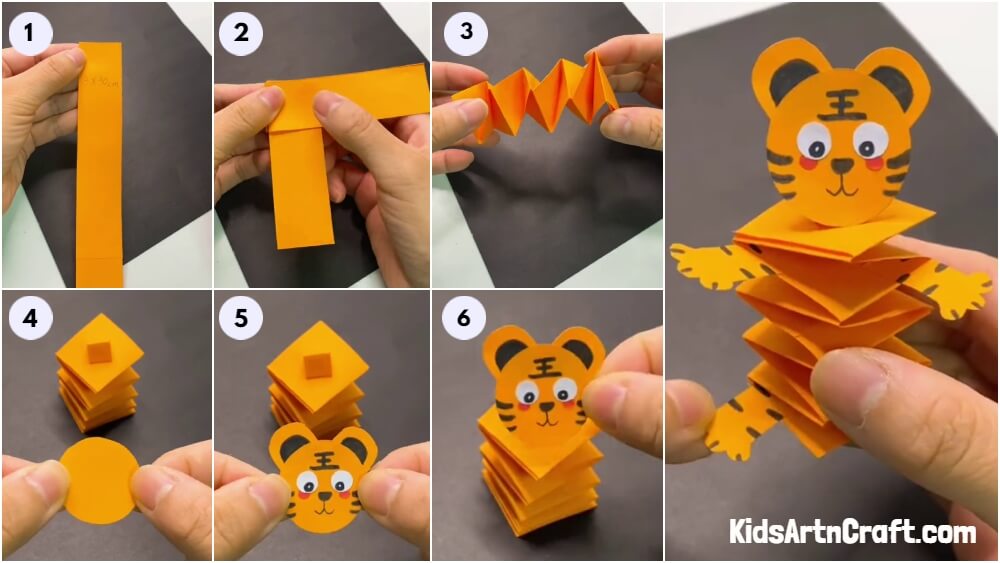
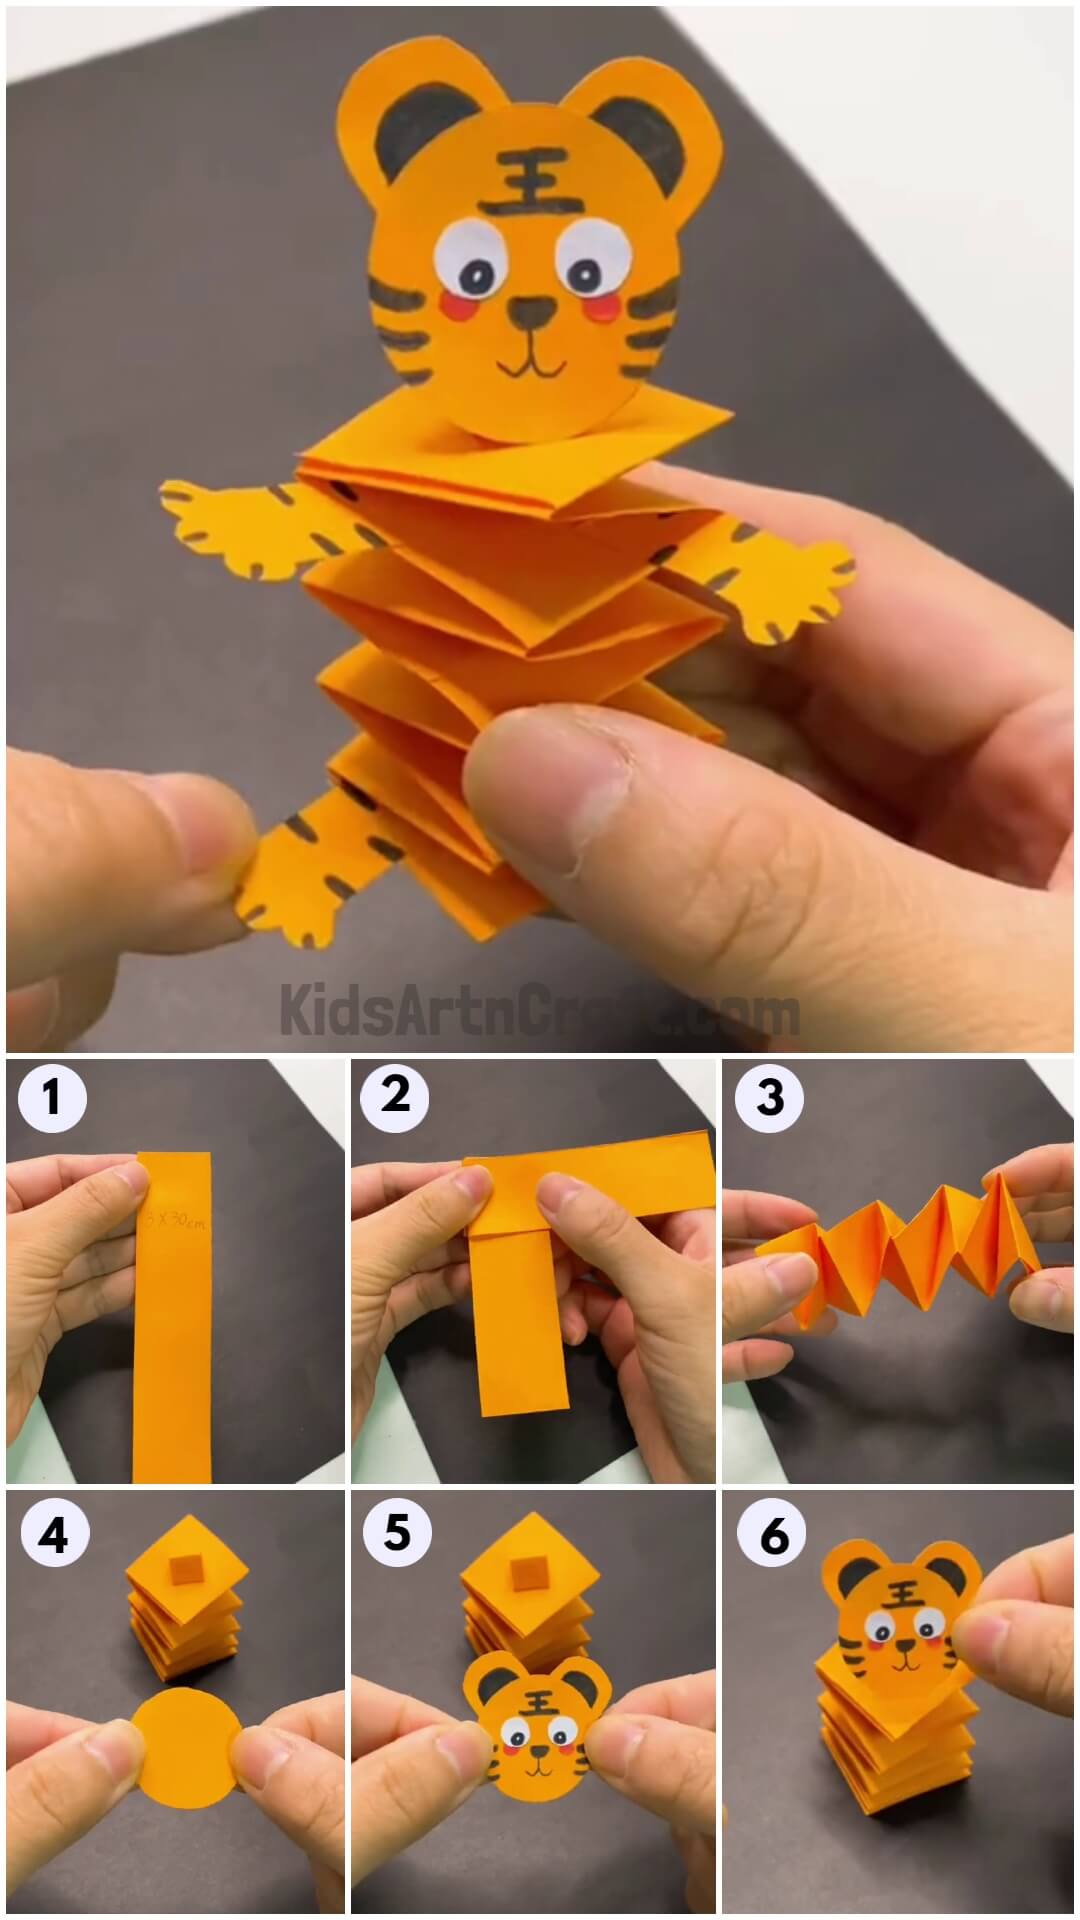
Step 1: Taking a Sheet Of Paper
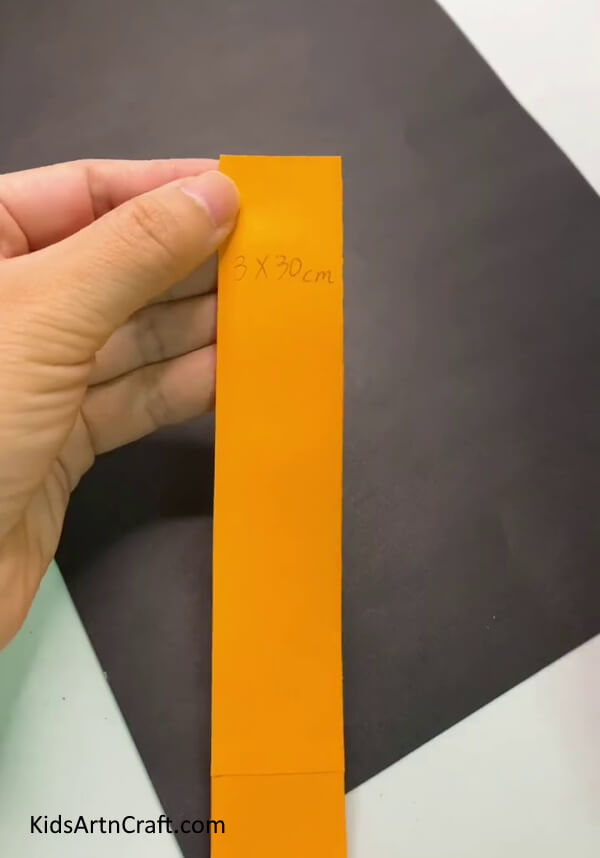
Take an orange sheet of paper and cut it into a big strip, three centimeters in width and thirty centimeters in length. Repeat the process and make another such strip of the same dimensions.
Step 2: Applying Glue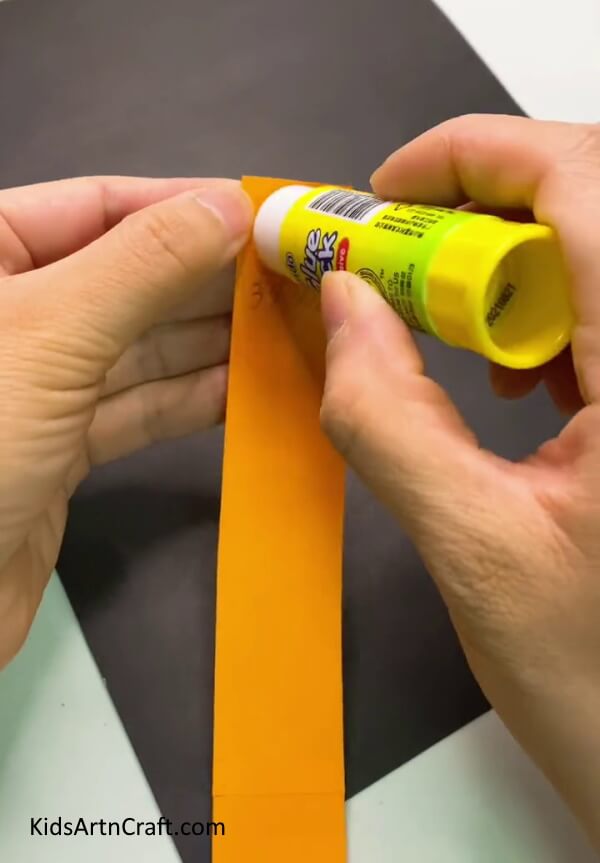
Take a glue stick and apply it on the top corner of the strip. Apply only on one side of the strip covering a small area.
Step 3: Pasting The Other Strip
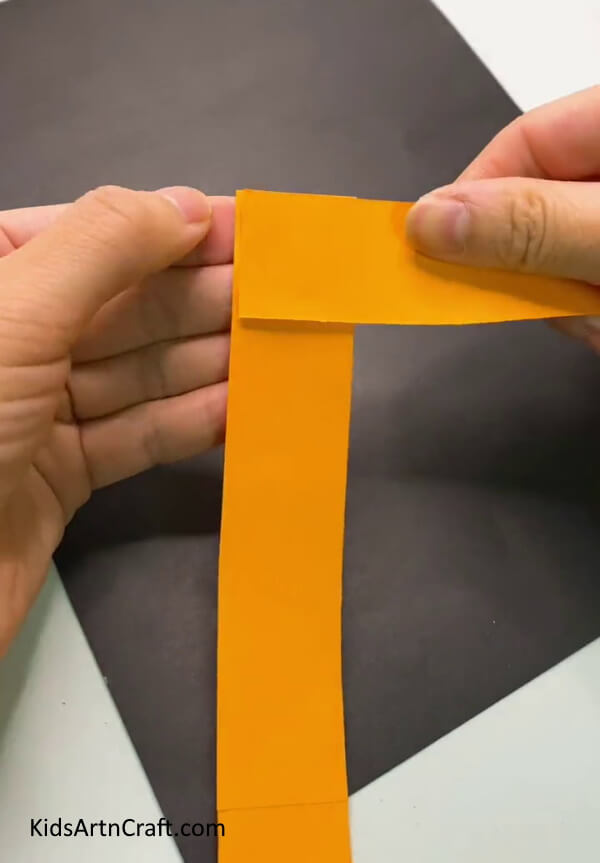
Take the other strip you made in the first step and paste it on this sticky surface horizontally, only covering the top sticky part of the strip. The entire glued shape should form an,’ L’, shape.
Step 4: Making Overlapping Folds
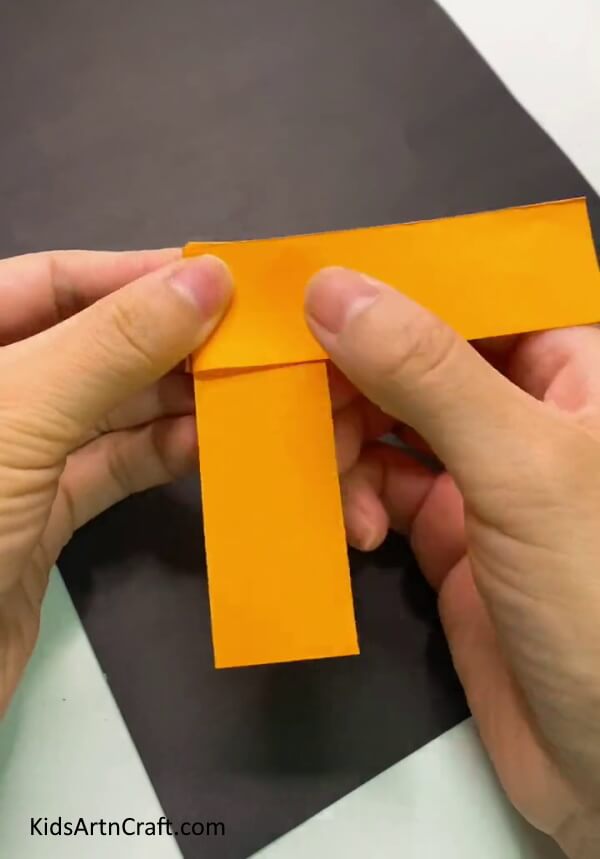
Hold one side of the strip and fold it over the other. Now, take the other strip and make a fold over the previous fold. Repeat making these folds similarly, first with the vertical strip and then with the horizontal one until the strips reduce in length.
Step 5: Gluing The Open Ends
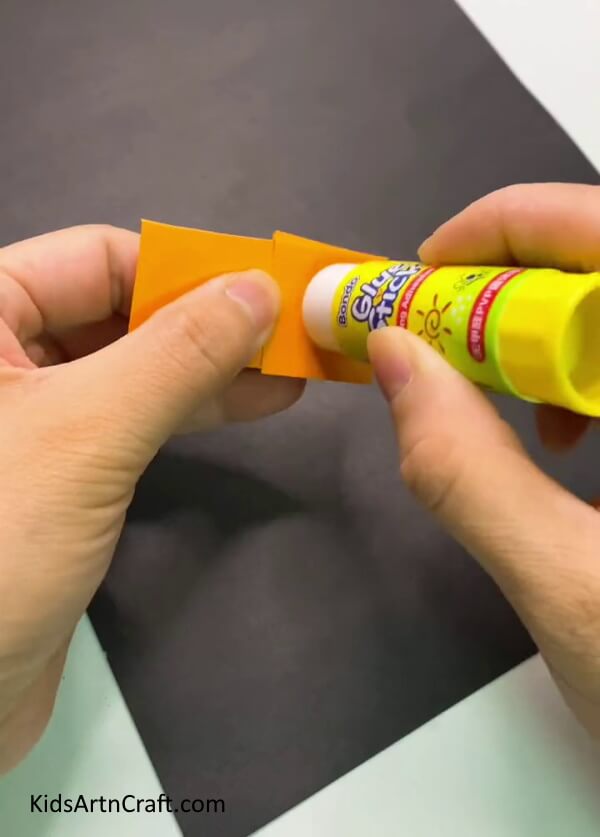
Apply some glue on the flat pile of folds and stick the end of the vertical strip on it and then glue the end of the horizontal strip on the already pasted end.
Step 6: Opening The Pile Of Folds
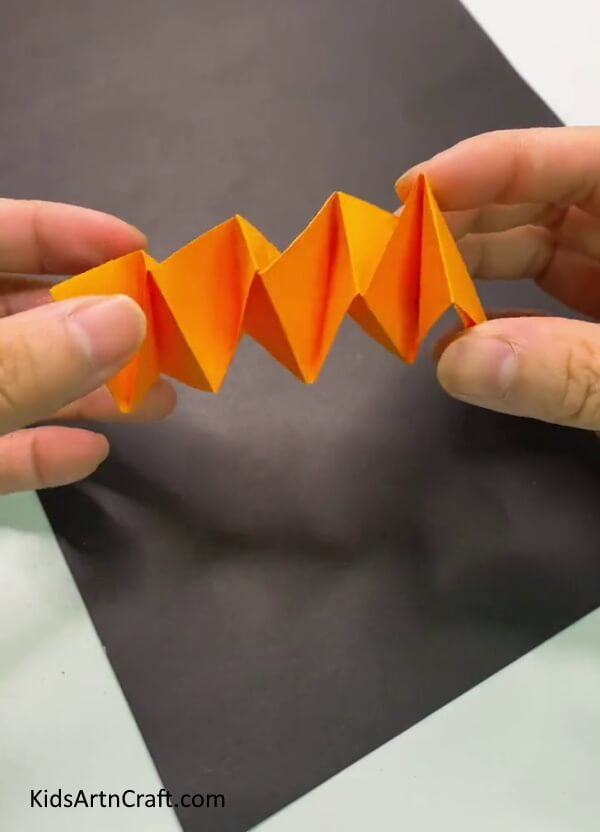
Opening the folds you will notice a bouncy, spring-like shape will reveal itself. This shape will form the body of the tiger.
Step 7: Making a Small Triangle
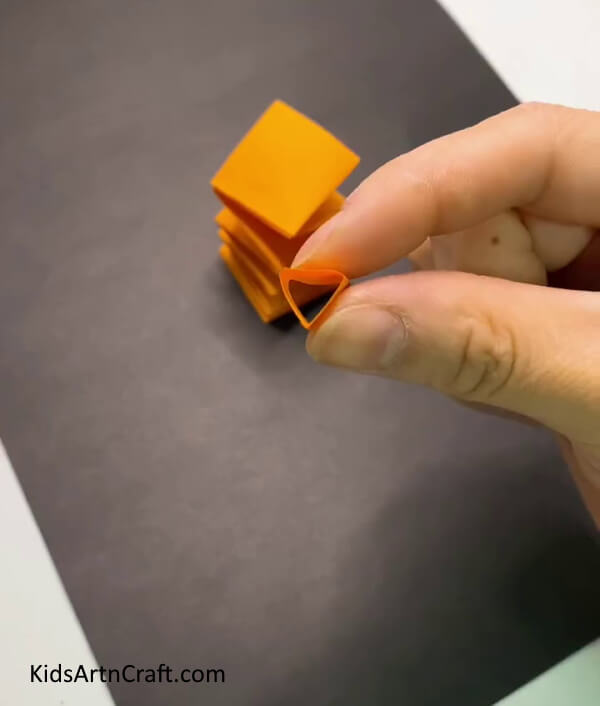
Take a small orange sheet of paper and cut out a very small strip and paste the ends of this strip. Pinch the pasted strip on one side a little and on the other side as well making a small triangle as shown in the picture below.
Step 8: Sticking The Small Triangle On The Top Surface Of The Spring
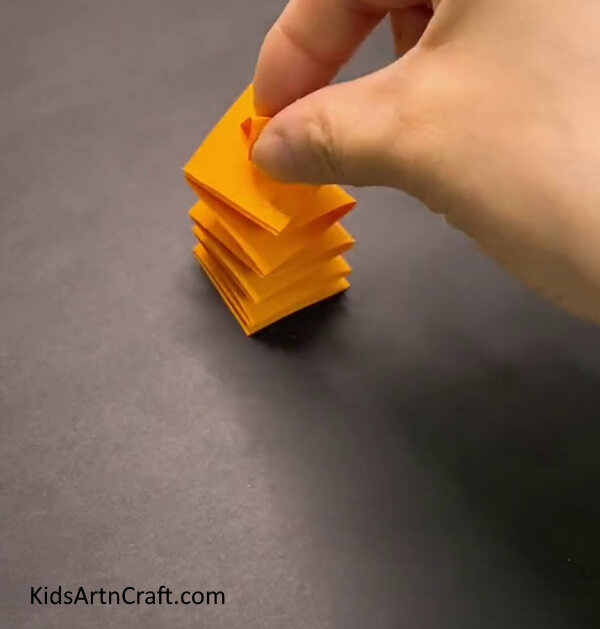
With the help of glue paste this triangle in the middle of the top surface of the spring made earlier.
Step 9: Cutting Out a Circle
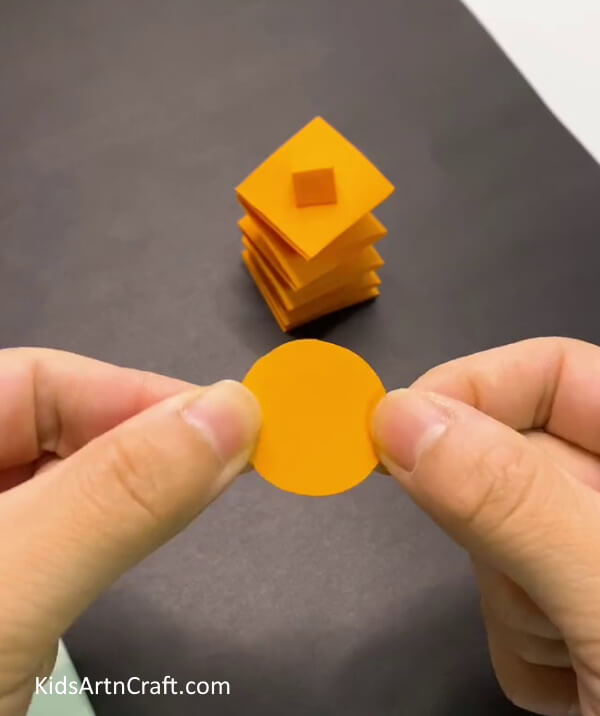
Take an orange sheet of paper and cut it into a circle with the help of scissors. You can do that by drawing the circle first.
Step 10: Making a Face On The Circle
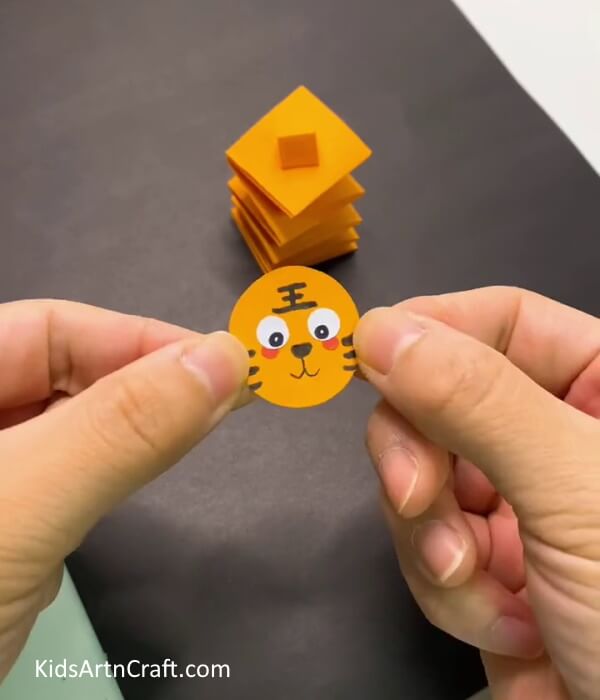
Take a white sheet of paper and draw two small circles on it and with the help of a pointed object start marking the drawings until they are cut into circles as it can be difficult to do that with scissors. Now, draw two circles at the bottom of these white circles with the sketch pen to complete the eyes and paste them on the circle next to each. Follow the picture below for reference. Take a sketch pen and make three marks on each side of the circle. Make a nose in the middle and some lines at the top as shown in the picture below. Take a red crayon and make two marks below the eyes. This will add some hue and liveliness to its face.
Step 11: Giving It a Pair Of Ears
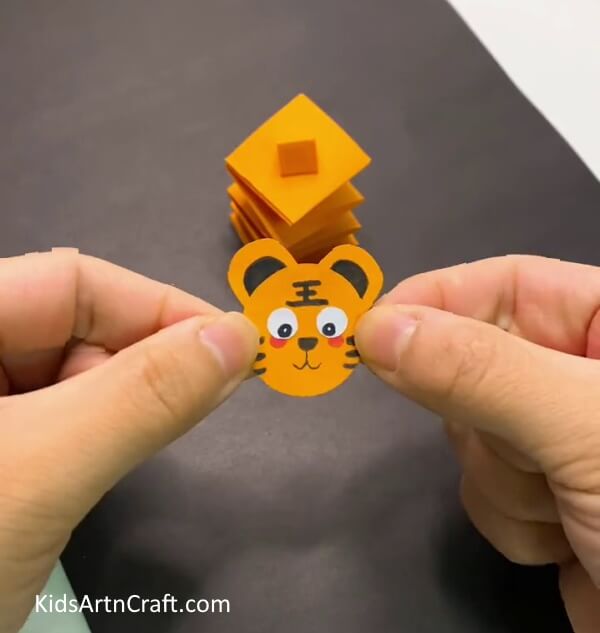
Take an orange sheet and cut two small semi-circles and paste them at the top of the head behind the circle. Now, take a black sketch and draw two semi-circles on both ears right above the circle as shown in the picture below.
Step 12: Connecting The Head To The Body
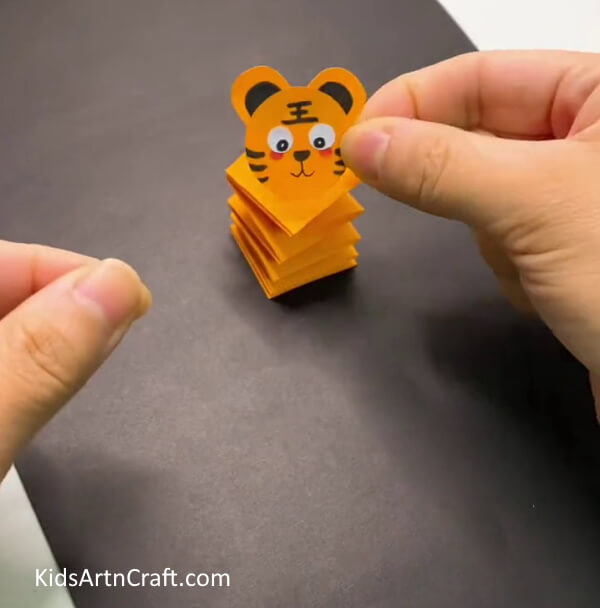
Apply some glue on the small triangle you pasted on the spring earlier. Paste the head on this triangle and stick it properly. You can do that by inserting a pen refill into the hole in the small triangle and pressing its inner side to seal the head completely with the body.
Step 13: Adding Limbs To The Body
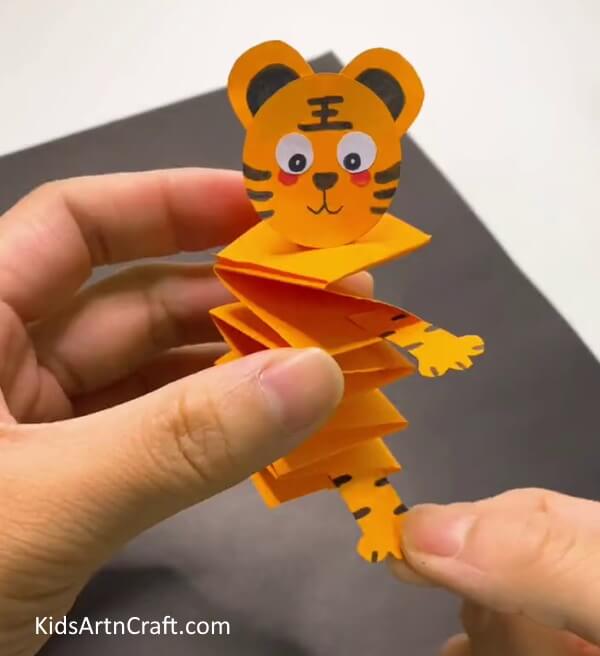
Draw four tiger limbs with paws on the orange sheet and cut them out. Draw two small lines on each side of the limbs and small lines on all three sections of the paw. Paste the limbs on the second and the last spiral of the right side of the spring respectively.
Finally, Cute Moving Paper Tiger Craft is Ready!!
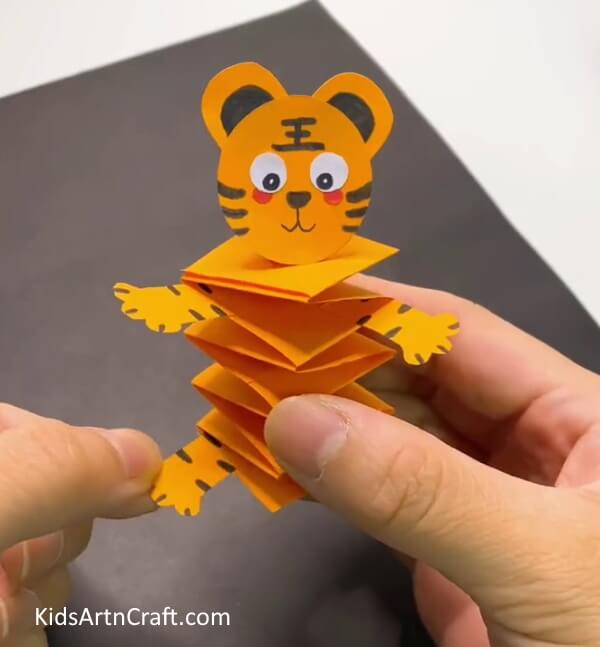
Similarly, paste the other two limbs on the left side of the spring as shown in the picture below. This completes our tiger with all its limbs, body, and head. Congratulations, Cute Moving Paper Tiger Craft is Ready!!
Some More Tiger Craft Tutorial
Making a Tiger Wall Hanging From Paper
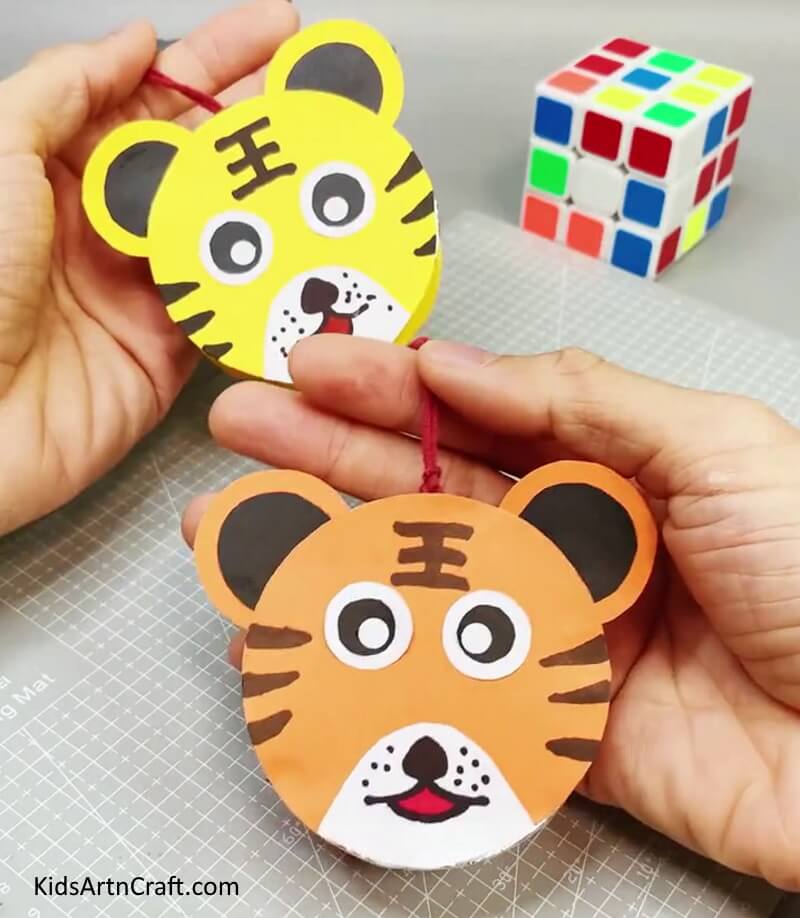
Image Source/Tutorial: Kids Art & Craft
Making a tiger wall hanging from paper is a fun and easy project that requires minimal supplies. All you need is a few sheets of colored paper, scissors, and some glue. With some creativity and patience, you can create a unique wall decoration that is sure to impress!
To move the tiger, simply move the spring up and down. This will make tigers’ bodies movable. This converts this tiger into a toy and a decorative piece as well. You can either gift it to your friends or place it on your study table as a piece of decoration.
Follow us on Youtube for art and craft tutorials and much more.
More Articles from Kids Art & Craft
- Paper Strips Frog Craft Step-By-Step Tutorial
- Easy Ladybug Craft For Kids Using Leaves and Paper
- DIY Star Wand Ideas for Kids
- Simply Creative Paper Animal Crafts Video Tutorial for Kids
- Simple Paper Animal Craft Ideas Video Tutorial for All


