


Paper Crafts
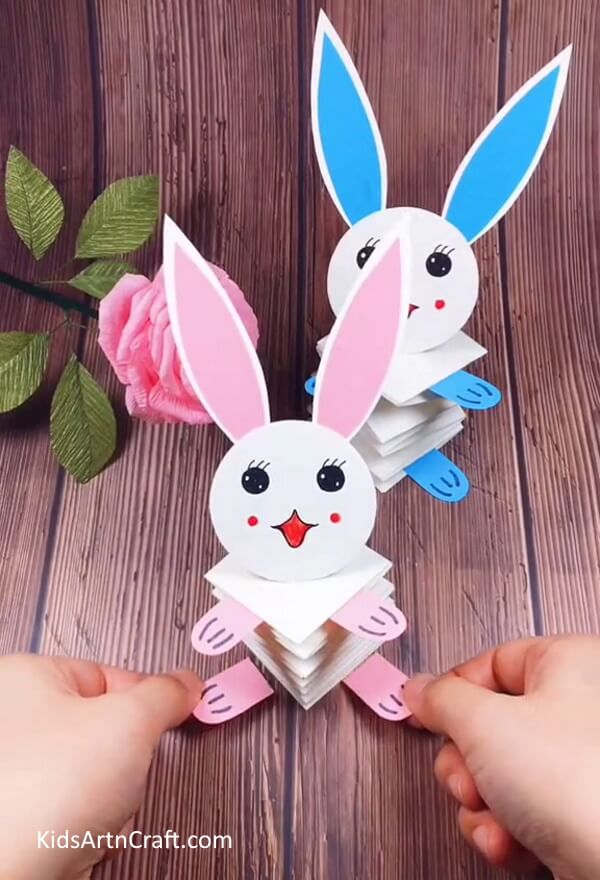
DIY Paper Bunny Craft for Easter Decorations

DIY Bunny Craft For Easter Decoration
Read More: How to make Paper Butterfly Easy Tutorial For Kids
Materials Required
- White Craft Paper
- Glue Stick
- Pink Craft Paper
- Black and Red Sketch pen
Procedure
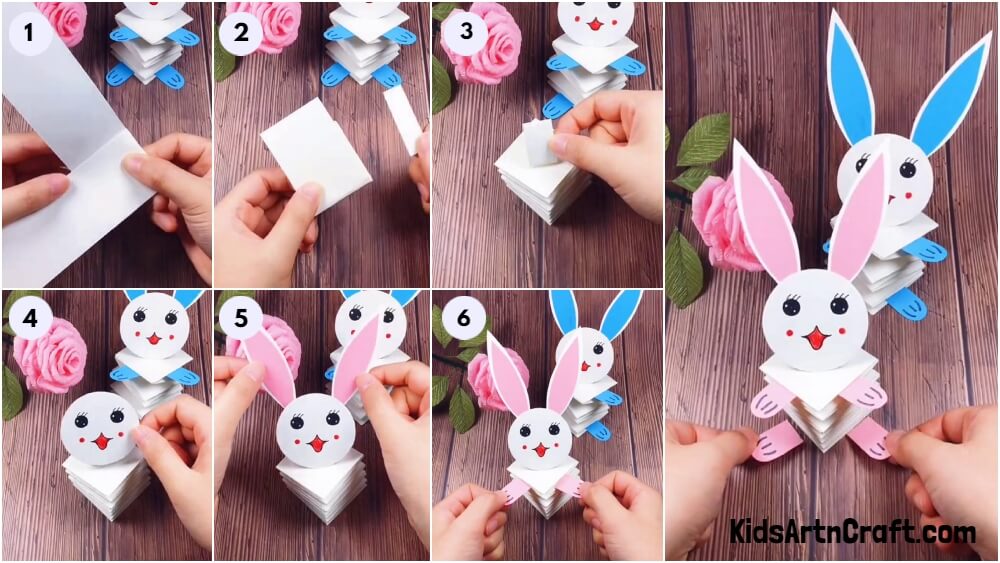
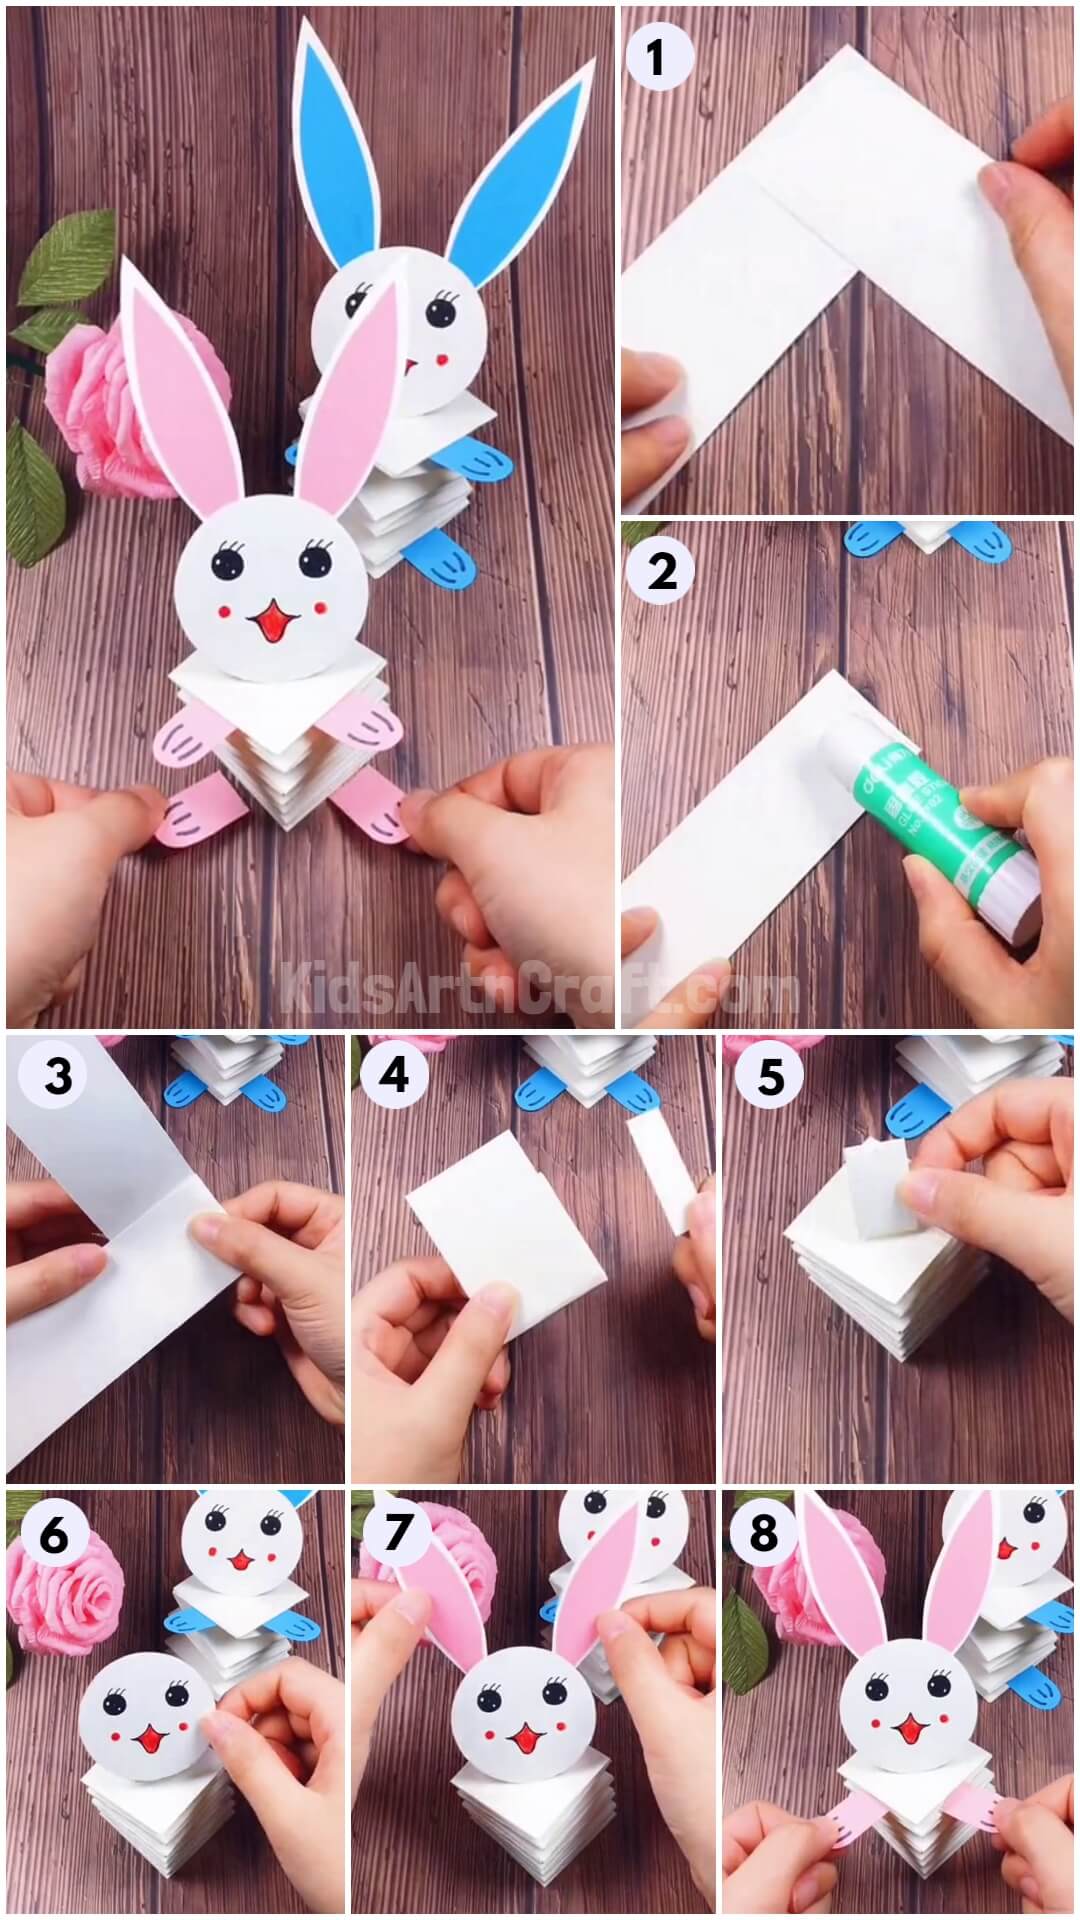
Step 1: Cutting Out Two Big Rectangular Strips Form White Craft Paper
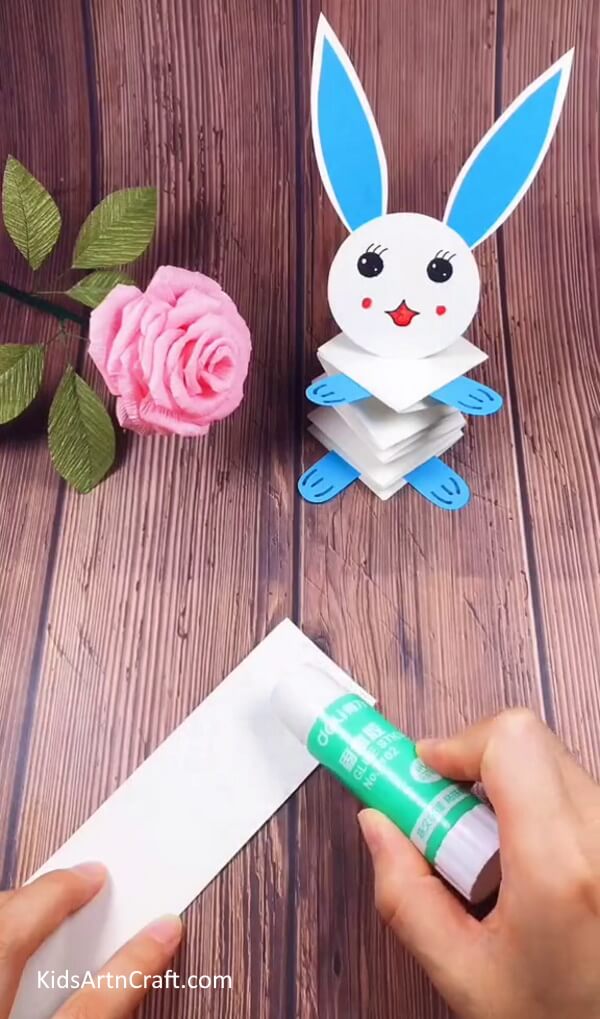
Your first step would be to cut out two thick, rectangular strips from white craft paper. Take the first strip and apply glue on one end of the strip using a glue stick.
Step 2: Sticking The First Strip To The Second Strip
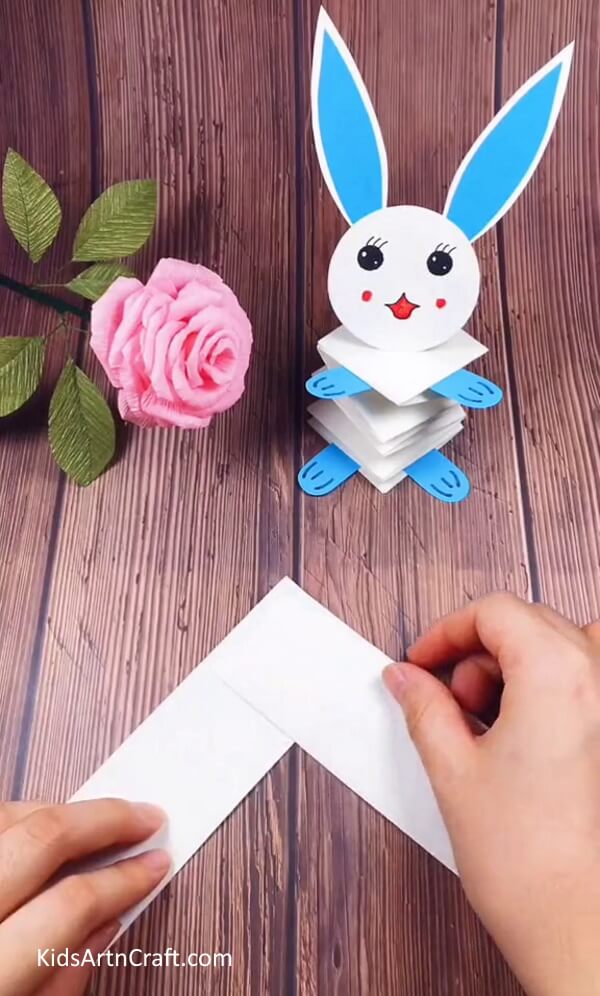
Take the second strip of white paper and stick it to the first. Stick it in such a way that the two strips form a 90 degree angle.
Step 3: Folding The Strips

In this step, you will be folding the strips to form a paper spring-like structure. Fold the first strip to form another 90-degree angle, as shown in the image. Keep folding the same way until you reach the end of both strips.
Step 4: Gluing The Ends Together After The Spring Like Structure Is Formed
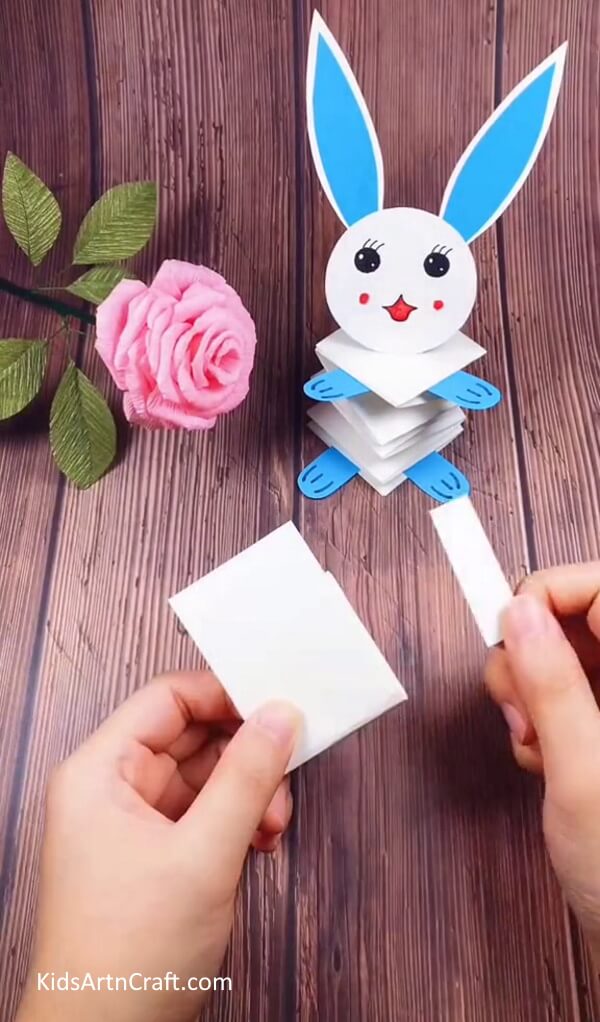
Using your glue stick, glue the ends together once you are done folding till the end. You now have a paper spring-like structure. This will be the body of your bunny. Cut a small, thinner strip from white craft paper.
Step 5: Sticking The Small Strip On Top Your Bunny’s Body
Fold the smaller strip in half and let go to form a stand-like base for the base of your bunny’s face. Stick this strip atop the bunny’s spring body using glue.
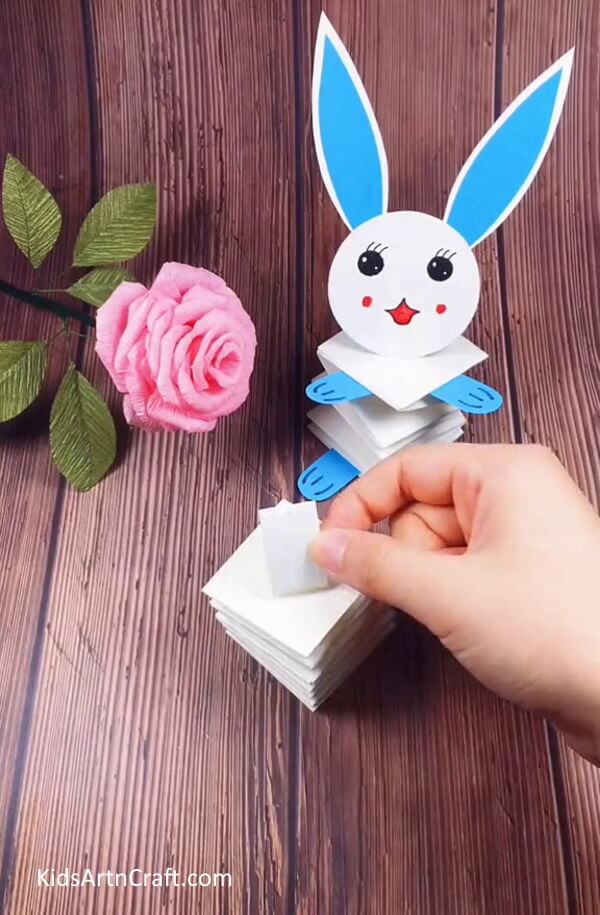
Step 6: Adding The Face Of The Bunny
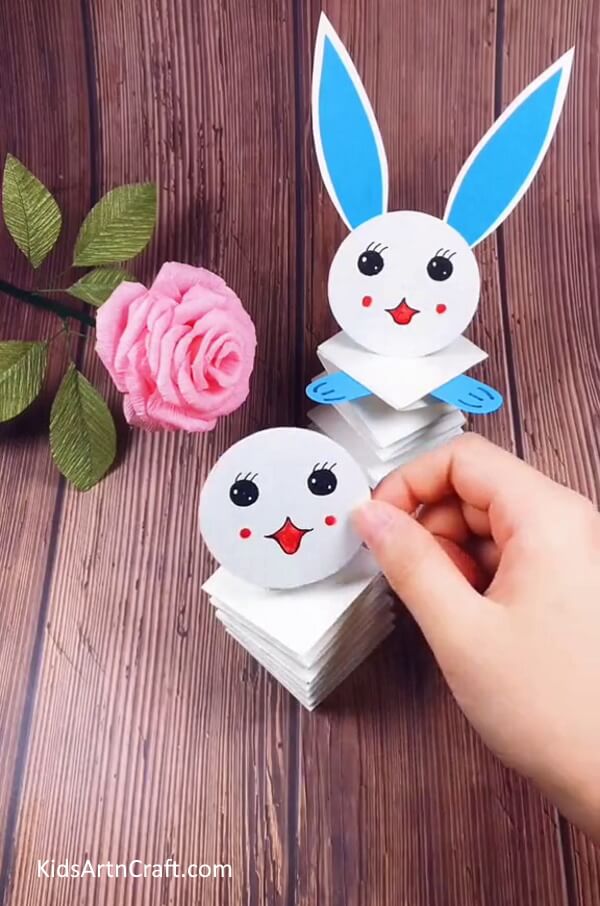
On a circle made with white craft paper, with black and red sketch pen, draw two eyes with eyelashes, a small mouth and two blush marks. Make a cute face for your cute bunny. Stick the face onto the paper strip stand.
Step 7: Sticking The Ears Of The Bunny
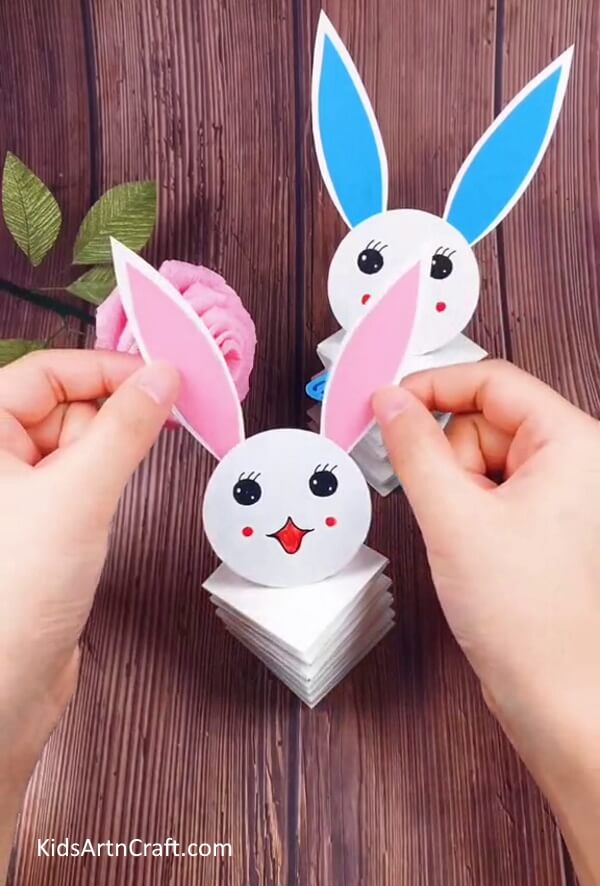
Cut out two bunny ear shapes from white craft paper. From pink craft paper, cut out two more bunny ears but a little smaller than the white ones. Stick the pink ears onto the white ears. Now stick the completed ears onto the head of the bunny using glue.
Step 8: Attaching The Hands And Feet Of The Bunny

Cut out four rectangular semi-circle-like shapes from pink craft paper. Using a black sketch pen draw three lines on each of them to represent the paws of the bunny. Stick these onto the body of the bunny.
Finally Our Bunny Craft For Easter Decoration Is Ready!
And there you have it! Your DIY Paper Bunny Craft is all ready for you to show the world!!!
By following this step-by-step tutorial, anyone and everyone can easily learn to make this fun and creative craft. They can use their craft skills to conjure a new type of craft work with just paper. This craft is perfect for easter decorations and craft projects. It is super easy and engaging and will keep you interested and attentive throughout the process. This craft is easy to learn and make and adults and children alike can easily catch on to the steps with this tutorial. So give it a try and engage your kids and yourself in a fun craft-learning activity!
Hope you like this cute and creative DIY Paper Bunny Craft For Easter Decorations step-by-step tutorial! We hope that it helped you and your kids learn something new. We would love to hear your thoughts in the comment section below.
Be sure to visit our other articles for more craft and DIY ideas!
Thank You for visiting our website!
Follow us on Youtube for art and craft tutorials and much more.
More Easter Crafts from Kids Art & Craft
Easy Easter Sheep Paper Puppet Tutorial
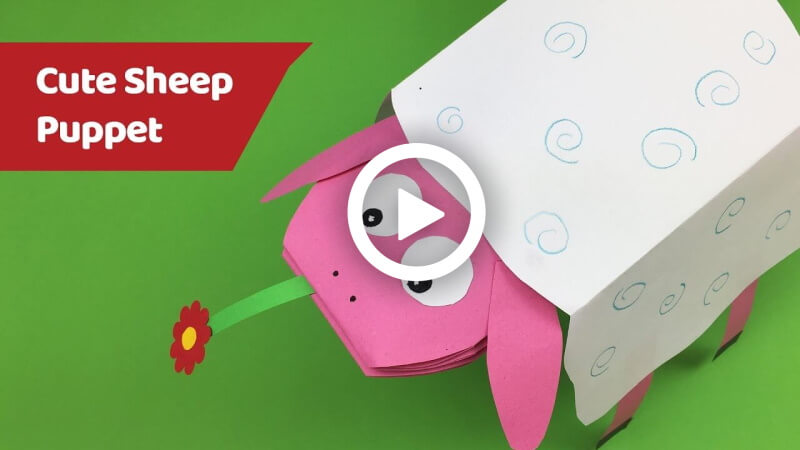
Follow this easy Easter sheep paper puppet tutorial to create a charming, fluffy sheep puppet. Ideal for kids and beginners, this craft is a fun way to make festive Easter-themed creations.
Fun and Easy Easter Crafts for Adult Crafters
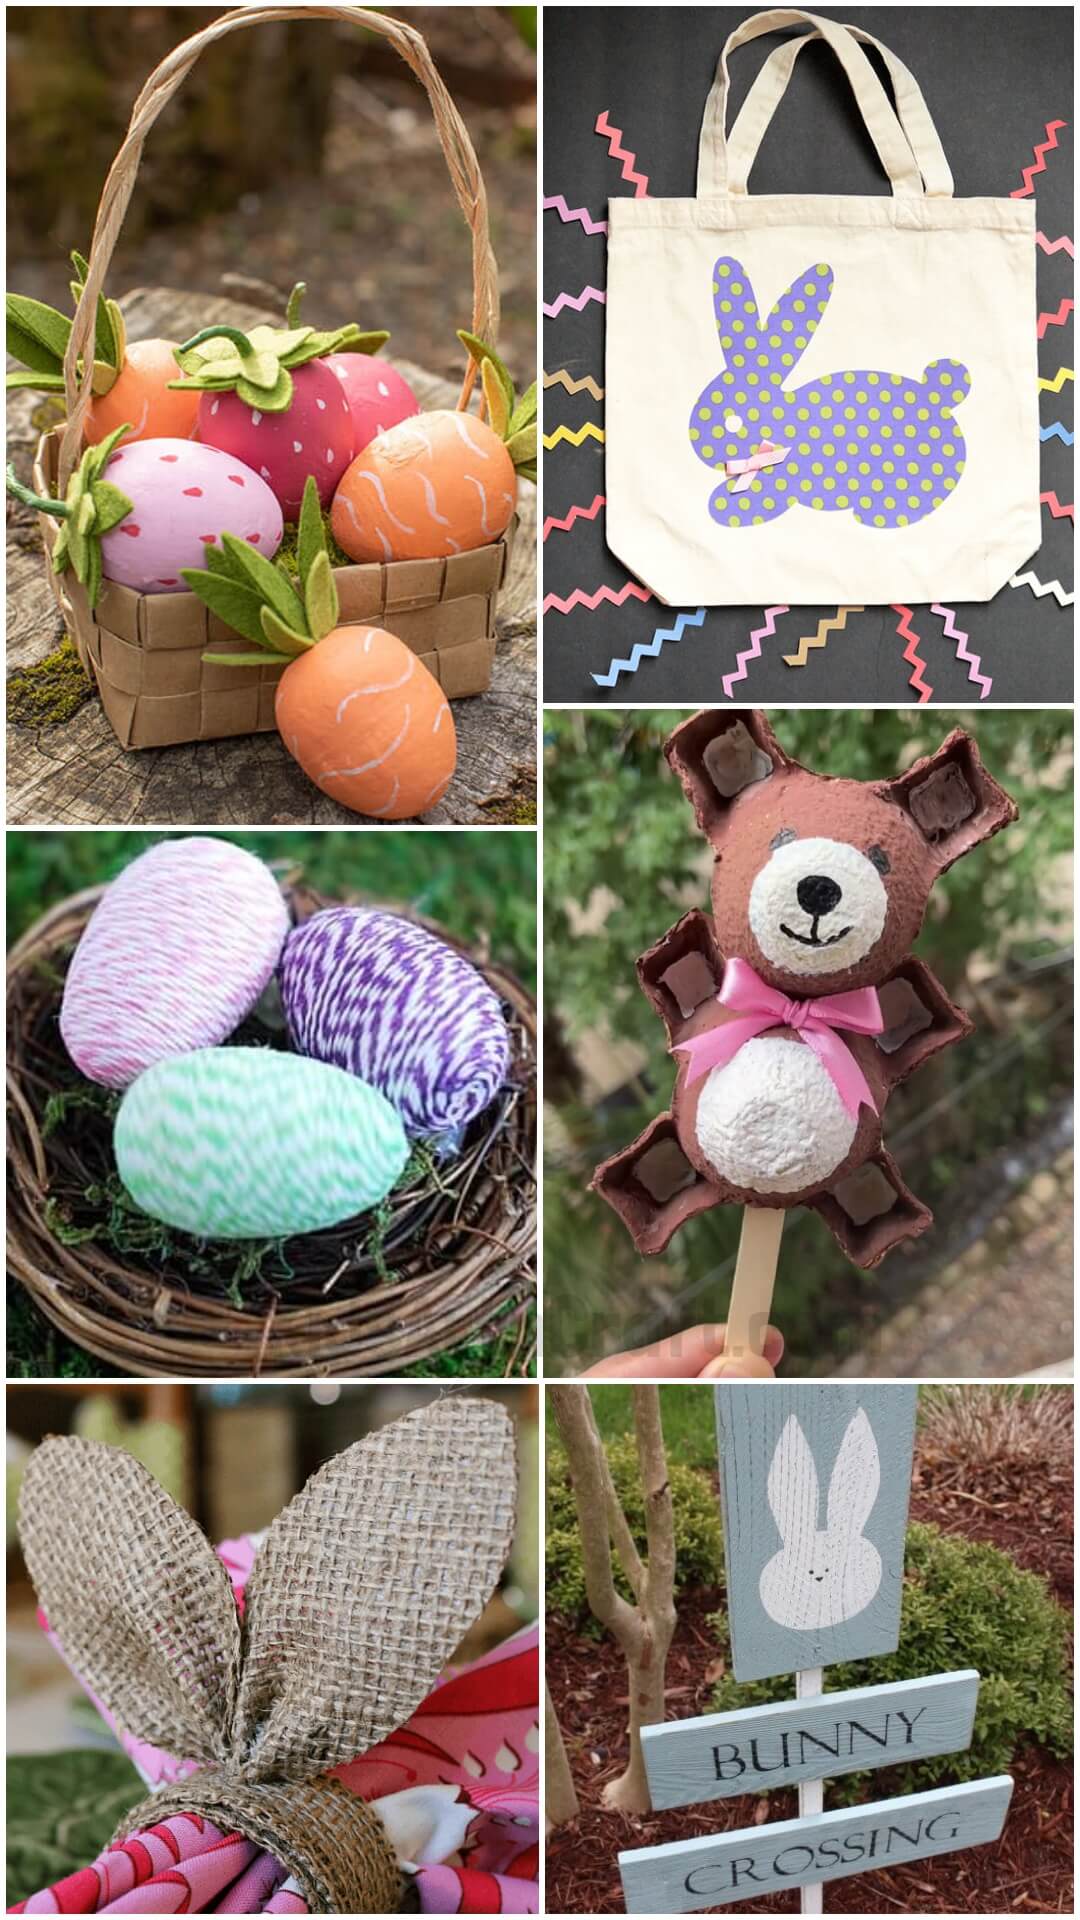
Try fun and easy Easter crafts for adult crafters, including ideas like decoupage eggs, hand-painted decorations, and chic centerpiece creations. These projects offer a playful way for adults to embrace their creative side.
Creative Easter Crafts Using Corks
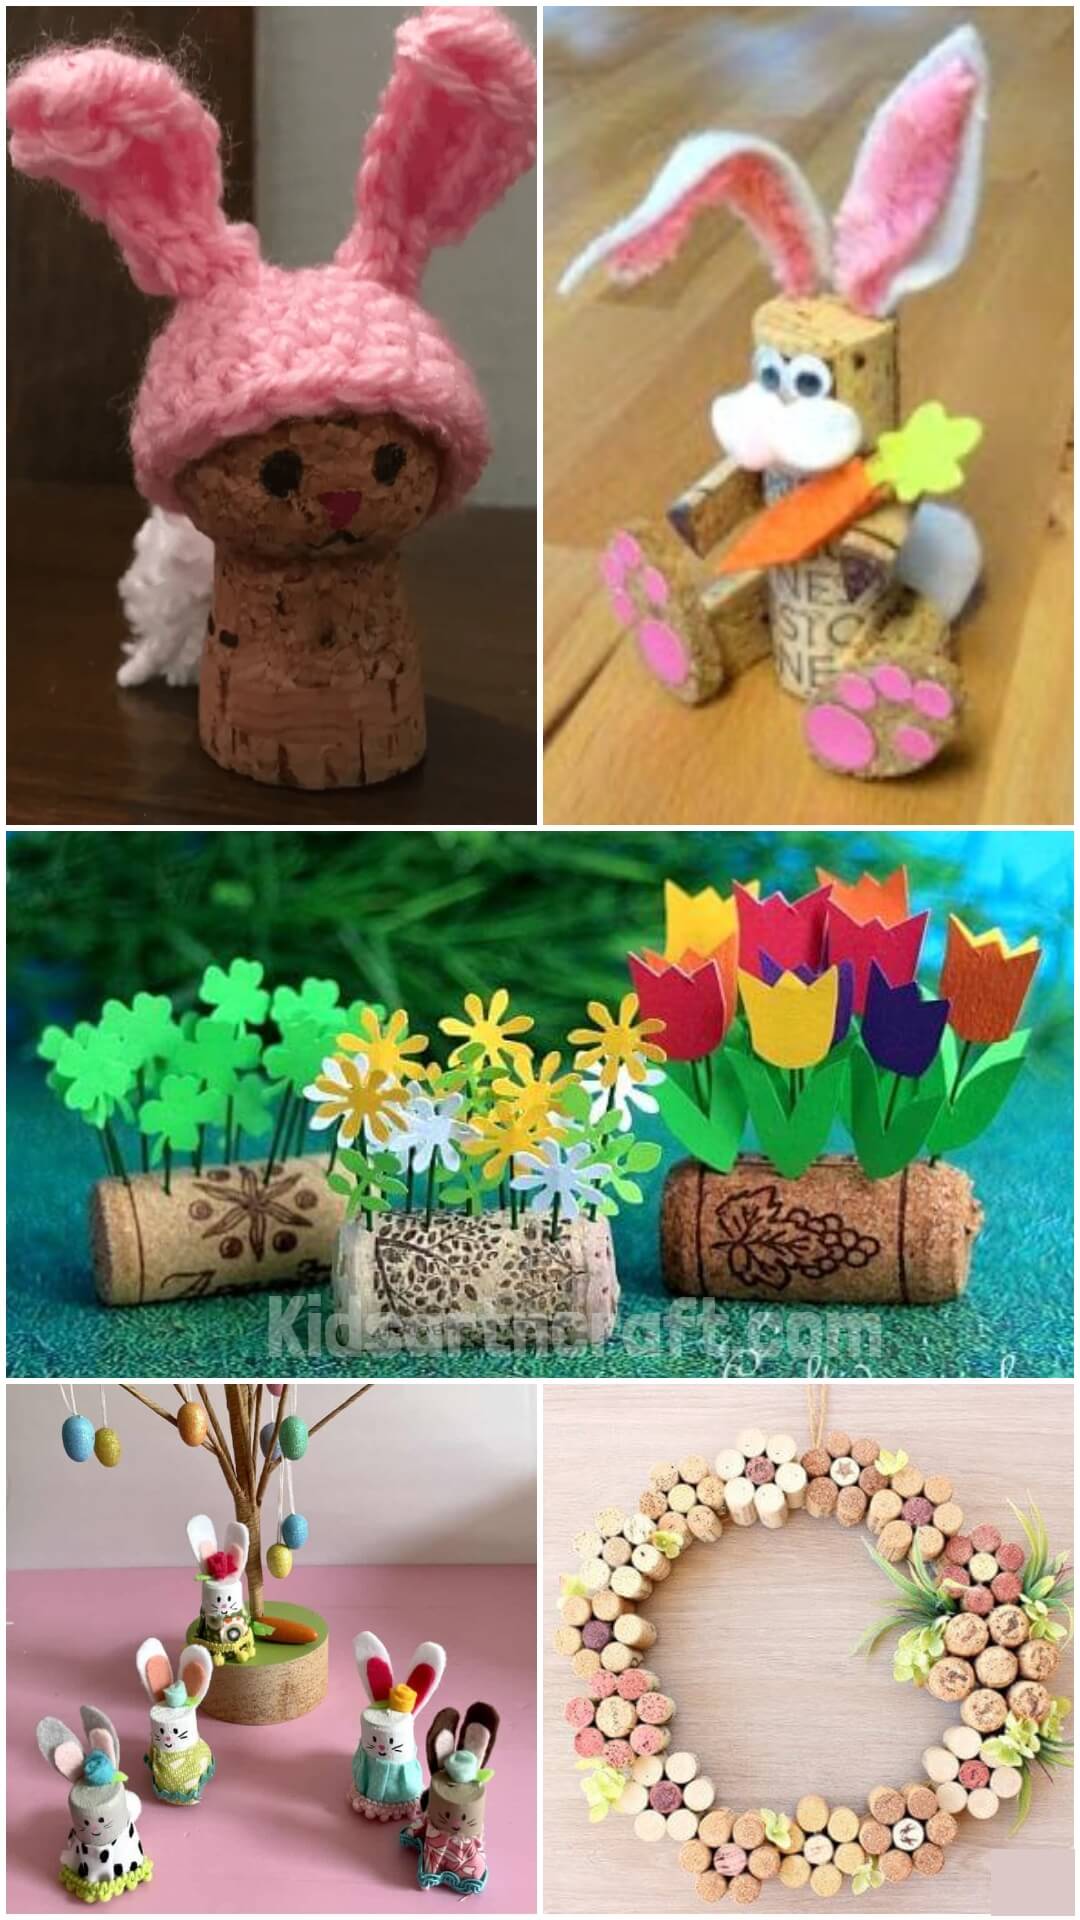
Explore creative Easter crafts using corks to design unique holiday decorations. These fun projects involve turning corks into bunnies, chicks, and other Easter-themed creations, adding an eco-friendly and playful touch to your decor.
DIY Colorful Easter Egg Craft Ideas for Kids
Explore DIY colorful Easter egg craft ideas for kids. These hands-on projects encourage children to express their creativity, using bright paints, markers, and decorations to design their own unique Easter eggs.
Easy Easter Chick Craft with Popsicle Sticks for Kids
Try this easy Easter chick craft with popsicle sticks, designed for kids. This simple project involves decorating popsicle sticks to make a cute chick figure, offering a fun and creative Easter activity.


