DIY and Crafts
Fairy Crafts & Activities for Kids

You might have listened to too many fairy tales, and you might have imagined what the fairy looks like. How those fairies used to set everything right with their magic wands, and how they used to fly in the sky with their magic wings, and how beautiful the outfits fairies wore.
Whenever we hear about any fairy, an image of her Beautiful face, pretty wings, and a magic wand comes to our mind. In this article, we are going to create some attractive things that are associated with the fairies. Girls are usually fond of fairy tales and fairies as well. So girls, this article is especially for you. Try to make these DIY projects at home and have fun. Spend your free time creating beautiful memories while performing these DIY projects.
Fairy Crafts & Activities for Kids
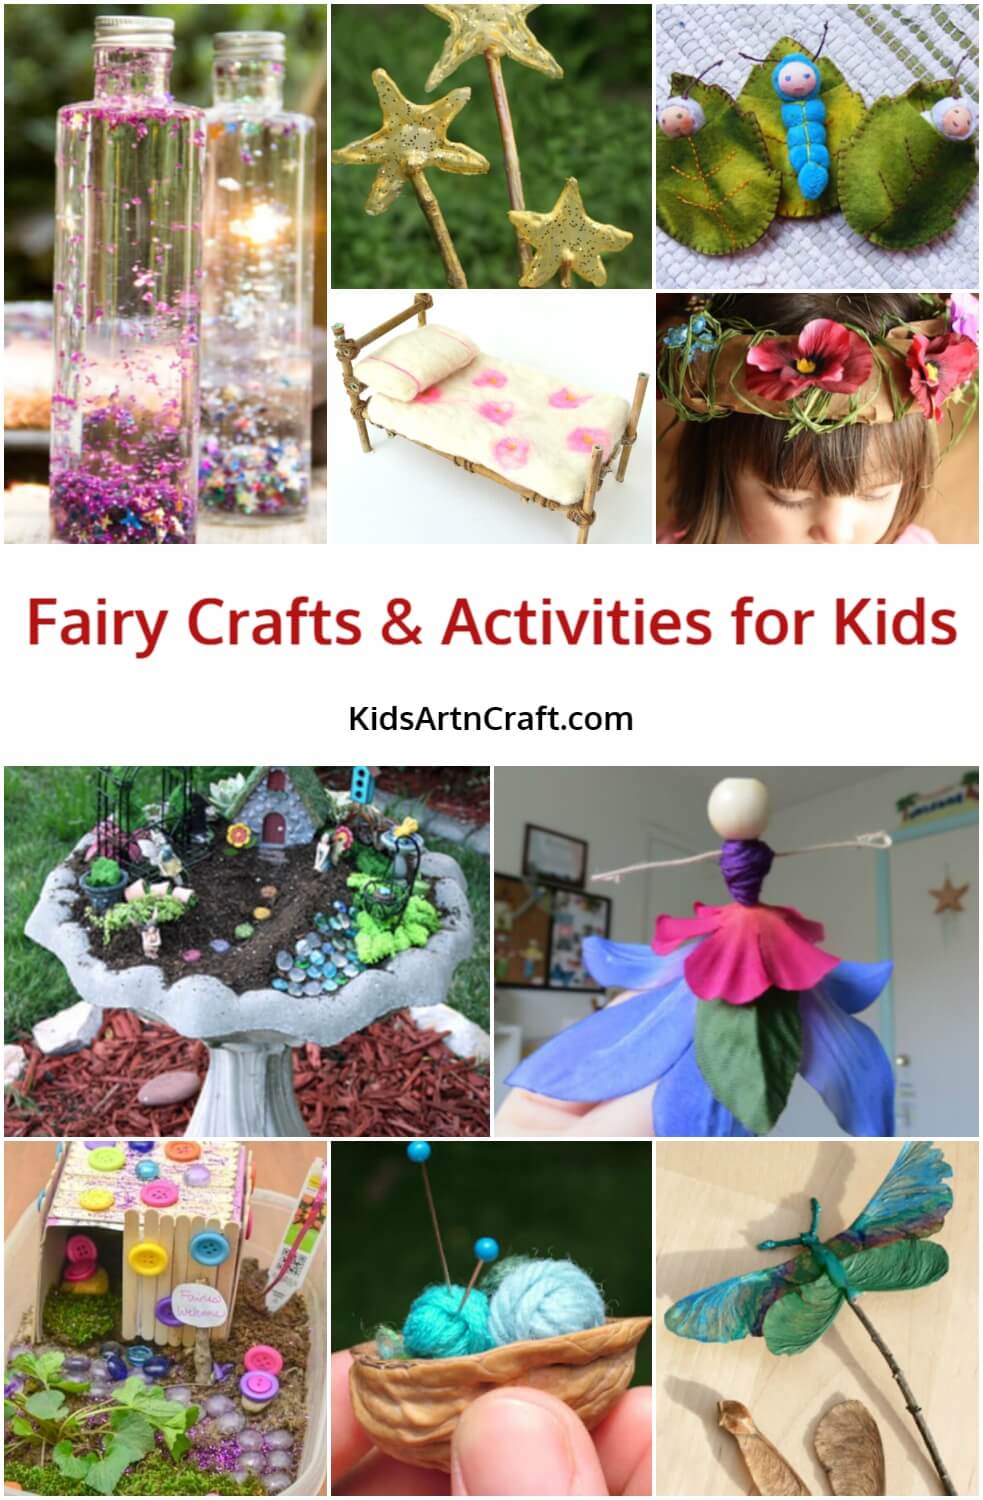

1. Fairy House

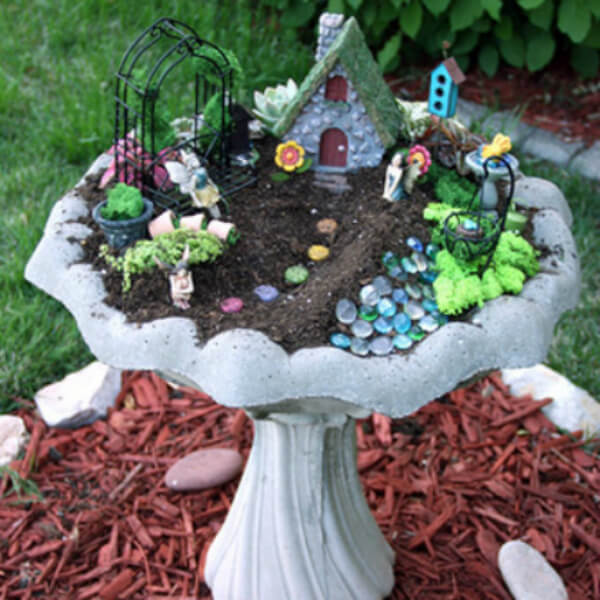
Image Source/Tutorial: Curly Crafty Mom
Materials required:
- Flowerpot
- Clay
- Toy-house
- Leaves
- Pebbles
Procedure:
- Take an empty flower pot and fill it with clay.
- Now, take a toy house and place it over the clay as shown in the image.
- Collect some leaves, pebbles, and other accessories for decorating the surroundings of the fairy’s house.
2. Fairy Button House
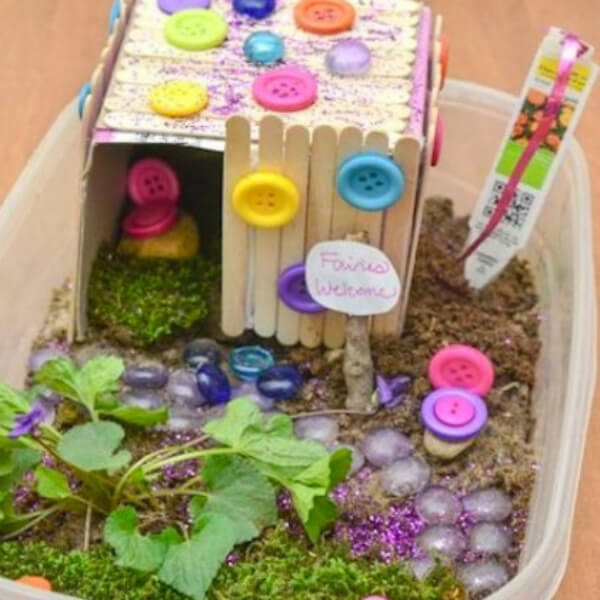
Image Source/Tutorial: living well mom
Materials required:
- Plastic container
- Cardboard box
- Ice-cream sticks
- Glue
- Buttons
- Leaves
- Stones
Procedure:
- Take an empty plaster container and fill it with clay.
- Take a cardboard and make a box shape out of it so that it will become the house.
- Using glue, paste the ice-cream sticks side by side, according to the size of the door of the house.
- Decorate the surroundings of the house using buttons, leaves, pebbles, and grass as shown in the image.
3. Magic Star Wands
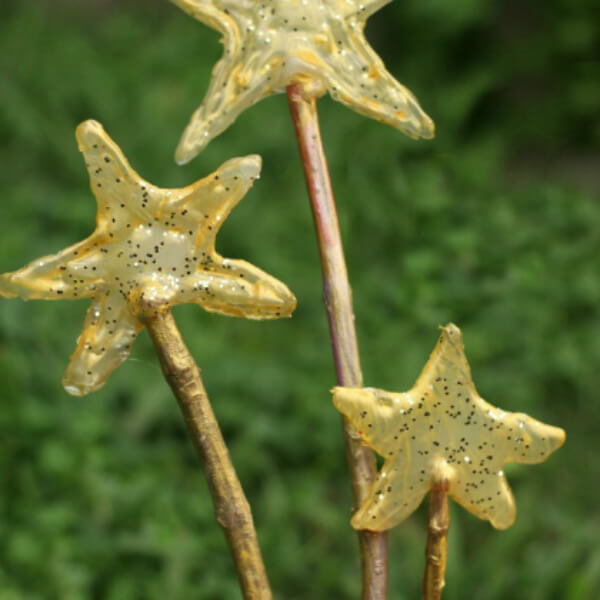
Materials required:
- Tree branches
- Star-shaped mould
- Glue gun
- Oven
- Metallic Color
- Brushes
- Glitter powder
Procedure:
- Collect some tree branches that are Straight and can be used for magic wands.
- Take some metallic golden colour and apply it to the tree branches using brushes.
- Pour some molten glue and glitter powder mixed properly into the star-shaped baking moulds and place them in the oven for some time.
- After 5 mins, bring the moulds out and cool them, so that the glue solidifies into the star shape.
- Now paste this star shape with the coloured tree branches, and your magic wand is ready.
4. Baby Dolls
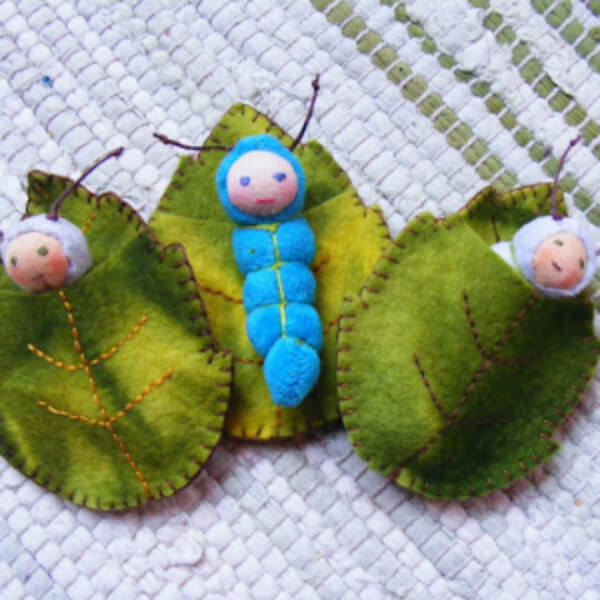
Image Source/Tutorial: Earth and Living
Materials required:
- Fabric
- Cotton
- Needle
- Fabric colours
- Scissors
Procedure:
- Take the fabric and fold it, then cut it according to the shape of the leaf using Scissors. We will get two of the same leaf shapes.
- Fill the leaves with cotton so that they look somewhat stuffed.
- Now stitch these leaves together using a needle and thread.
- Draw the other features using fabric colours and the brush.
5. Cute Tiny Bed
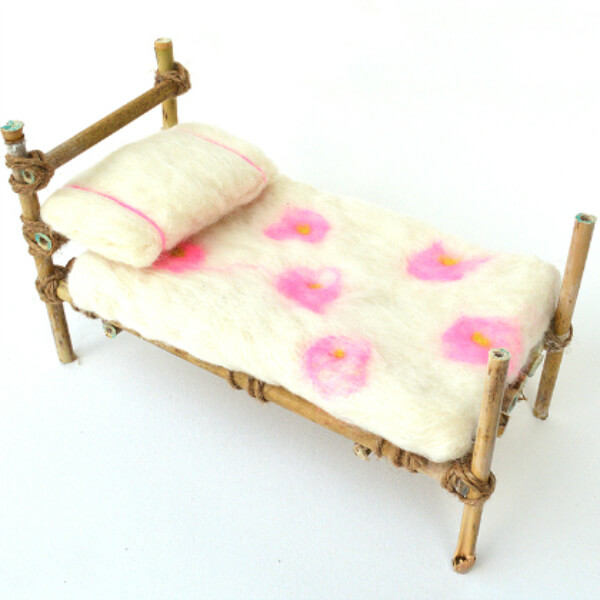
Image Source/Tutorial: Molly Moo Crafts
Materials required:
- Cotton
- Twigs
- Jute rope
- Fabric
- Needle
Procedure:
- Take some twigs and join them in such a way that a miniature bed is formed. Tie the twigs with each other using jute rope.
- Make the quilt and pillow out of fabric using thread and a needle.
- Stuff the quilt and pillow with cotton.
6. Fairy Bells

Image Source/Tutorial: buzzkills
Materials required:
- Tree branch
- Beads
- Thread
Procedure:
- Take a tree branch and wrap the thread over it, in such a way that some ends of the thread remain overhanging as shown in the image.
- Pass the big beads through these threads’ stands. Now, tie a knot so that the beads remain fixed in the thread and don’t fall apart.
7. Tiara
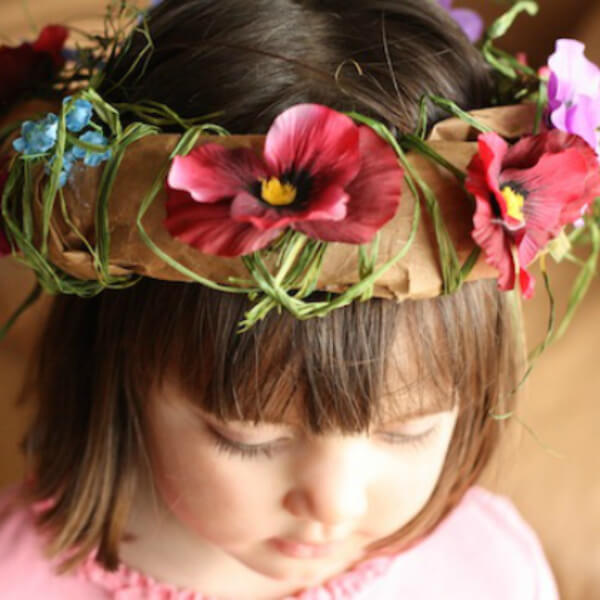
Materials required:
- Cardboard
- Flowers
- Leaves
- Glue
Procedure:
- Take a cardboard piece and make it into the shape of the tiara.
- Paste some flowers and leaves using glue on the cardboard tiara.
8. Fairy Door
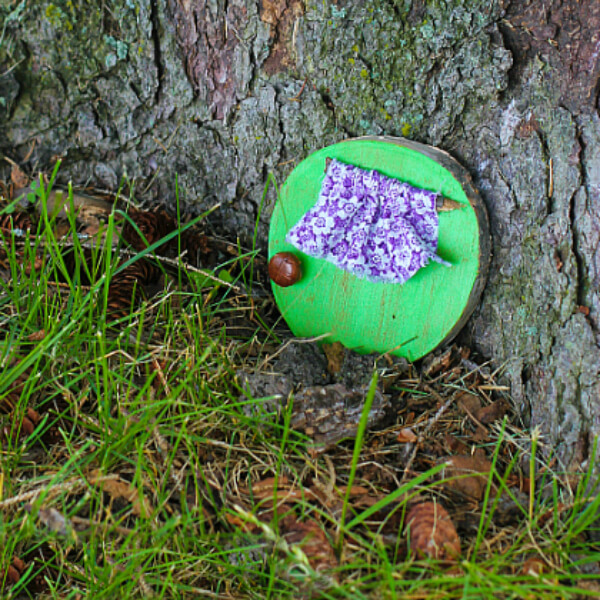
Image Source/Tutorial: Fireflies & Mud Pies
Materials required:
- Thick cardboard
- Colours
- Scissors
- Glue
Procedure:
- Take a thick piece of cardboard and cut it into the shape of the door.
- Colour this door with any colour and paste it, using wood glue with the tree trunk.
9. Stones
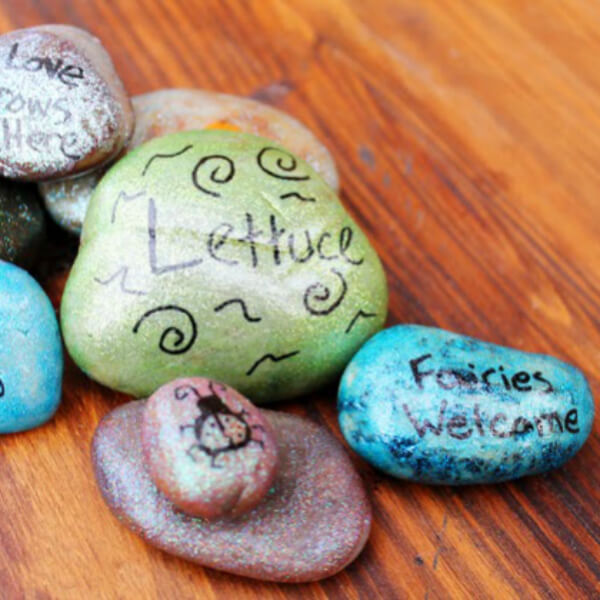
Image Source/Tutorial: Creative Green Living
Materials required:
- Pebbles
- Colours
- Brushes
- Permanent markers
Procedure:
- Collect some pebbles and colour them with different colours using brushes.
- Take a permanent marker and write whatever you’d like on the coloured pebbles.
10. Walnut Basket
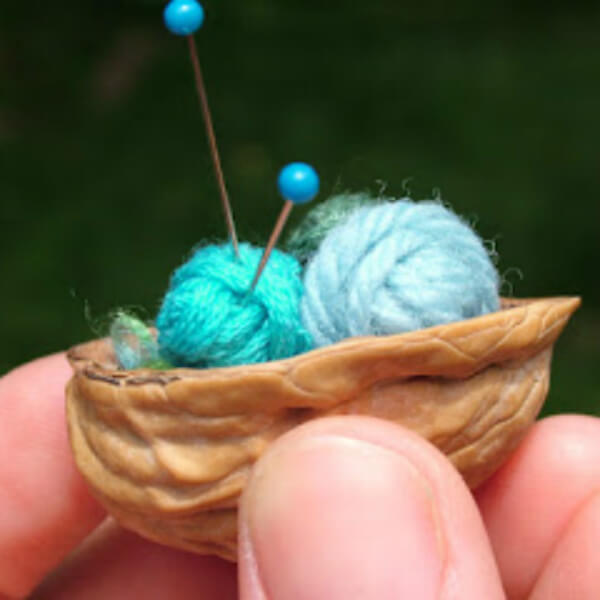
Image Source/Tutorial: Small World Land
Materials required:
- Walnut
- Pearl pin
- Yarn
- Glue
Procedure:
- Take a walnut and crush it carefully so that we get the two halves of the walnut shell.
- Now take any one of the walnut shells and place some tiny yarn balls into it.
- Fix these balls using glue to the base of the walnut shell.
- Insert some pearl pins in the yarn ball so that it looks like knitting sticks.
11. Coloured Ribbons
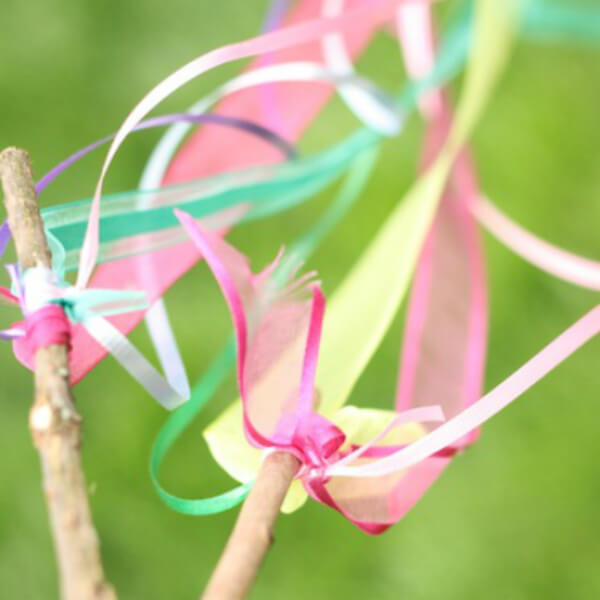
Image Source/Tutorial: Happy Hooligans
Materials required:
- Ribbons
- Twigs
Procedure:
- Take some twigs and tie different coloured ribbons on them as shown in the image.
12. Flower Fairy
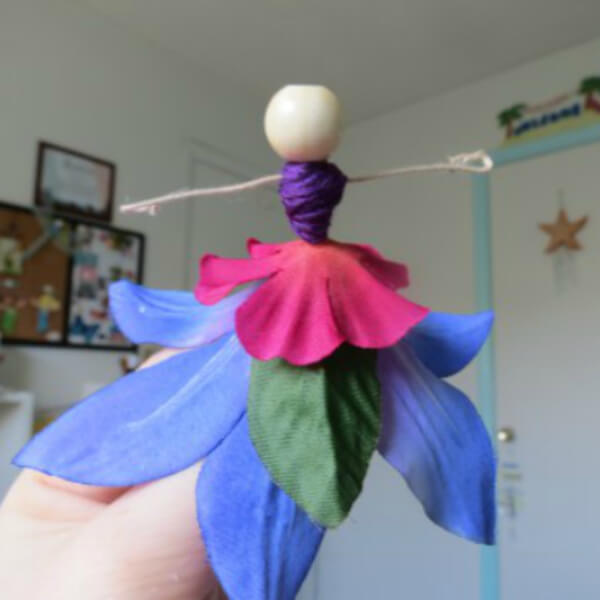
Image Source/Tutorial: the lemon zest blog
Materials Required:
- Artificial flowers
- Beads
- Pipeline cleaners
- Yarn
- Glue
Procedure:
- Take two beads and place them one upon the other using glue so that the body of the fairy is made.
- Now, paste the pipeline cleaner in such a way that the arms of the fairy are created.
- To make the dress of the fairy, paste a few Artificial flowers in such a way as shown in the image.
- Then paste this dress at the base of the lower bead.
- Cover the lower bead with some yarn, which will represent the top of the fairy’s frock.
13. Lightened Night Fairy House
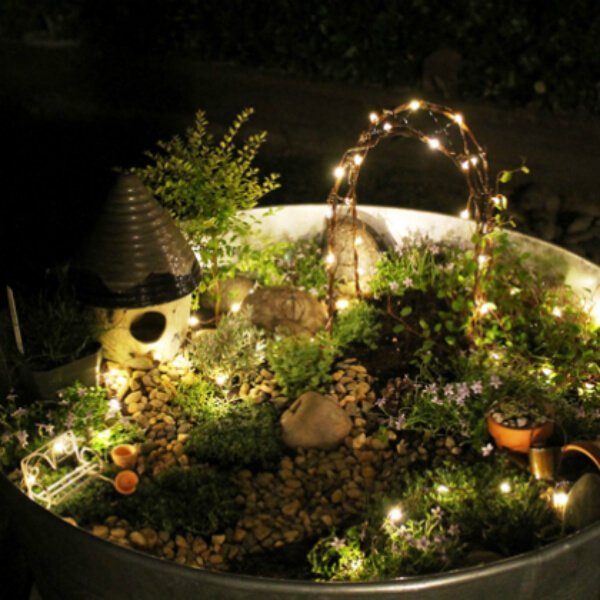
Image Source/Tutorial: A Cuppa Tea With Me
Materials Required:
- Flowerpot
- Fairy lights
- Clay
- Toy House
- Leaves
- Pebbles
Procedure:
- Take an empty flower pot and fill it with clay.
- Now, take a toy house and place it over the clay as shown in the image.
- Collect some leaves, pebbles, and other accessories for decorating the surroundings of the fairy’s house.
- Now decorate this flower pot with fairy lights.
- During the night, turn on the fairy lights and enjoy the view.
14. Shining Glitter Bottles
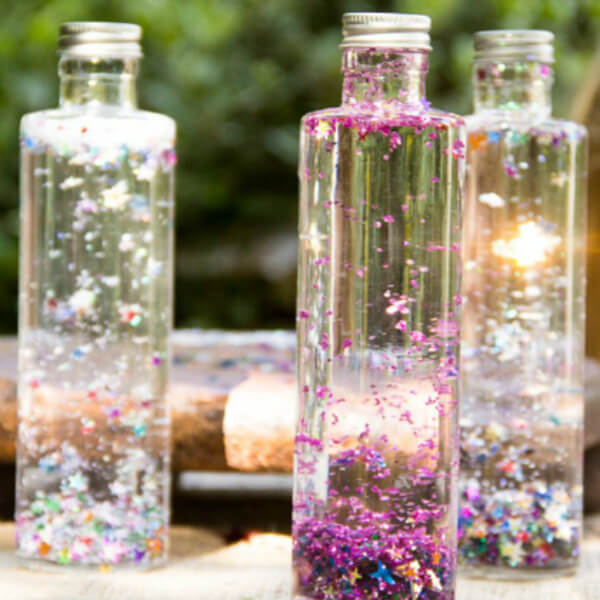
Image Source/Tutorial: Moonfrye
Materials Required:
- Transparent bottles
- Glitter powder
- Transparent liquid Glue
Procedure:
- Collect some empty transparent bottles.
- Pour some transparent liquid glue inside these bottles.
- Now add the glitter powder to them and shake each bottle well.
- Our shiny Glitter bottles are ready.
15. Butterfly fairy wand
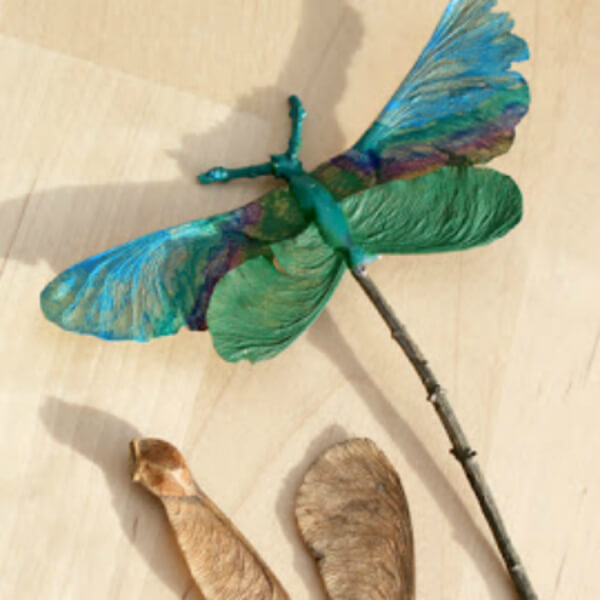
Image Source/Tutorial: Filth Wizardry
Materials Required:
- Tree branch
- Maple seeds
- Colours
- Glue
Procedure:
- Take a tree branch and colour it.
- Take some maple seeds and colour them as well.
- Now, paste the maple seeds on both sides of the tree branch so that they look like the wings of a butterfly using glue.
16. Shining Twigs
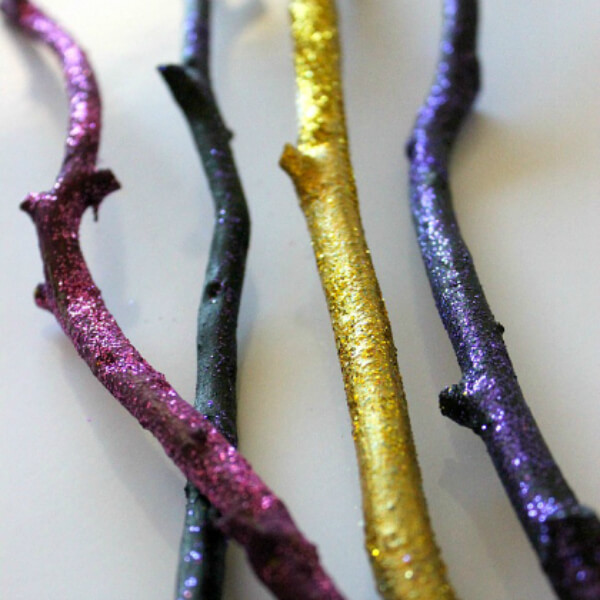
Image Source/Tutorial: Kids Activities Blog
Materials Required:
- Twigs
- Glitter paints
- Brushes
Procedure:
- Collect some tree twigs.
- Paint the collected tree twigs with glitter paint using the painting brushes.
17. Fairy Masks
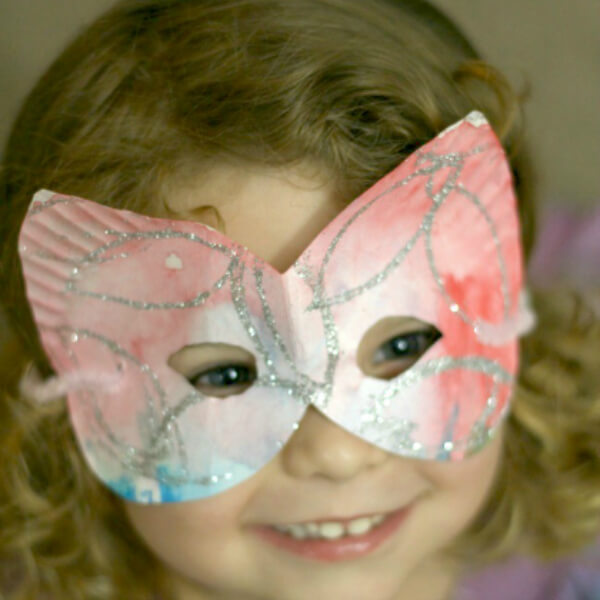
Image Source/Tutorial: Kids Activities Blog
Materials Required:
- Disposable plate
- Glitter tube
- Colours
- Scissors
- Punching machine
- Yarn
Procedure:
- Take a disposable plate and cut it according to the shape of the face mask using scissors.
- Now, make two holes using a punching machine on the two ends of the mask.
- Pass the yarn through these holes so that we can place this mask at the proper position on our face.
- Colour the mask with any of your favourite colours.
- Create some designs on it using glitter tubes.
18. Pink Crystal Hut
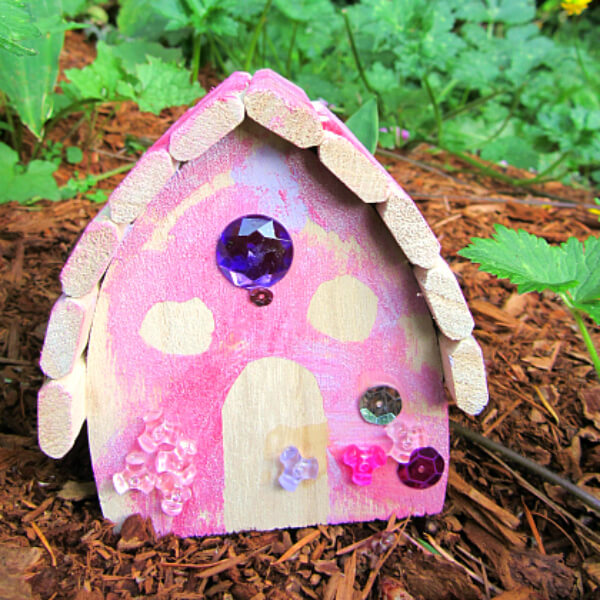
Image Source/Tutorial: No Time For Flashcards
Materials Required:
- Plywood
- Hacksaw blade
- Colours
- Glue
- Beads
Procedure:
- Take a piece of plywood and cut it into a triangular shape using a hacksaw blade.
- This triangular piece will act as the hut.
- To make the roof of the house, cut some small pieces of plywood and place them one upon the other as shown in the image.
- Decorate the hut by colouring it and pasting some beads over it.
19. Multi-coloured Fairies
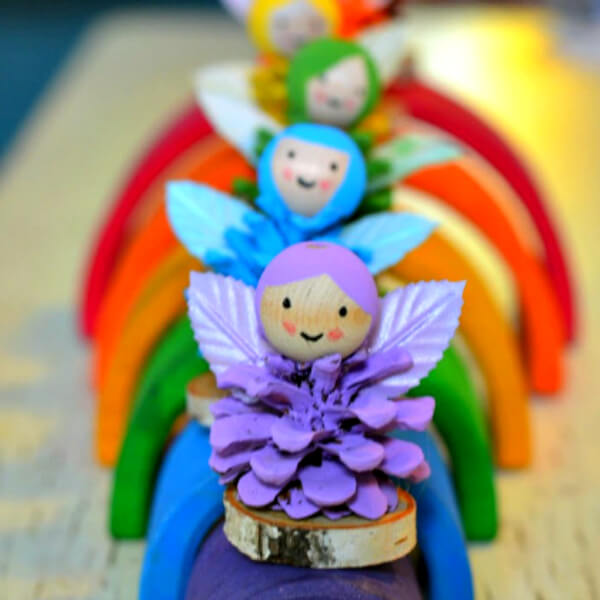
Image Source/Tutorial: Twigandtoadstool
Materials Required:
- Artificial fairy dolls
- Glue
Procedure:
- Get some artificial fairy dolls.
- Place and paste these fairy dolls using glue one after the other, as shown in the image.
20. House in the Woods
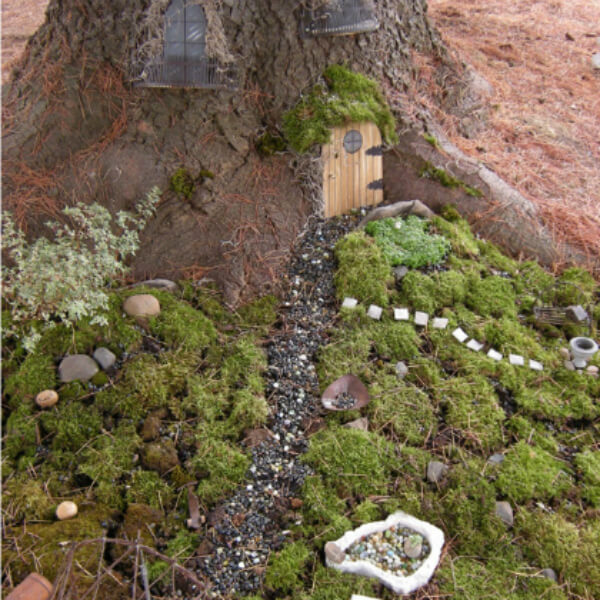
Image Source/Tutorial: The Knitted Garden
Materials Required:
- Wooden piece
- Hacksaw blade
- Wood glue
Procedure:
- Take a piece of wood and cut it into the shape of the door using a hacksaw blade.
- Decorate this door as shown in the image and paste it using wood glue with the tree trunk.
21. Yellow Fairy
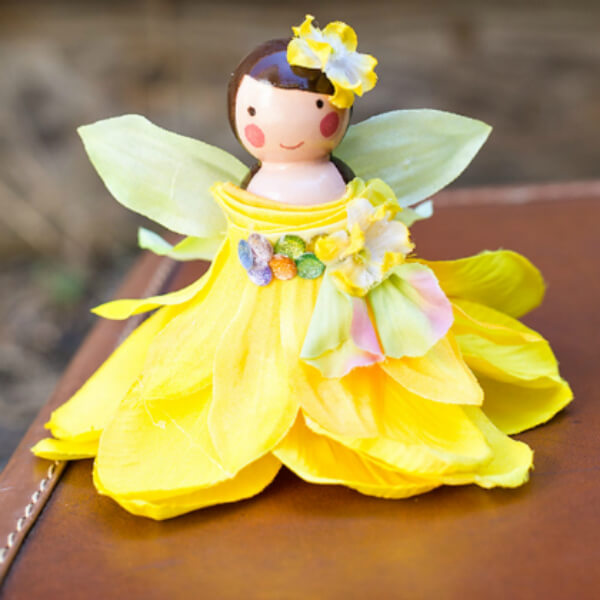
Image Source/Tutorial: hwtm
Materials Required:
- Artificial flowers
- Beads
- Colours
- Glue
Procedure:
- Take-Two beads and join them using glue to form the body of the fairy.
- To make the dress of the fairy, paste a few Artificial flowers in such a way as shown in the image.
- Then paste this dress at the base of the lower bead.
- Using the colours and paintbrushes, draw the other features of the fairy as shown in the picture.
So, share with us how this article was. Also, tell us which project out of the above you liked the most. Do give your feedback in the comment section, as we respect your opinion, and we will work hard to serve you better. Thank you.
Easy Fairy Crafts for Kids: Step-by-Step Tutorial

Learn how to create magical fairy crafts for kids with this easy step-by-step tutorial. This fun DIY activity shows simple fairy craft ideas using basic materials. Perfect for kids, parents, and teachers who love creative art projects and imaginative play inspired by fairy tales and magical themes.
Read More:
- 15 Beautiful Flower Crafts for Kids
- 20+ Groovy Tie Dye Crafts For Kids
- Cardboard Christmas Crafts for Home Decoration
- DIY Cardboard Crafts & Activities for Kids
- DIY Creative Cardboard Crafts That Kids Will Love