Paper Crafts
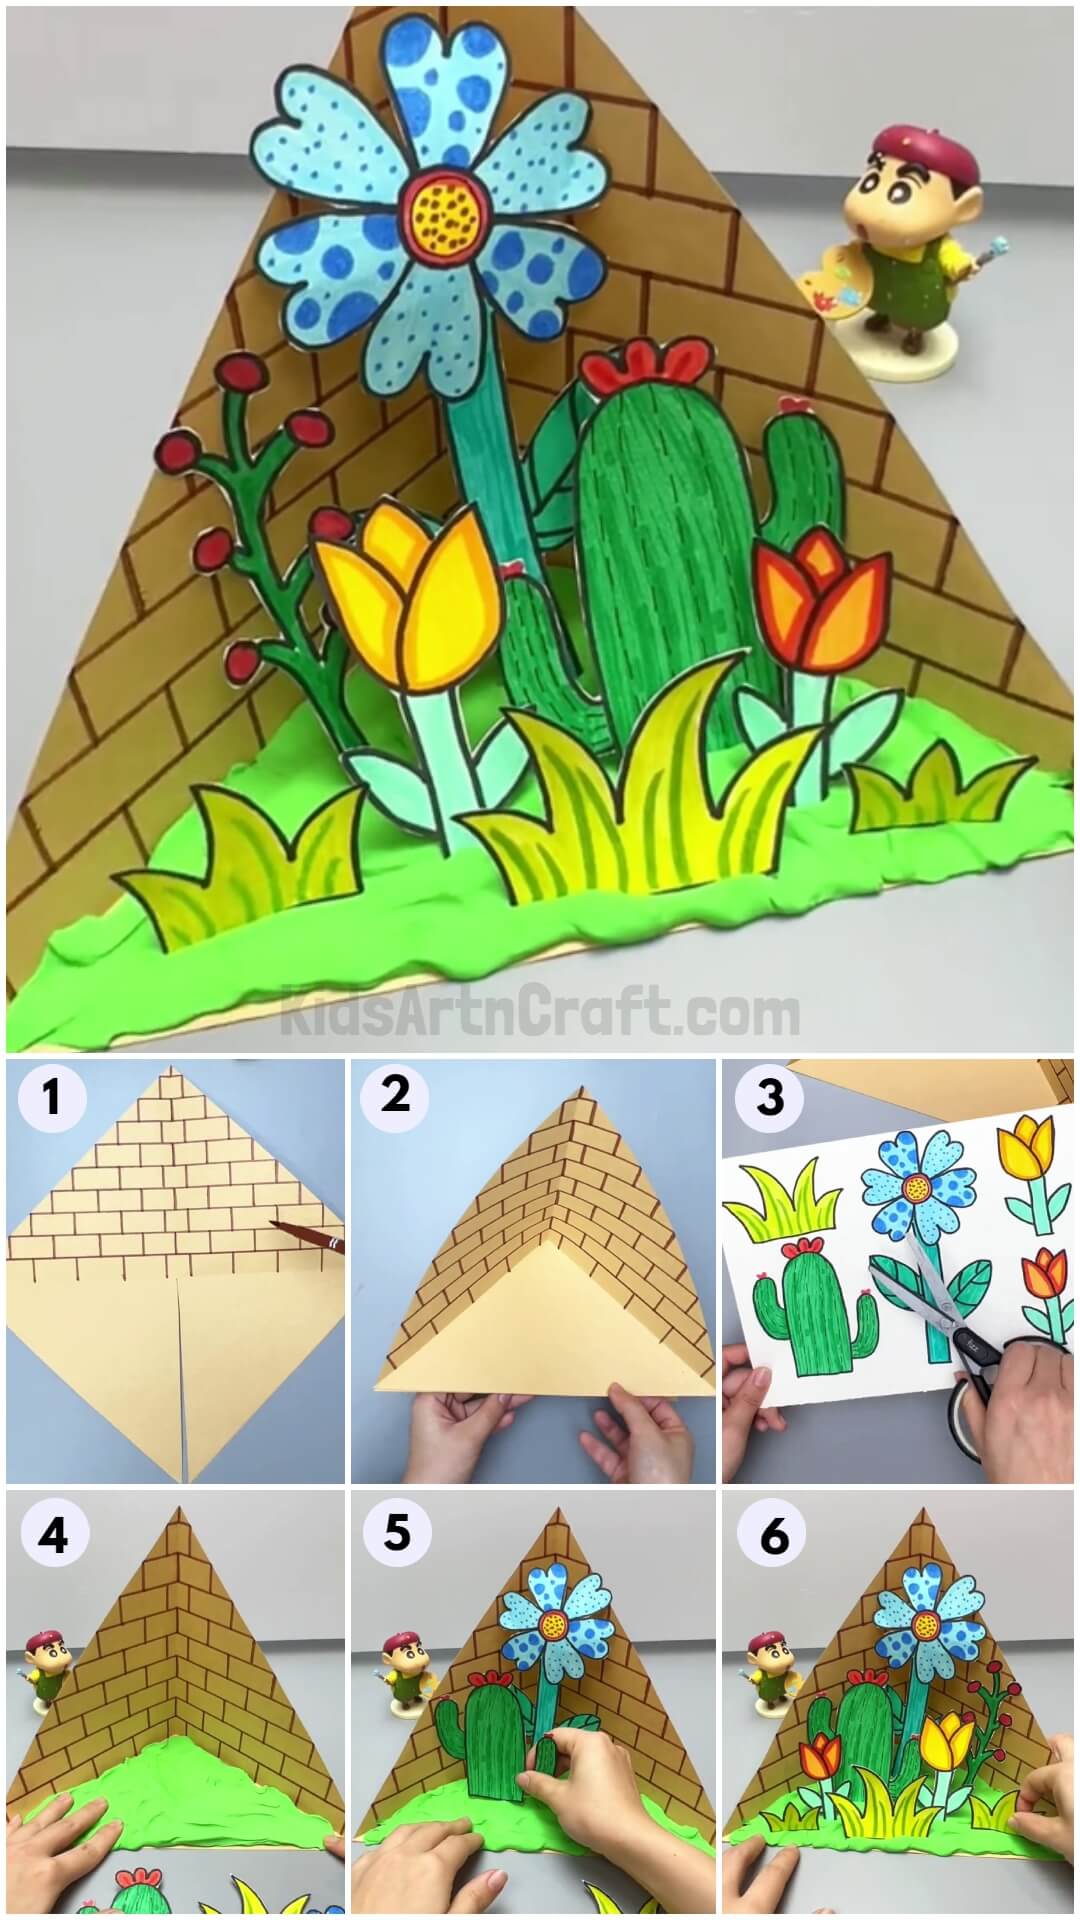
3D Wall Flower Garden Paper Craft Decor For Kids

This step-by-step tutorial is about making a pretty flower garden corner decor of your own by just using the usual craft supplies!
Rise and shine craft lover! Today, we brought you an amazing craft that you can add up to your craft collection to make it more diverse and extraordinary! This step-by-step tutorial is about making a simple yet amazing flower garden that is totally different from the ones you may have made before! Kiddos will be delighted to see such a pretty piece that they will make on thier own! Let them unleash their inner creativity and crafting skills to make it on their own! Grab the materials to begin this crafty journey with us!
Easy To Make 3D Paper Wall Flower Garden

Read More: DIY Paper Flower Easy Tutorial For Kids
Materials Required
- Colored Paper Sheets (White And Brown)
- Sketch Pens
- Scissors
- Green-Colored Super Clay
- Black Marker
Procedure
Step 1: Making ‘+’ Creases On A Paper Sheet
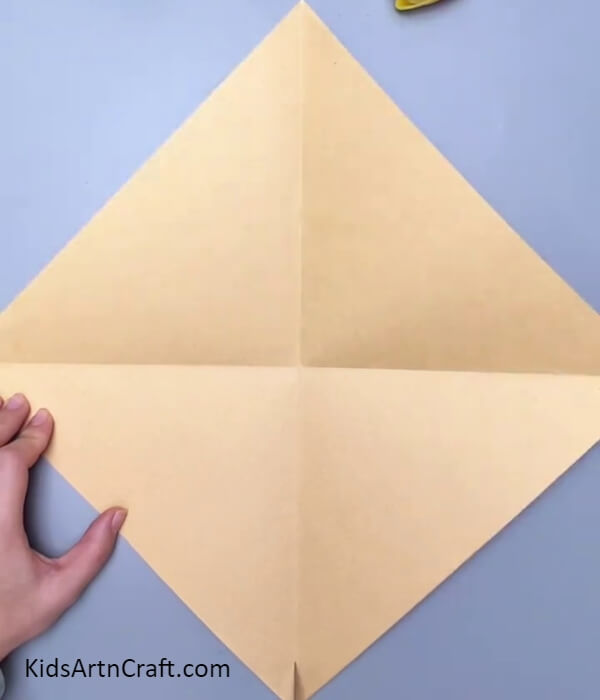

Start this craft by taking a square brown sheet of paper and turning it to see a diamond shape. Now, fold the corners of the diamond over the opposite ones to make ‘+’ creases over the paper, and using scissors, make a cut on the below half vertical ‘+’ crease.
Step 2: Drawing Bricks
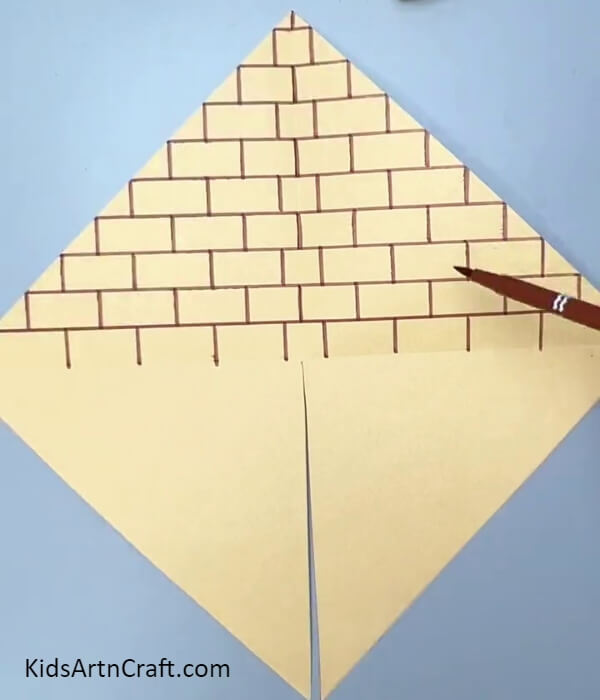
Using a brown sketch pen, draw bricks on the upper half of the horizontal crease over the paper.
Step 3: Making A 3D Base
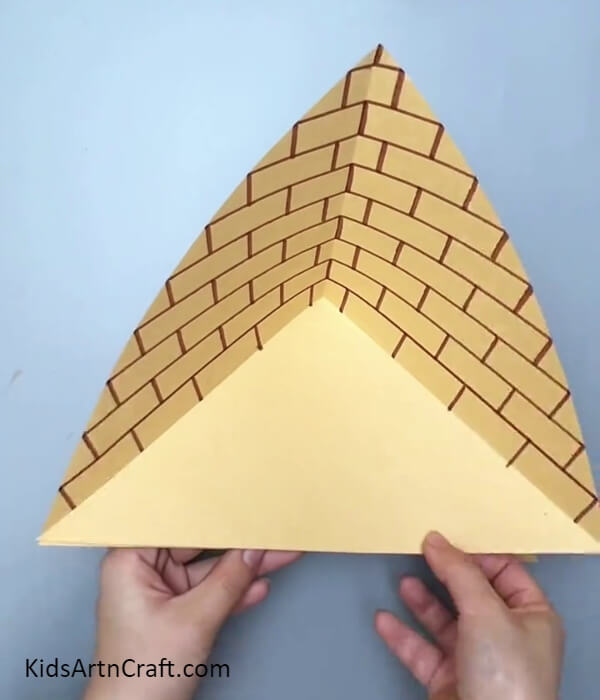
From the cut, place the parts, one over the other, and secure it with glue to make a 3D swamp base as shown in the image.
Step 4: Drawing Flowers And Plants

Take a white paper sheet and a black marker. Using the marker, make a grass shape, a heart-petaled flower, a tulip, a cactus, and another smaller tulip over the paper as shown in the image.
Step 5: Coloring The Plants And Flowers
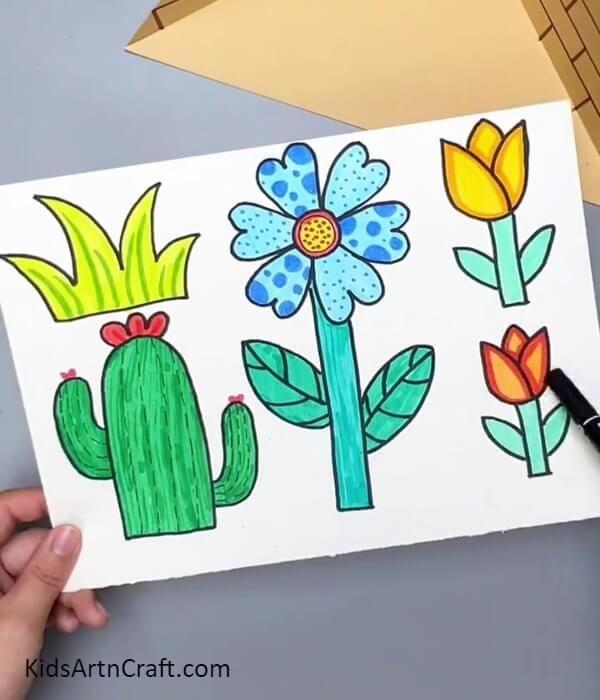
Using a sketch pen, color out the plants and flowers the same way you can see in the image.
Step 6: Cutting Out The Plants And Flowers
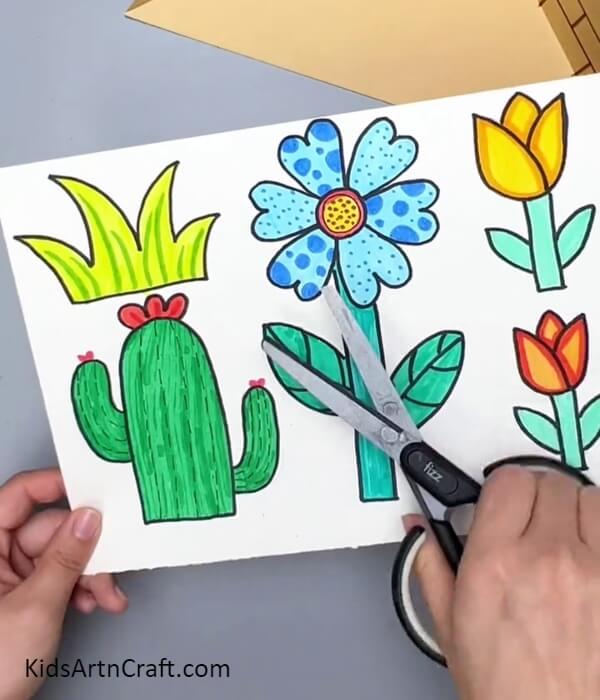
Using scissors, cut out the plants and flowers carefully along their boundaries and outlines from the paper.
Step 7: Making A Clay Ground Over The Base

Using green-colored super clay, spread and flatten the clay to make a green ground on the paper 3D base.
Step 8: Sticking The Flowers On The Ground
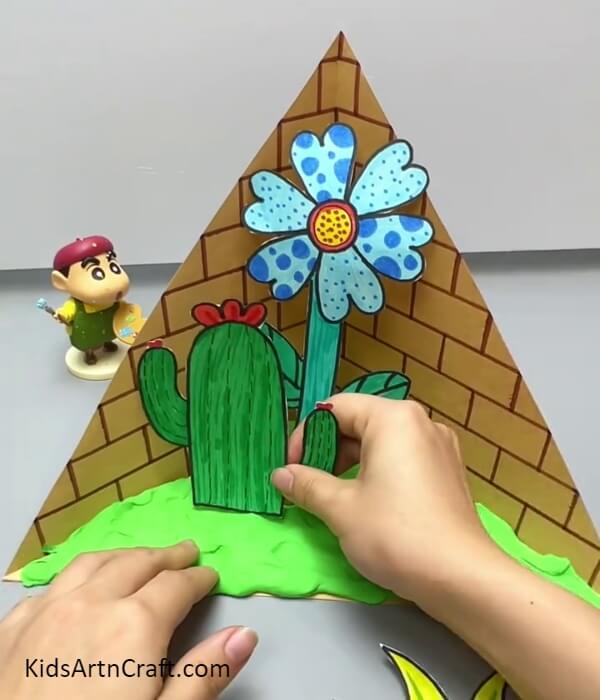
Add the plants and flowers to your ground. First, at the very corner, place straight up your heart-petaled flower, and on the left in front of it place the cactus straight.
Step 9: Sticking More Plants And Flowers
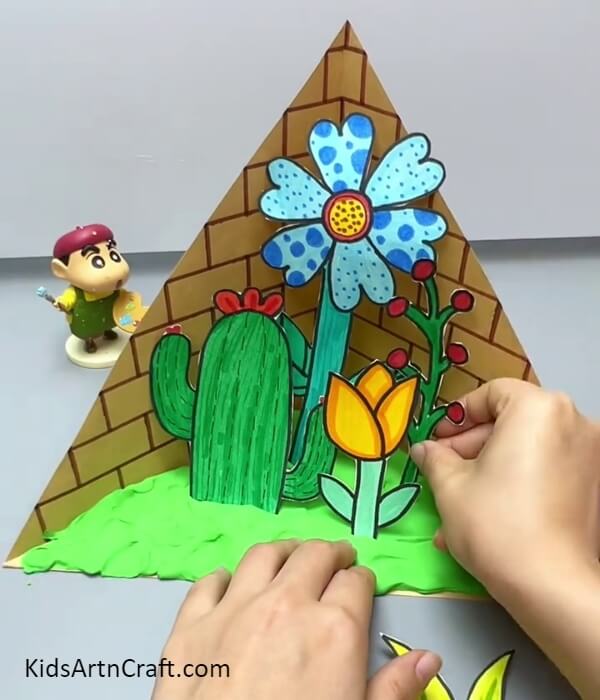
Make more pretty flowers and stick them close to each other straight over the clay ground.
Step 10: Completing Sticking All The Plants And Flowers
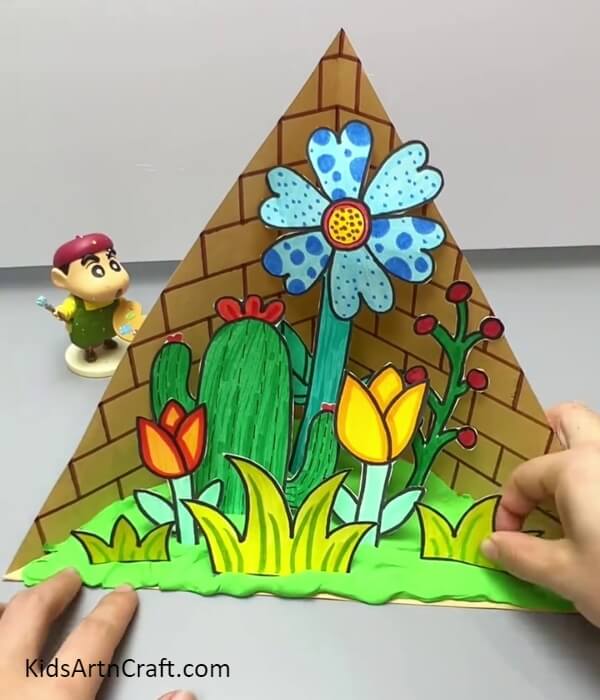
Stick all the flowers and then at the very end of the ground, stick the grass cutouts as shown in the image.
This is The Final Look Of Your Wall Flower Garden Paper Craft!
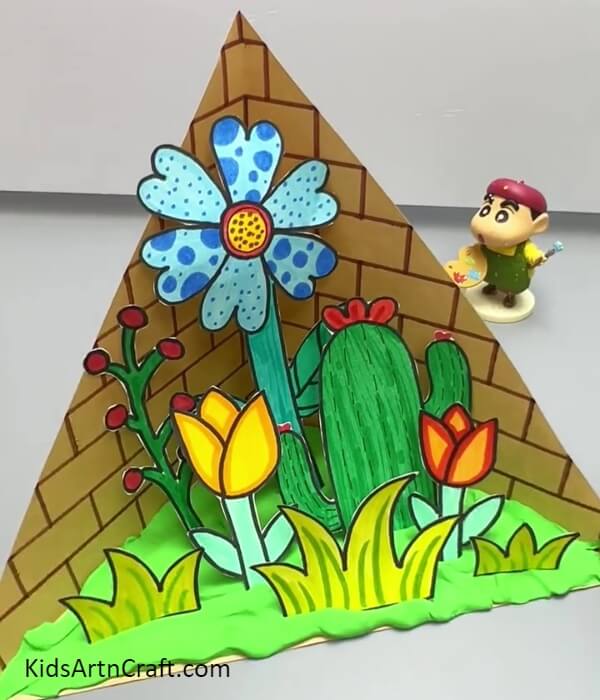
Voila! You have successfully completed your brick wall flower garden paper craft!
Simply wow right? Never thought it turn out to be so amazing and realistic! Well, you have your tiny flower and 3D plant garden now, you can keep it in any corner to decorate it! You can even make a larger piece of it to have a giant garden in a corner of your room! Also, you can customize it by making your favorite flowers in it, adding more colors to the wall, or even making a different wall, anything! Make it stunning!
Follow us on Youtube for art and craft tutorials and much more.
More Articles from Kids Art & Craft
- Easy Paper Flower Toy Craft Tutorial For Kids
- Paper Sunflower Craft – Easy Tutorial for Kids
- Colorful Paper Quarters Making Step-by-Step Instructions For Kids
- Cute Mini Paper Origami Bags Craft Step-by-Step Tutorial For Kids
- Learn To Make Easy Heart Shaped Paper Mouse Craft