Paper Crafts
Cute Mini Paper Origami Bags Craft Step by Step Tutorial For kids

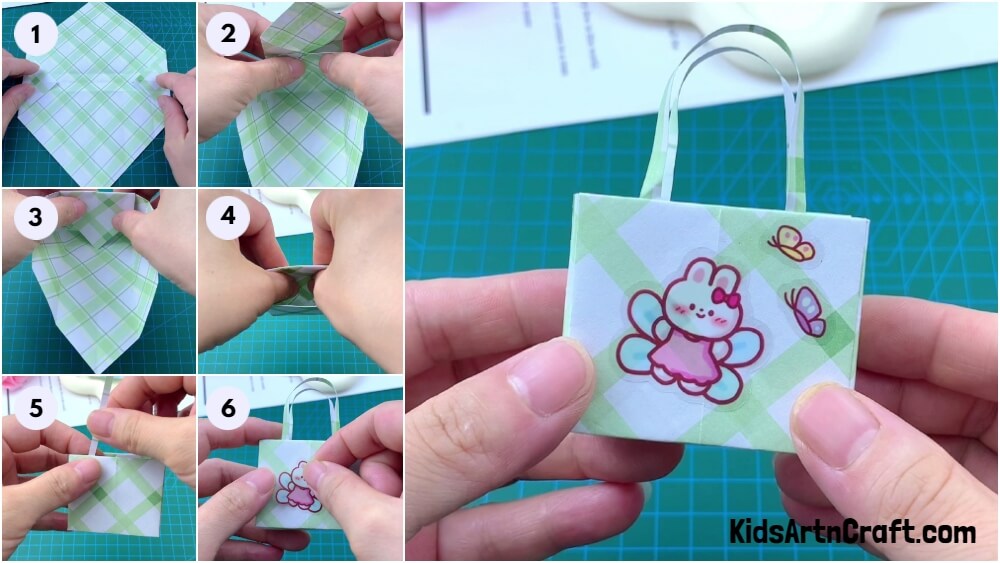
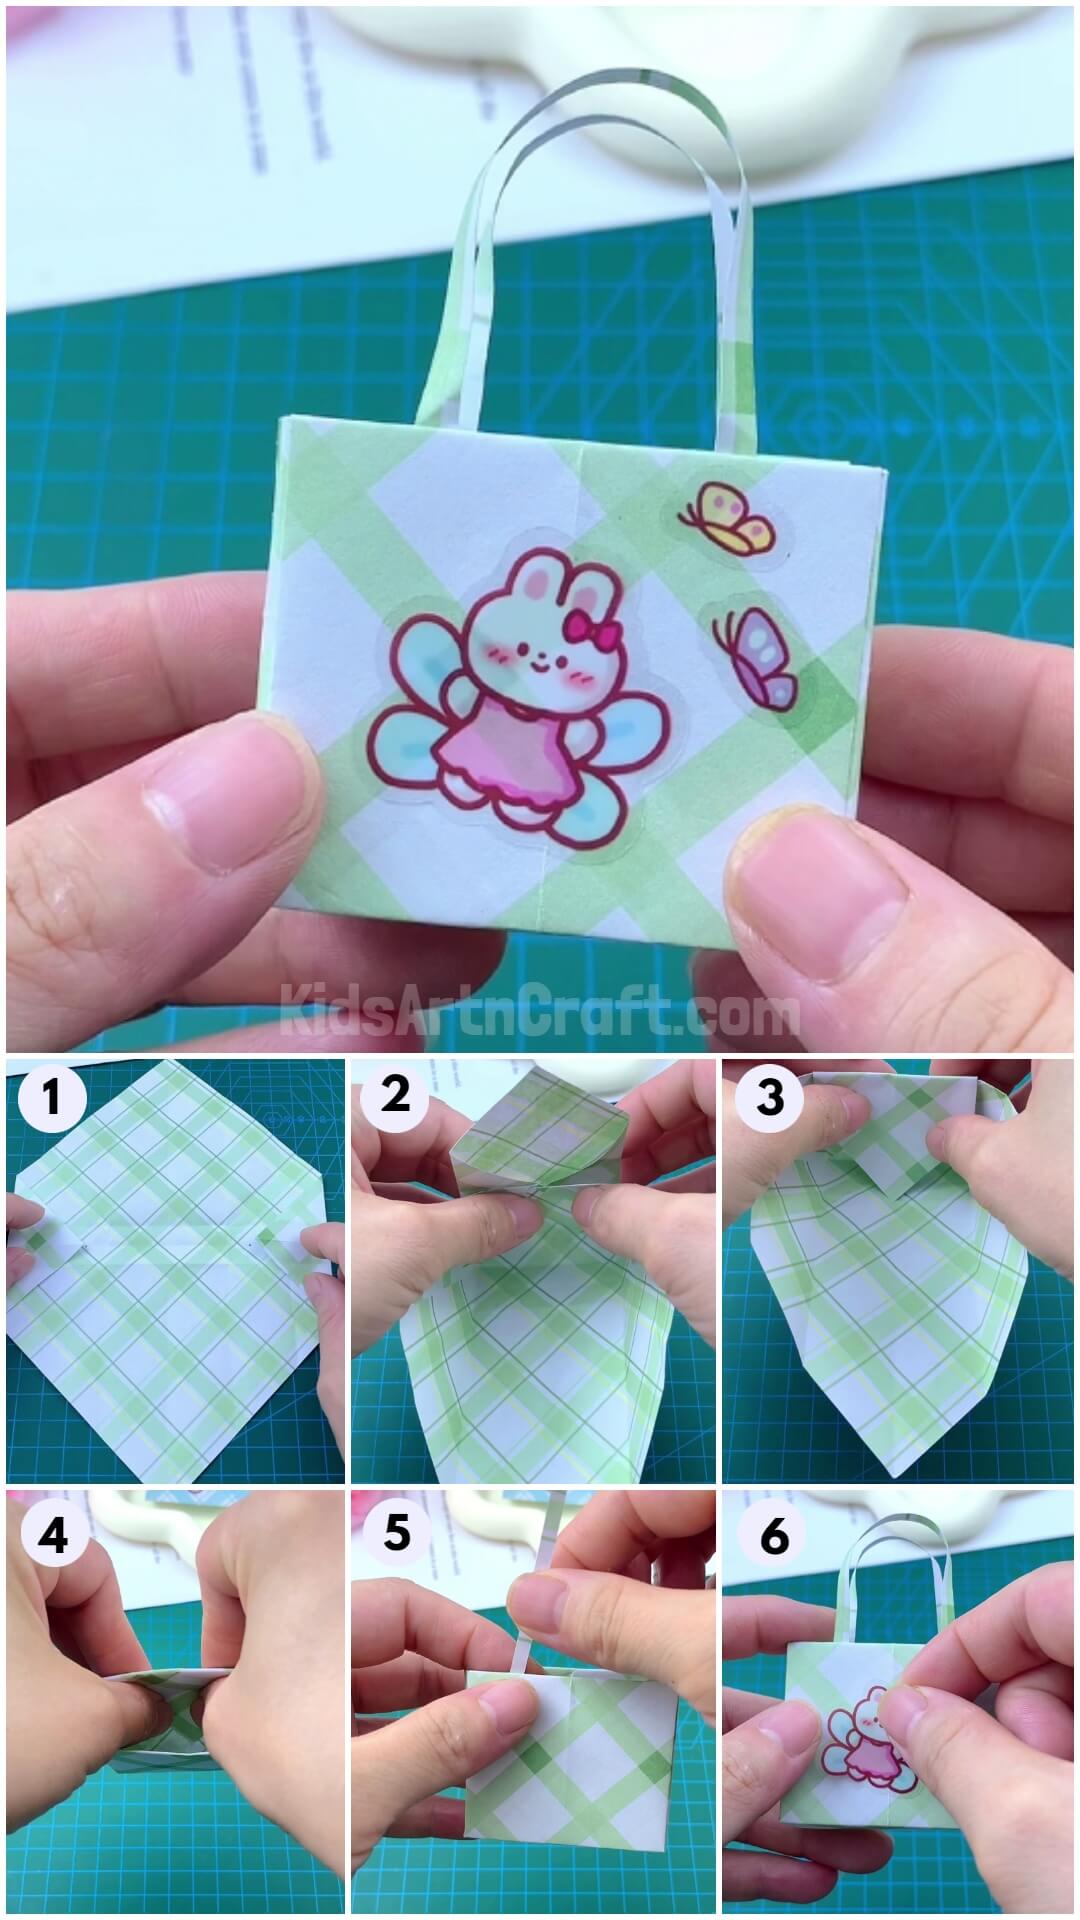
Make an adorable tiny origami paper bag! This step-by-step tutorial will help you to make a bag that will be a cute addition to your origami collection!
Welcome to the beautiful world of crafting! Today, we brought you an amazing paper bag origami tutorial! You will adore this paper bag as it is so tiny, you will definitely love it! This paper bag only requires you to turn and fold a single sheet of paper and you will create it in no time! From folding to making a crease, we will guide you to each and every step of this origami journey! Origami crafts can be the best way to pass the time in a fun learning manner as they also help to drive the motor skills of children! You can add this tiny creation of yours as a fun and adorable craft to your origami collection!
DIY Cute Mini Paper Origami Bags Craft
Read More: How to Make an Origami Fox for Kids
Materials Required
- Checks Pattern Origami Sheet
- Glue
- Sticker
- Scissors
Procedure
Step 1: Making ‘+’ Creases
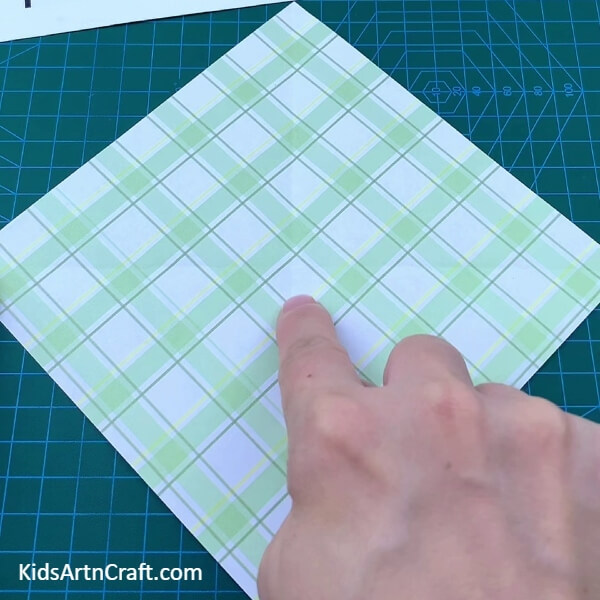
Take a square checks origami sheet, and rotate it into a diamond, now, fold the diamond into half and again half to form ‘+’ creases over the diamond shape, and unfold again.
Step 2: Folding And Marking The Triangle’s Ends
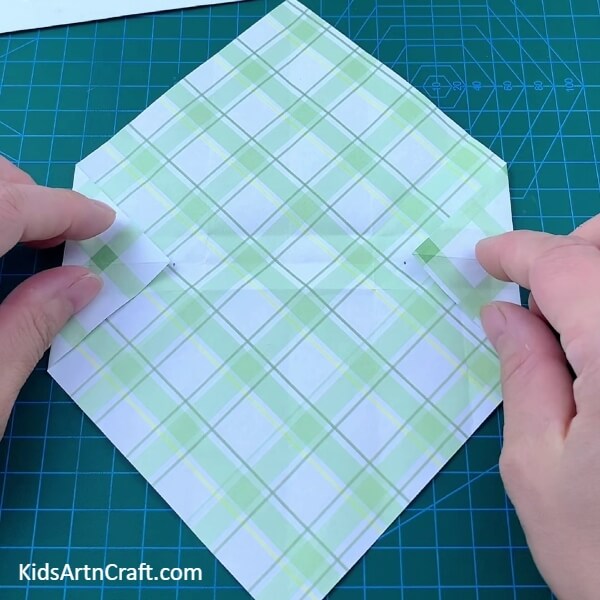
Fold the side corners of the diamond to the middle crease and form 1/4 creases, unfold them again. Now, again fold the corners to the 1/4th crease to form 1/8 creases, this will form 2 small triangles on both sides. Now, take the left triangle to the right one’s top and make a crease. And vice-versa for the right triangle. Unfold the paper again.
Now, fold the paper into half along the horizontal ‘+’ crease to see a triangle shape. Now, fold a small strip of the unopened triangle shape to see a boat-like structure. Now, fold the corners of the boat strip to align it with the creases that are just beside the vertical ‘+’ crease. Unfold the paper again. Now, take a pen to mark the side corners of the hexagon creases made over the paper in the middle.
Step 3: Making More Creases
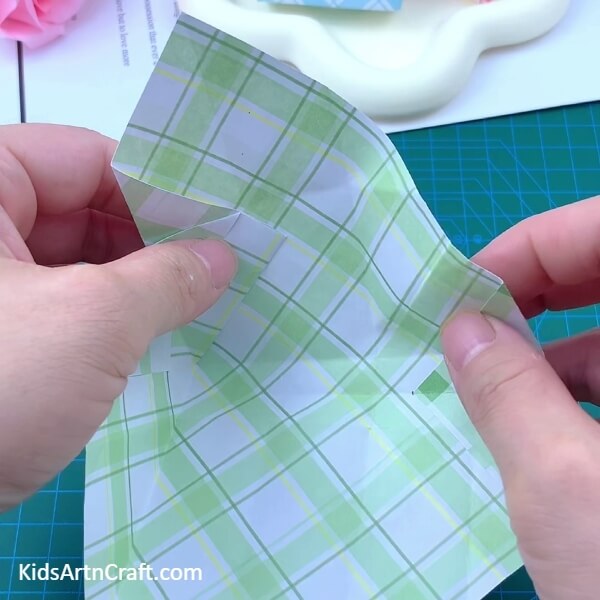
Fold the horizontal ‘+’ crease corners to where the mark is made and make creases. Flip the paper and fold it in half along the horizontal ‘+’ crease and again fold open the sheet from the boat-strip crease just beside the horizontal ‘+’ crease. Flip the paper and fold open from the boat-strip crease the same.
Now, rotate the paper to keep the pointed part above. Then, you will notice slanting creases on the side corners of the shape, fold the corner along that crease, you will see a pentagon shape. Now, flip-open the top pointed part to the pentagon shape and crease it along the folded sides. Flip the paper and fold the pointed part to align it with its behind-the-paper shape.
Now, stretch open the whole origami (except the small triangles) by holding those folded pointed parts.
Step 4: Forming One Side Of The Bag
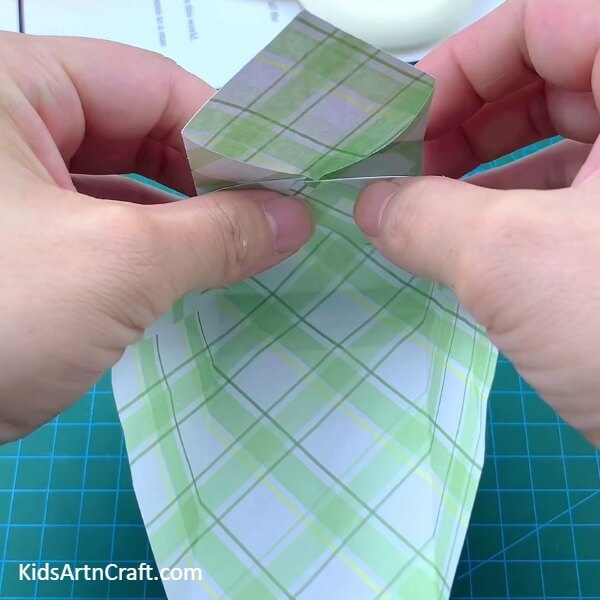
You will see slanting creases on each side of the hexagon crease, squash folds the paper along 2 of those creases to start forming a bag shape and an arrow-like structure straight above on one side of the bag.
Step 5: Completing Forming One Side Of The Bag
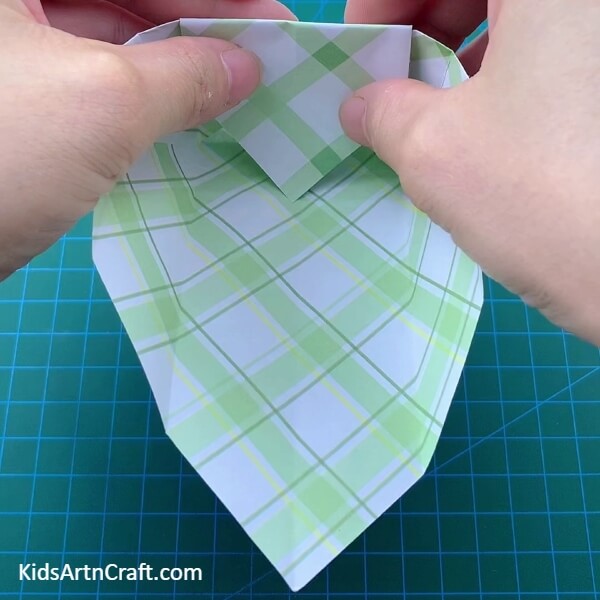
Fold in the arrow to complete one side of the bag.
Step 6: Forming The Other Side Of The Bag
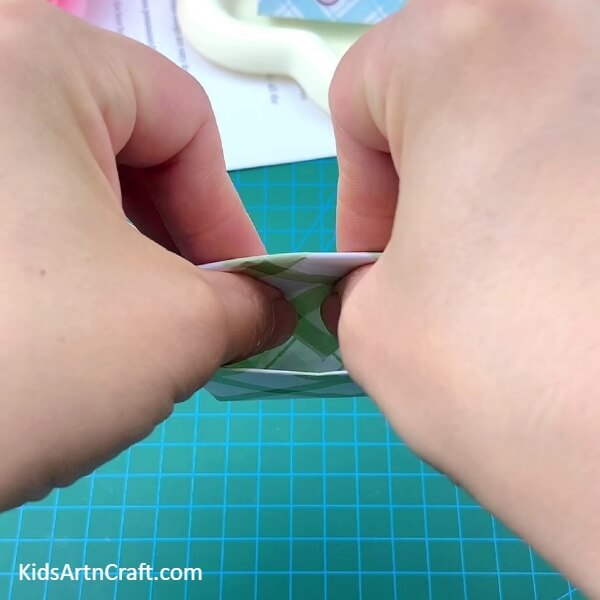
Do the same for making the other side of the bag.
Step 7: Gluing Bag handles
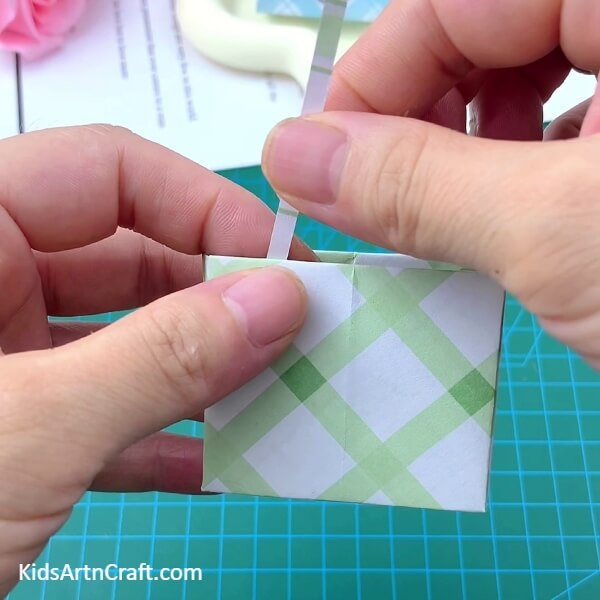
Now, cut out 2 small strips from the same piece of paper using scissors and glue the one from the inner side of the bag using glue.
Step 8: Completing Gluing Bag Handles
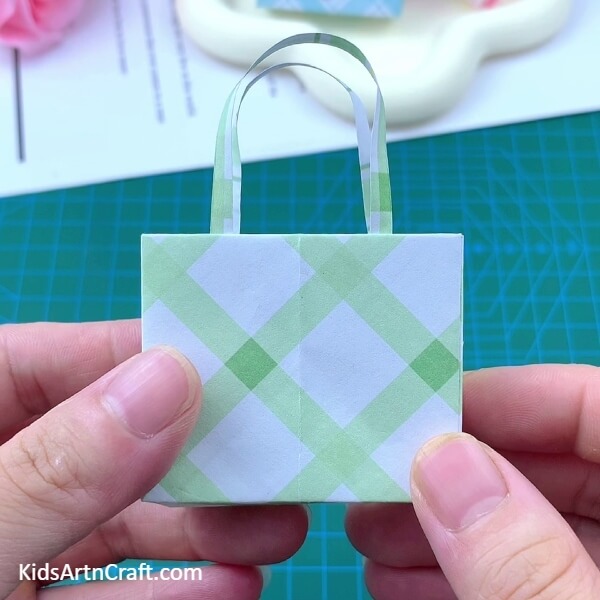
Glue the other strip from the other inner side of the bag to complete making the bag handles.
Step 9: Pasting A Sticker
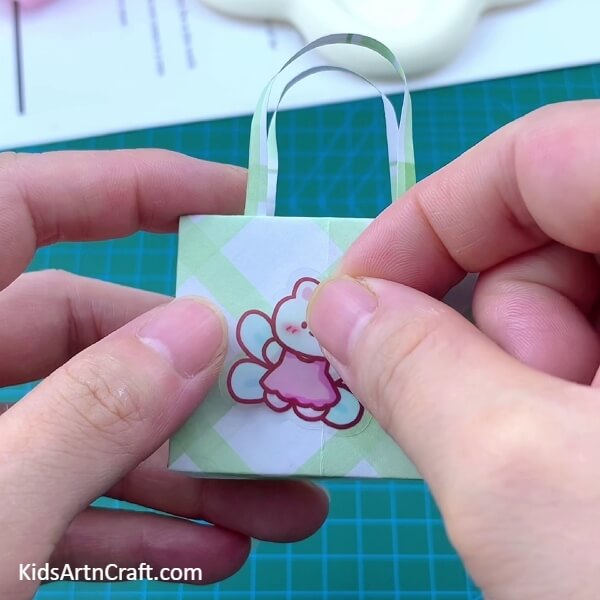
At last, paste a cute sticker over your tiny bag using glue.
Finally !Your Mini Paper Bags Are Ready!
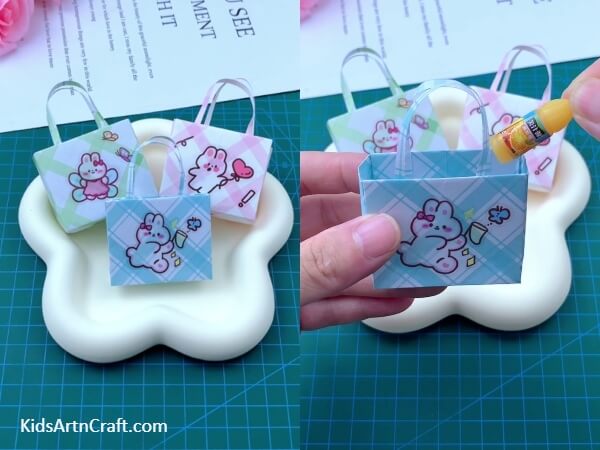
Voila! This brings an end to the tutorial for making a cute origami tiny paper bag!
Well, well now you can put your tiny things inside it! How cute?! You can even use it to gift some tiny gifts to your loved ones, like a bracelet inside this bag! This will make 2-2 gifts for them!
Some More Paper Bag Craft Tutorial
Create Paper Bag Craft Easily For Children
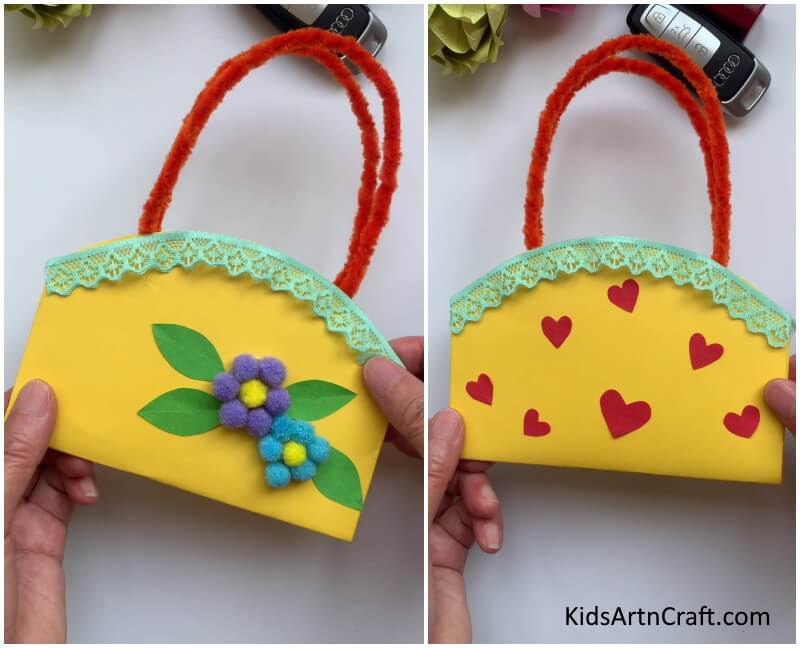
Image Source/Tutorial: Kids Art & Craft
Creating paper bag crafts is a fun and easy activity for children. It is a great way to help them develop their creative and artistic skills. With just a few simple supplies, kids can make a variety of fun projects that can be displayed and enjoyed.
They will definitely love the idea of a cute paper bag gift wrapping! Something new and creative! You can also use this paper bag as your craft project, and flaunt your origami skills with it! Also, teach your friends and family to make it and all together create tiny bags with various customizations!
Follow us on Youtube for art and craft tutorials and much more.
More Articles from Kids Art & Craft
- Easy Ladybug Craft For Kids Using Leaves and Paper
- How to Make Origami Paper Star Tutorial
- Origami Crab Making Easy Tutorial For Kids
- Easy Paper Folding Crafts Video Tutorial for Kids
- DIY Easy Origami Paper Shark Toy Tutorial For Kids


