Paper Crafts
Easy Paper Origami 3D Apple Craft Tutorial For Kids

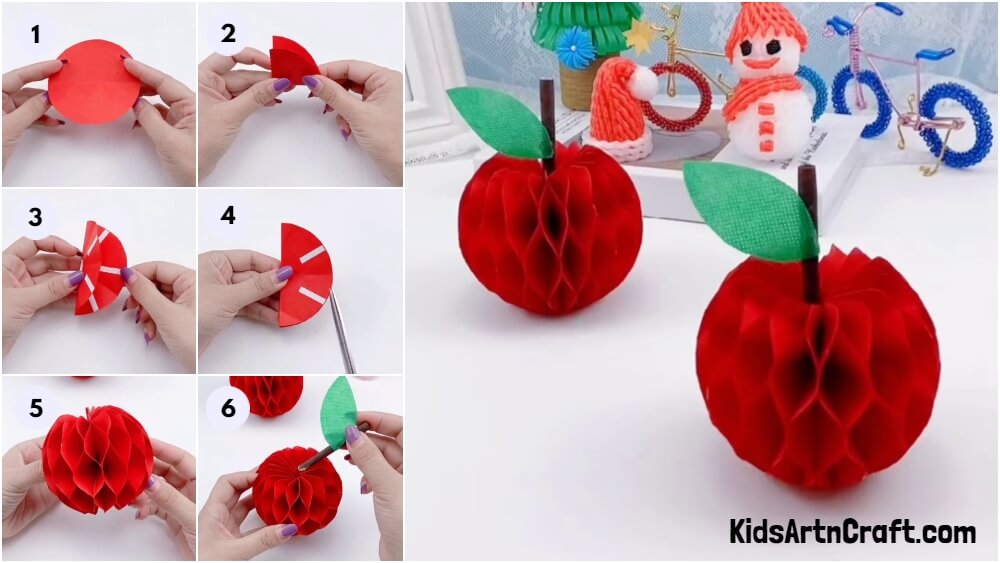
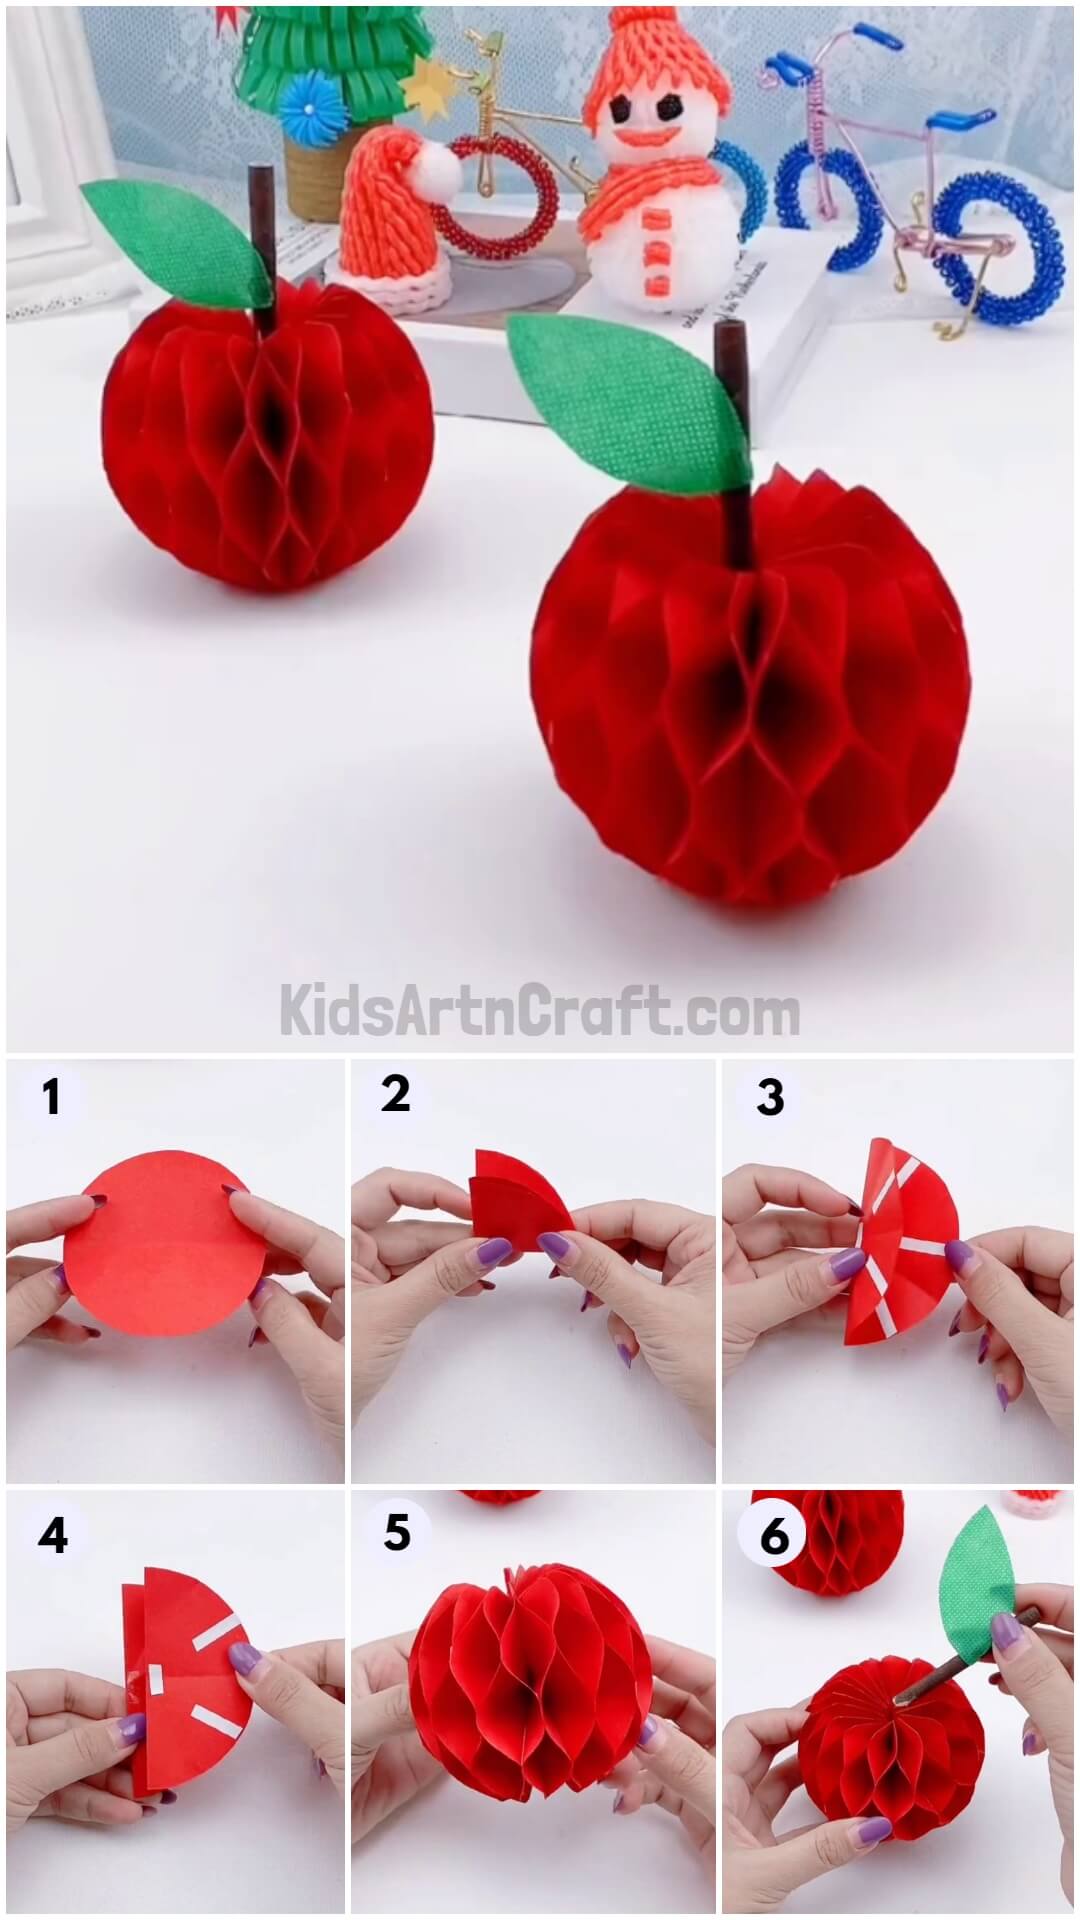
This is a great activity for kids to do! It shows them how to make a 3D apple out of paper origami. We provide easy-to-follow instructions and pictures so that they can make it. It’s perfect for a school project or something fun to do on a rainy day!
Welcome to this tutorial! This tutorial is about how to make a 3D paper origami apple. Using simple craft materials like colored craft paper and foam sheets even kids can make this easy with less effort. Not only for kids, but this craft is also perfect for everyone. Are you ready?
DIY Paper Origami 3D Apple Craft
Read More: DIY Easy Origami Paper Shark Toy Tutorial For Kids
Materials Required
- Color craft paper (Red& Brown)
- Scissors
- Glue
- Green foam paper (Take any kind of foam paper)
- Double-sided tape
Procedure
Step 1: Cutting Medium Size Circles From Red Craft Paper
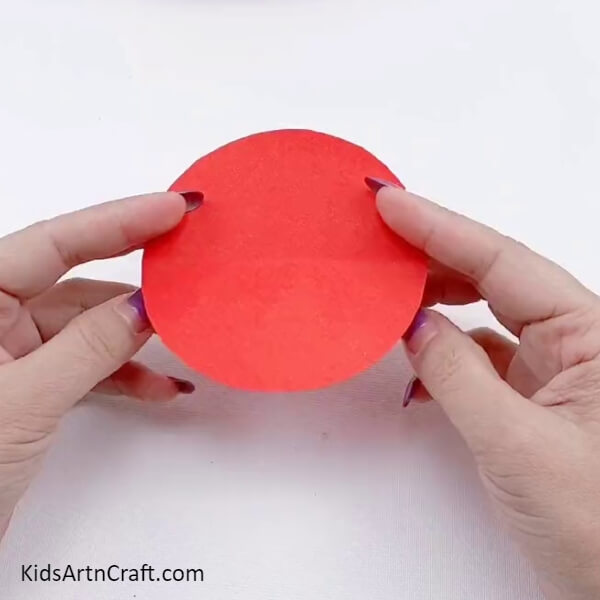
Cut some medium size circles from red craft paper or with the use of a compass, draw 5cm circles on red craft paper and cut it from red craft paper. Approximately take 10 to 12 red circles.
Step 2: Folding Red Circles
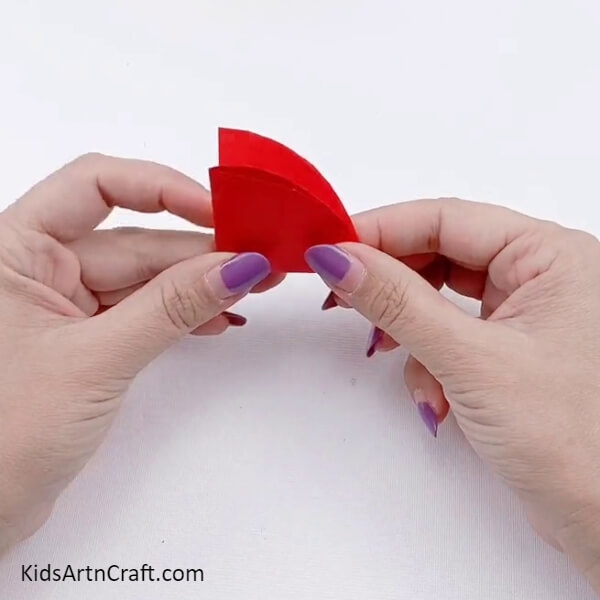
Fold your red circle into half and again fold it into half as shown in the image.
Step 3: Folding Red Circle Once Again
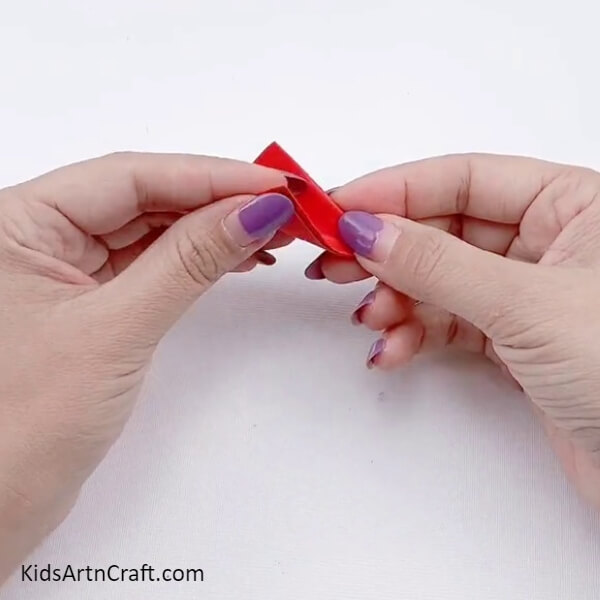
It’s time for the third folding, fold that red paper again to make it look like an ice cream cone. Fold all your red circles just like this.
Step 4: Unfolding Red Craft Paper And Paste Double-sided Tape
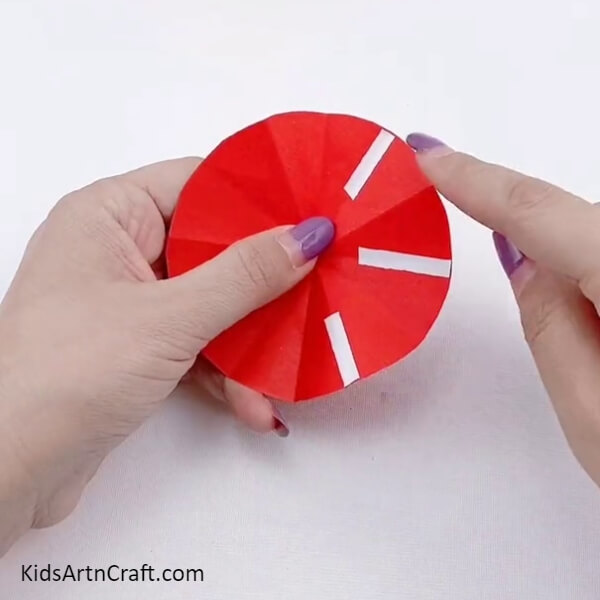
After folding all circles, unfold them and then cut three small pieces of double-sided tape. Stick those pieces of tape on the 2nd, 4th, and 6th folds at the right side of your circle.
Step 5: Pasting Double-sided Tape On The Other Side Of The Circle
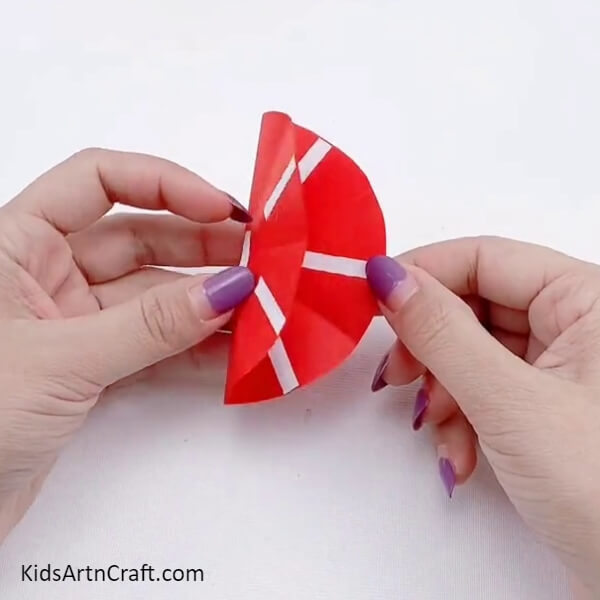
Peel off the white paper on double-sided tape and fold the red circle into half to stick it together. Then stick two small pieces of double-sided tape on the 3rd and 5th folds and one very small piece at the center.
Step 6: Pasting More Circles Together
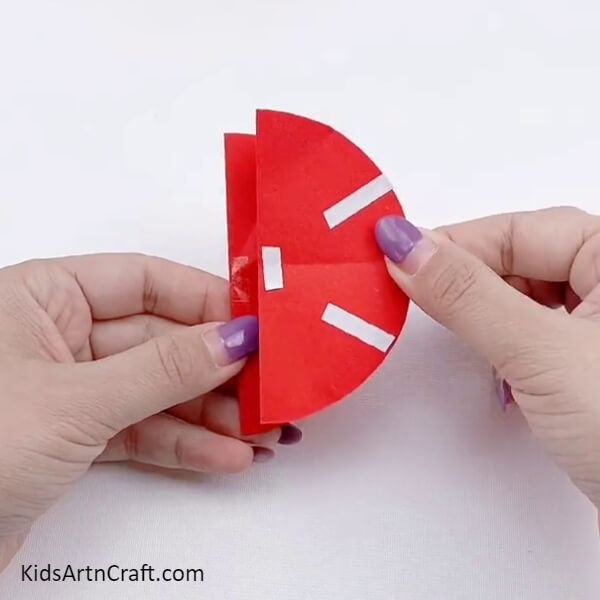
Followed by the same steps stick double-sided tape on more circles and paste it all together.
Step 7: Cutting The Extra Edges Using Scissors To Make Apple Shape
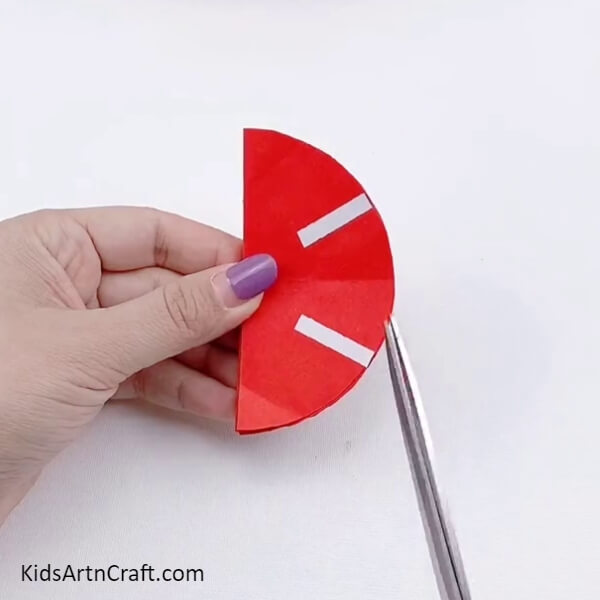
After pasting every circle, cut a small curve at the top of your red circle paper with the use of scissors.
Step 8: Pasting Both Sides Of The Red Paper Together
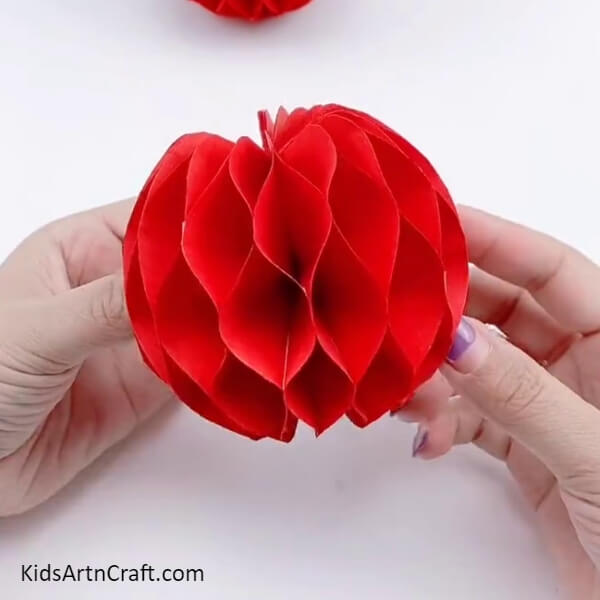
Now you can see the tape on the front side of your red paper, grab the front and back side of the red paper, then push both sides close together as shown and paste it.
Step 9: Creating Stem And Leaf
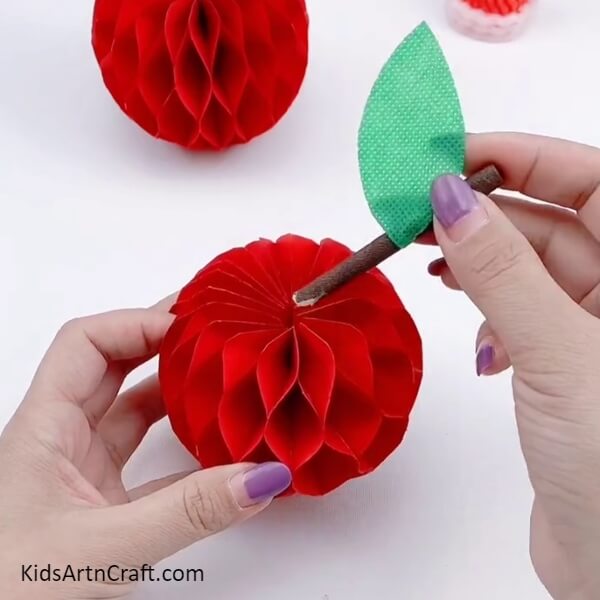
To create a stem, cut a 5cm long small rectangle piece from brown color craft paper and apply some glue on its one edge, then roll your brown paper to paste it. Cut a small leaf from green foam paper and paste it with the stem. Then apply some glue on the bottom edge of the stem, then paste it on top of the apple.
Finally, The Bright red colored 3D paper apple is ready!
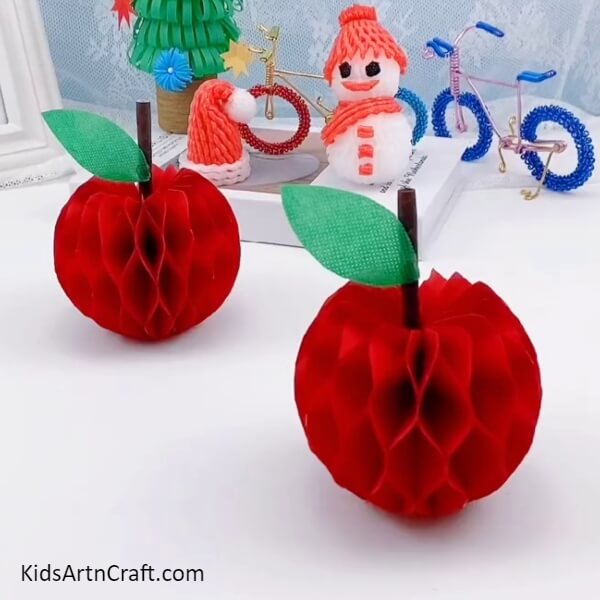
This 3D origami paper craft is really easy to make, create more small apples like this and include this cool red apple in your kid’s birthday decorations.
Some More Apple Craft Tutorial
Making an Apple Craft Using Paper Strip For Kids
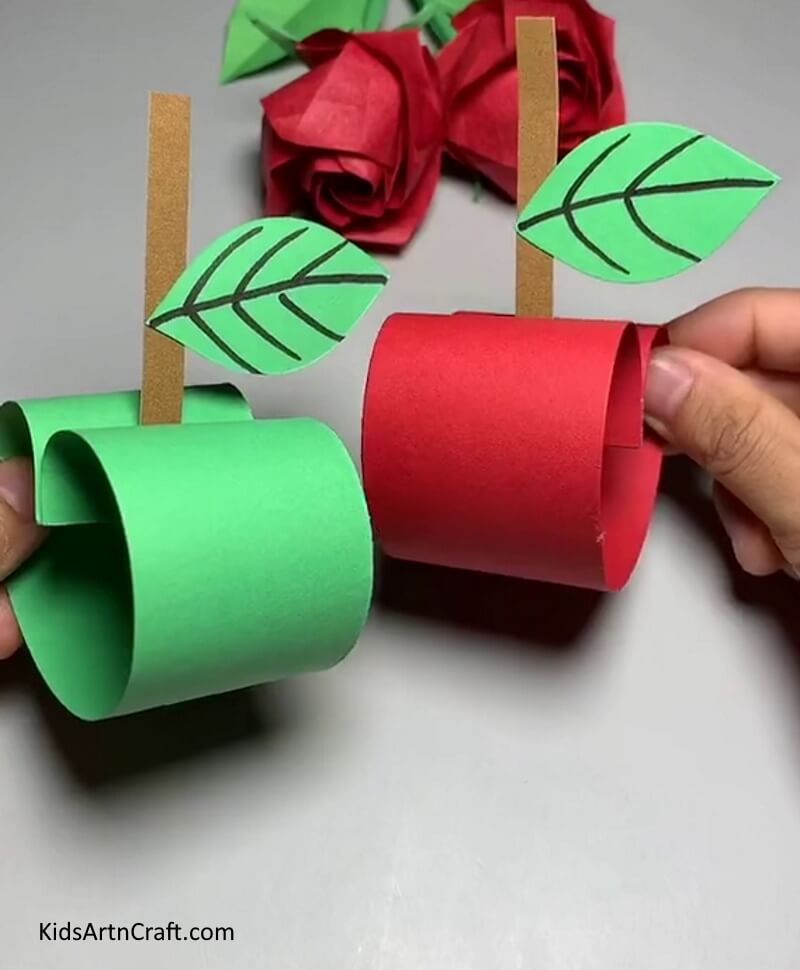
Image Source/Tutorial: Kids Art & Craft
This craft is a fun and easy way to make an apple using paper strips. Kids will love making this craft and adding their own creative touches. It’s a great way to spend time with your kids and get creative together!
Hope this tutorial is useful for you, leave your thoughts in the comment box below. For more easy and useful crafts like this, visit our website.
Thank you for visiting our website!
Follow us on Youtube for art and craft tutorials and much more.
More Articles from Kids Art & Craft
- How to Make Origami Paper Star Tutorial
- Origami Crab Making Easy Tutorial For Kids
- Easy Paper Folding Crafts Video Tutorial for Kids
- DIY Paper Butterfly Easy Craft For Kids
- How to make Paper Strips Boat Craft Tutorial For Kids


