Clay Crafts
Clay Lotus In Pond Awesome Craft Tutorial For Kids

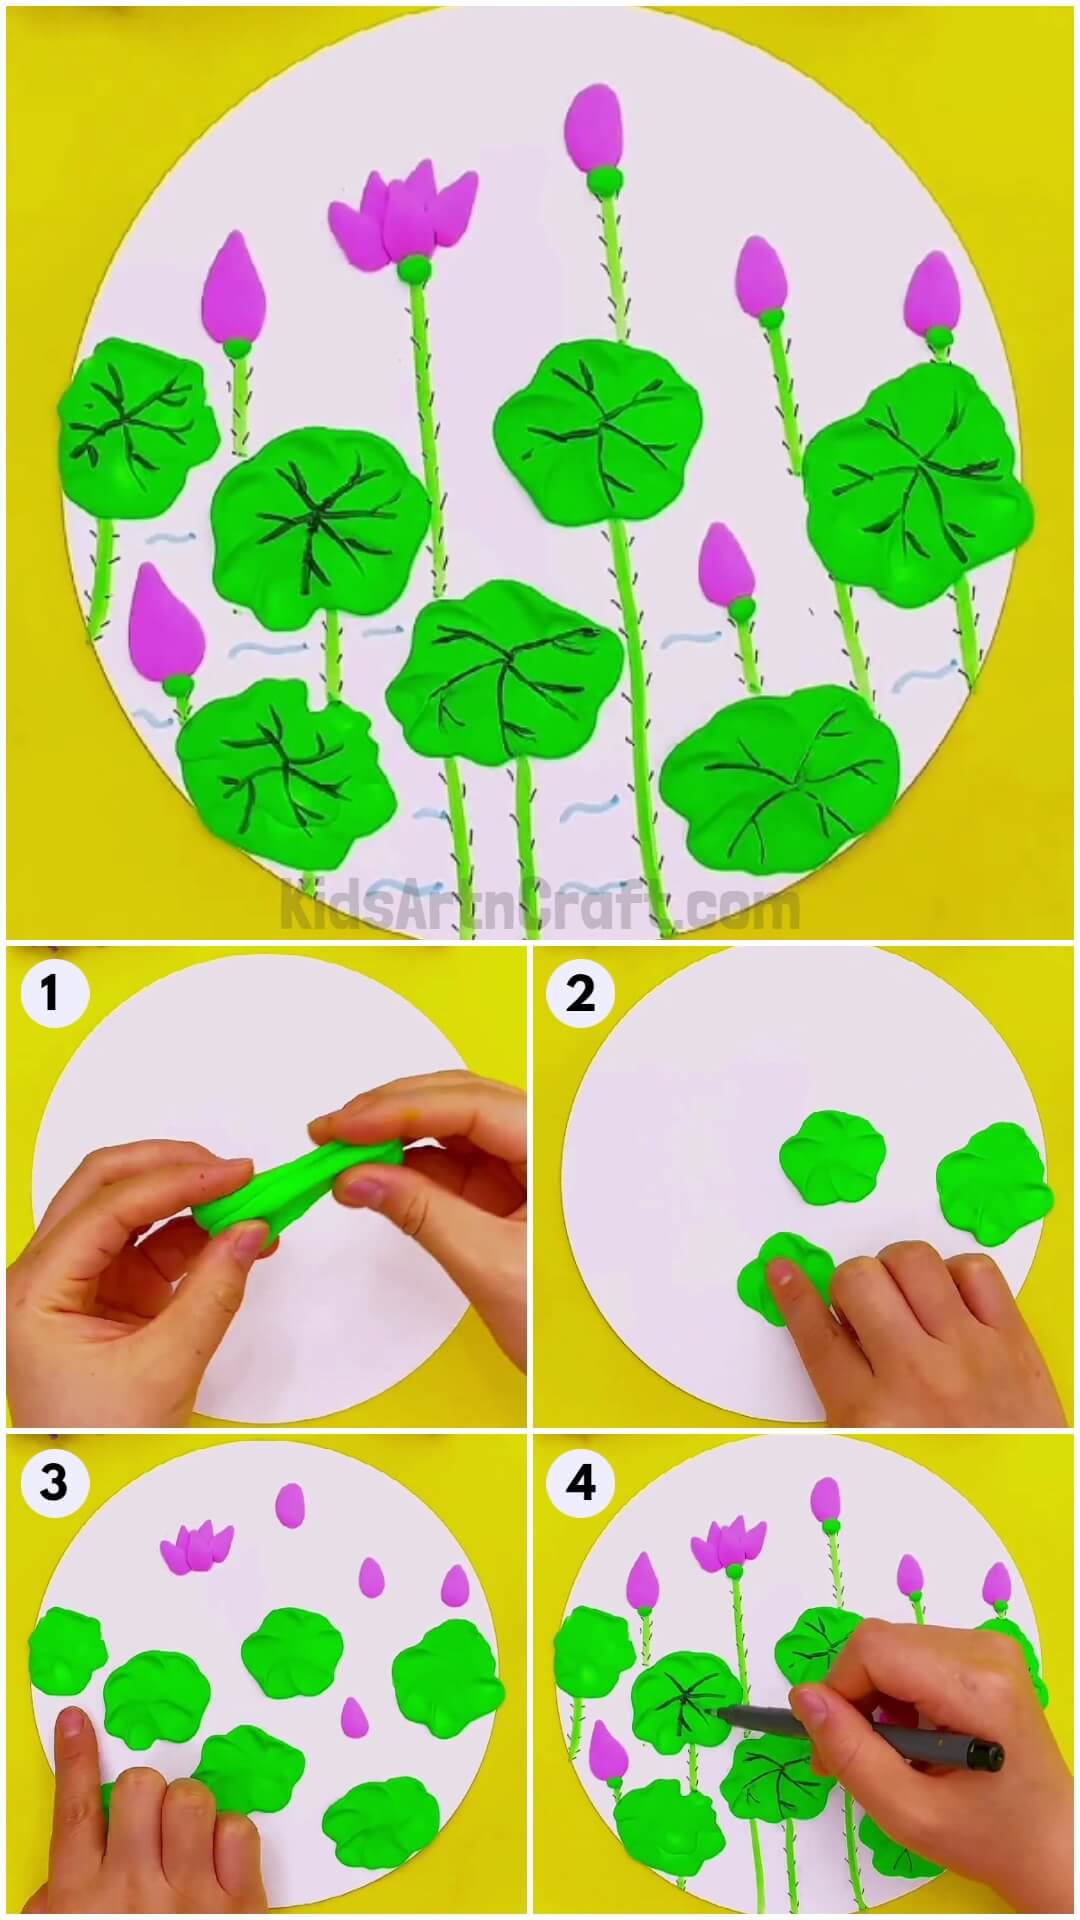
In this tutorial, children will learn how to make a clay lotus flower in a pond. They will be instructed on how to shape the clay, create the pond, and place the lotus in it. It is an enjoyable and imaginative activity that lets them appreciate the beauty of nature.
Lotuses are beautiful pond plants that bloom splendidly in the ponds. What if I say you can make these wonderful lotuses on a minimal budget? Yes, you heard it right you can actually make clay lotus at your home by following these basic step-by-step tutorials. So, without any further delay let’s begin.
Easy Clay Lotus In Pond Awesome Craft
Read More: DIY Miniature Clay Cake Craft Activities for Kids
Materials Required
- Clay
- plain sheet
- colorful sketch pens
Procedure
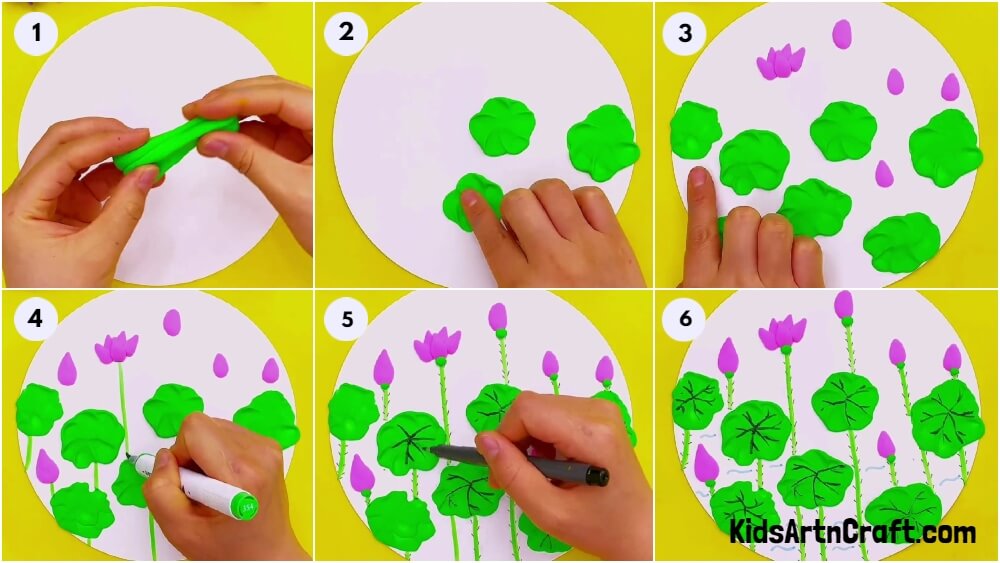
Step 1: Take A Plain Sheet And Stick Some Clay On It
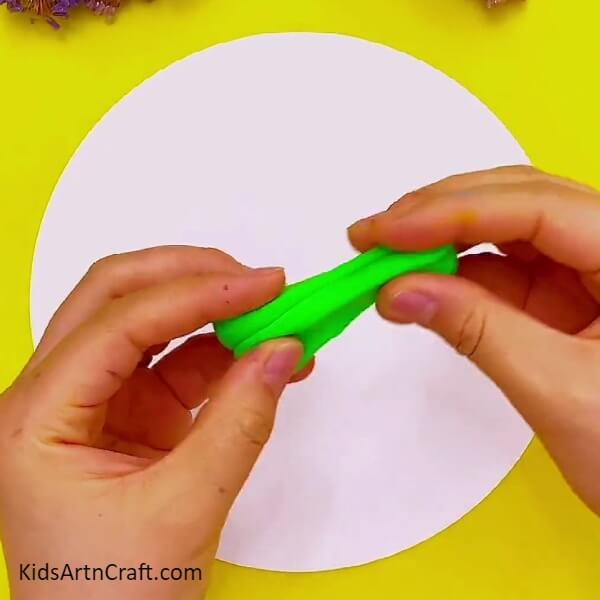
Take a plain sheet, some green clay, and press it with your fingers to give it the shape of leaves.
Step 2: Stick The Green Clay On The Plain Sheet
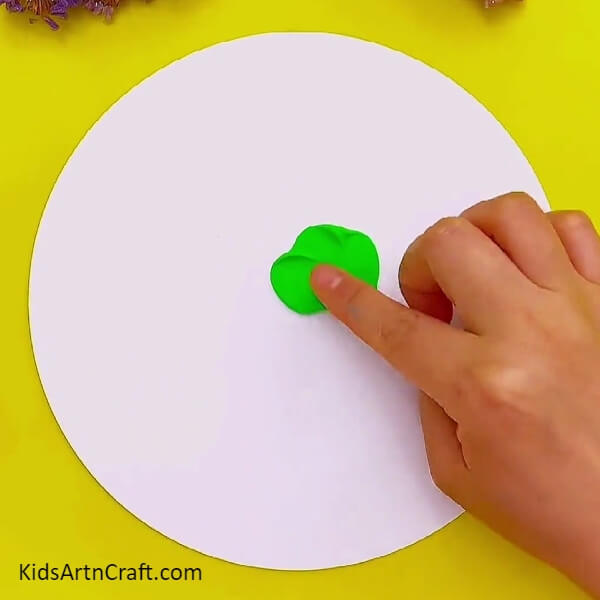
For the next step, stick the green clay on the plain sheet giving it a leaf shape as shown in the image above.
Step 3: Place More Such Clay Leaves On The White Sheet
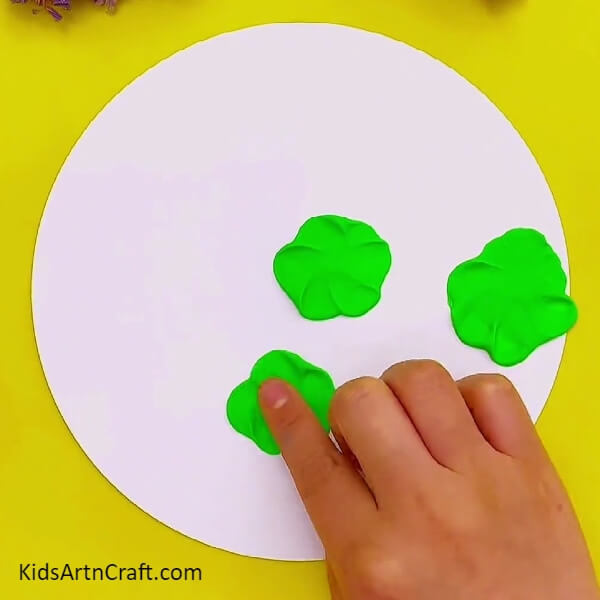
On the sheet, mold more leaves from the clay and place it on the paper thoroughly as shown.
Step 4: Mold Green Leaves From The Clay And Place Them On The Sheet In A Similar Pattern Shown
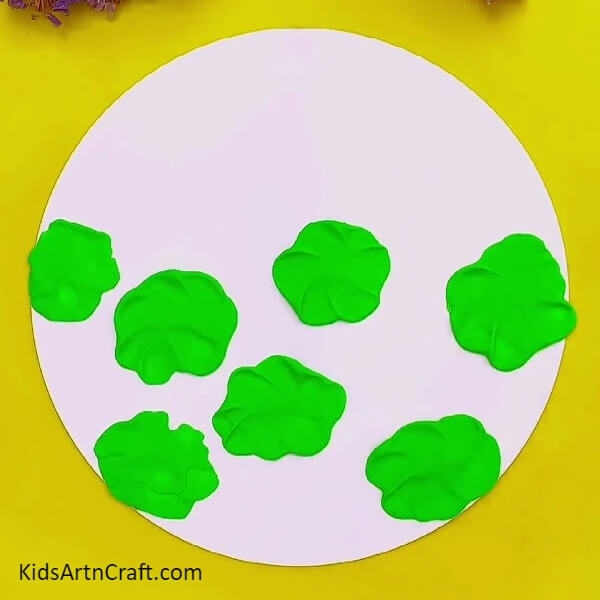
Mold some green leaves out of the clay and place them on the sheet in the same pattern shown in order to make your pond look more attractive.
Step 5: Design A Lotus From The Pink Clay And Place It On The Sheet
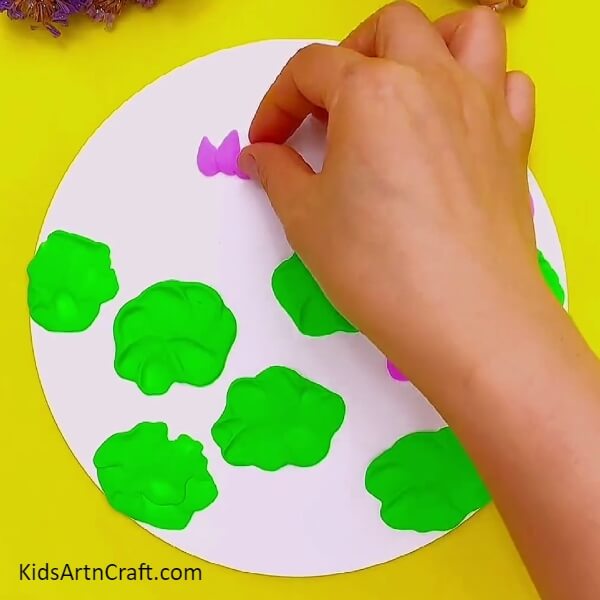 From the pink clay mold the petals of the lotus and place it on the sheet carefully in between the leaves.
Step 6: Make More Such Lotuses With The Help Of Pink Clay
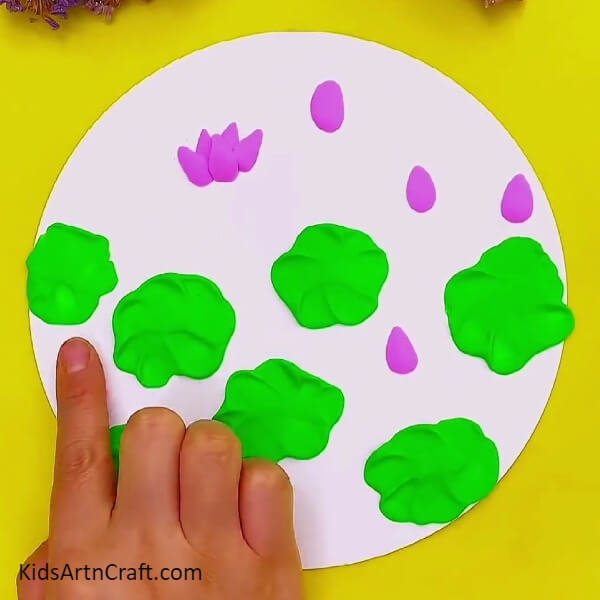
With the help of pink clay make more such lotuses and place them in between the leaves gracefully.
Step 7: With The Green Sketch Pen Draw The Stem Of The Lotus
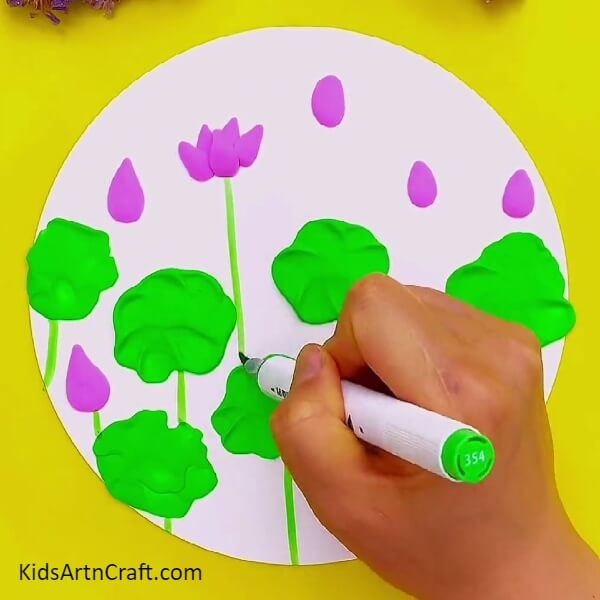
Take a green sketch pen and draw stems of the lotuses as shown in the image above.
Step 8: Draw The Thorns Of The Roses With A Black Sketch Pen
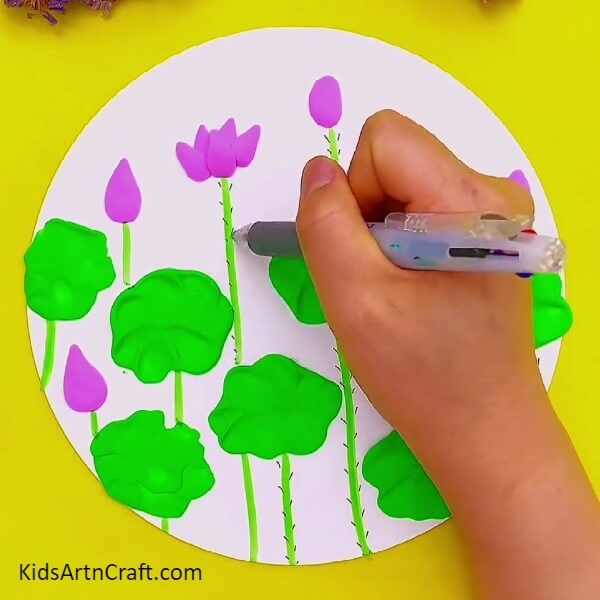
Take a black sketch pen and draw thorns on the side of the stem neatly.
Step 9: Draw A Pattern On The Leaves As Shown
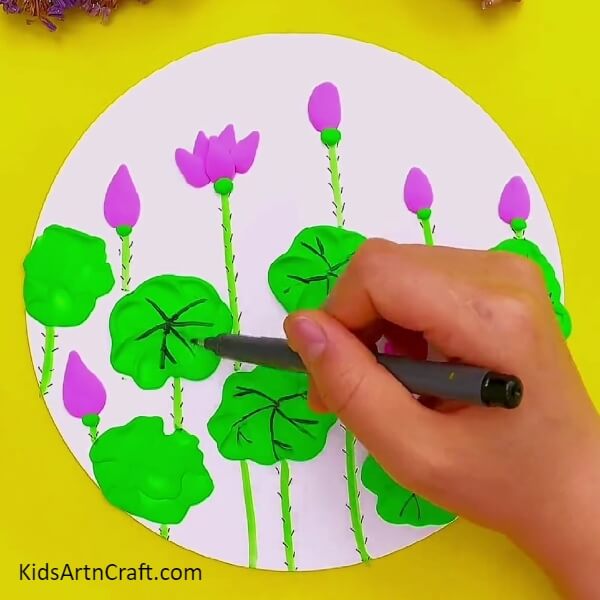
With a black sketch pen draw a pattern on the clay leaves to give it a more realistic look.
Step 10: Draw Waves Of Water With A Blue Sketch Pen
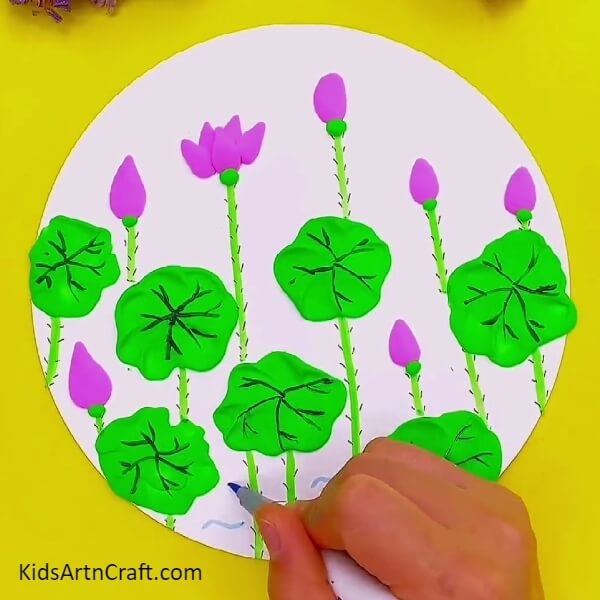
Take a blue sketch pen and draw waves of water between the leaves and lotus as shown to make your pond look more attractive.
Woohoo! Finally, We Have Completed Our Craft
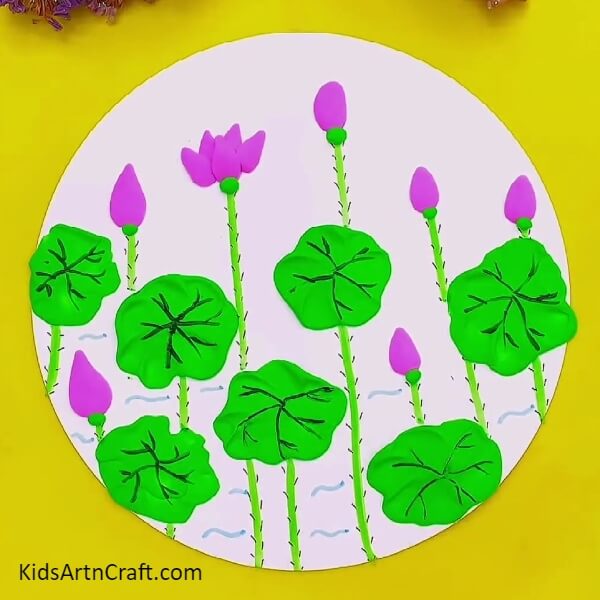
With this, we have completed our craft in no time. We have successfully made our cute clay lotus craft.
I hope you have had fun while creating this artistry. Do share your experience and opinions with us in the comments section. For more such easy-peasy art and craft guides and tutorials check out our website.
Follow us on Youtube for art and craft tutorials and much more.
More Articles from Kids Art & Craft
- How to Make a Clay Bird Easy Artwork tutorial for kids
- How to Make Clay Flower Easy Tutorial for Kids
- Clay watermelon ice cream easy craft tutorial
- DIY Bees Clay Art Tutorial for Kids
- Pretty Cotton Earbud Flower Painting Art Idea For Kids


