


Paper Crafts
How To Make Paper Bee Easy Craft for Kids

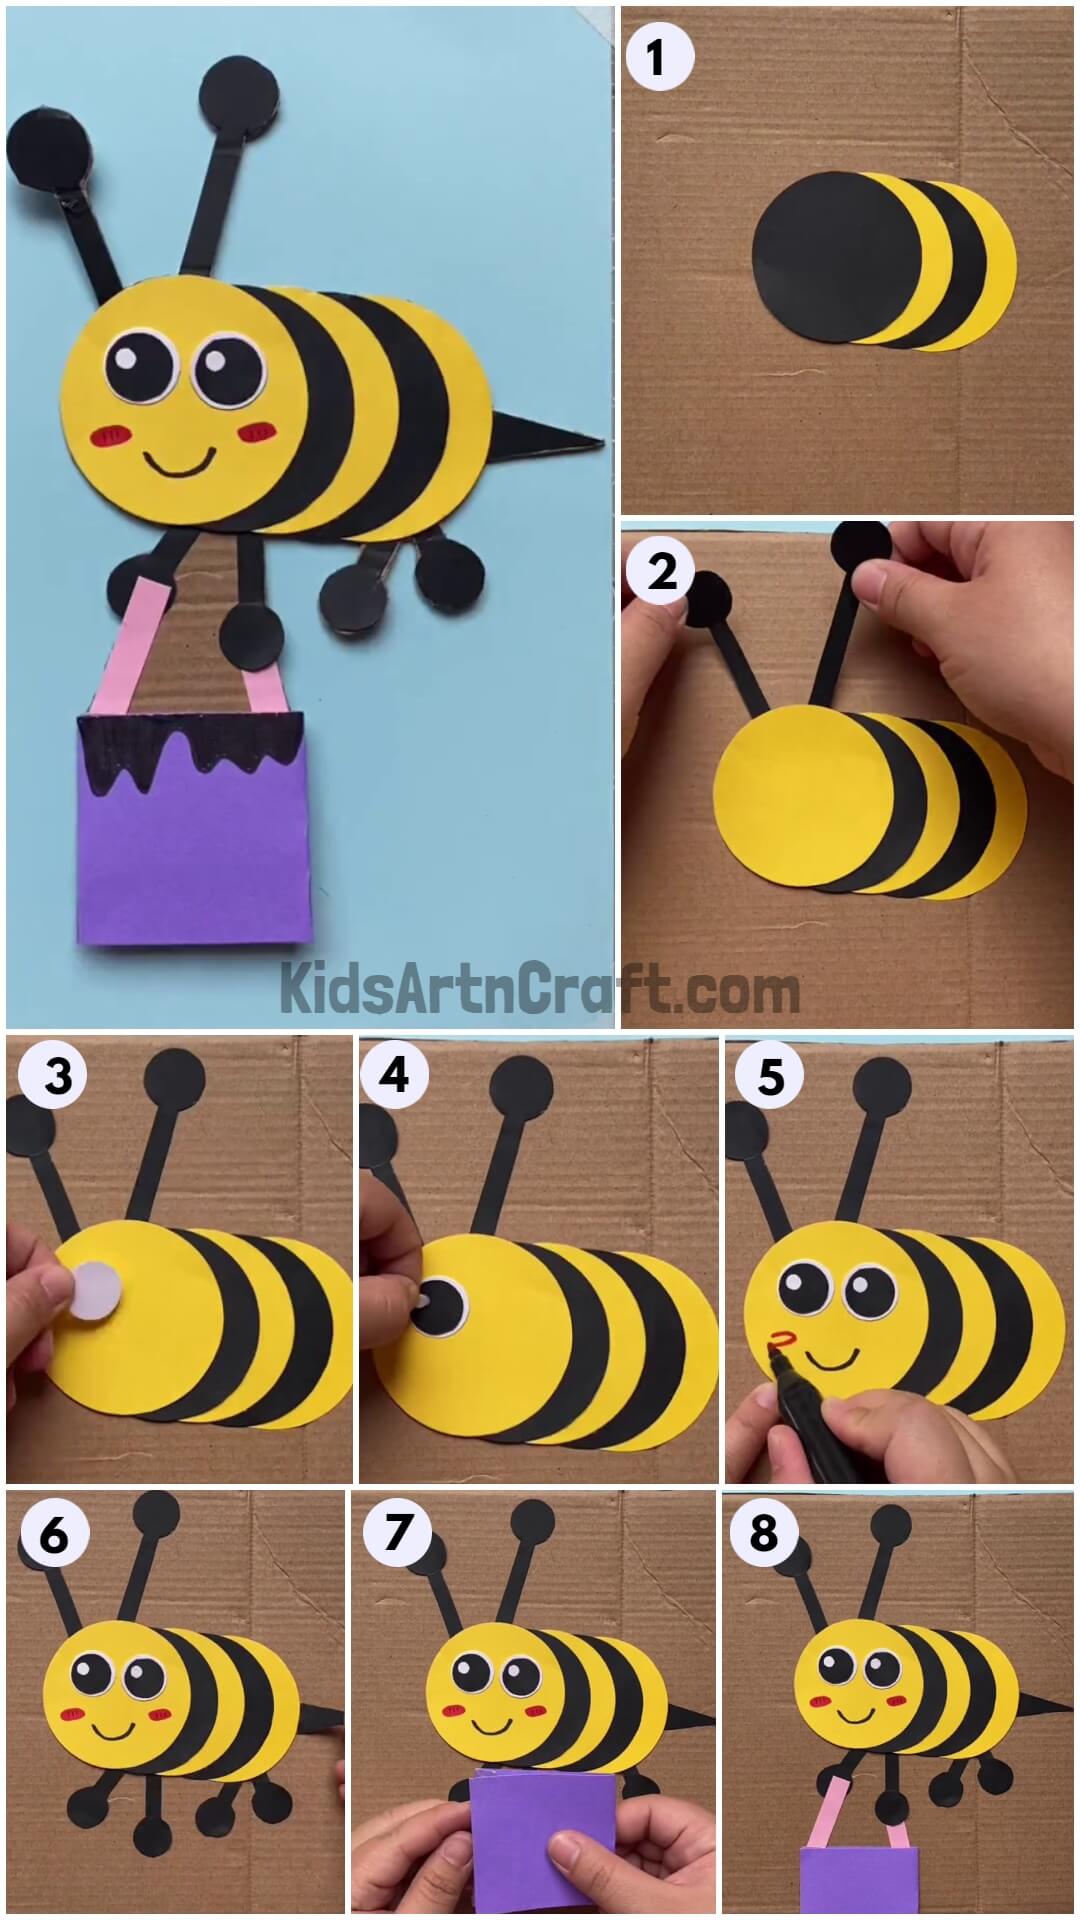
This easy craft for kids helps them learn how to make a paper bee with just a few simple steps. Perfect for a fun summer craft activity, this paper bee craft is sure to be a hit with your kids!
Get ready for an exciting adventure as we dive into the world of crafts! Today, we’re going to learn how to make a super cute paper bee. Buzz with excitement as we gather our materials and follow the simple steps. With just a few sheets of paper, some markers, and scissors, you’ll transform them into a buzzing masterpiece! We’ll start by creating the bee’s body using circles and stripes. Then, we’ll add the eyes, antennae, and a big smiley face. But that’s not all! We’ll also decorate the bee with wavy patterns and give it legs and a colorful bucket. By the end, you’ll have a fantastic paper bee craft to show off to your friends. So, let’s grab our supplies and get crafting!
Simple Paper Bee Easy Craft for Kids
-
Brown cardboard
-
Yellow paper
-
Black paper
-
White paper
-
Black marker
-
Red marker
-
Scissors
-
Glue
Procedure
Step 1: Creating the Bee’s Body
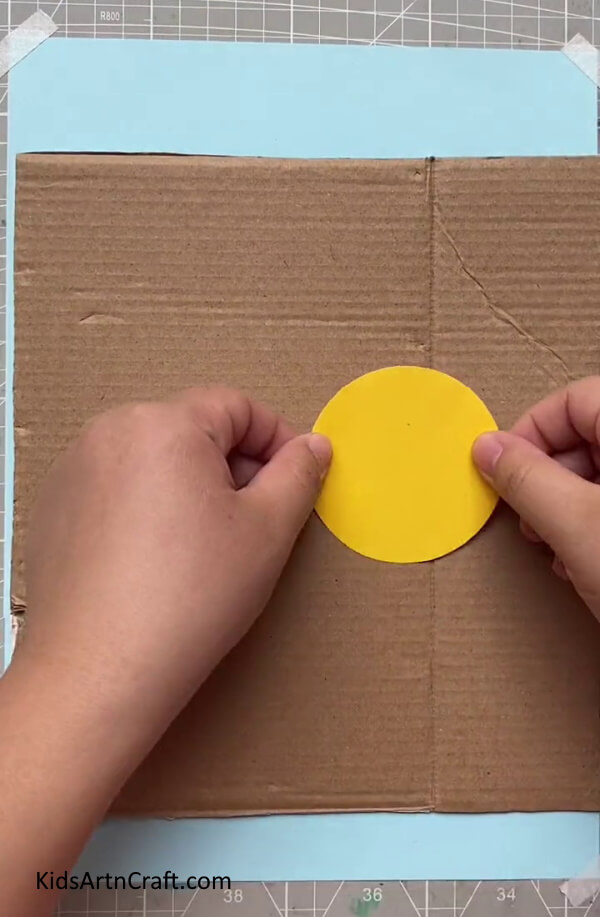
Take a small yellow circle from the yellow paper. This will be the abdomen of our bee. Place it on the brown cardboard as the body of the bee and glue it in place. The brown cardboard will serve as the background for our craft.
Step 2: Adding the Stripes
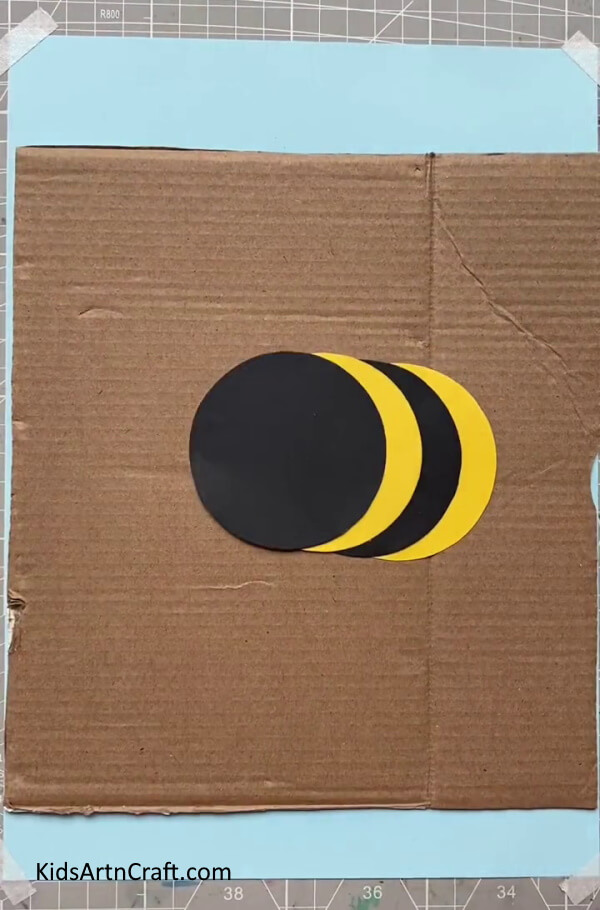
Now, let’s make the bee’s abdomen. Cut two more yellow circles and two black circles from the respective papers. These circles will be the stripes on the bee’s body. Arrange them alternately, starting with a yellow circle, then a black circle, and so on. Overlap each circle slightly with the previous one until you have reached the halfway point of the bee’s abdomen. Glue them one by one in place on the yellow circle we placed in Step 1. Look at the image for reference.
Step 3: Making the Antennae
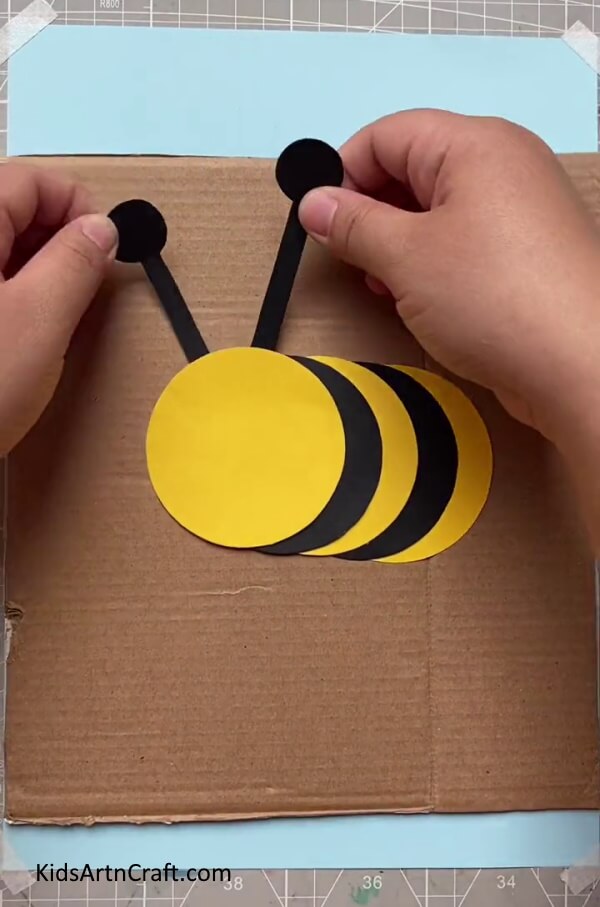
To create the antennae, we will use black paper. Cut out a similar structure as shown in the image. It should resemble two long and curved lines coming out. This will be the bee’s antennae. Attach it behind the first yellow circle, on the left-hand side of the craft. Use glue to secure it in place.
Step 4: Creating the Bee’s Eyes
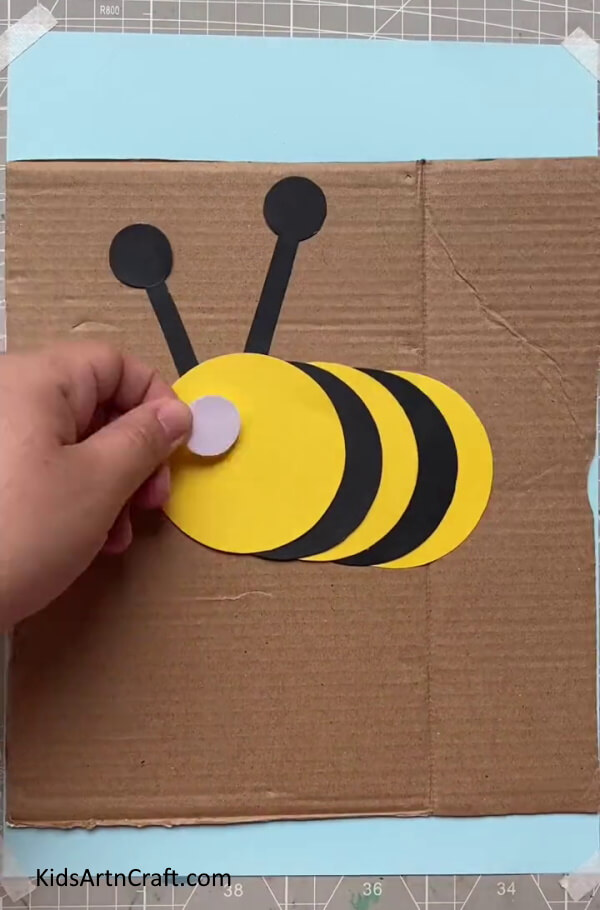
Let’s make the bee’s eyes. Take a small white circle from the white paper. Place it in the center of the first yellow circle, which is the head of the bee. Glue it down firmly.
Step 5: Adding the Pupils
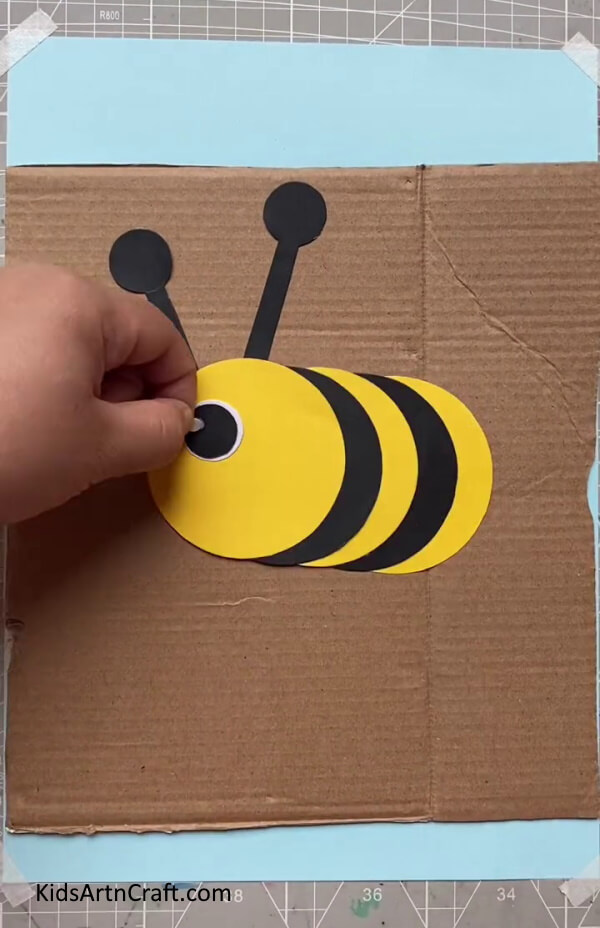
Now, cut a smaller black circle from the black paper. Paste it between the white eye cutout. This black circle will be the pupil of the bee’s eye. Use the smallest white circle to make the eyeball, which will be placed in the center of the black circle.
Step 6: Finishing the Eyes
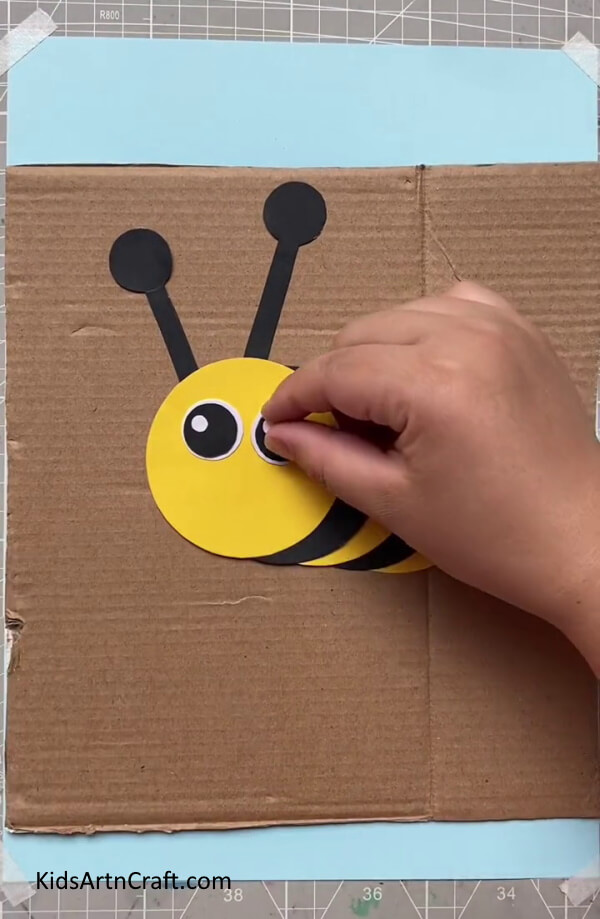
Repeat this step for the other eye. Now that we have completed the basic shape of our bee, let’s add some fun details.
Step 7: Adding a Smiley Face and Cheeks
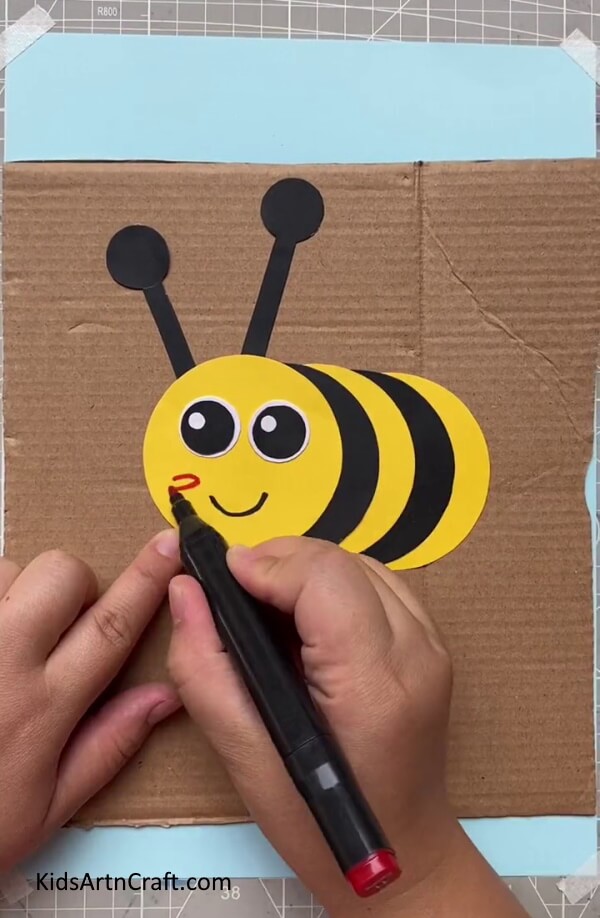
Use a black marker to draw a smiley face on the bee’s head. Make a curved line for the mouth and two small curves for the smile. Next, take a red marker and carefully highlight the cheeks of the bee by drawing two circles, one on each side of the smiley face. This will make our bee look cute and happy!
Step 8: Making the Bee’s Legs
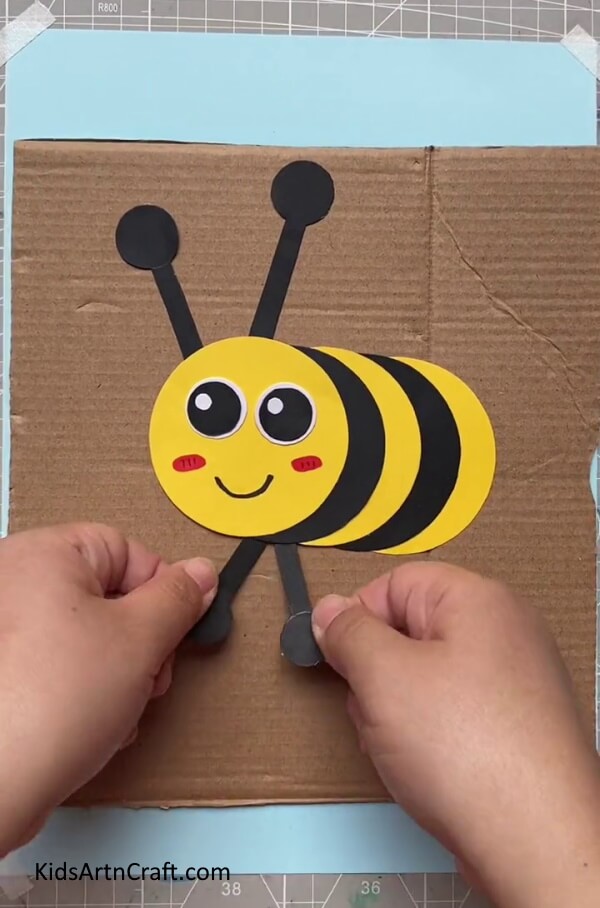
To make the bee’s legs, we will use black paper and scissors. Carefully cut thin strips from the black paper. These strips will be the legs of our bee. Look at the image for guidance on how the legs should look. Make sure to cut an equal number of leg strips (4) for our bee.
Step 9: Adding a Tail
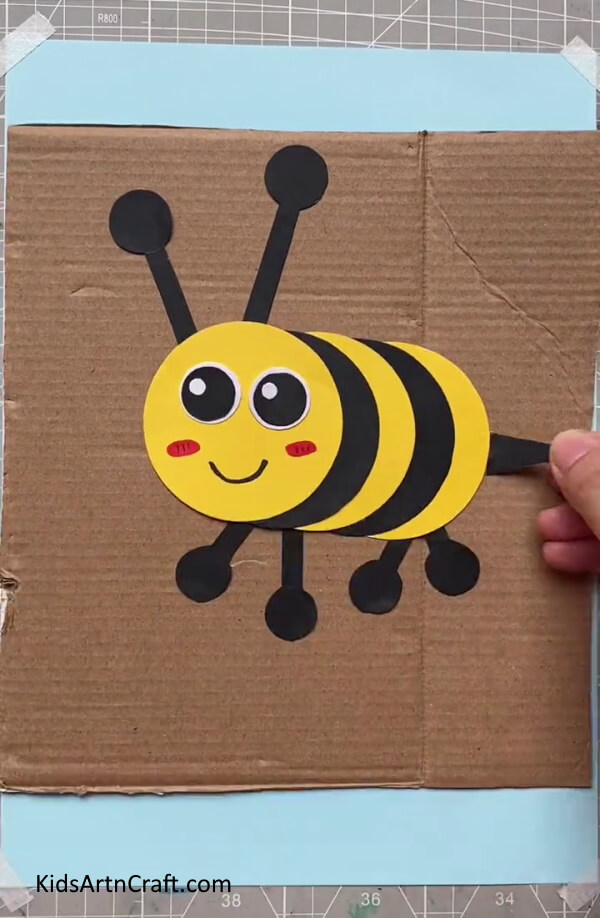
Our bee needs a tail! Cut out a small triangular shape from the black paper. This shape will serve as the tail of our bee. Paste it behind the last yellow circle of the bee’s abdomen, on the right side. Use glue to secure it in place.
Step 10: Making the Bee’s Bucket
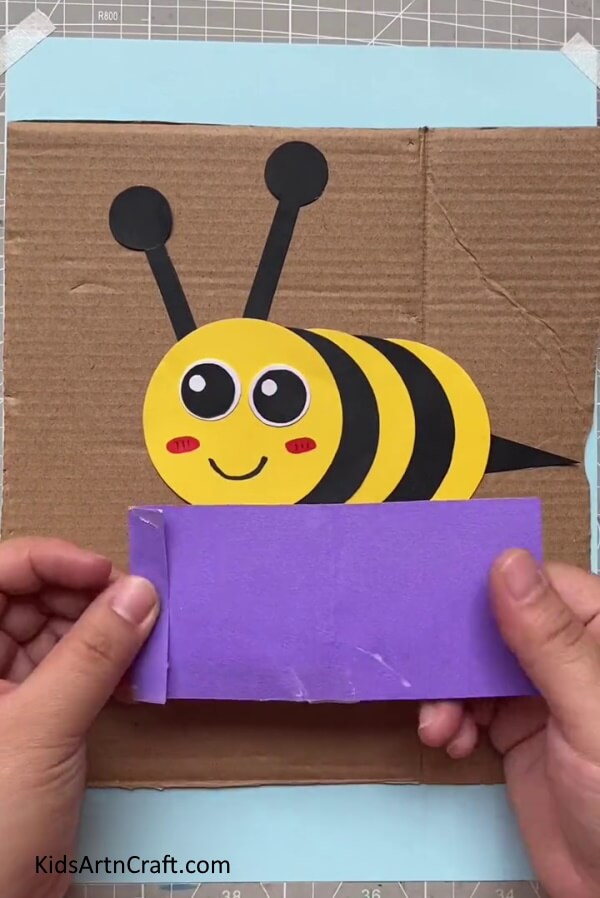
Now, let’s make the bee’s bucket.
Step 11: Folding it in Square
Take a purple pastel sheet and fold it into a square shape. Follow the procedure similar to what we’ve done before with the circles. The folded purple square will represent the bucket that our bee is holding.
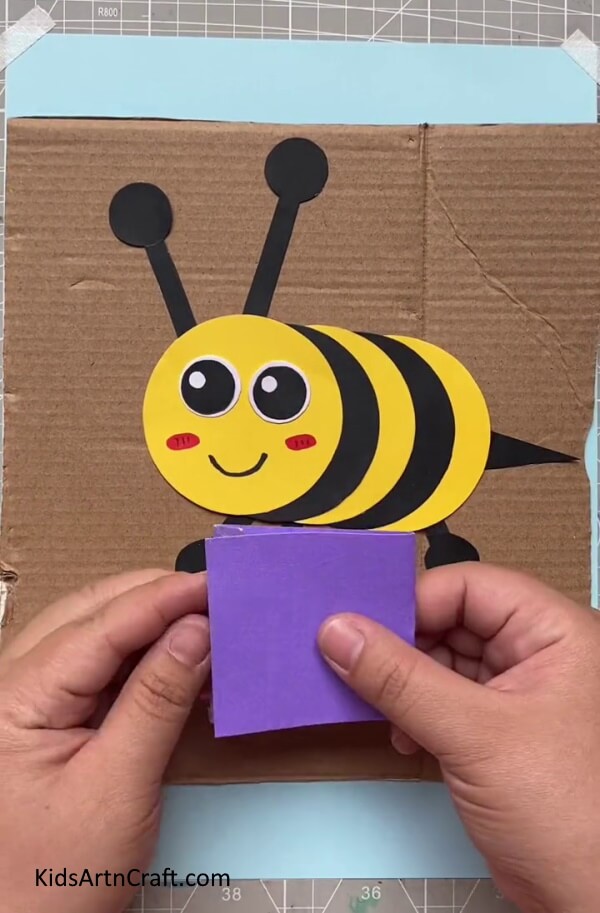
Step 12: Attaching the Bucket to the Bee’s Legs
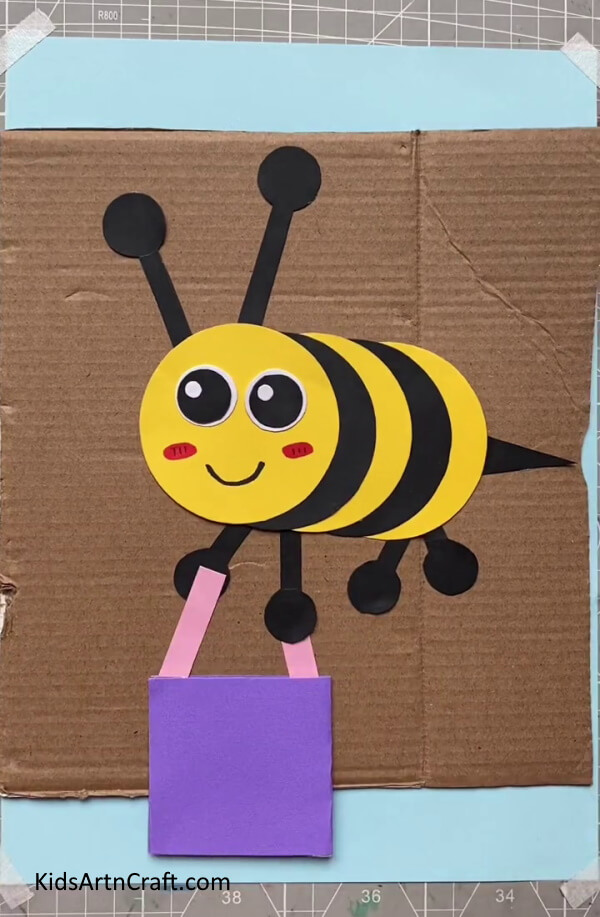
To make it appear as if the bee is holding the bucket with its legs, we will attach two rectangular pink cutouts to the first two legs of the bee. Cut out the pink rectangles and glue them securely to the legs.
Your Bee Craft Is Ready!!
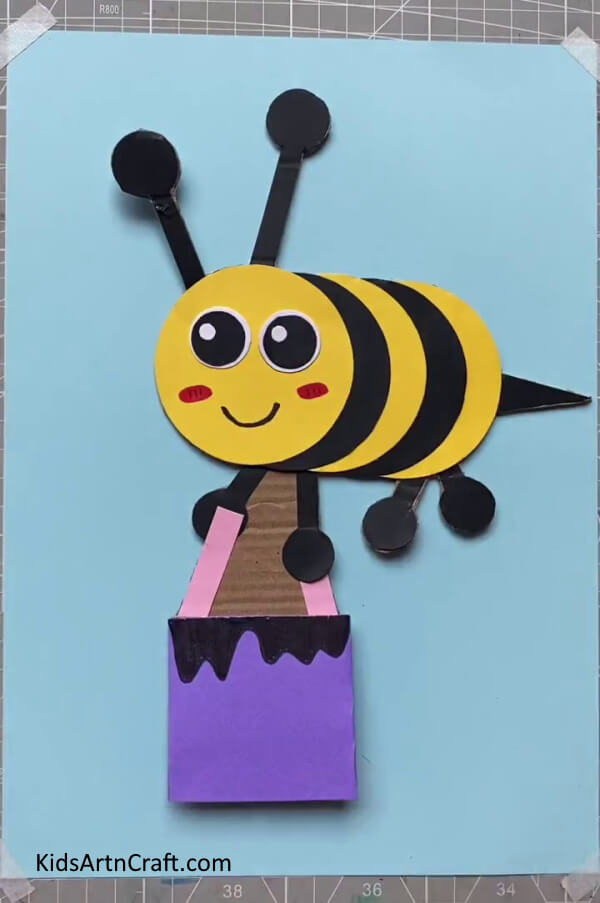
Using a black marker, draw a wavy pattern on the purple square bucket. This pattern will create the illusion that paint is spilling out of the bucket, adding a fun touch to our craft.
Congratulations! You have successfully made a cute paper bee craft. We hope you enjoyed this activity and had fun creating your own bee. Remember, you can always add your own creative touches to make it even more unique. For more exciting craft ideas, please visit our website. Happy crafting!
Some More Bee Craft Tutorial
Cutest Bee Craft For Youngsters Using Cardboard Roll
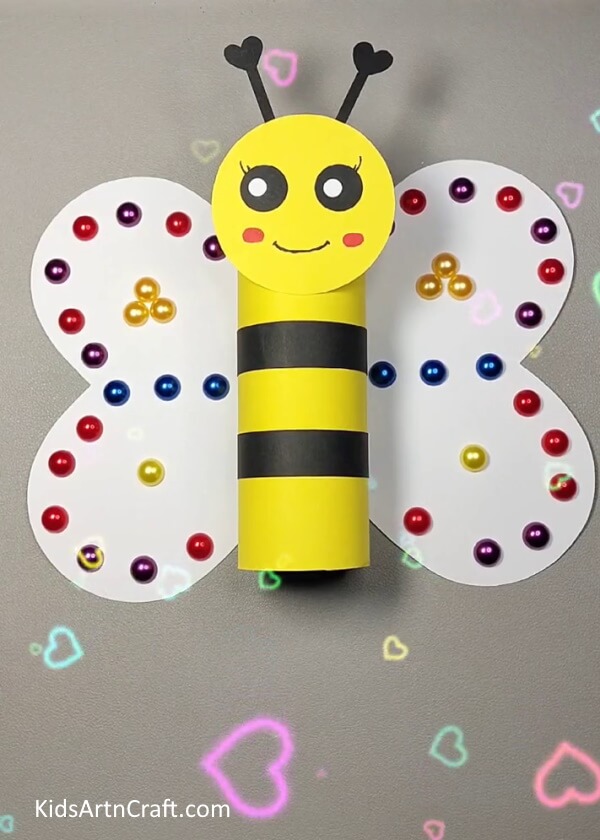
Image Source/Tutorial: Kids Art & Craft
This craft is perfect for youngsters who are creative and enjoy having fun! It can be made easily using a cardboard roll and some other supplies. The end product is an adorable bee that can be used for decoration or as a toy. It’s sure to put a smile on any child’s face!
Follow us on Youtube for art and craft tutorials and much more.
More Articles from Kids Art & Craft
- How To Make A Paper Heart Bee Craft Tutorial
- DIY Easy Paper Bee Craft for Kids
- Christmas Santa Face Paper Craft Step-by-step Tutorial For Beginners
- Summer Paper Fan Step-by-Step Tutorial for Kids
- Easy Paper Butterfly Craft For Kids


