


DIY and Crafts
Paper Strip Apple Craft Tutorial For Kids

This craft tutorial will show you how to make an apple out of paper strips! This easy and fun craft is perfect for kids of all ages and perfect for a fun family activity. Follow the steps in this tutorial to create your own paper strip apple!
This paper strip apple craft tutorial for kids is a fun and easy way to teach kids about the importance of recycling and upcycling paper. This activity is perfect for a classroom or at-home craft project, as it uses materials that are easy to find and assemble. With a few simple steps, kids can create a beautiful paper apple decoration that will make a great addition to any room or bulletin board.
DIY Paper Strip Apple Craft For Kids
Read More: Water Bottle Airplane Tutorial for Kids
Materials Required
- Colored Construction Paper
- Scissors
- Glue Stick
- Black Marker
Procedure
Step 1: Preparing The Papers
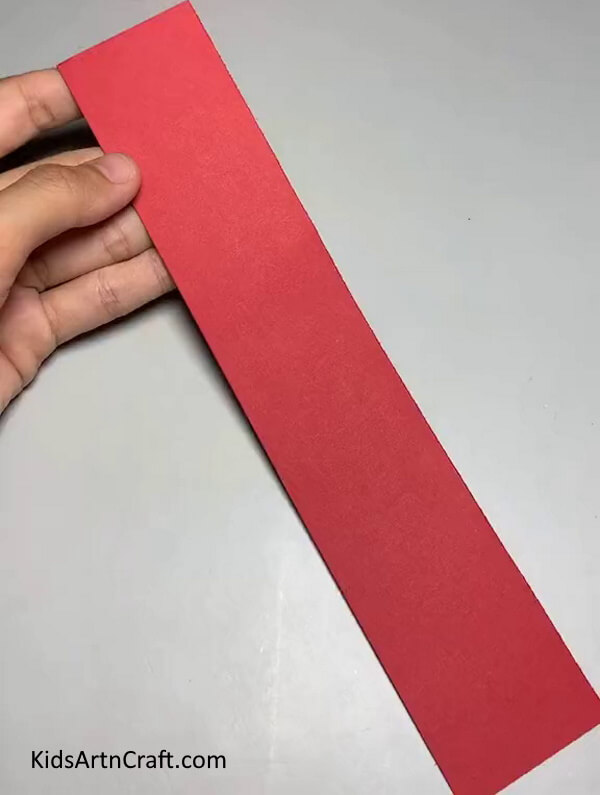
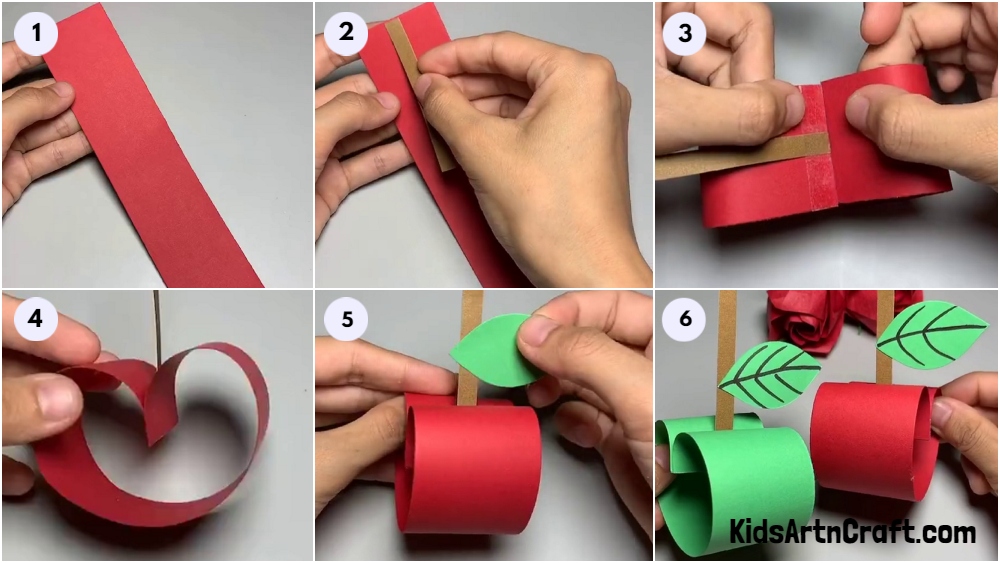
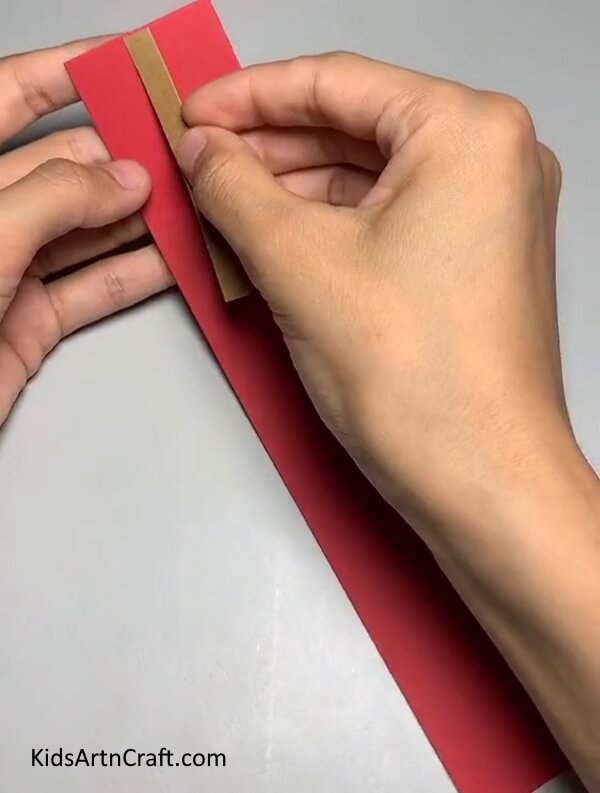
Take a red construction paper and cut it into a strip that is approximately 1 inch wide and 12 inches long. This will be the main component for creating the paper strip apple craft.
Step 2: Making The Stem
Take a small strip of brown construction paper and position it in the middle of one edge of the red paper strip, ensuring that it overlaps the red strip, as shown. Securely attach the brown strip to the red strip using the glue stick, to create a stem for the apple.
Step 3: Folding The Red Strip

Fold the red paper strip in half, bringing the two ends together to form a loop. Make sure that the stem is positioned inside the loop. Gently press and crease the fold to secure the loop shape.
Step 4: Forming The Apple
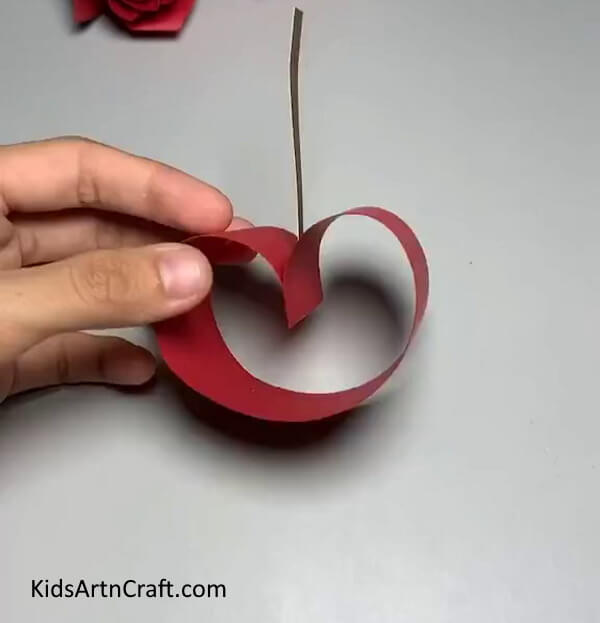
Attach the two ends of the paper strip together using a glue stick. This securely holds the shape of the apple and completes the basic outline. Make sure to align the ends properly to maintain the circular shape. With the ends attached, the paper strip transforms into a cohesive and recognizable form of an apple.
Step 5: Adding Leaves
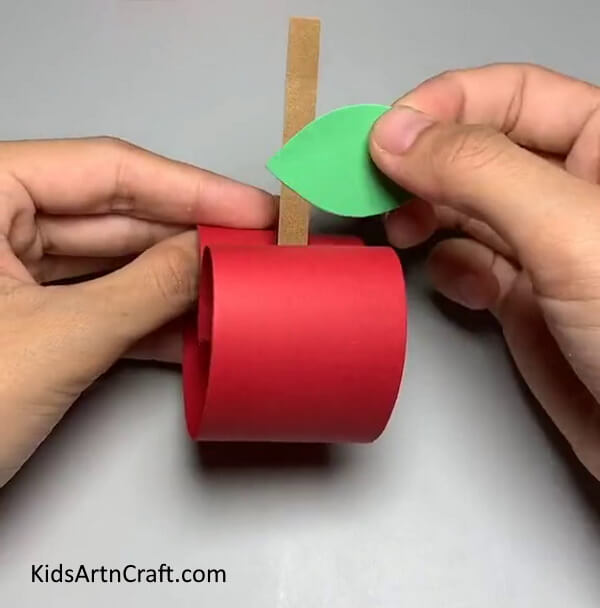
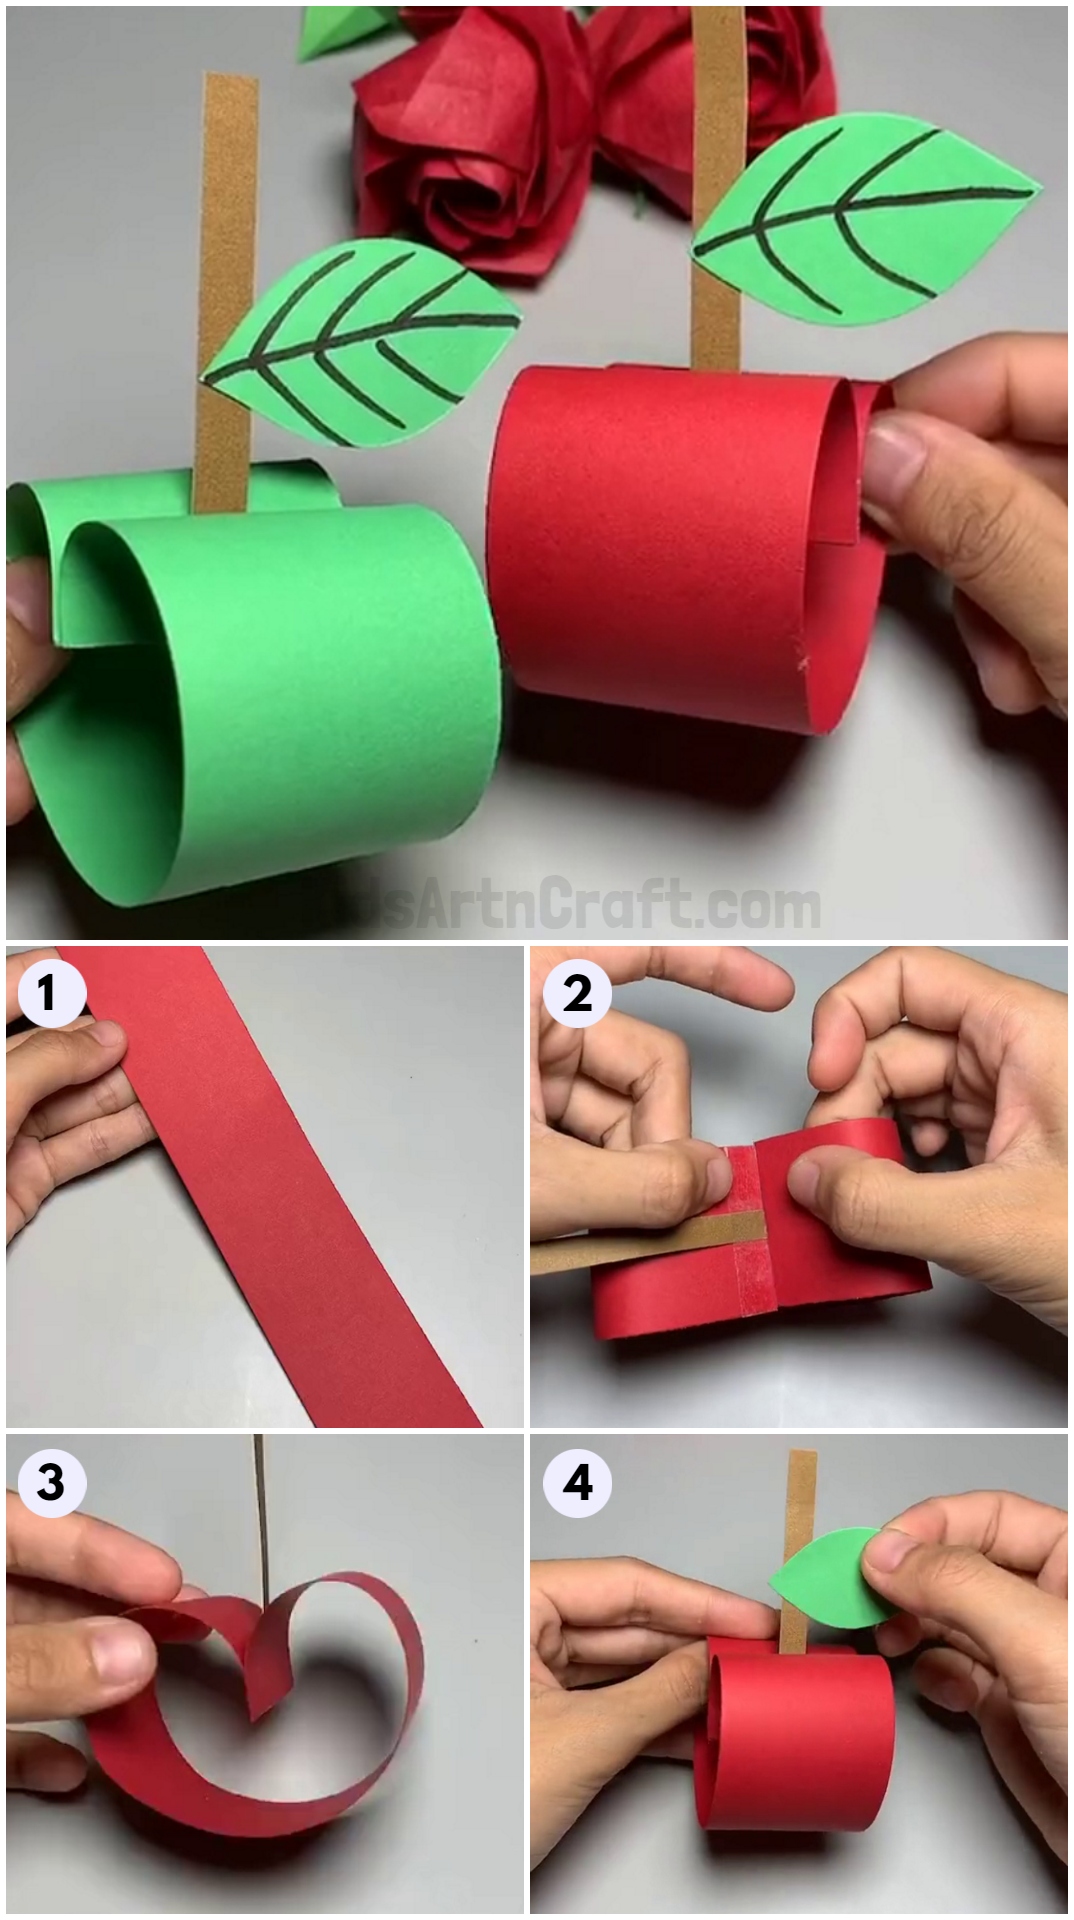
To add leaves to the paper strip apple, cut small leaf shapes from green construction paper. Position the leaves near the stem of the apple and secure them in place using glue or adhesive. The addition of leaves enhances the overall appearance of the apple and completes the craft.
Your Paper Strip Apple Is Complete!!
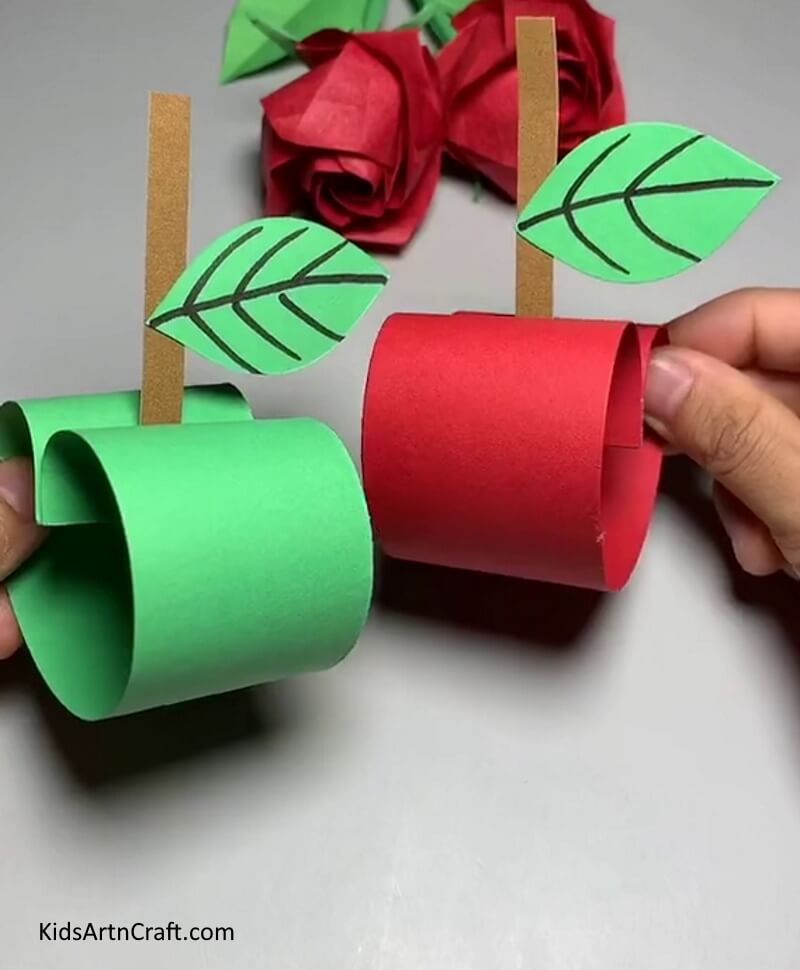
Congratulations! Your paper strip apple craft is now complete.
Admire your beautiful creation and showcase it proudly. Whether you display it on a bulletin board, use it as a decoration, or give it as a gift, this paper strip apple is sure to bring joy and a touch of autumn charm. Enjoy the process of crafting and don’t forget to try out more exciting DIY projects!
Follow us on Youtube for art and craft tutorials and much more.
More Articles from Kids Art & Craft
- Easy Paper Robot Craft Step-By-Step Tutorial
- DIY Paper Crafts Video Tutorial for All
- How to Make Bubble Wrap Corn Craft Easy Tutorial
- Easy to Make Doll with Yarn and Tissue Paper
- How to Make Paper Cup Wrist Watch Tutorial for Kids


