Paper Crafts
Easy Paper Flower Toy Craft Tutorial For Kids

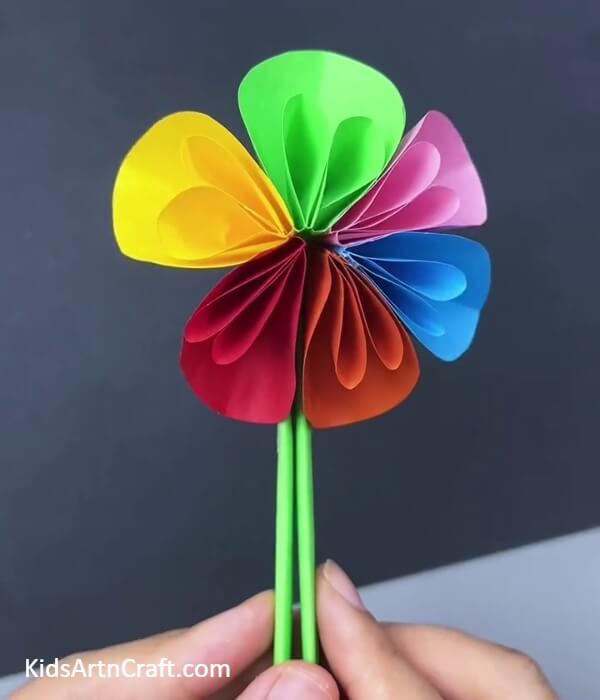
Create a blooming flower craft toy, which can open up and can be closed! This step-by-step tutorial will guide you to make it in no time!
Create a flower toy that can open up and close at the same time! Bloom it anytime you like! This craft will definitely be a hit for your kids, they will love to play with it and create it! This craft-making is also a sensory activity for the kiddos to do a fun learning activity in thier boring afternoon time rather than engaging in those harmful devices and screens! Through this craftwork, kids would be able to explore the world of crafting and who knows this craft can be a first step for them as future artists! Read on to create this flower toy!
DIY Paper Flower Toy Craft For Kids
Read More: Learn To Make Easy Heart Shaped Paper Mouse Craft
Materials Required
- Colorful Circular Sheets
- Green Paper
- Glue
Procedure
Step 1: Making ‘+’ Creases On A Circle
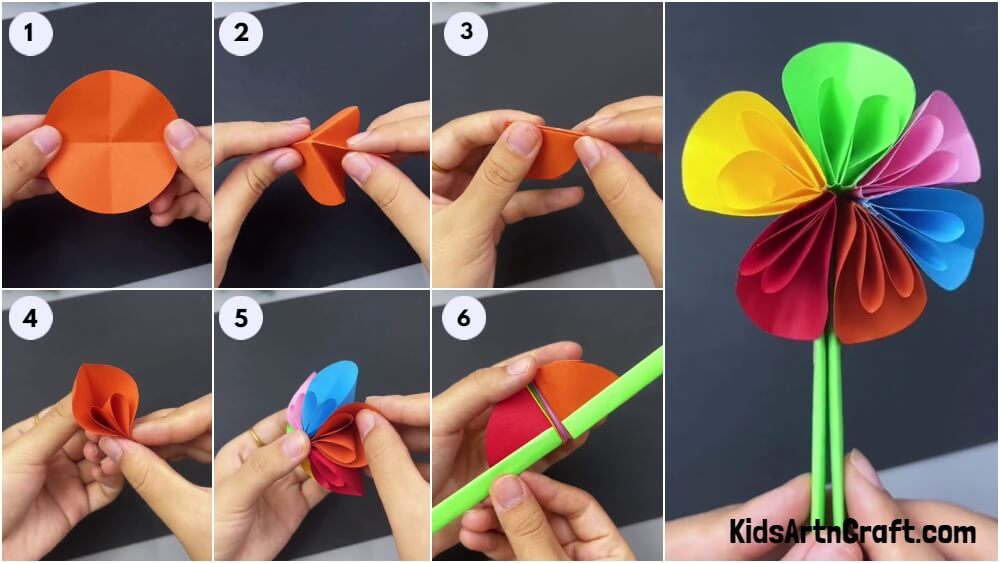
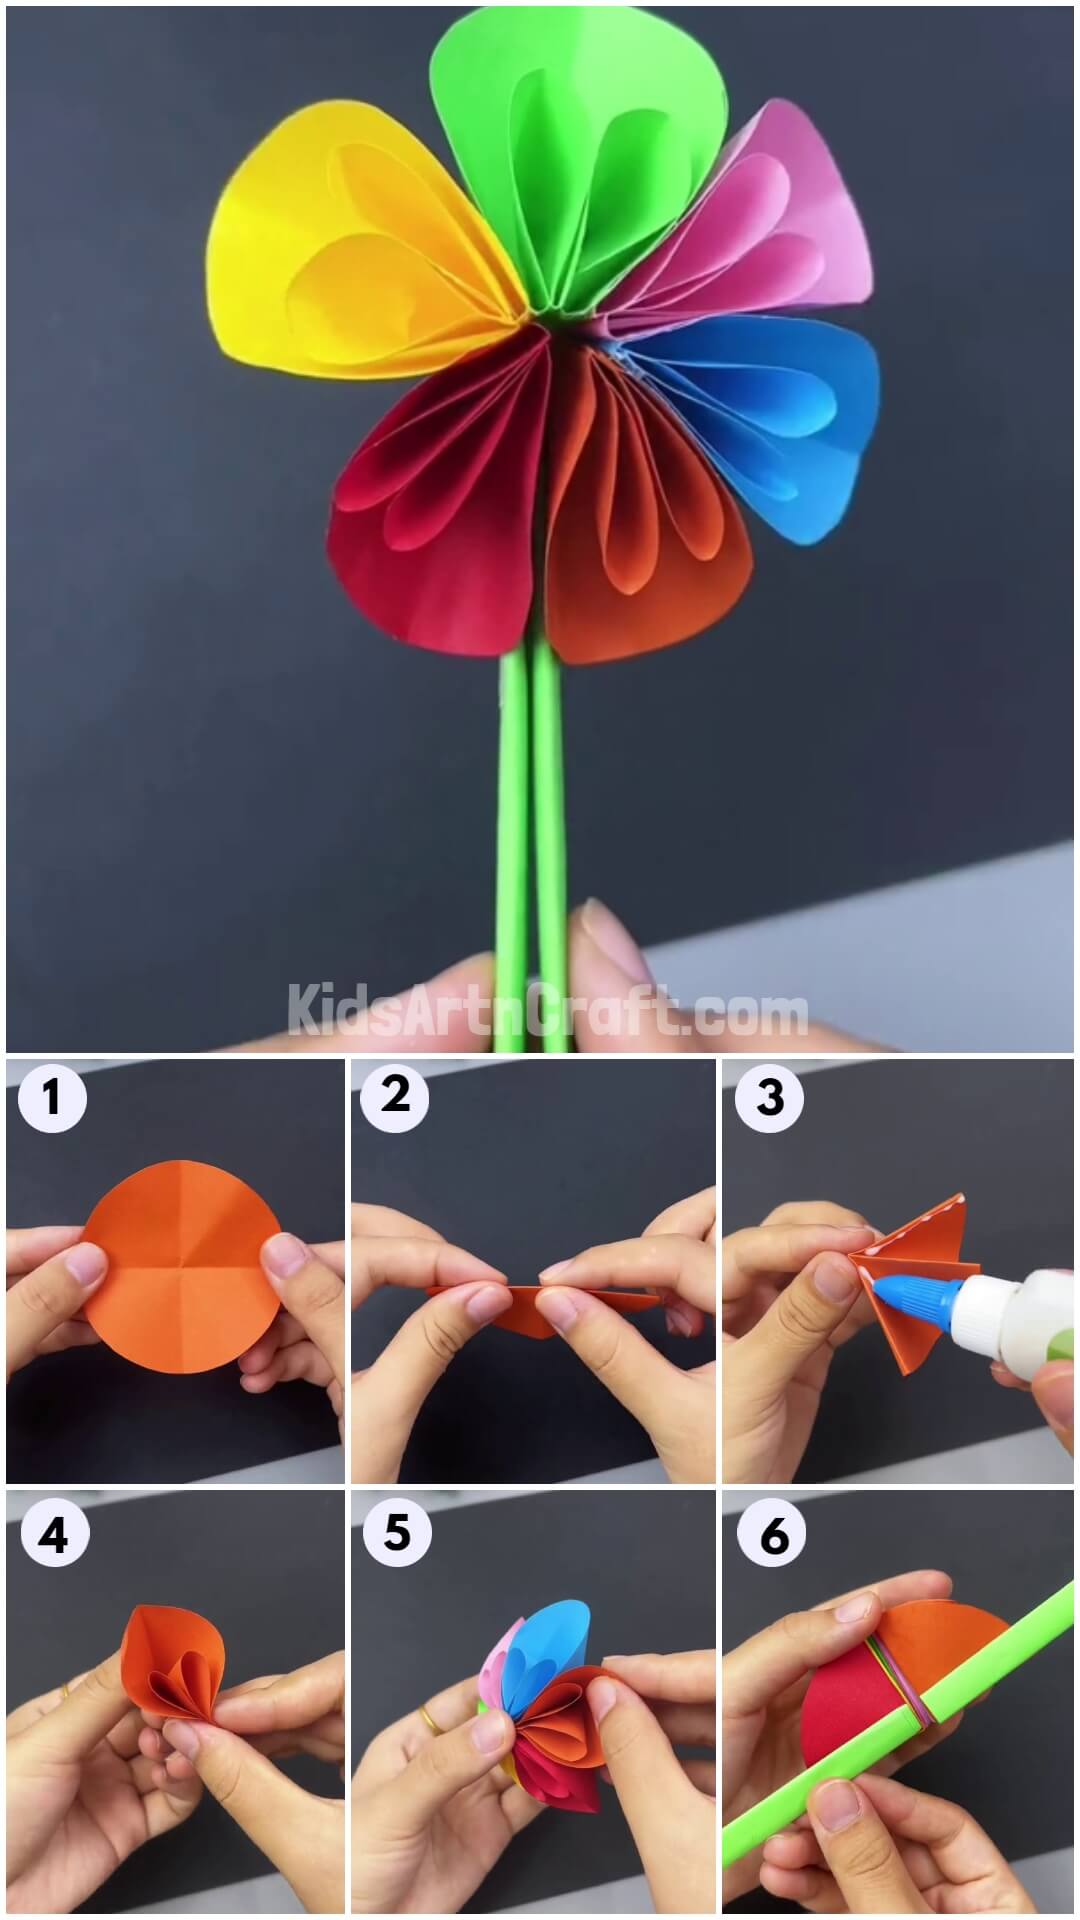
To begin this craft, take a small circle of orange paper, fold it in a semicircle, and again in a quarter to make ‘+’ creases over it and unfold it again.
Step 2: Folding The Circle In Half
Along the horizontal ‘+’ crease, fold the circle in half to form a semi-circle.
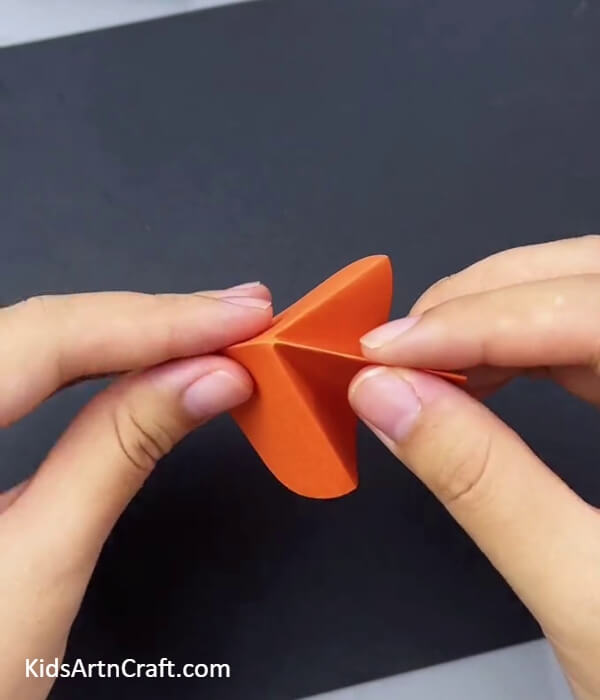
Step 3: Making Half Diagonal Creases
Fold the paper to make half-diagonal creases on a semi-circle. Now, bend the horizontal crease from the right side of the vertical crease and let out the half-diagonal creases as shown in the image.
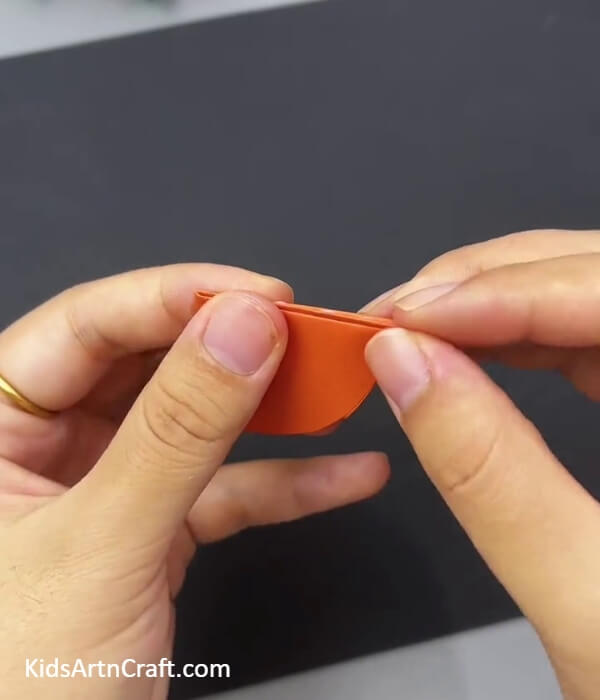
Step 4: Applying Glue On The Half-Diagonal Creases
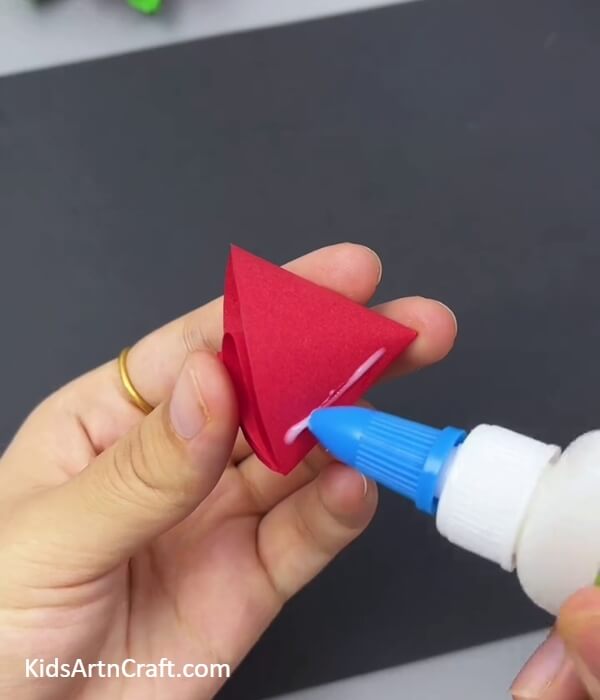
Apply glue on the edge of the half-diagonal creases as shown in the image.
Step 5: Pasting The Half-Diagonal Creases Edges
Now, pinch the whole shape to paste the edges of the half-diagonal crease where the glue was applied.
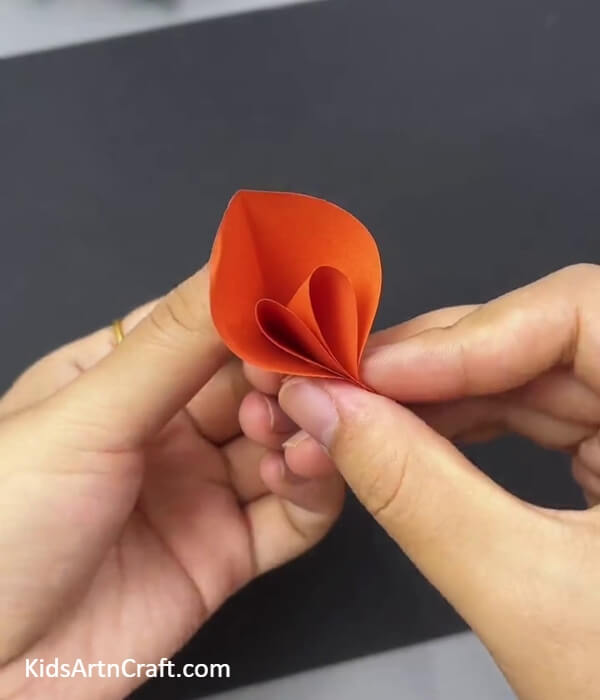
Step 6: Forming A Petal
Flip the figure and you will see a petal formed, bend it a little from its top to form the petal shape to perfection.
Step 7: Making More Petals
Following the same previous steps, form 5 more petals of pink, blue, green, red, and yellow color.
Step 8: Applying Glue On The Side Of Petal
From the outer side of the red petal, apply glue to the bottom edge.
Step 9: Pasting The Petals Together
Paste the yellow petal beside the red one and again apply glue on the yellow one the same way you did on the red and paste the green petal beside the yellow one.
Step 10: Pasting All The Petals
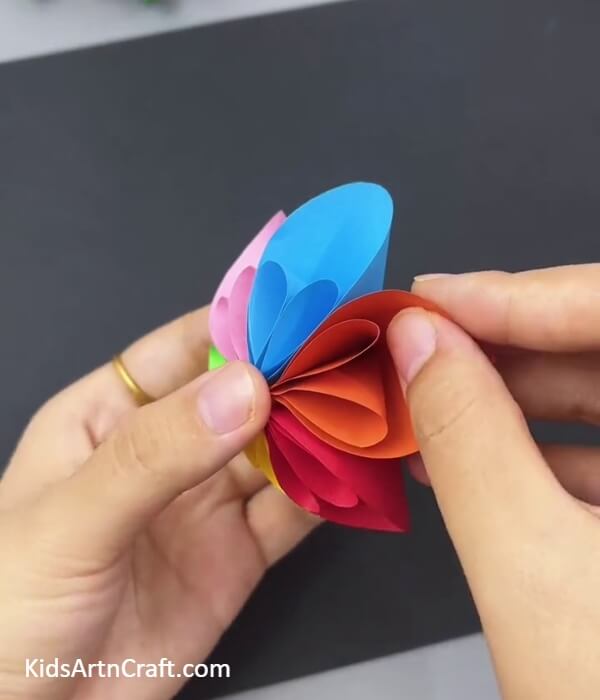
Following the same, after green, paste the pink, blue, and orange ones.
Step 11: Applying Glue To The Orange Petal
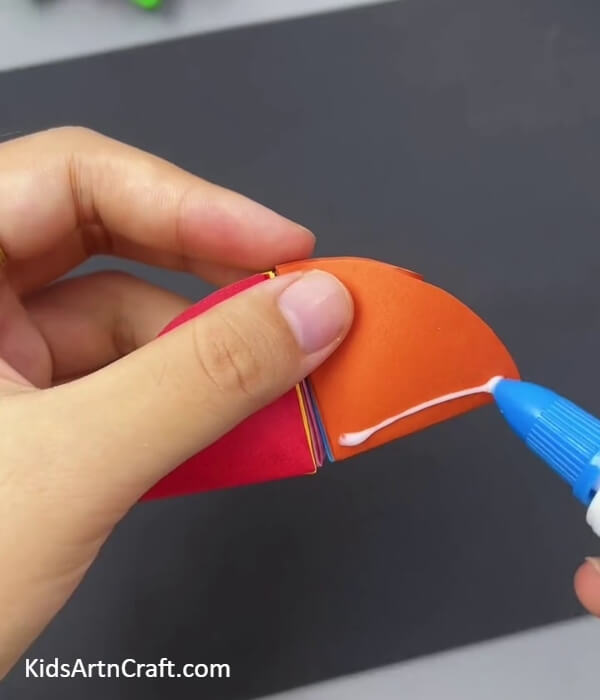
Form the end petal, orange one, and apply glue on the bottom outer edge.
Step 12: Pasting A Folded Green Strip
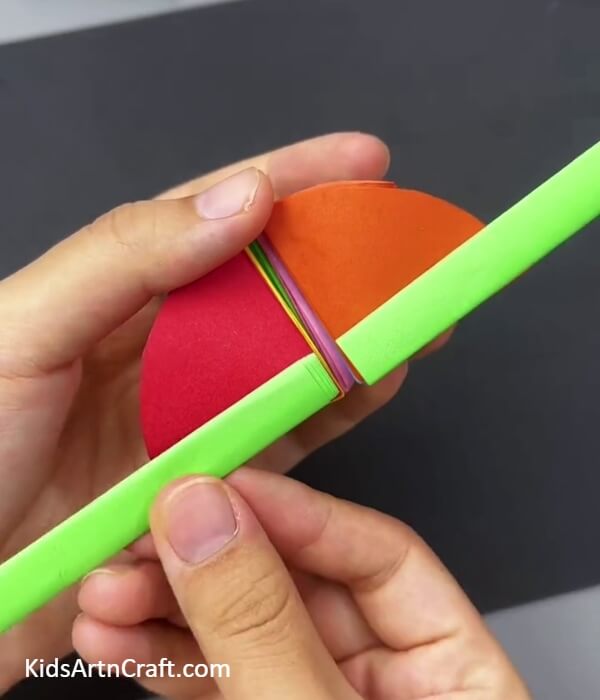
Take a piece of green paper, fold it again and again to form a thin strip, and secure its end using glue. Now, paste the thin strip horizontally over the one petal as shown in the image.
Step 13: Pasting Another Strip On Red Petal
Following the same, apply glue on the red petal and make another green strip and paste it again horizontally over the red petal as shown in the image. These strips will be the stem of your flower.
This Is The Final Look Of Your Flower Toy!
Move the stems far and close to see your flower bloom!
Congratulations! You have finally completed your colorful flower toy craft in no time!
Some Flower Craft Tutorial
DIY Fruit Foam Net Flower Craft For Kids
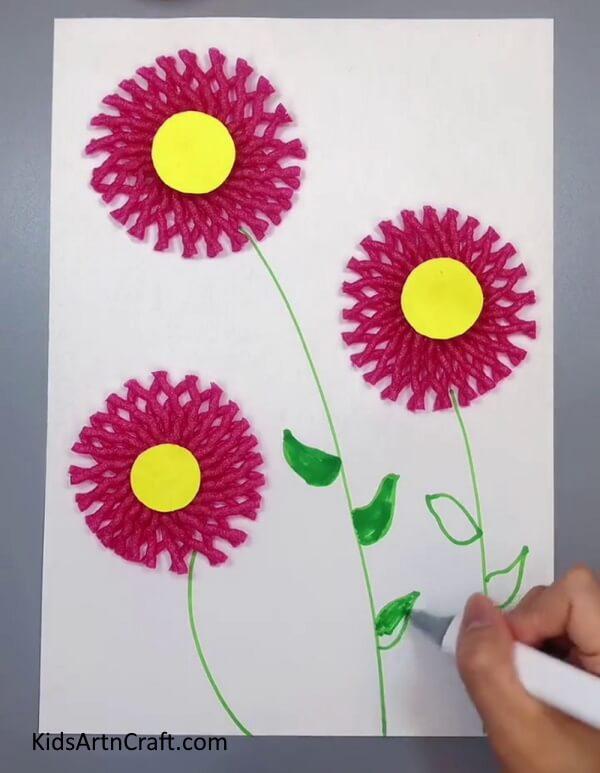
Image Source/Tutorial: Kids Art & Craft
This form foam net flower craft for kids is a fun and easy project that encourages creativity. Kids can customize the flowers with different colors and shapes to make a unique and beautiful craft. It’s a great way for kids to express their creativity and have fun!
Toddlers Craft Flower Craft Ideas
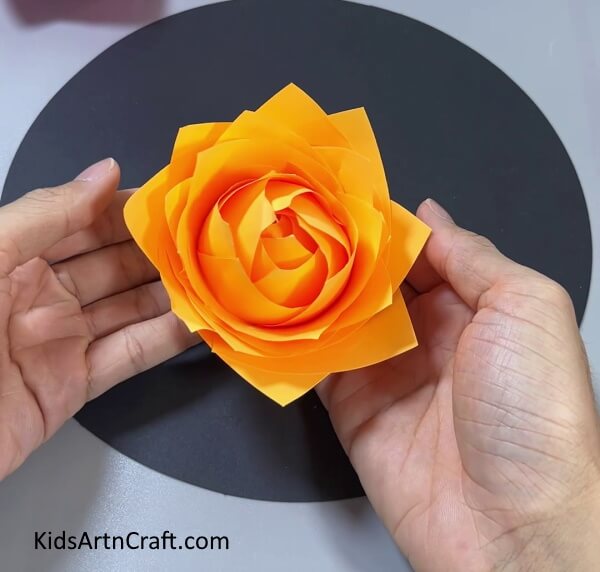
Image Source/Tutorial: Kids Art & Craft
Toddlers will love making these simple and fun flower craft ideas! From paper flowers to tissue paper flowers, they will have a blast creating these colorful and easy crafts. Perfect for a springtime activity or any time of year, these flower crafts will bring a smile to any toddler’s face.
Making Clay Flowers For Children
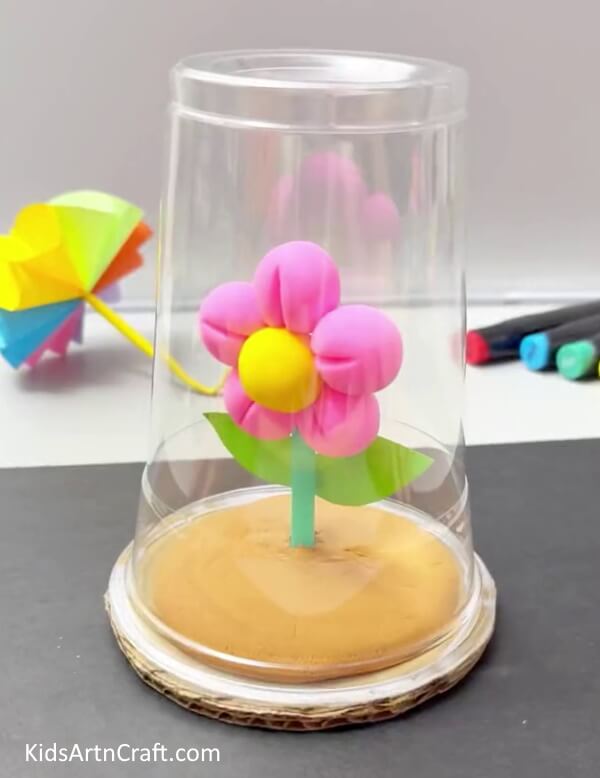
Image Source/Tutorial: Kids Art & Craft
Making clay flowers for children is a fun and creative activity. It’s a great way to teach them about colors, shapes, and textures. It’s also a great bonding experience to share with your kids.
Creating Egg Carton Flowers With Bees Craft For Kids
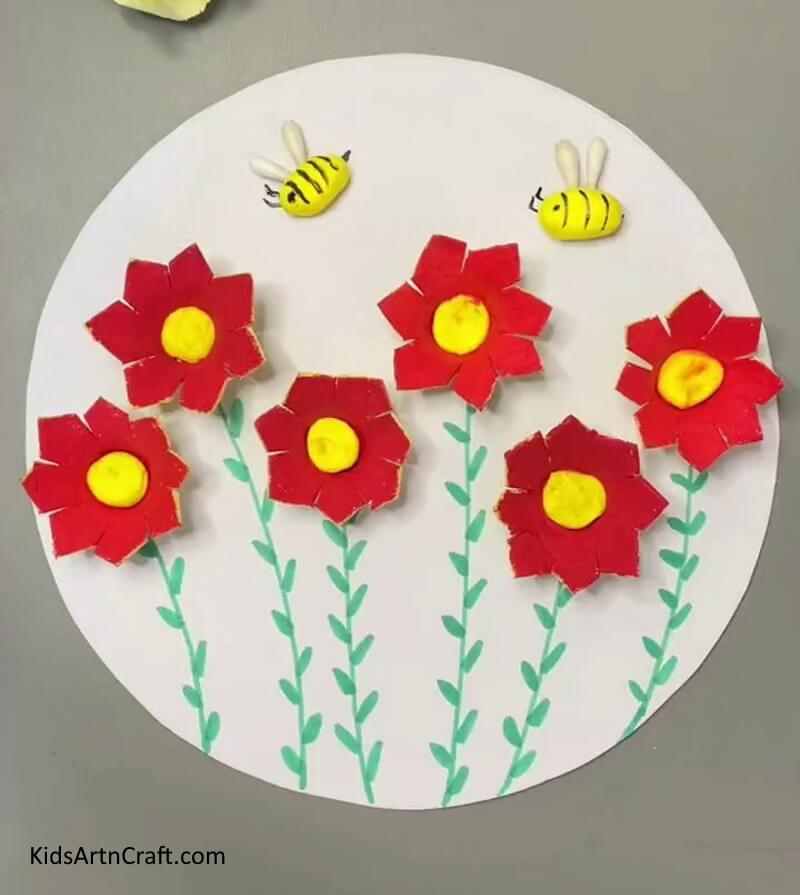
Image/Tutorial: Kids Art & Craft
This fun and creative craft is perfect for kids of all ages! Using egg cartons and a few other supplies, kids can craft beautiful flowers with buzzing bees to accompany them. This is a great opportunity to get creative and have fun with the family.
Adorable Mini Hat Craft for Young Ones
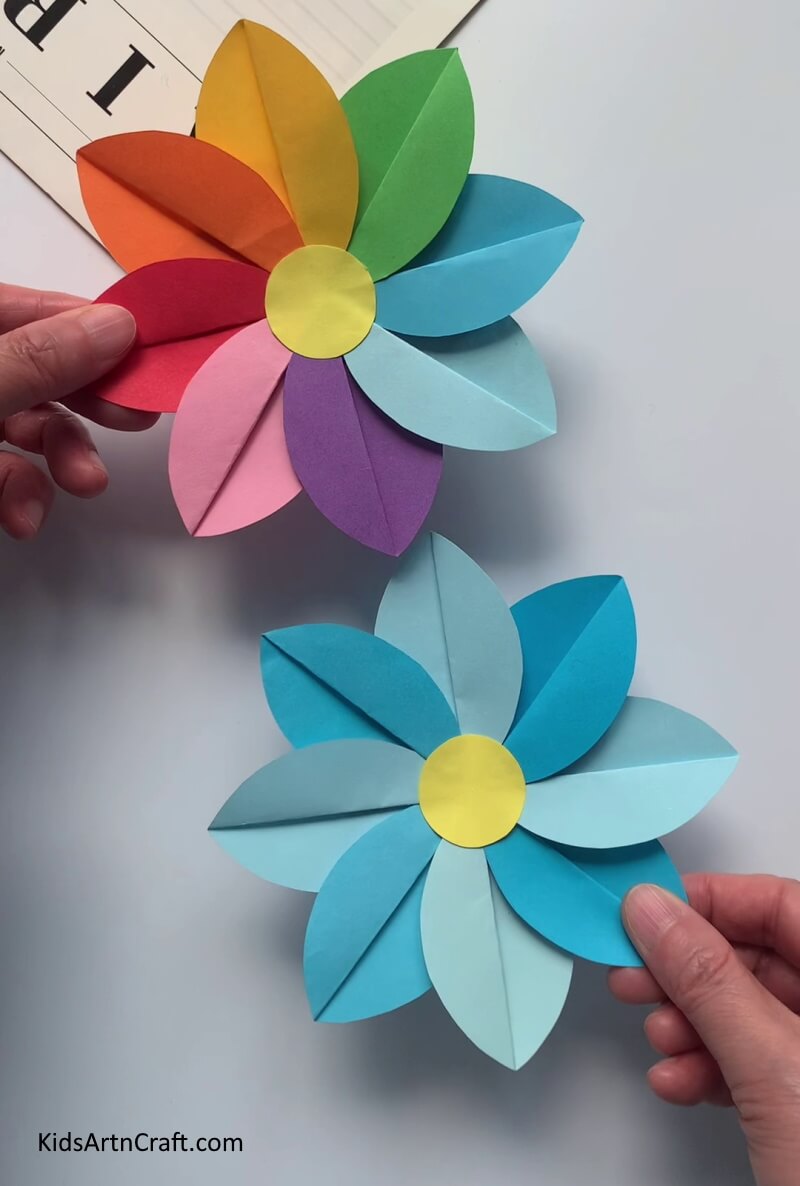
Image Source/Tutorial: Kids Art & Craft
This fun and easy Mini Hat Craft is a great way to keep young ones busy and having fun! It’s a great way to teach basic craftsmanship, creativity, and motor skills. So grab some materials and get crafting!
Play with this craft to have a fun time instead of involving in those harmful devices and screens! You can also customize this craft by customizing the shape and structure of the flower or can even add various colors to it! Your imagination is the limit! This craft will be best for the kids to engage them in a fun learning activity which will also drive their motor skills in the boring afternoon time to change into an exciting one!
Hope you liked the article. Create it to grab the maximum benefits! Also, share your crafty journey with us and the results in the comments sections! Thank you!
Follow us on Youtube for art and craft tutorials and much more.
More Articles from Kids Art & Craft
- Paper Mug With Straw Craft Easy Tutorial
- DIY Easy Paper Flower Craft For Kids
- DIY Easy Paper Cactus Craft Tutorial for kids
- DIY Paper Flower Hanging Craft Step-by-Step Tutorials
- How to make Paper Strips Boat Craft Tutorial For Kids


