Kids Activities
How To Make Ribbon Flower Craft Tutorial For Beginners

Looking for a craft to replace those expensive artificial ribbon flowers from the market?! Create them easily with this step-by-step tutorial!
A warm welcome to you in this step-by-step craft tutorial for making artificial ribbon flowers! These flowers will look just like the ones you can find in markets! But they are cheap, unlike the expensive ones on the market! This craft is suitable for kids to adults, there is no age limit to make these flowers! They are just home decor for you to create and showcase in your houses! With a few simple supplies, you will be able to create these artificial flowers in no time that will be the envy of your friends and family! Without wasting any minutes now, let’s begin!
Easy To Make Artificial Ribbon Flower Craft Tutorial For Kids
Read More: DIY Bird Nest Paper Craft For Kids
Materials Required
- Red Silk Ribbon
- Floral Fondant
- Floral Stem Stick
- Floral Stamens
- Glue
- Lighter
- Artificial Leaves And Sepal
- Scale
- A Pair Of Scissors
- Cello Tape
Procedure
Step 1: Cutting Out A Piece Of Ribbon
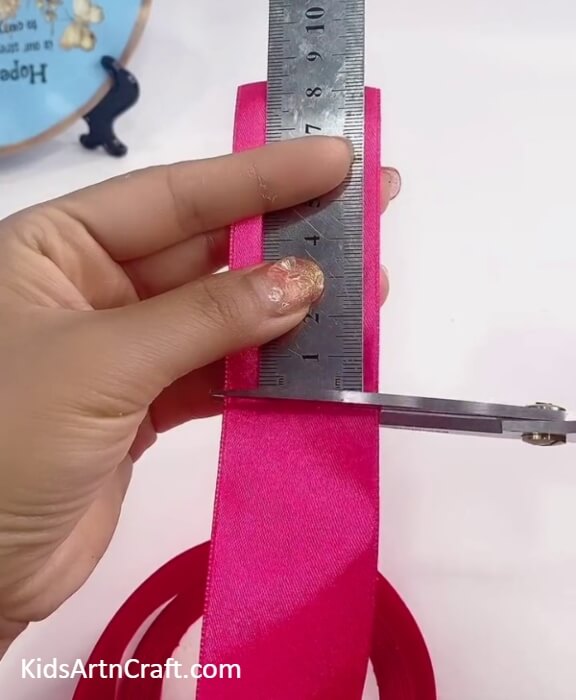
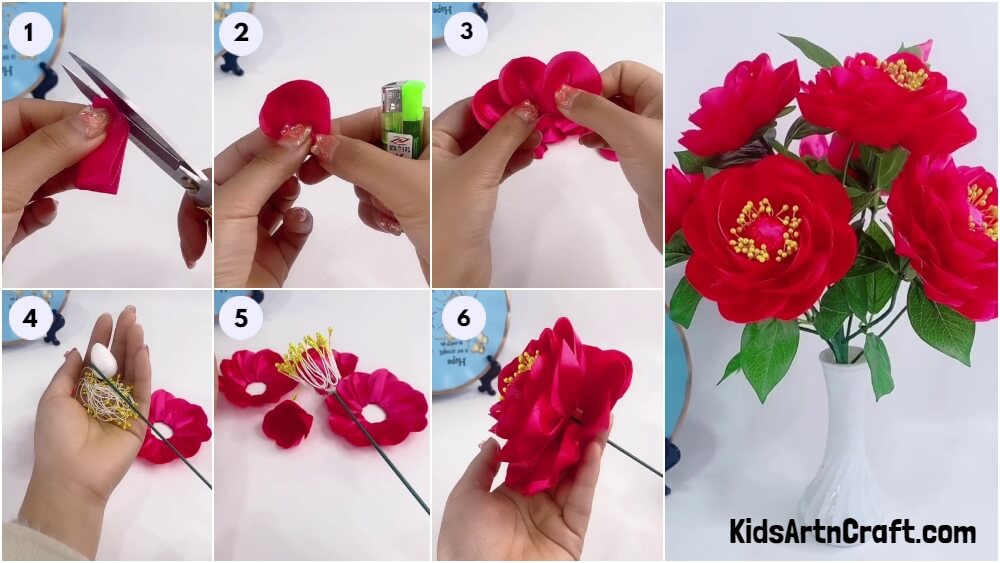
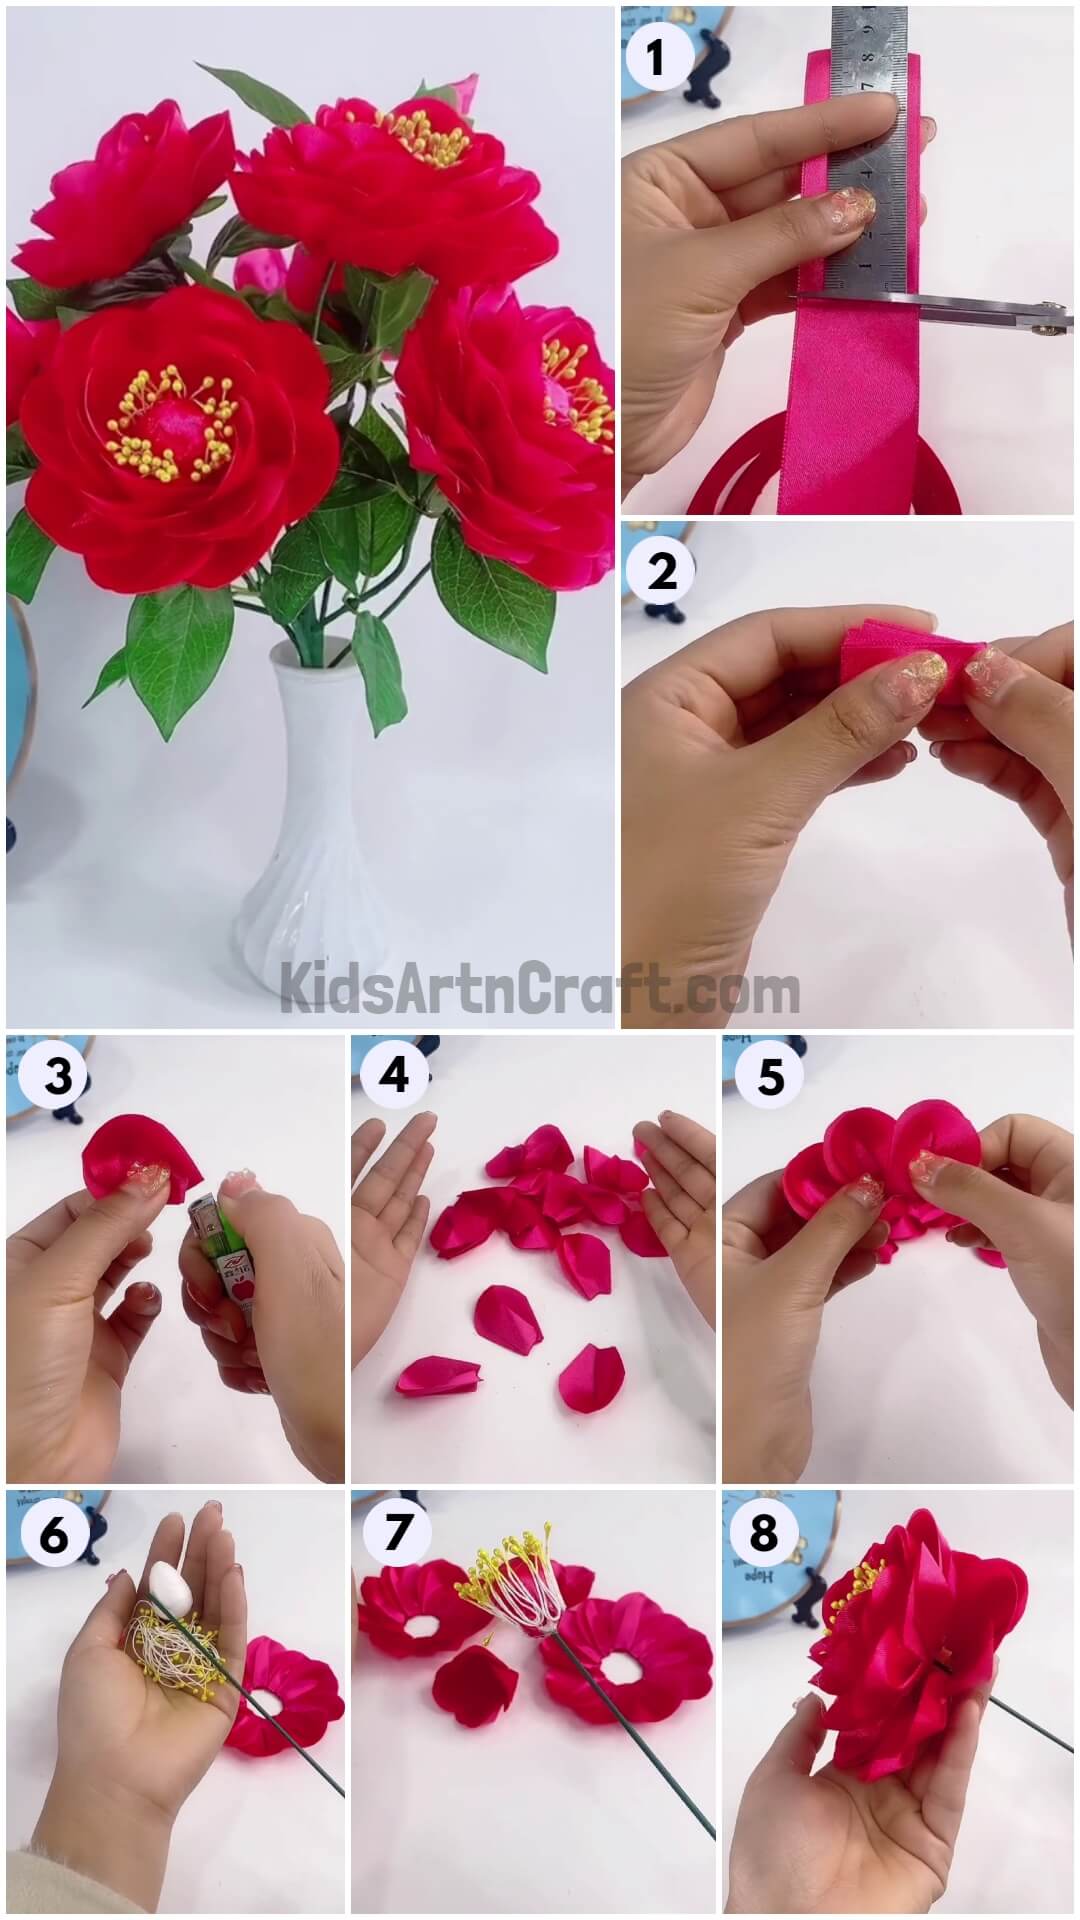
Begin this craft by taking a red silk ribbon, scissors, and a scale. Using the scale, measure 8 cm on the ribbon and using scissors, cut it out.
Step 2: Folding The Ribbon Piece
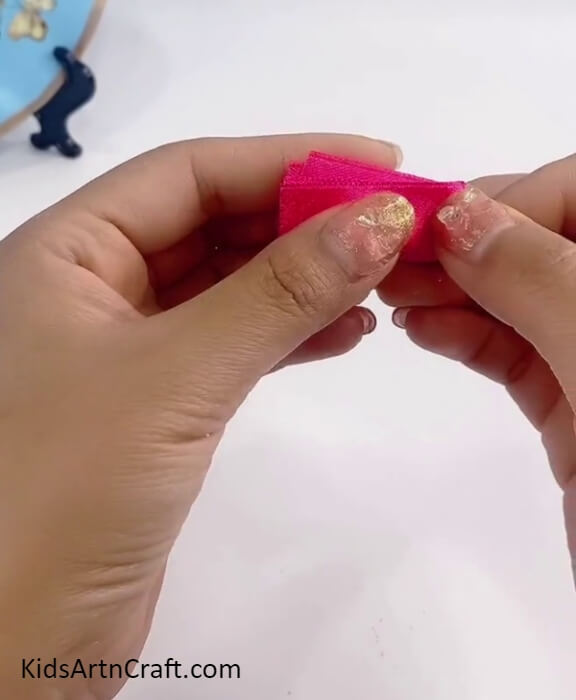
Fold the ribbon piece in half then again in half to make a ‘+’ crease over it.
Step 3: Curving The Opened Edge Of Folded Ribbon
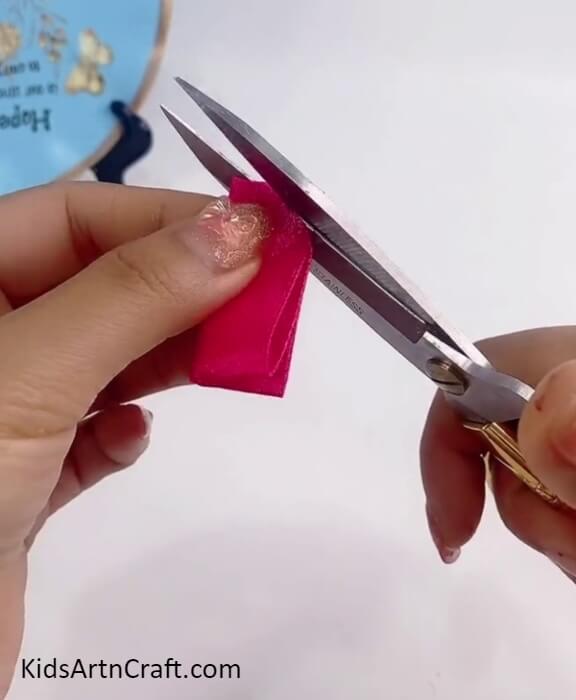
Using scissors, cut out the opened edge of the folded ribbon to curve it.
Step 4: Securing The Cut Ends
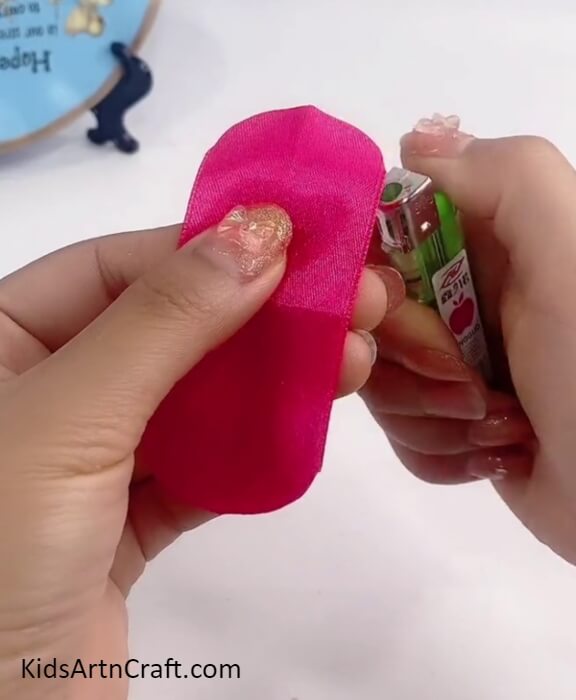
Using a lighter, lightly burn the cut edges of the ribbon to seal the cuts, so that the ribbon thread won’t come out.
Step 5: Fold The Ribbon Into Half
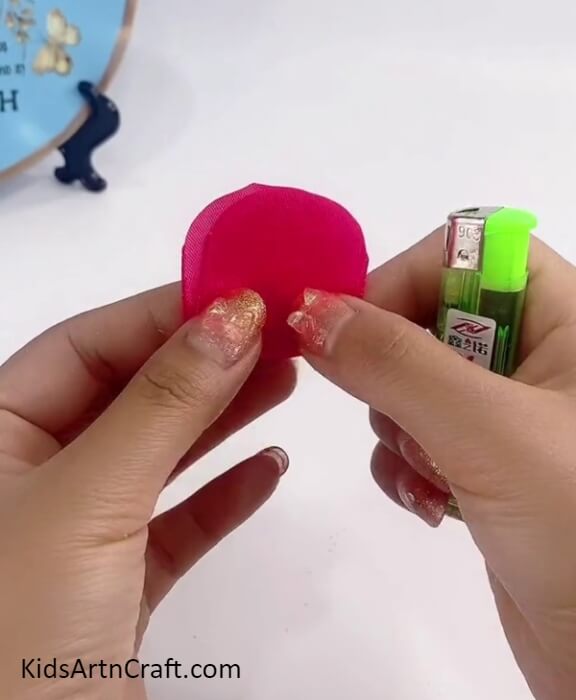
Fold the ribbon in half to alight the curved edges together.
Step 6: Overlapping The Folded Side From The Middle
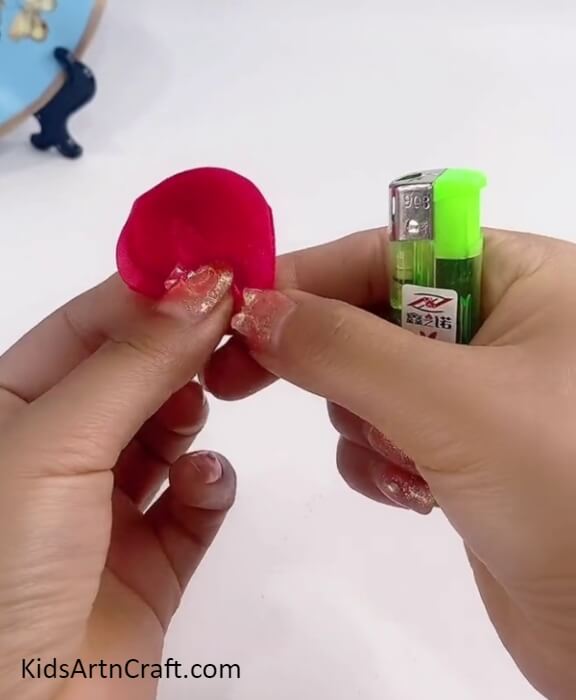
From the middle of the folded side of the ribbon, overlap a small part of the ribbon over it to give the ribbon a curvy shape.
Step 7: Secure The Overlapped Side
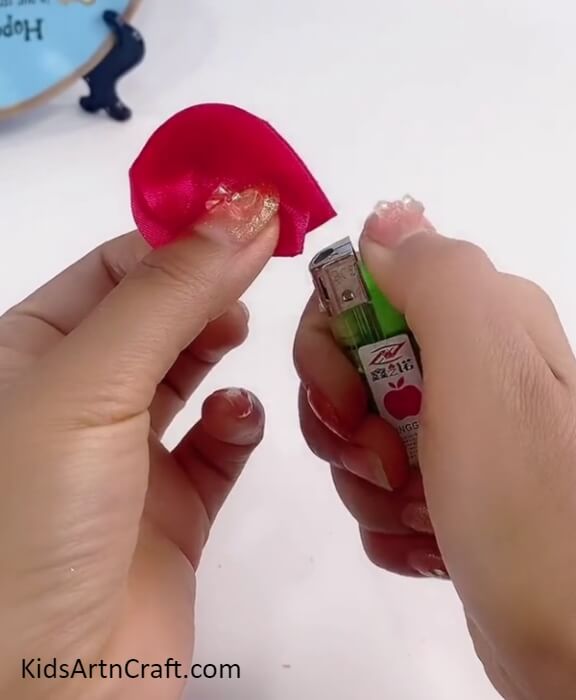
Again, using the lighter, lightly burn the overlapped side of the ribbon to secure it and make a petal of the flower.
Step 8: Making More Petals
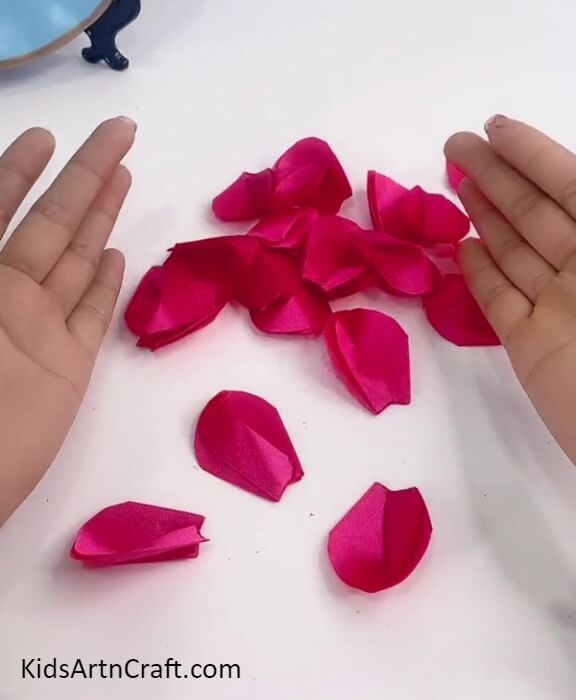
Follow the same previous steps to make more and more petals.
Step 9: Stick Over Petal Slightly Over The Other
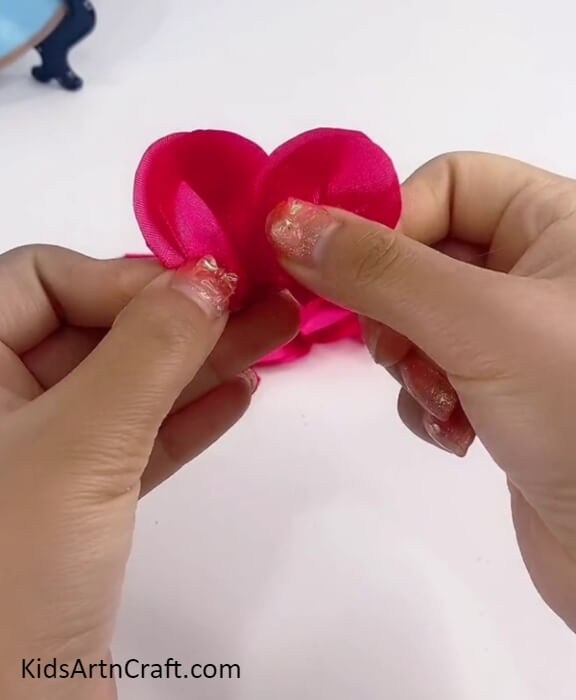
Using glue, paste one petal slightly over the other as shown in the image.
Step 10: Pasting Another Petal Over The Ones
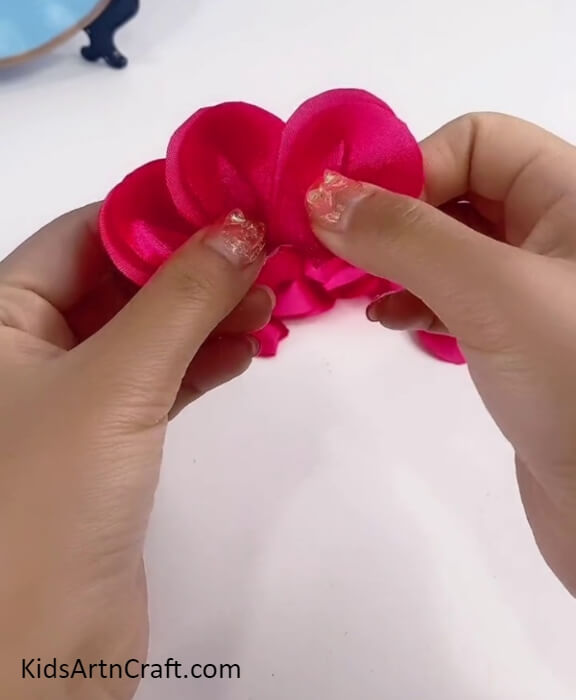
Paste another petal slightly over the one which was previously pasted.
Step 11: Making The First Layer Of The Petals
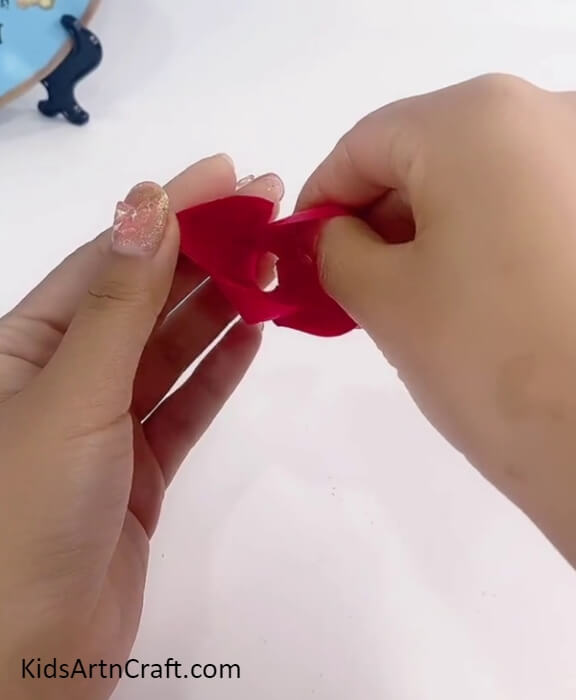
Paste the other petal over the already pasted ones, in the same way, to enclose all of them into a layer of petals.
Step 12: Making More Layers Of Petals
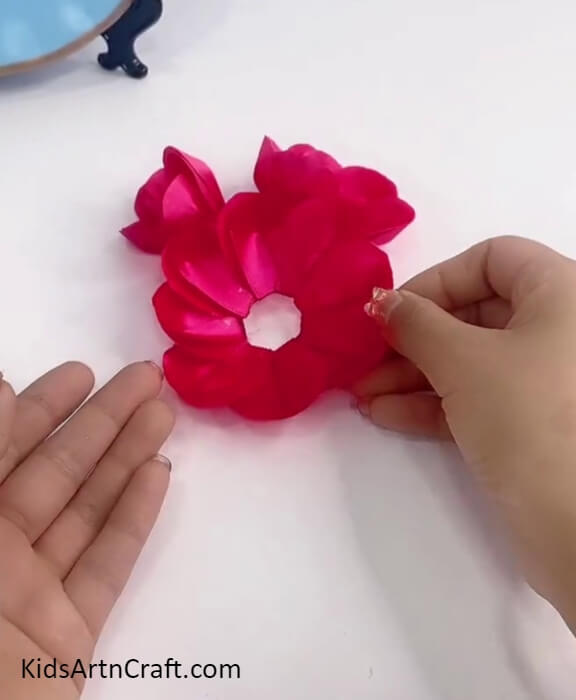
Following the same, make 3 more layers of petals by gradually increasing the number of petals in the layers, the first was of 4 petals, the second 5, then 6, and the last 8.
Step 13: Gathering Flower-Making Materials
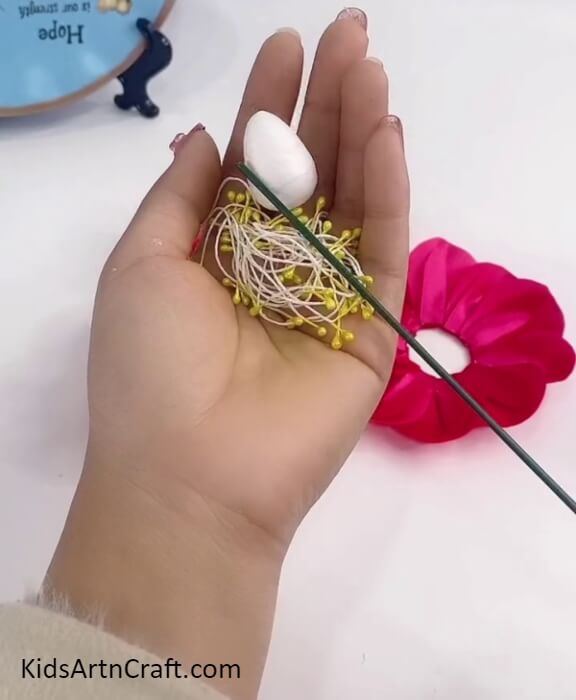
Take yellow floral stamens, a floral fondant, and a floral stem stick for making a flower.
Step 14: Making The Center Of The Flower
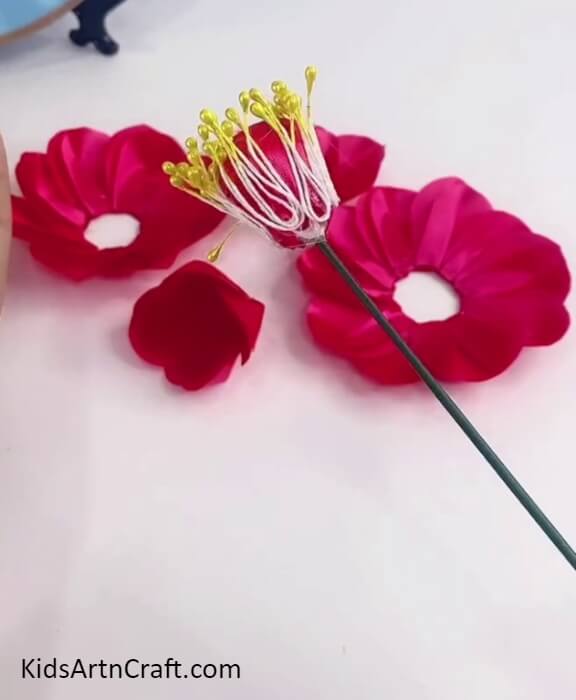
Using tape, paste a piece of red ribbon over the floral foam fondant. Invert the conical part of the fondant below and push in the floral stem in it and wrap tape to secure it. Now, paste the floral stamens around the fondant using tape.
Step 15: Adding Petal Layer
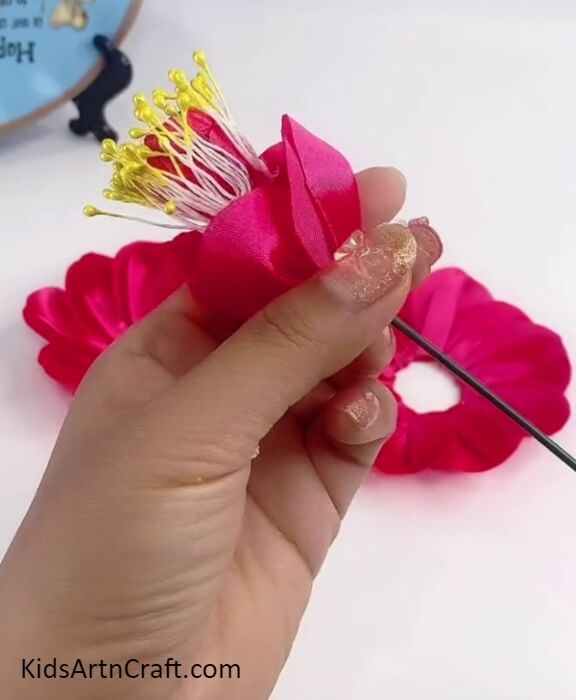
Push in the smallest flower petal layer from the stem to the top of the flower center.
Step 16: Adding All The Petal Layers
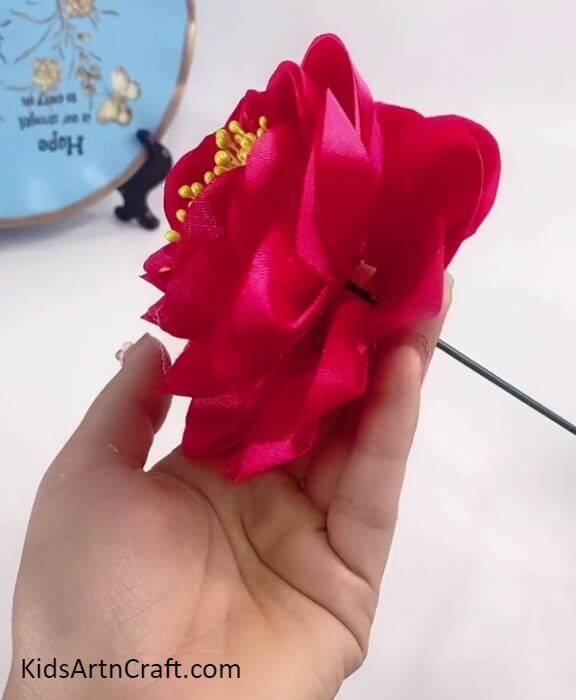
One by one in ascending order, put in the flower petal layers from the stem to the top. When all the layers are inserted, apply tape at the end to secure and stick the layers.
Step 17: Adding Leaves And Sepal
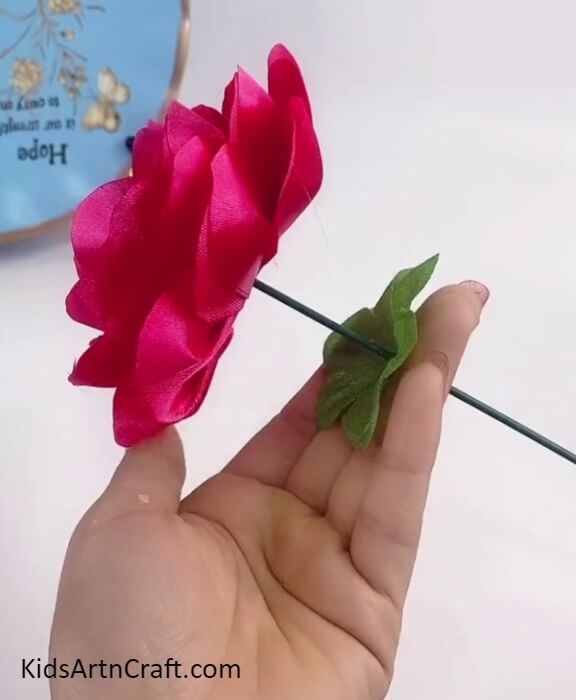
Take artificial sepal and insert it beneath the flower and stick it using glue. Then, stick 2 artificial leaves to the stem of the flower using glue and tape.
This Is The Final Look Of Your Flowers!
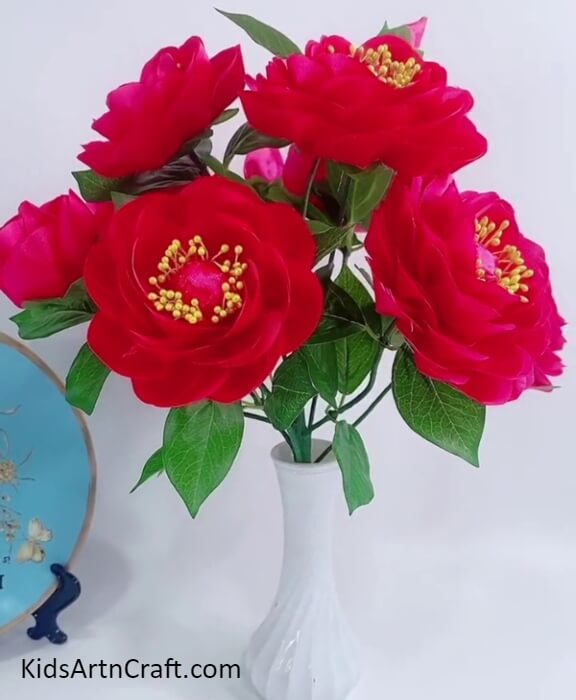
Congratulations! Our easy and pretty artificial flower-making craft is ready in no time! Create a bunch of these to decorate in a pretty vase!
Some More Flower Craft Tutorial
Create Foam Net Flower Craft From Paper For Kids
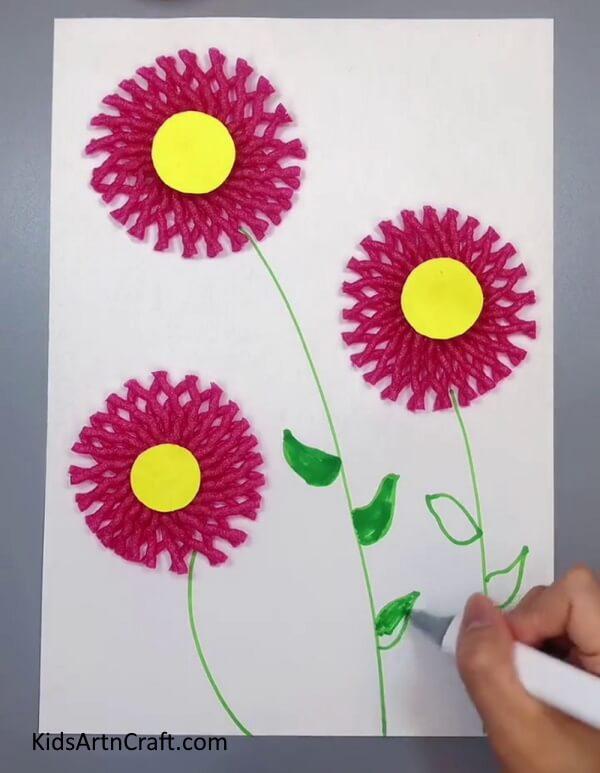
Image Source/Tutorial: Kids Art & Craft
This craft is perfect for kids! It’s easy to create a beautiful foam net flower craft from paper. With just a few materials, you can create a unique flower to decorate any room. It’s a fun and creative activity for any age.
Flower Craft For Kids Using Paper
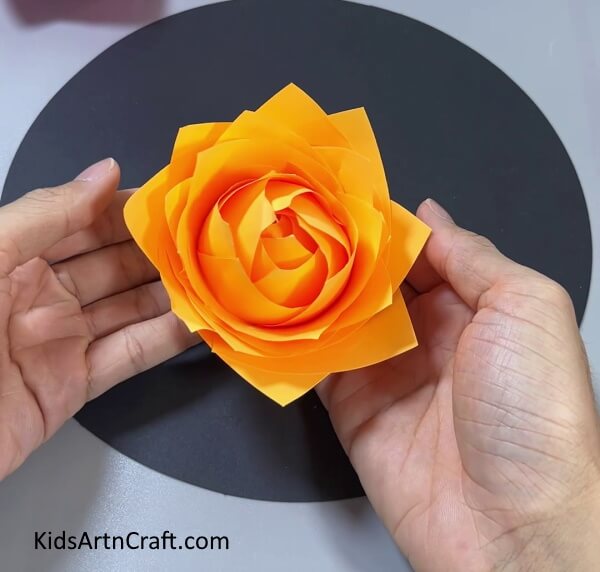
Image Source/Tutorial: Kids Art & Craft
This craft is great for kids of all ages! It’s easy to make and fun to do. With just paper and some basic art supplies, kids can create beautiful flowers that will last for years. It’s a great way for kids to express their creativity and have fun at the same time!
Homemade Clay Flowers Craft For Kids
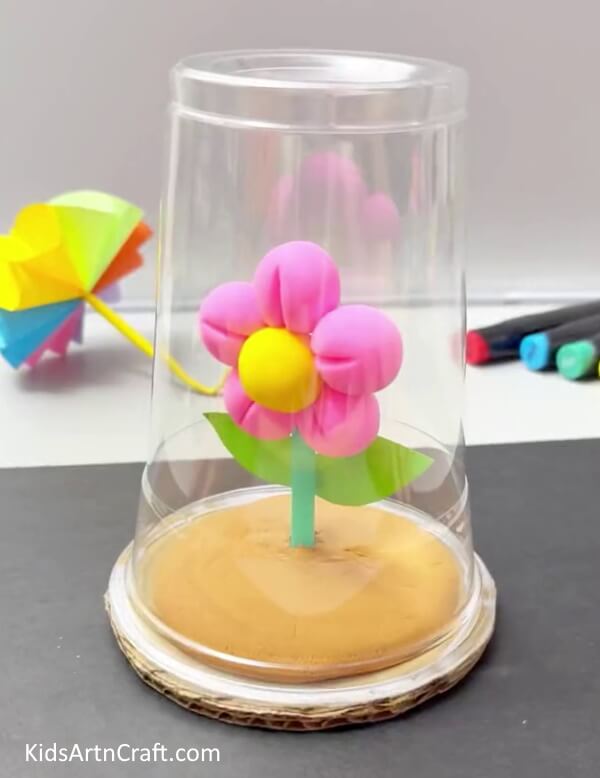
Image Source/Tutorial: Kids Art & Craft
Homemade Clay Flowers For Kids is a great way to get kids creative and involved in making something they can be proud of. It’s an easy and fun craft that can be done with a few simple materials. The end result is a beautiful flower that your kids can proudly display or give away as a gift.
Handmade Egg Carton Flowers With Bees Craft
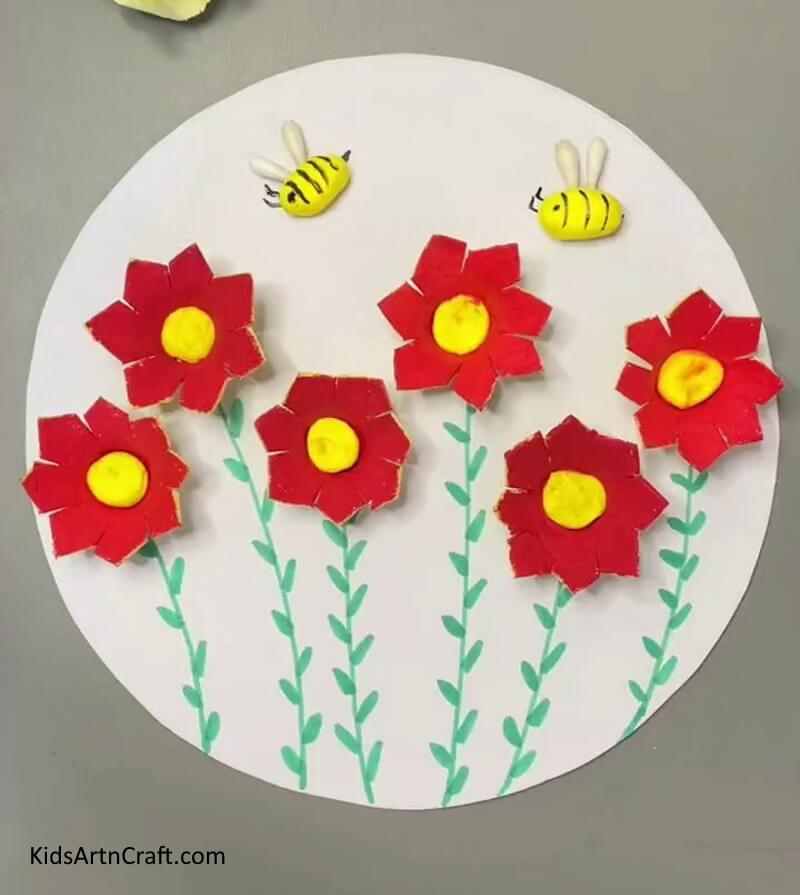
Image/Tutorial: Kids Art & Craft
This fun and easy craft is perfect for kids! Create beautiful handmade egg carton flowers with bees that will look great on any display. Kids will love making these and bringing their creativity to life. It’s a great way for them to express their artistic side.
Quick And Easy Mini Hat Craft Using Paper Cup For Kids
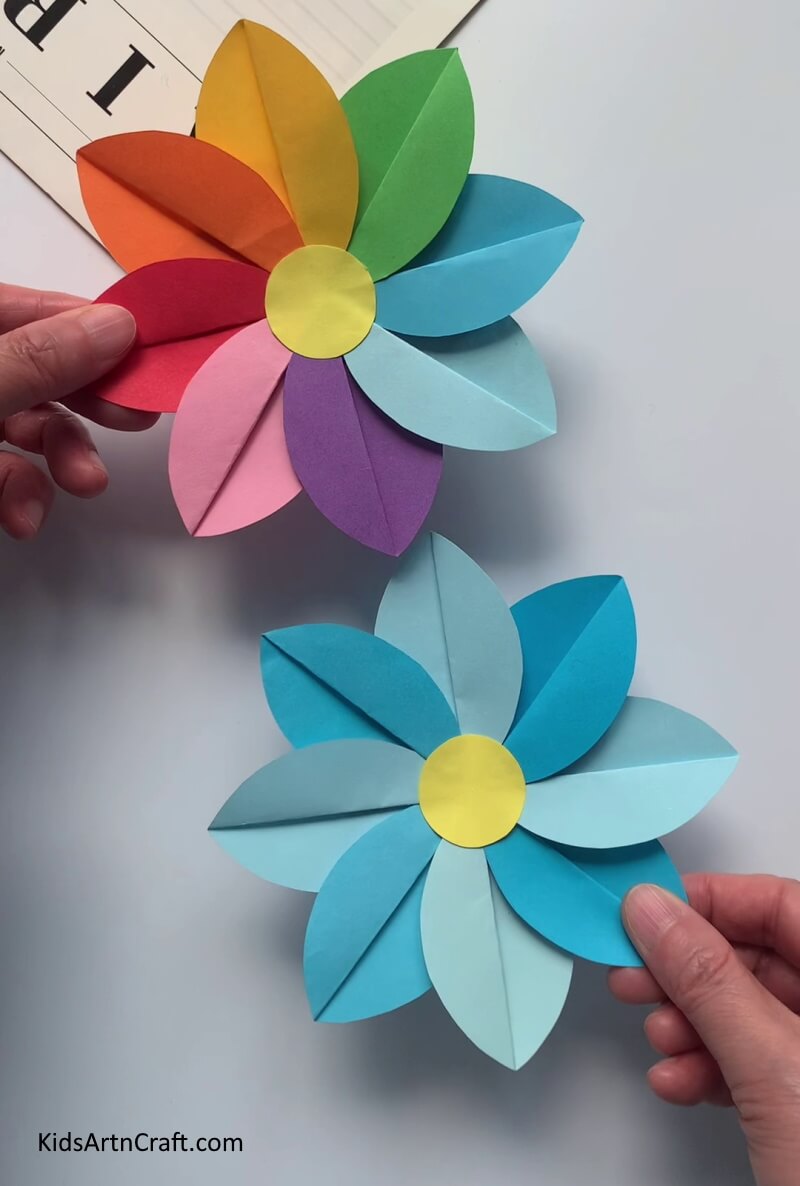
Image Source/Tutorial: Kids Art & Craft
This fun and easy craft is perfect for kids! Using a paper cup, you can quickly make a mini hat for your child in no time. It’s a great way to get creative and have fun with your kids.
Show it off and let it be a stunning fun show for your loved ones! This craft will be a fun learning way to spend quality time with your family, all together creating something pretty for your home! This craft will be a hands-on sensory activity for the younger ones to help them drive those motor skills and innovative skills too! These flowers will easily last in the upcoming years! Give them a try!
Follow us on Youtube for art and craft tutorials and much more.
More Articles from Kids Art & Craft
- DIY Step-by-Step Finger Puppet Craft for Kids
- Recycled Plastic Bottle Dragon Craft Tutorial for Kids
- Easy Frog Paper Craft For Kids Easy Tutorial
- How to Make an Easy Paper Craft Bird Artwork
- How to Make Paper Umbrella For Kids


