DIY and Crafts
How To Make Hanging Monkey Animal Easy Tutorial for kids Using Cardboard & Clothespins

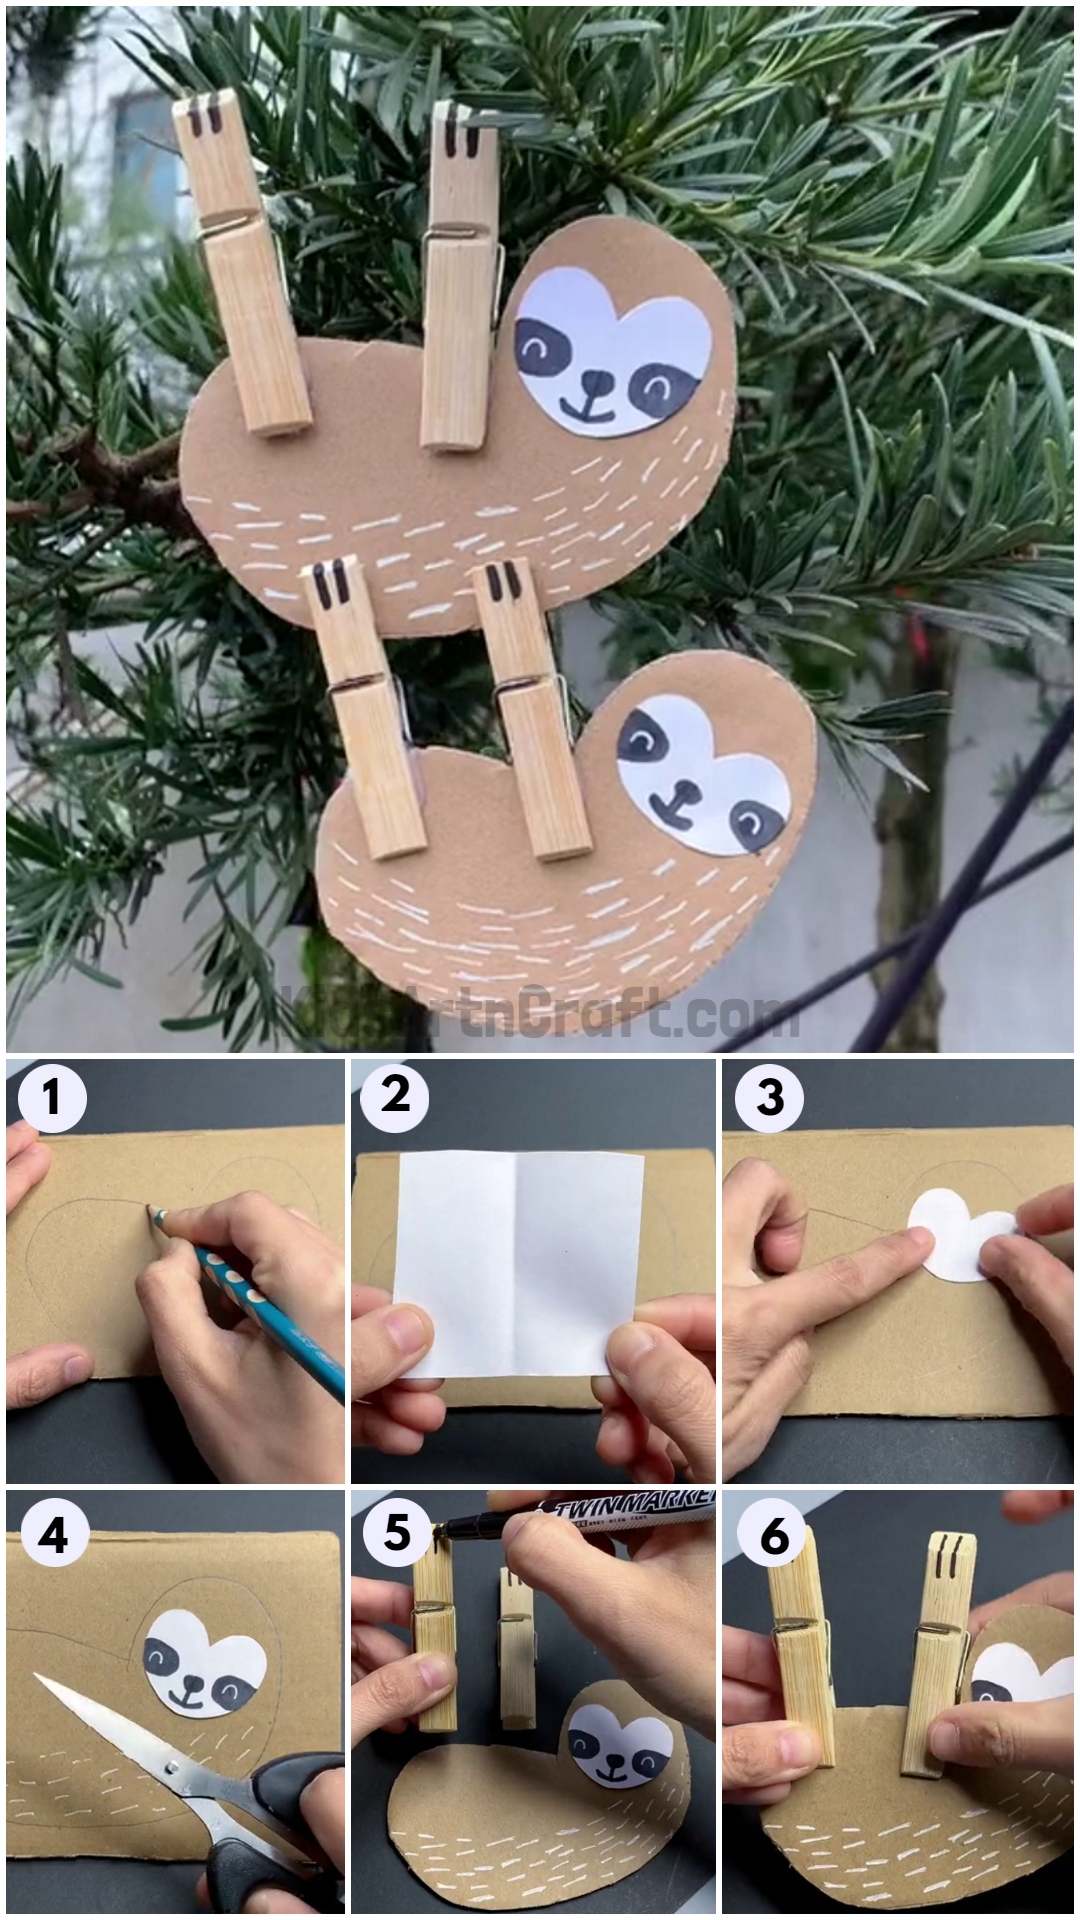
This easy tutorial will guide kids in making a cute and fun hanging monkey animal out of cardboard and clothespins. Learn how to make this creative and fun craft with step-by-step instructions!
Do you have young children who love animals? If so, they’re sure to love this fun and easy craft idea – making a hanging monkey using cardboard and clothespins. This craft is perfect for kids ages 3 and up and is a great way to teach children about animals while having some creative fun.
Welcome to this fun and easy tutorial for kids on how to make a Hanging Monkey Animal using cardboard and clothespins! This tutorial is great for inspiring your child’s creativity and teaching them the basics of crafting. With the help of this tutorial, you and your child will create a unique and adorable hanging monkey that can be used as a decoration for any room or occasion. So let’s get started!
Easy Hanging Animal Craft Tutorial For Kids

Materials Required:-
- Cardboard
- Clothes Pin
- White Construction Paper
- Scissors
- Glue
- Black and White Sketch
Read More: Art & Craft Activities At Home Video Tutorial for Kids
Step 1: Drawing Monkey On Cardboard Using a Pencil
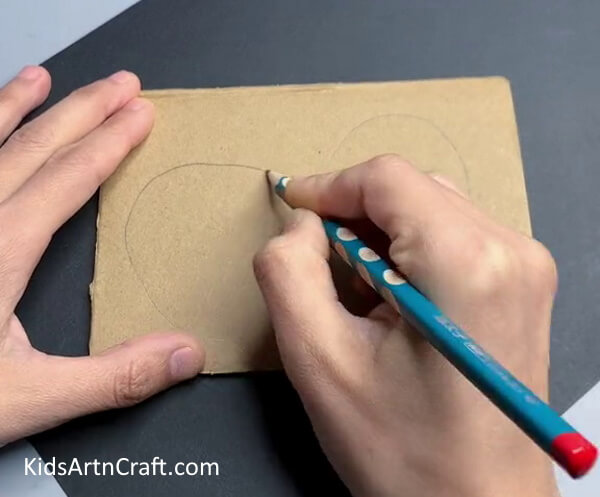

Let’s begin the hanging monkey craft using a pencil on the cardboard.
Step 2: Folding A Square of White Paper In Half
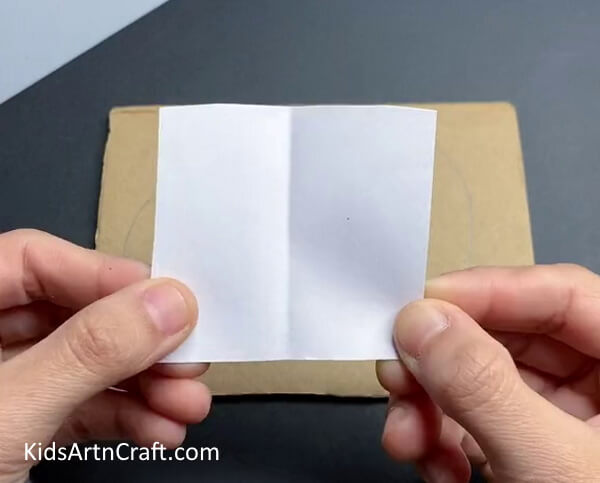

Take a small square of white paper and fold it in half.
Step 3: Cutting Heart Shape
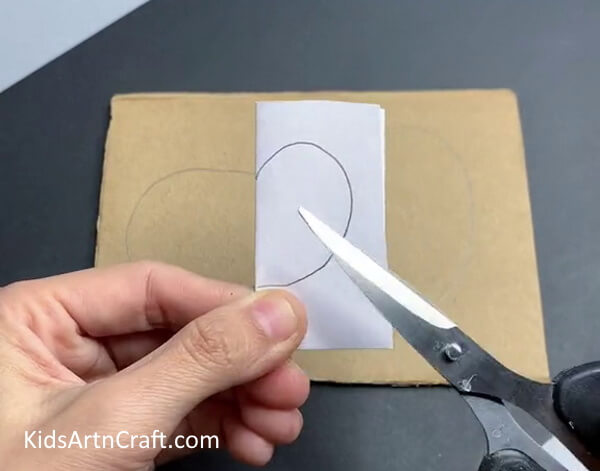

Now, using a pencil, draw a heart shape on the folded paper. Cut the heart shape out of the white paper using scissors.
Step 4: Pasting Heart Shape On Monkey
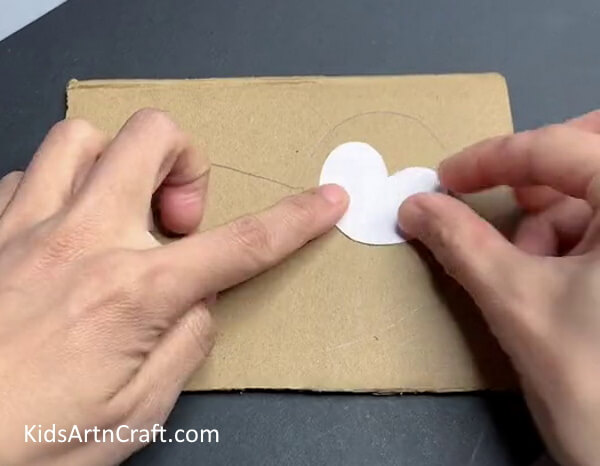

Paste the white heart shape on the monkey using glue to make the monkey’s face.
Step 5: Drawing Face
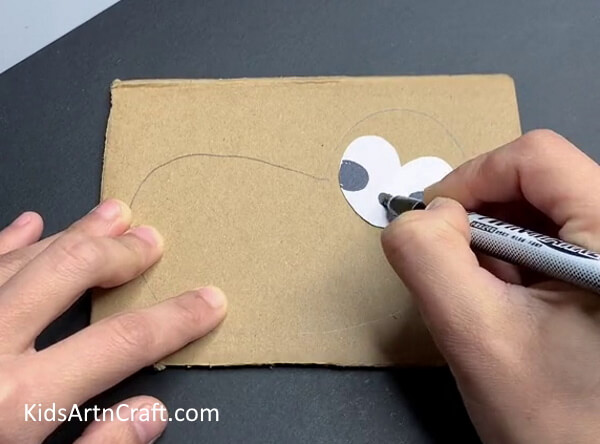

Draw details on the monkey’s face using a black marker like eyes, mouth, nose, etc.
Step 6: Drawing Details On Monkey’s Body
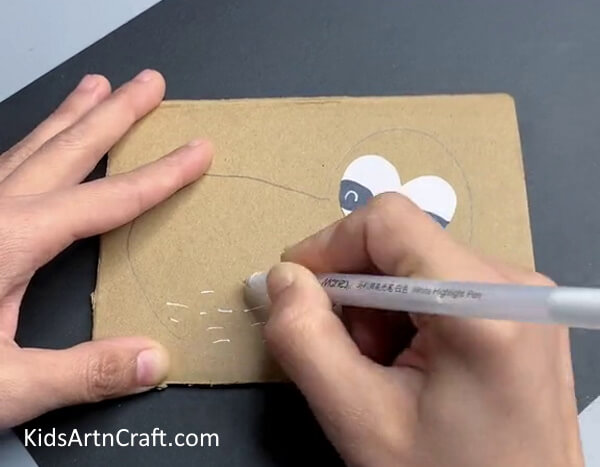

Using a white sketch pen, draw details on the monkey’s body.
Step 7: Cutting Monkey Out Of Cardboard
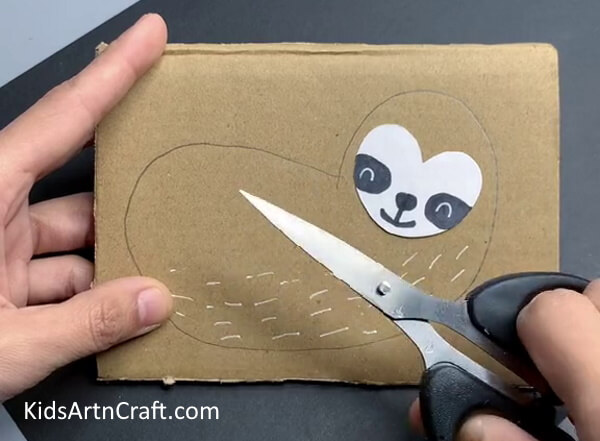

Cut the monkey out of the cardboard using scissors.
Step 8: Drawing Small Lines On Cloth Pins
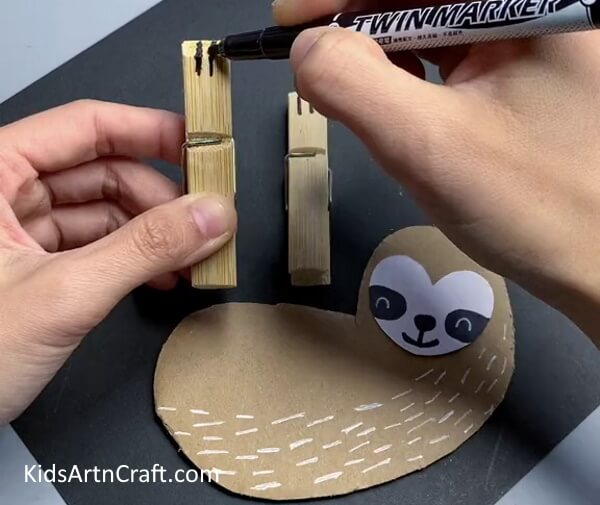

Once the monkey is ready, take cloth pins and draw small lines on top of them using a black marker.
Step 9: Attaching Pins On Monkey
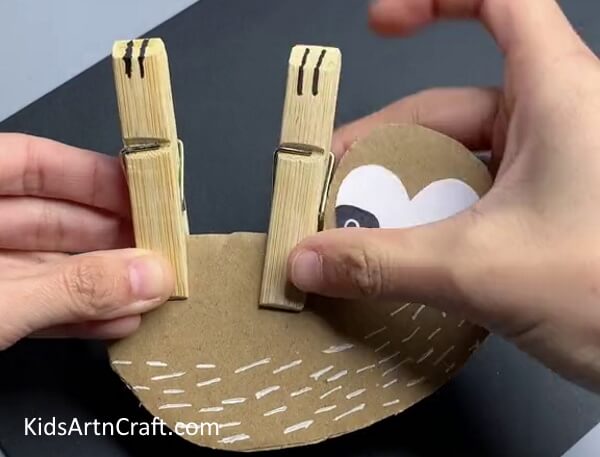

Attach the cloth pins to the top of the monkey.
Step 10: Attaching Another Monkey
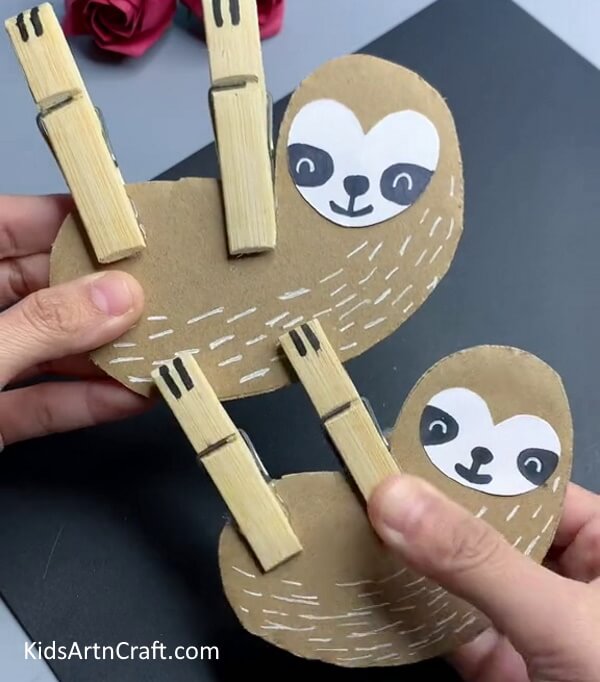

Using the above steps, make another monkey and attach it to the first one using cloth pins.
Cardboard Hanging Monkey Craft Is Done!
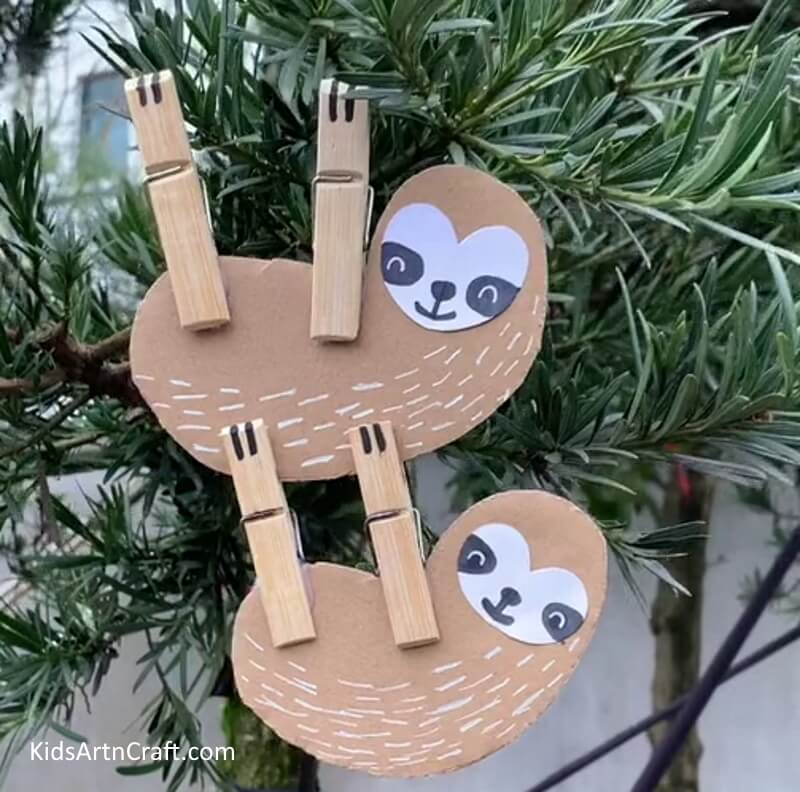

And, that’s it! You’re done with the masterpiece. This Cardboard Hanging Monkey Craft is a great project for kids to work on together and have fun with. With just a few materials and some imagination, kids can create something really special. It is ready to be hung up and admired. Enjoy Crafting!
FAQ’s Hanging Monkey Craft Tutorial
1. What materials do I need to make a hanging monkey craft?
You will need cardboard, scissors, glue, cloth pins, and a marker.
2. How do I make the monkey’s body?
Cut the monkey’s shape out of the cardboard.
3. How should I hang the monkey?
You can hang the monkey using cloth pins.
4. What other decorations can I add?
You can add additional decorations such as pom-poms, feathers, or buttons to the monkey’s body.
5. How can I make the monkey look more realistic?
You can use the marker to draw fur or other details on the monkey.
6. Can I make the monkey in different colors?
Yes, you can use different colors of cardboard to make the monkey.
7. How long does it take to make a hanging monkey craft?
It should take about 20-30 minutes to make a hanging monkey craft.
This tutorial is a great way to get your children involved in crafting and making something with their own hands! With just a few simple materials, they can create a unique and interesting hanging monkey animal that will be sure to bring smiles to their faces.
Follow us on Youtube for art and craft tutorials and much more.
More Clothespin Craft Ideas from Kids Art & Craft
Quick Clothespin Crafts for Young Artists
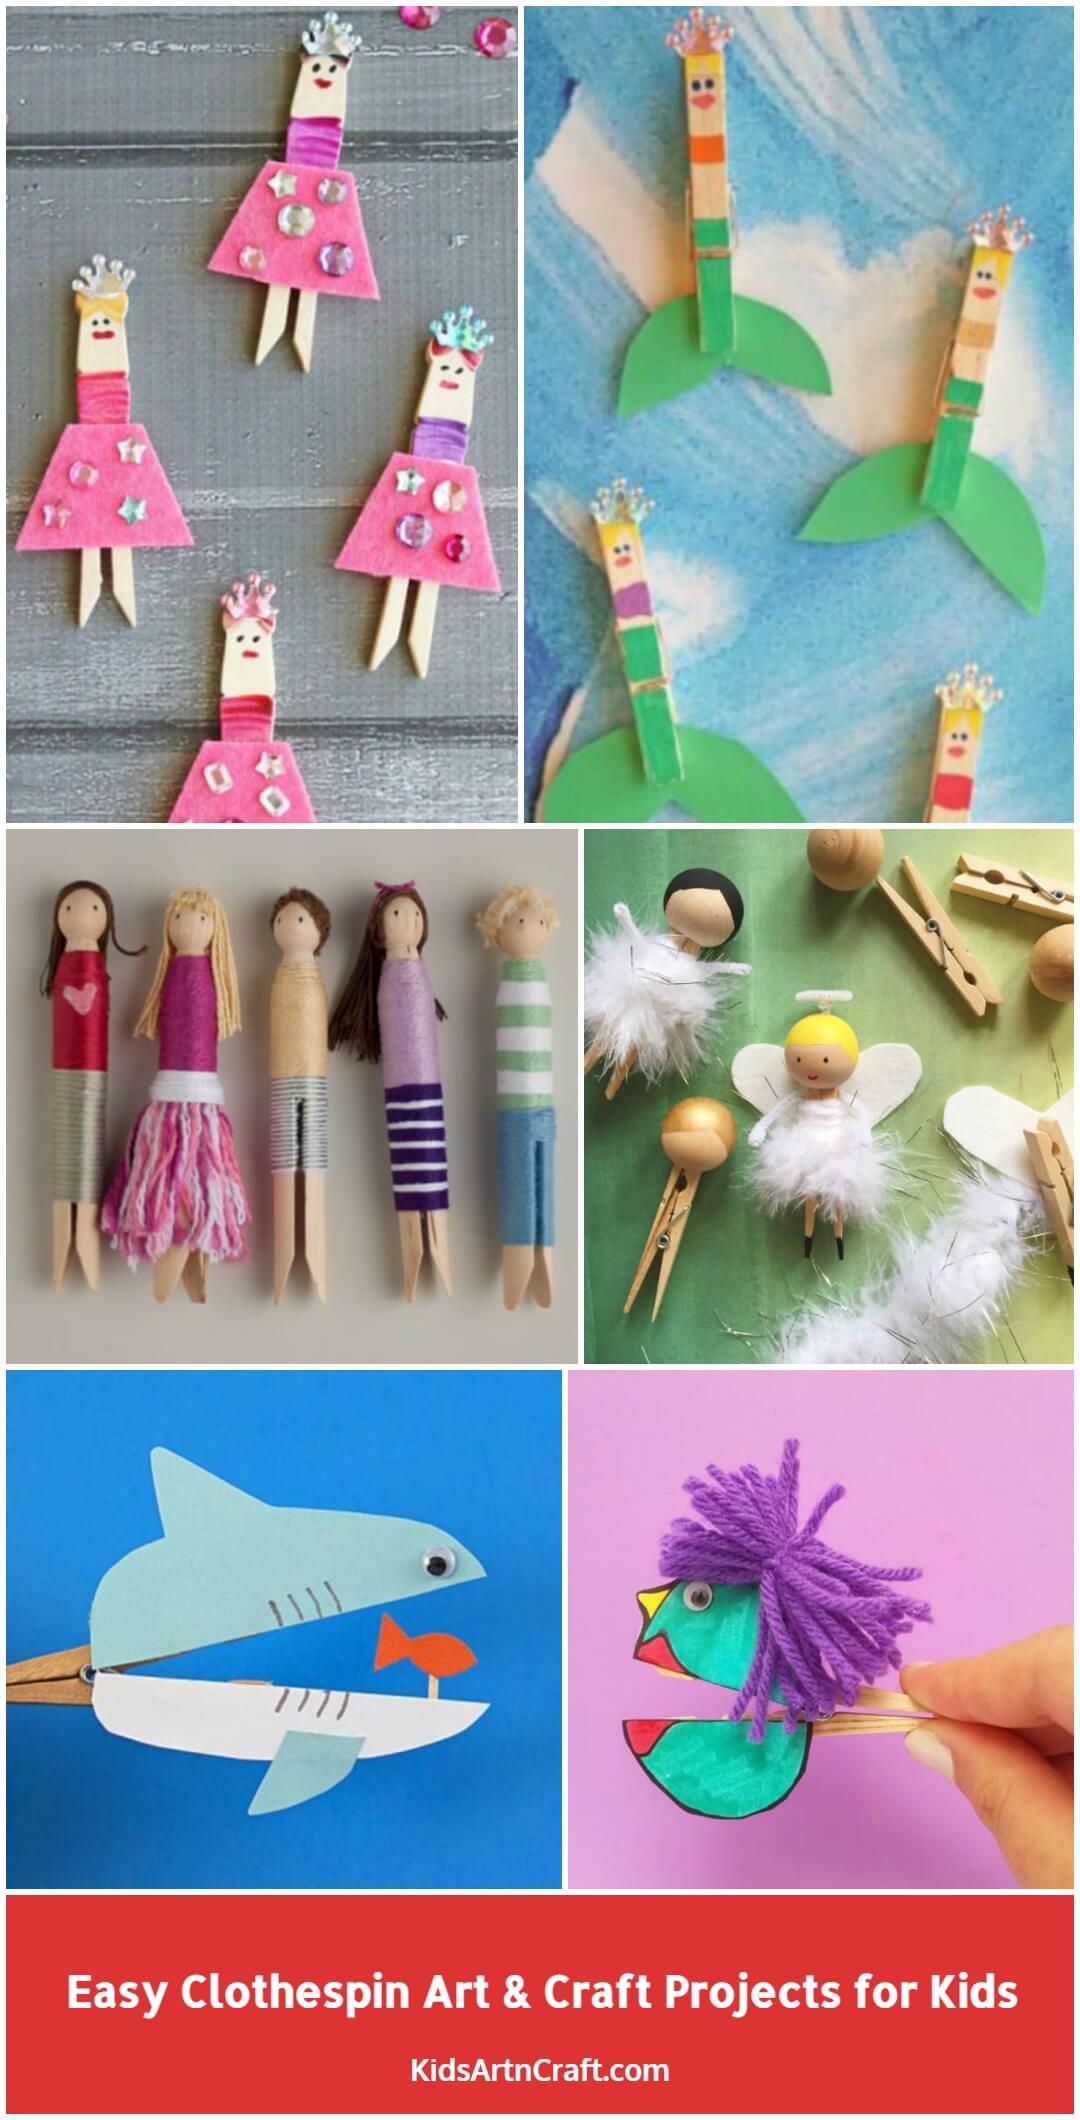

Discover quick clothespin crafts for young artists, perfect for fast and engaging projects that encourage creativity without complicated steps or mess.
Creative Clothespin Christmas Decorations
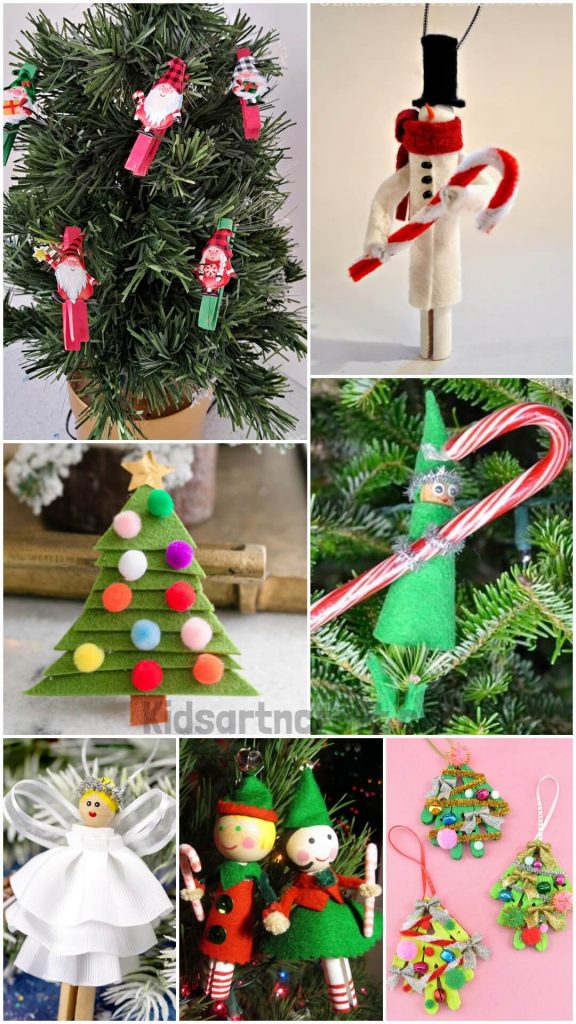

Design creative clothespin Christmas decorations that bring a fun, crafty element to your holiday decor, transforming simple clothespins into festive ornaments or decor pieces.
Fun Clothespin DIYs for the Spring Season

Enjoy fun clothespin DIYs for the spring season, making charming crafts like bird feeders, flower garlands, or decorative clips that bring a springtime vibe to your space.
Easy Snowflake Crafts Using Clothespins
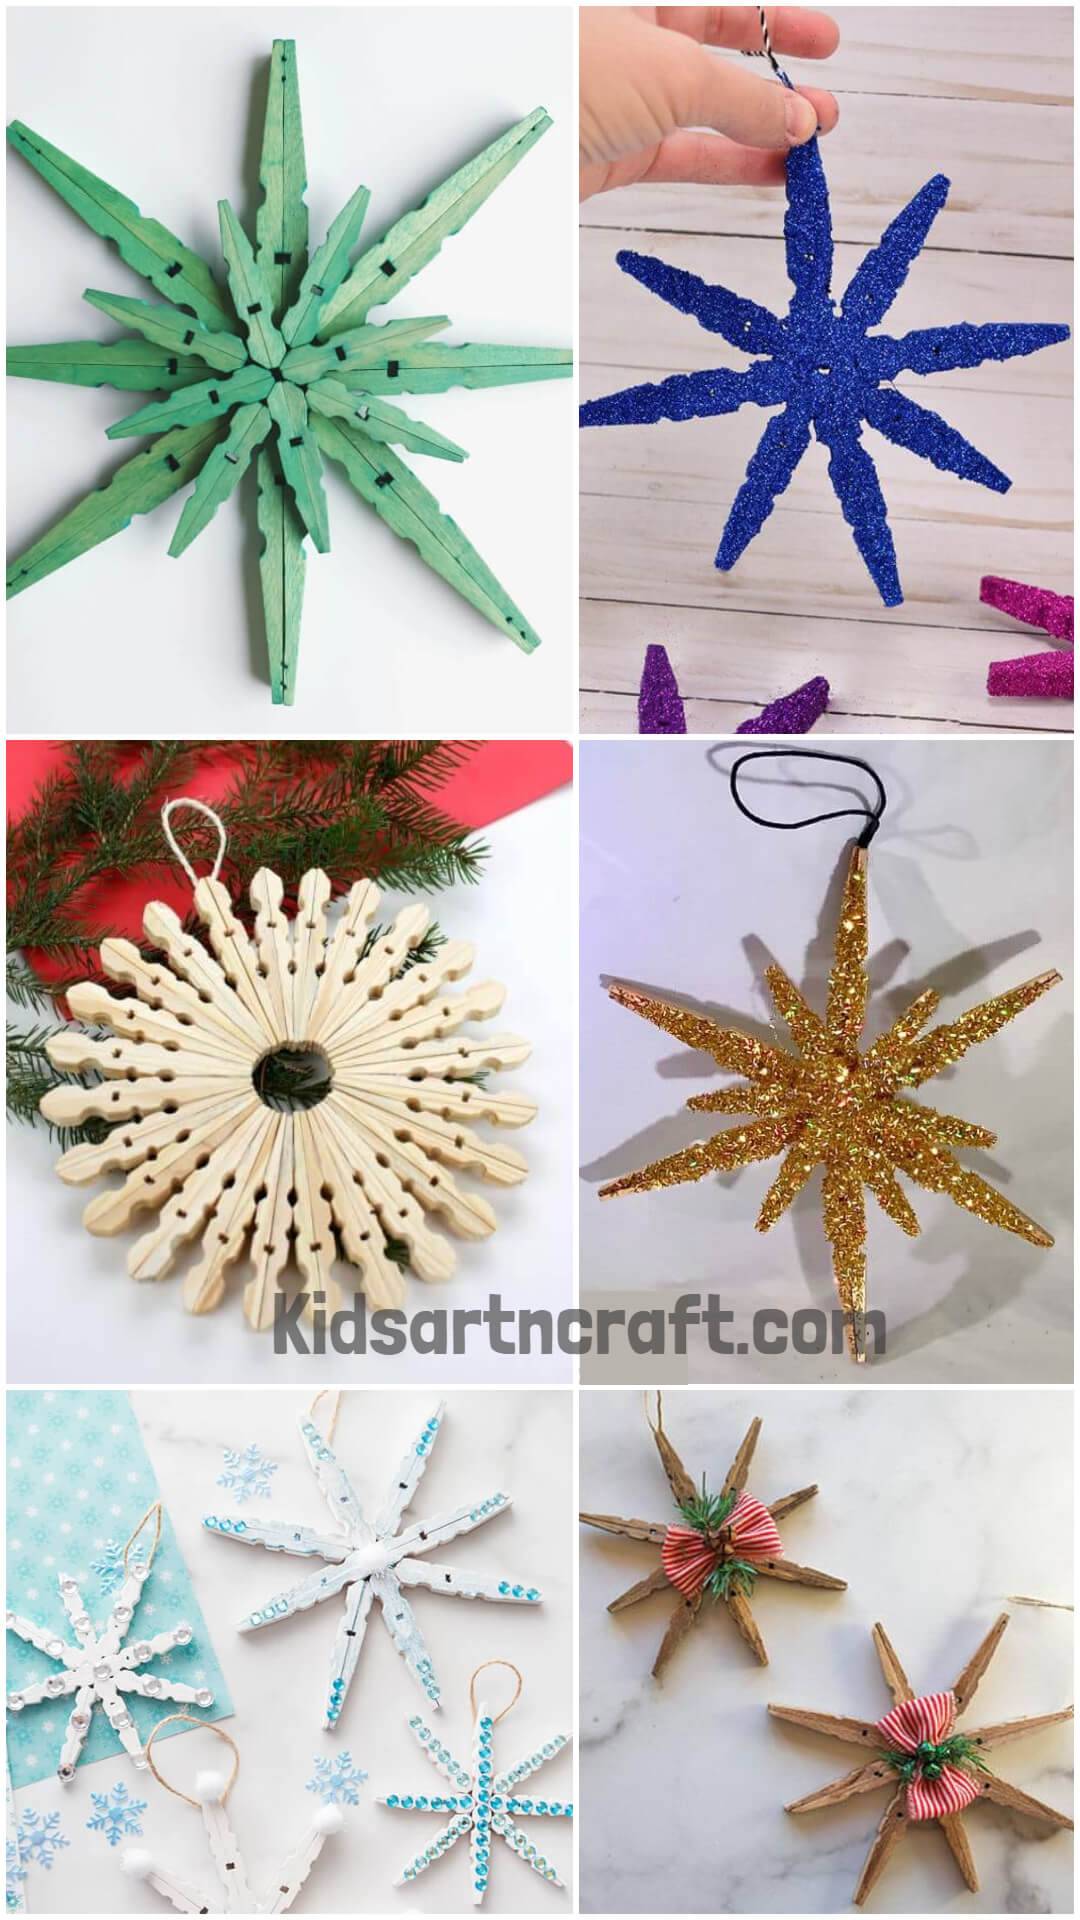
Explore easy snowflake crafts using clothespins, offering quick and fun projects to create stylish winter decor or ornaments with minimal materials.
Creative Clothespin Activities for Kids
Explore creative clothespin activities for kids, offering hands-on projects that spark imagination and result in fun, artistic creations to display or play with.