Clay Crafts
Simple & Tasty Ice-Cream Craft Using Clay – Step by Step Tutorial

This article will teach you how to make a delicious ice cream craft using clay! Learn how to make your own ice-cream cone and decorations with just a few easy steps. Perfect for a fun craft project with kids or to add a bit of charm to your home decor.
Welcome to the world of ice-cream crafting with clay! In this fun and creative activity, you can create your own delicious ice cream creations right at home. With a few materials and a little bit of time, you can make a variety of ice-cream-inspired pieces that are sure to bring a smile to anyone’s face. So grab your supplies and get ready to make some tasty treats that you can show off to your friends and family!
Easy-to-Make Ice-Cream Craft Idea For Kids Using Clay
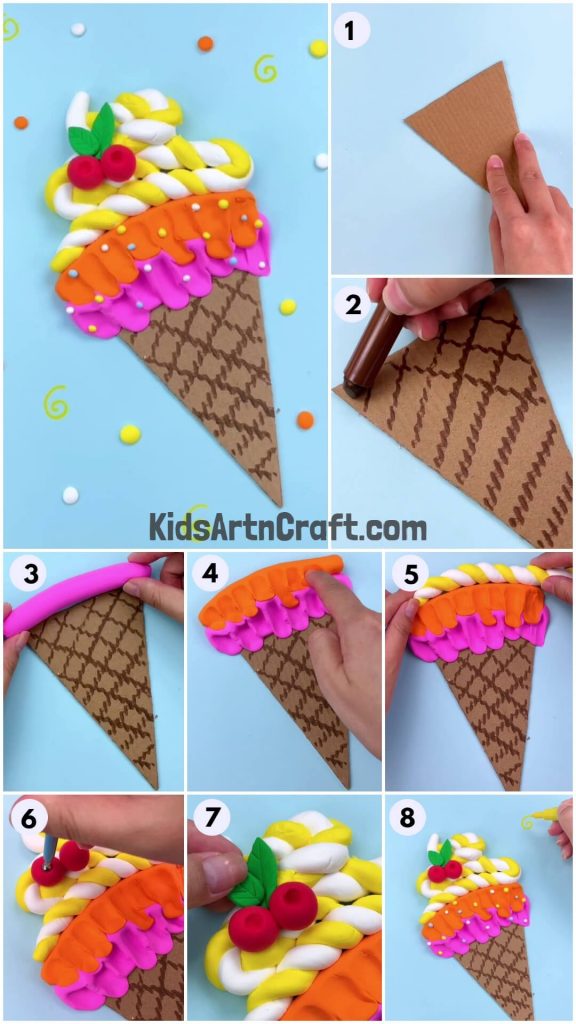

Material Required:
- Cardboard Piece
- Scissors
- Glue
- Different Colors Modelling Clay
- Brown crayon
- Yellow Marker
- Spherical tip object
- Sky blue A4 sheet
Instructions:-
Step -1
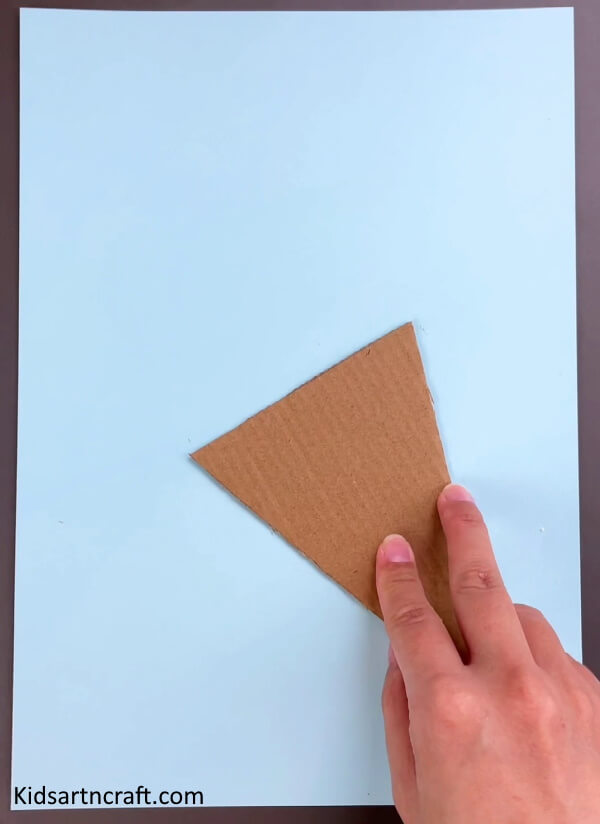

Let’s start this amazing craft by taking cardboard and cutting it into a cone shape using scissors. Stick that cone onto a sky-blue A4 sheet.
Step -2
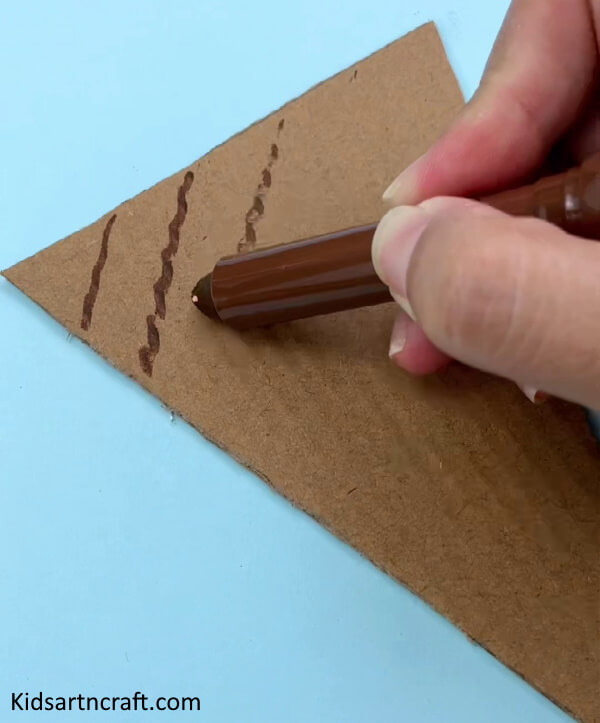

Now, draw diagonal lines on that cone using a brown crayon.
Step -3
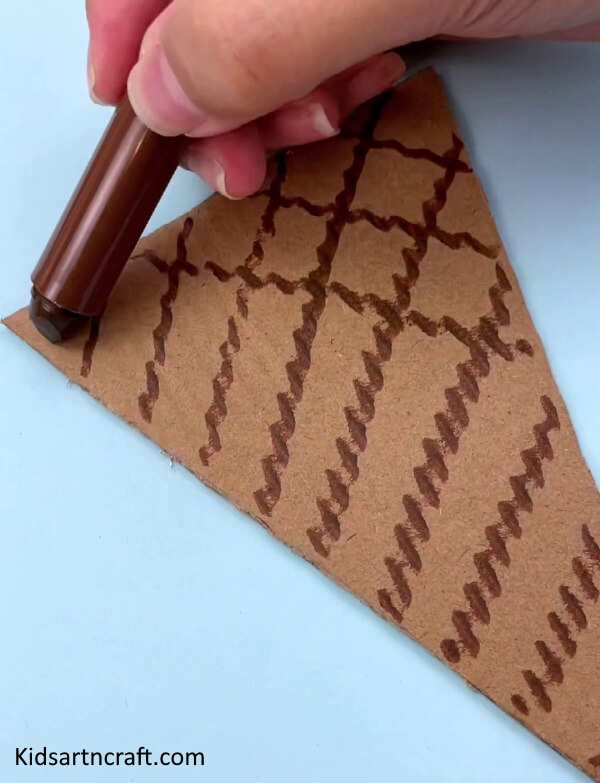

Now, draw opposite diagonal lines using a brown crayon at some gaps.
Step -4
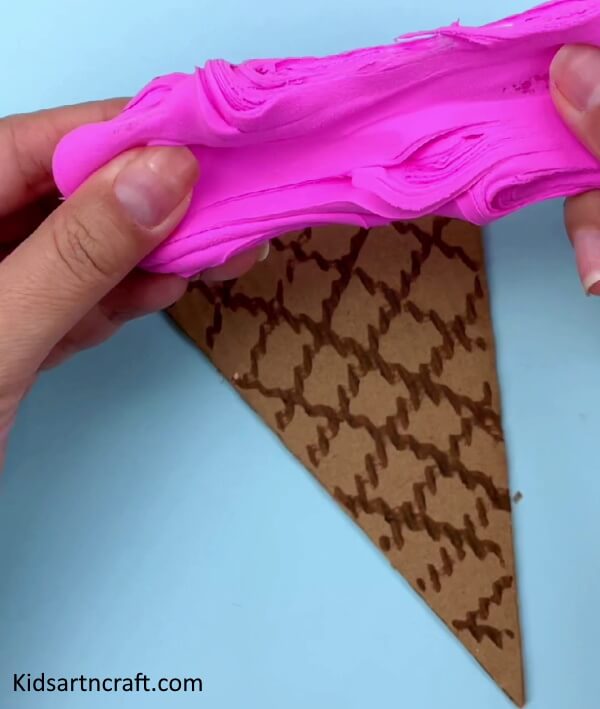

Now, for the ice cream part, take some pink modeling clay and roll it into a cylindrical shape for the first layer of the ice cream.
Step -5
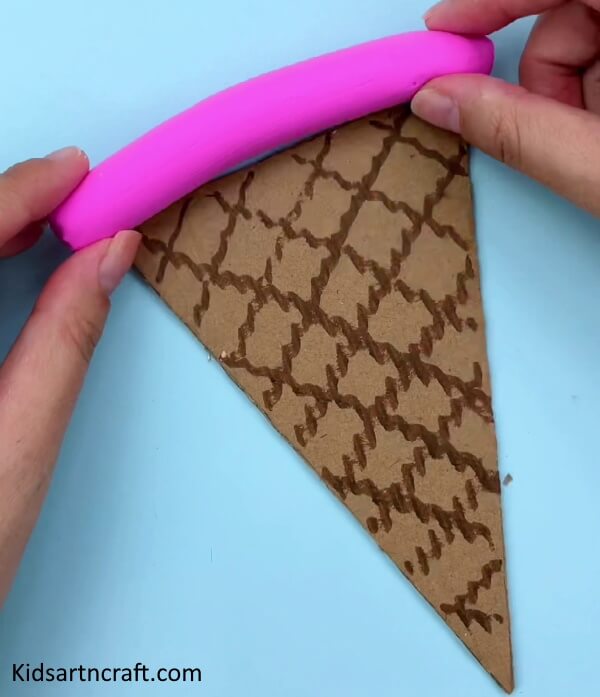

Stick that clay just above the cone, like in the image above.
Step -6
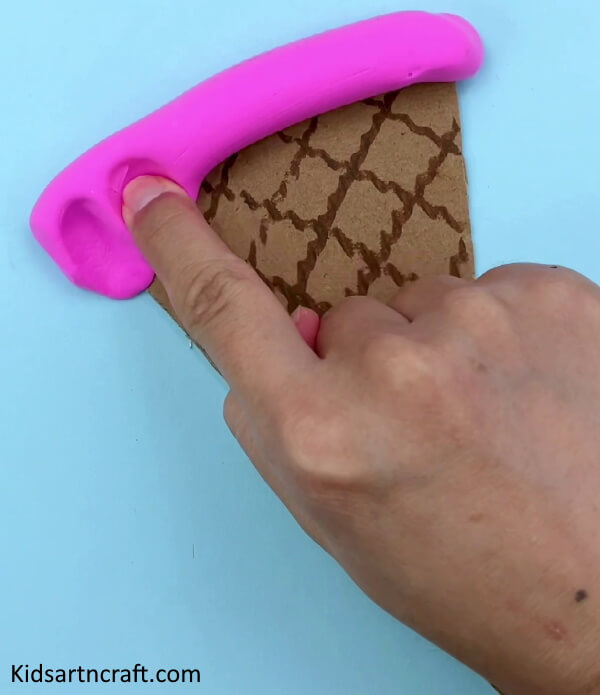

Now, use your index finger to make impressions like the above image on the pink layer.
Step -7
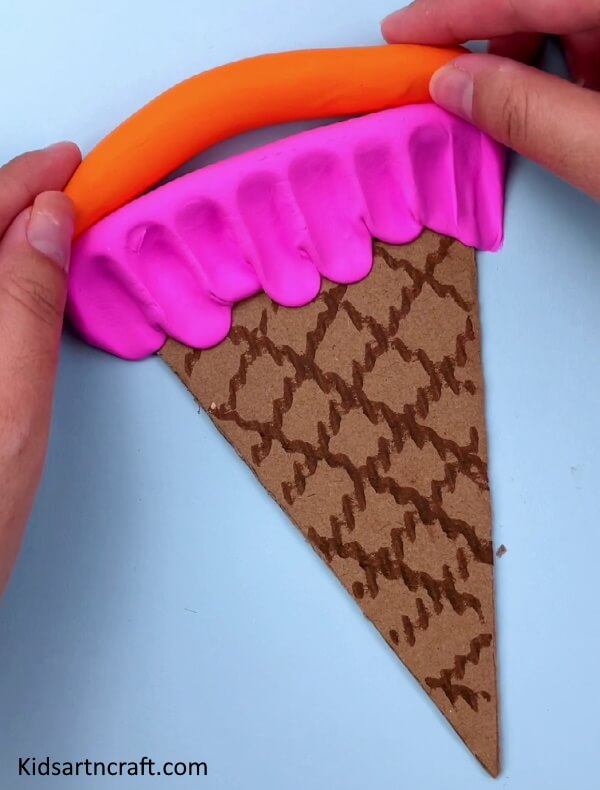

In this step, roll another orange-colored clay and put it above the pink one.
Step -8
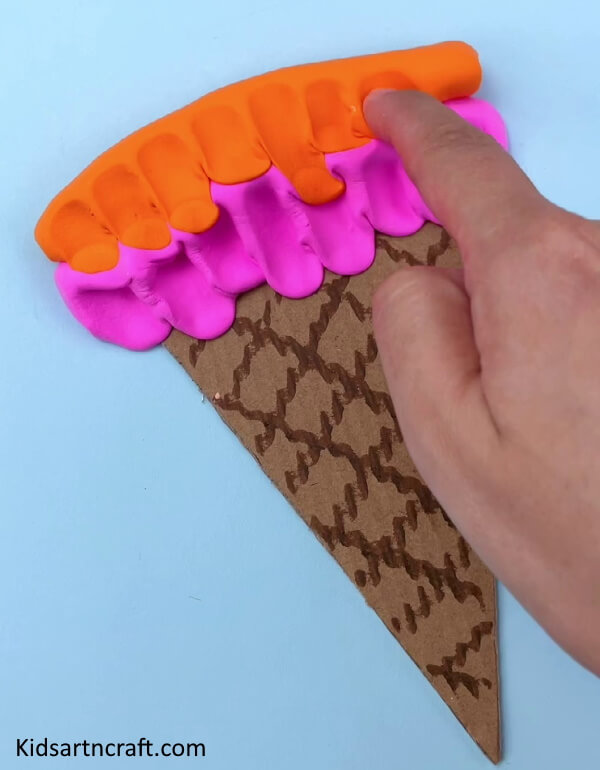

Make impressions using your finger on this one, too. Let some parts of the orange clay overlap with the pink one.
Step -9
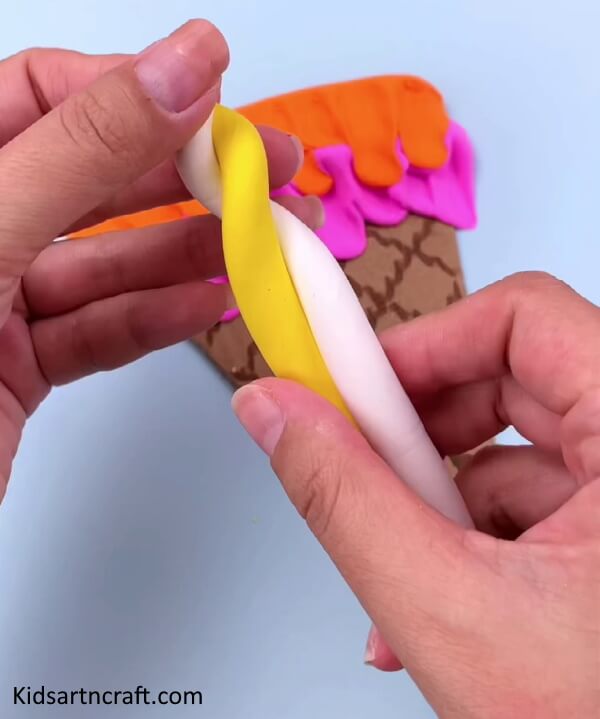

Now, take the white and yellow rolls and twist them together as shown above.
Step -10
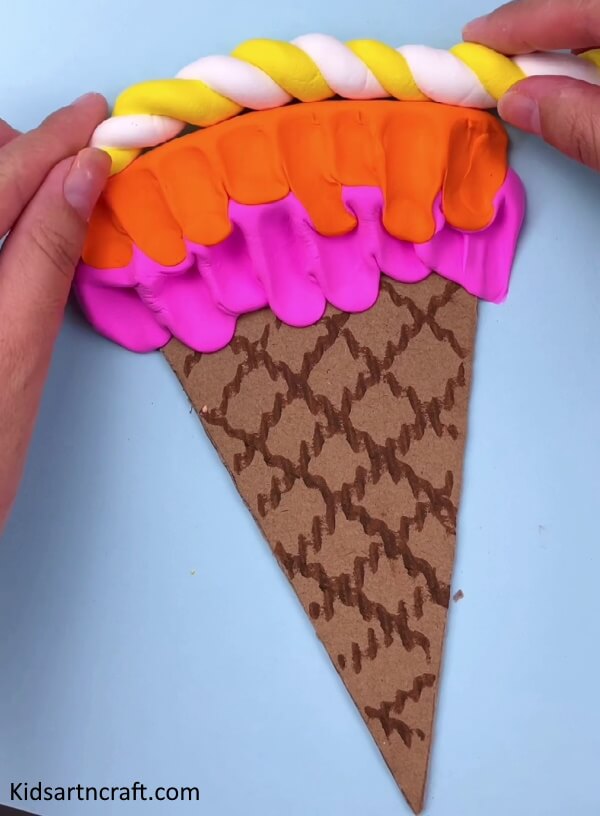

Stick that clay over the orange part.
Step -11
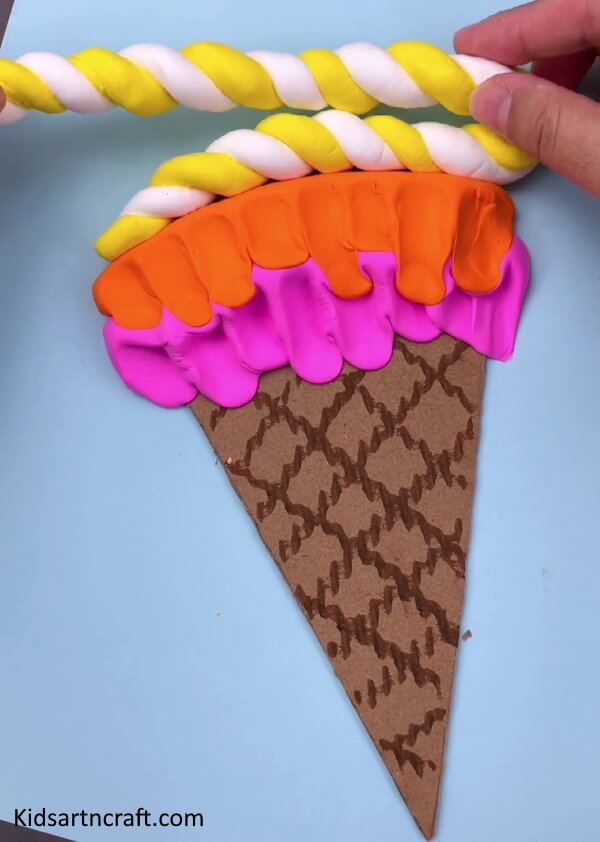

Fold the remaining yellow and white over the previous one, and fold it again for another layer. Layers get smaller in length while going upwards.
Step -12
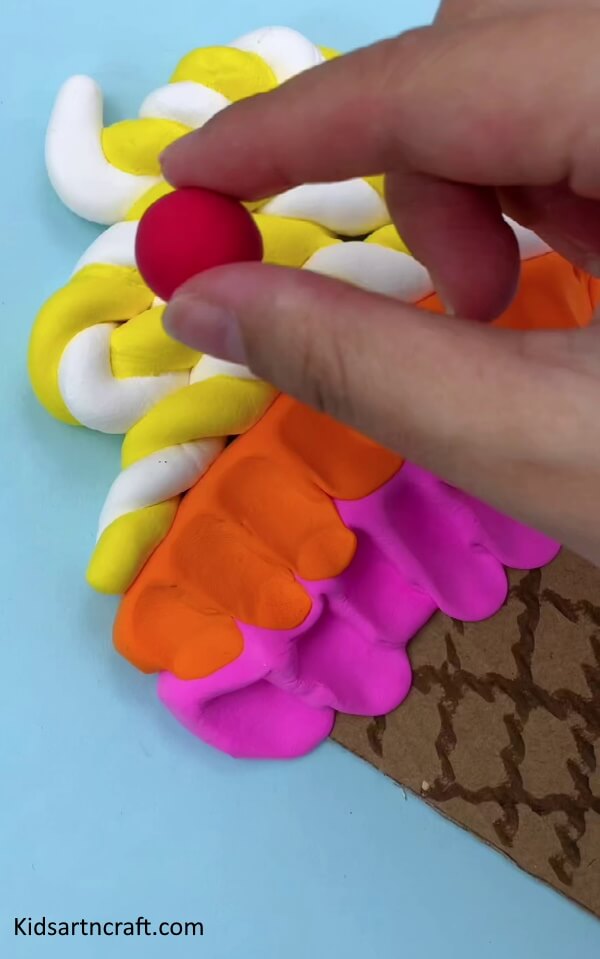

Now, take some red clay and make a ball out of it for the cherry on the ice cream.
Step -13
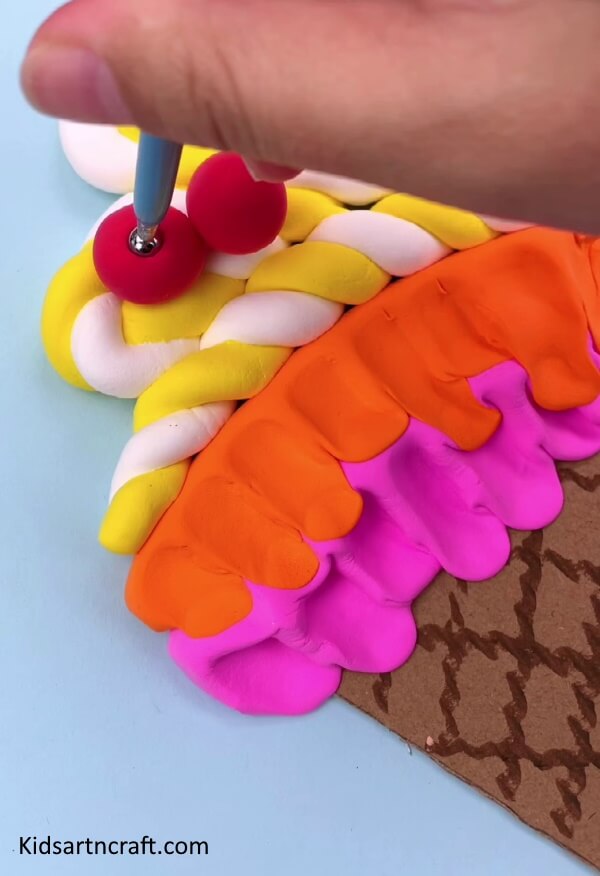

Make 2 such cherries, and place them at the top left corner of the ice cream scoop. Then take an object with a spherical top to make an impression on those cherries.
Step -14
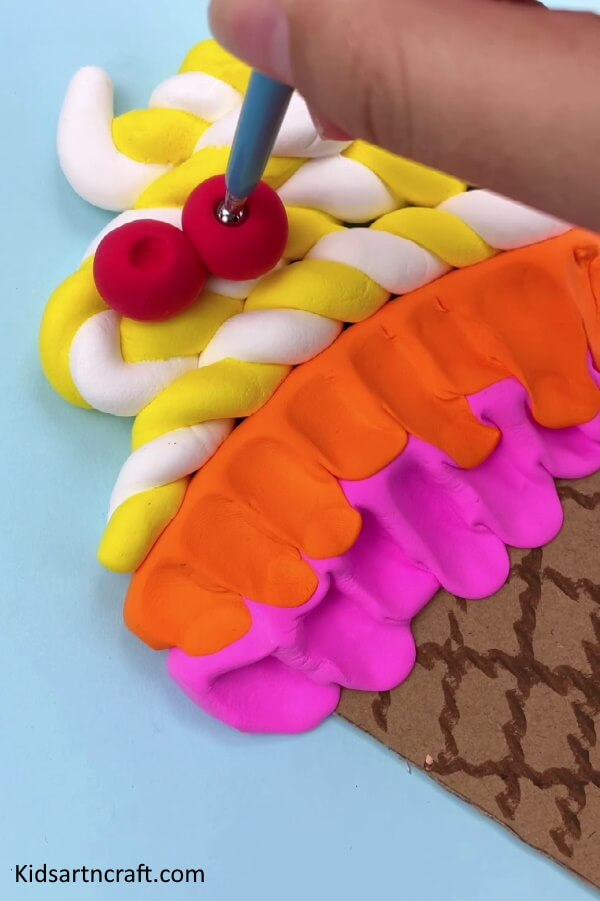

Your craft will look something like this.
Step -15
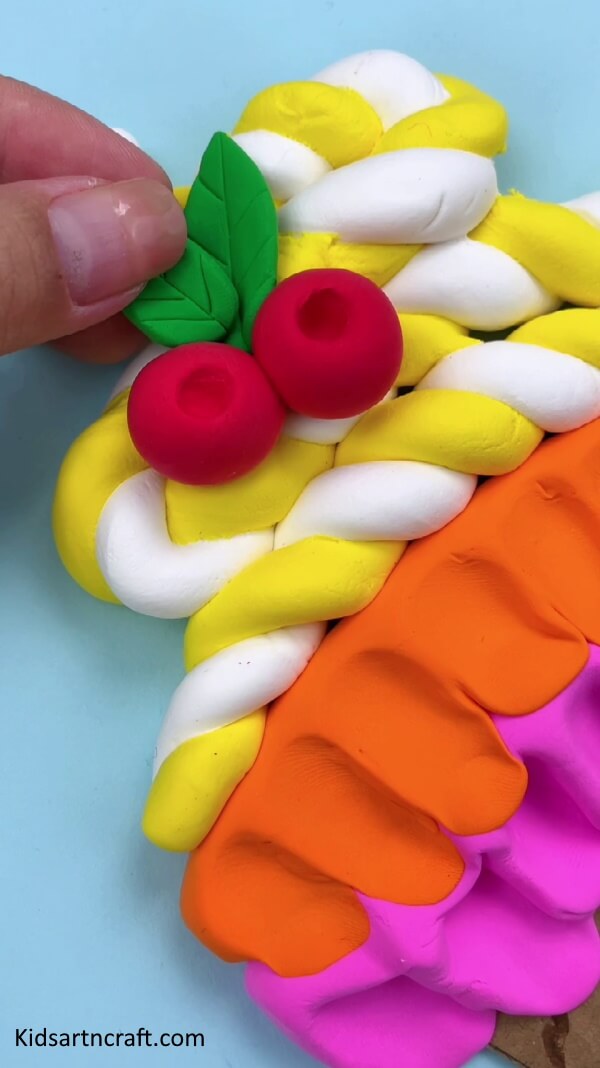

Take some green clay and make 2 leaves from it, and make some veins on it using a thin stick.
Step -16
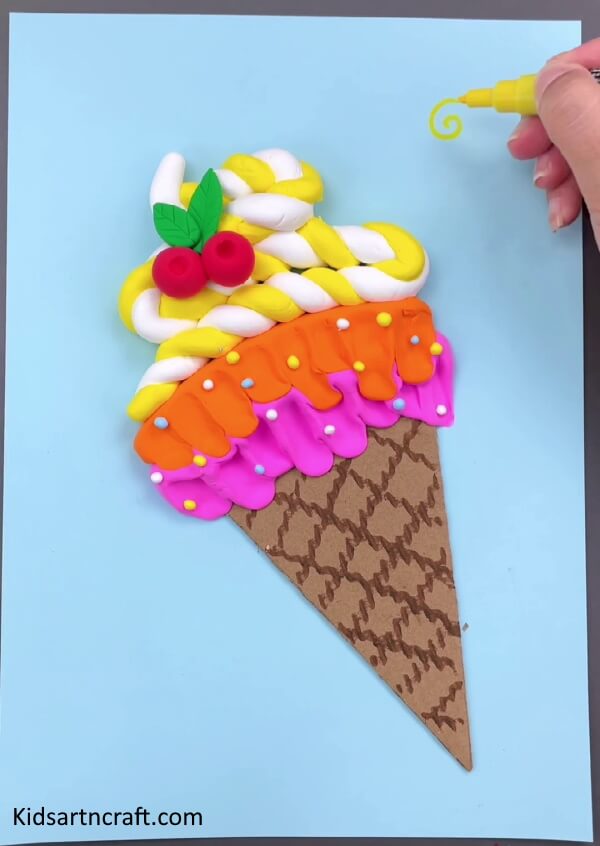

Take a yellow marker and draw some spirals in the background. Also, add some dots of clay using yellow, white, and orange clay for the beautification of the art.
Final Image:
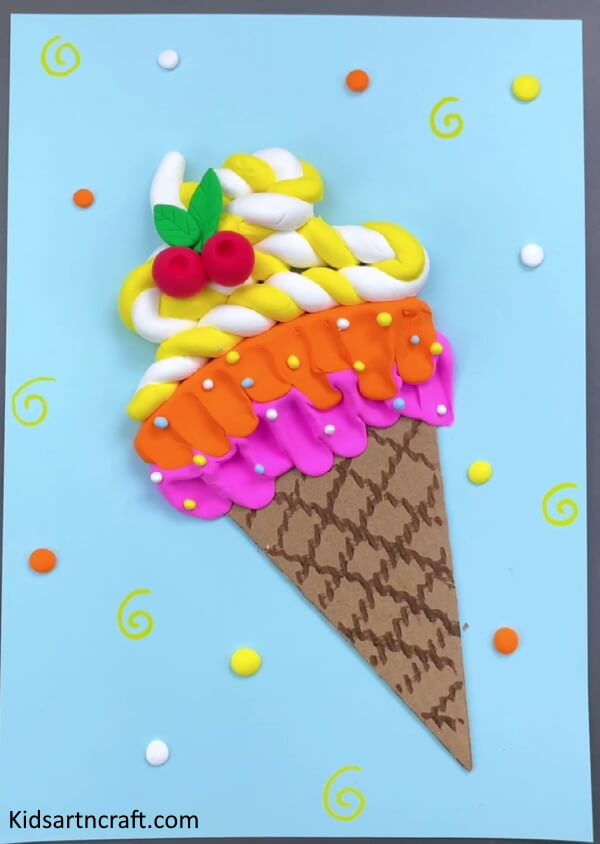

Your pretty ice cream craft is ready!! You can show it to others with pride and even use it for decorating your house. Go ahead and grab the supplies to make this beautiful ice cream craft.
Some More Ice Cream Craft Tutorials
Easy To Make Paper Ice Cream Craft For Kids

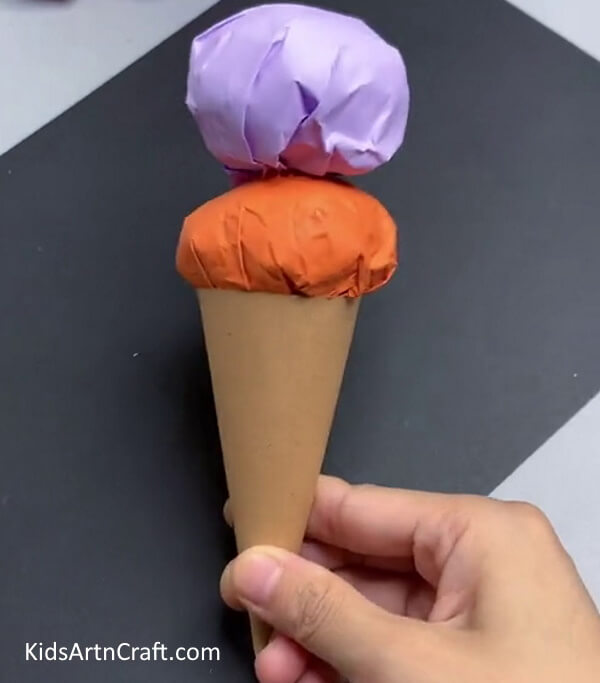
Image Source/ Tutorial: Kids Art & Craft
This paper ice cream craft is perfect for kids! It’s easy to make and fun to decorate, making it a great way to spend time with your children while creating something special. With a few simple materials, you can create this summer-inspired craft in no time!
Easy Ice Cream Clay Craft for Kids | Step-by-Step DIY Creative Art Tutorial

Create a Sweet Clay Masterpiece
Ice cream clay crafts are a fun way for children to explore colors, textures, and creativity. By shaping different scoops, cones, and toppings with modeling clay, kids can create eye-catching artwork while improving their artistic confidence and enjoying a relaxing hands-on activity.
Creative Details to Add
Make every ice cream craft unique by decorating it with colorful details such as:
- Rainbow sprinkles
- Cherries
- Chocolate syrup
- Whipped cream
- Colorful candy pieces
- Fruit slices
- Mint leaves
- Waffle cone patterns
Skills Kids Build While Crafting
Working with modeling clay helps children strengthen finger muscles, improve hand-eye coordination, develop creativity, and practice patience. Rolling, pressing, and shaping clay also supports fine motor development while encouraging imaginative play.
Show Off Your Artwork
Finished ice cream clay crafts can be displayed on classroom bulletin boards, study tables, or bedroom shelves. They also make wonderful handmade gifts and colorful decorations for summer-themed craft displays.
FAQs
Q1. What type of clay works best for this craft?
Answer: Soft modeling clay or air-dry clay is ideal because it is easy for children to shape and decorate.
Q2. Is this craft suitable for beginners?
Answer: Yes. The simple steps make it suitable for preschoolers, kindergarteners, and elementary-age children with adult guidance when needed.
Q3. Can children create different ice cream flavors?
Answer: Absolutely! Kids can mix different clay colors to design their own unique ice cream flavors and creative toppings.
This easy ice cream clay craft encourages creativity, builds fine motor skills, and gives children a fun opportunity to design colorful treats they can proudly display or share with family and friends. Find endless inspiration with easy crafts, creative projects, and learning activities. Join us on YouTube, Telegram, & Facebook.
Reviewed By Yash Beniwal
More Articles from Kids’ Art & Craft
- Easy Scrap Fabric Projects
- Polymer Clay Decoration Crafts For Home
- Polymer Clay Ideas and Projects
- DIY Beads Coaster Crafts For Kids
- Air Dry Clay Ideas For Halloween