DIY and Crafts
Beautiful Kimono Japanese Dress Craft Ideas For Kids

Encourage your children to be creative with these fun and straightforward Kimono Japanese dress craft ideas. These brightly colored activities are great for a rainy day or purely for entertainment. Let your kids show off their artistry by making something amazing!
Welcome! Here in this step-by-step tutorial, we’ll learn how to make a Kimono, which is a traditional Japanese outfit worn by women on festive occasions. With some coloured paper, scissors and glue, you can design your own beautiful kimono. Let’s get done!
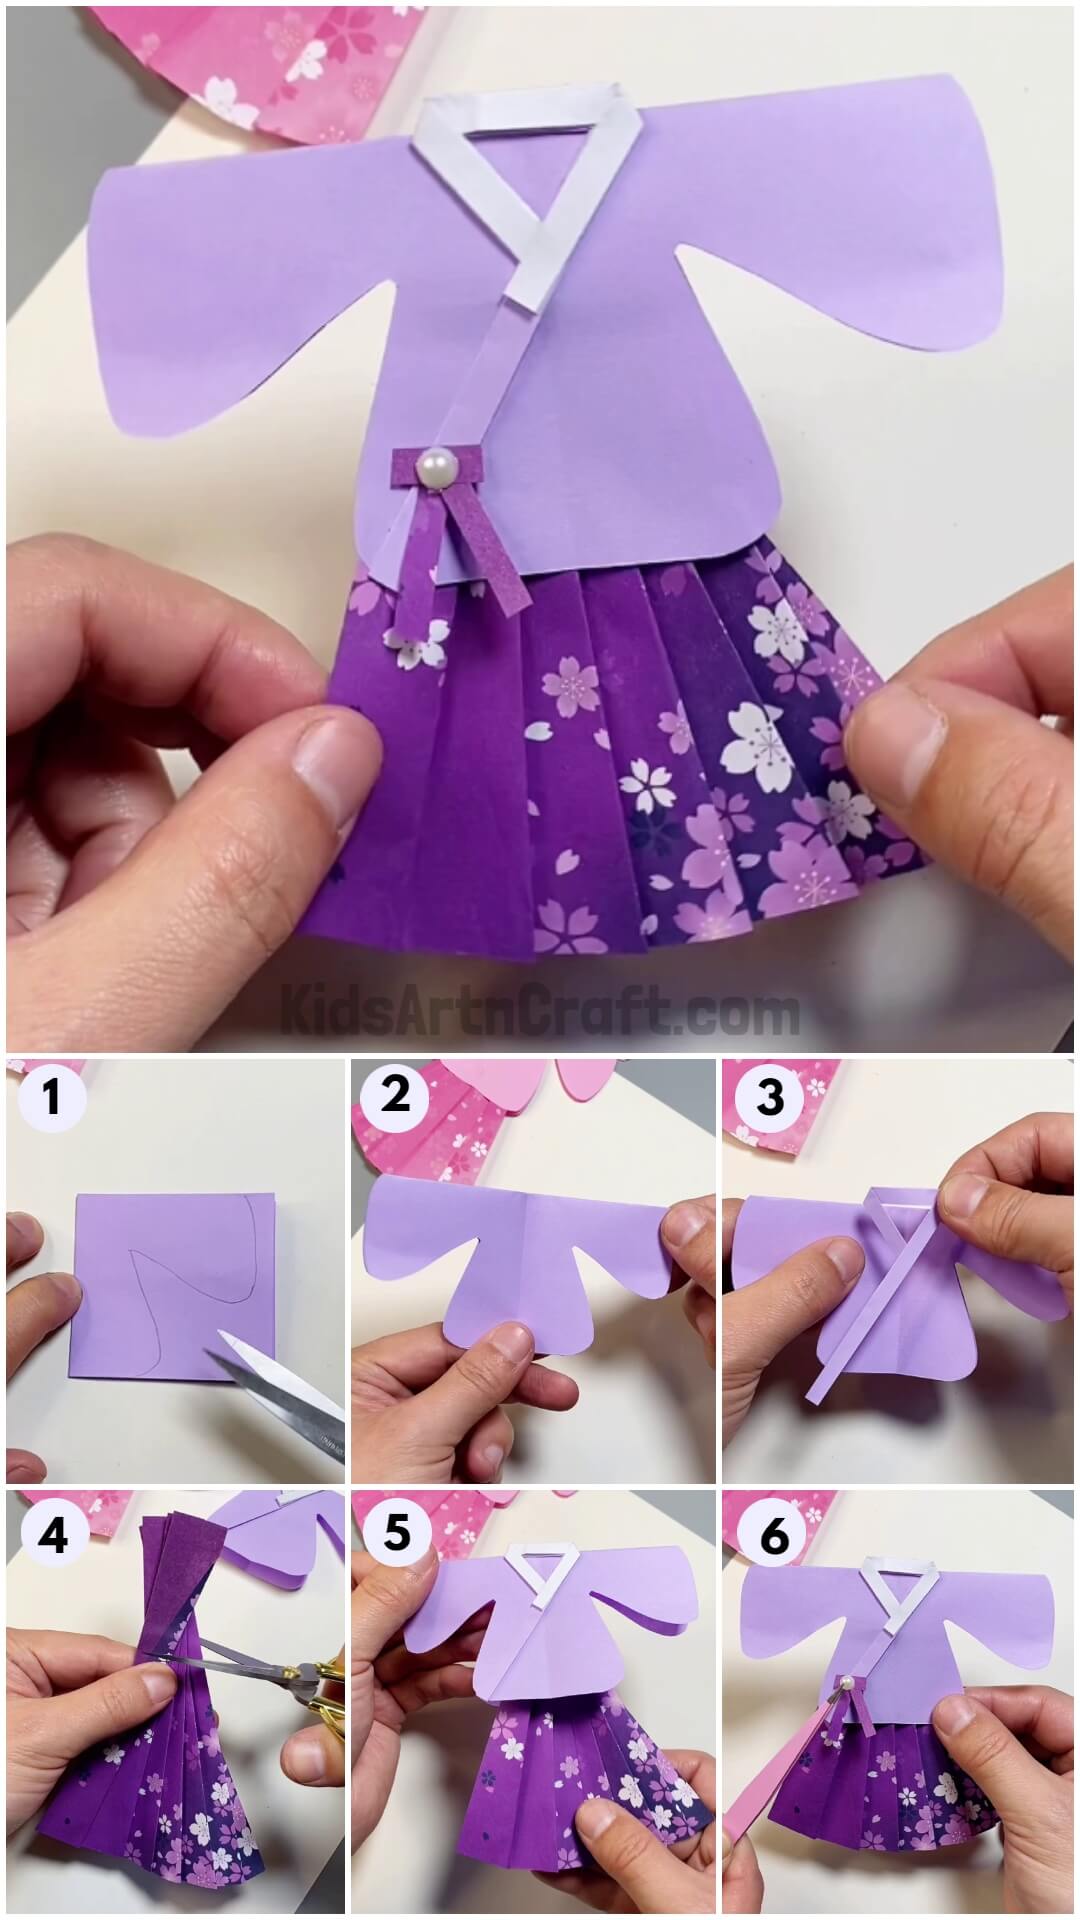
Beautiful Kimono Japanese Dress Craft Idea

Read More: Learn To Make Easy Heart Shaped Paper Mouse Craft
Materials Required
- Coloured paper (violet, purple, white)
- Gift wrapping paper
- Sequins or pearls (for decoration)
- Scissors and glue
Procedure
Step 1: Let’s Get Started
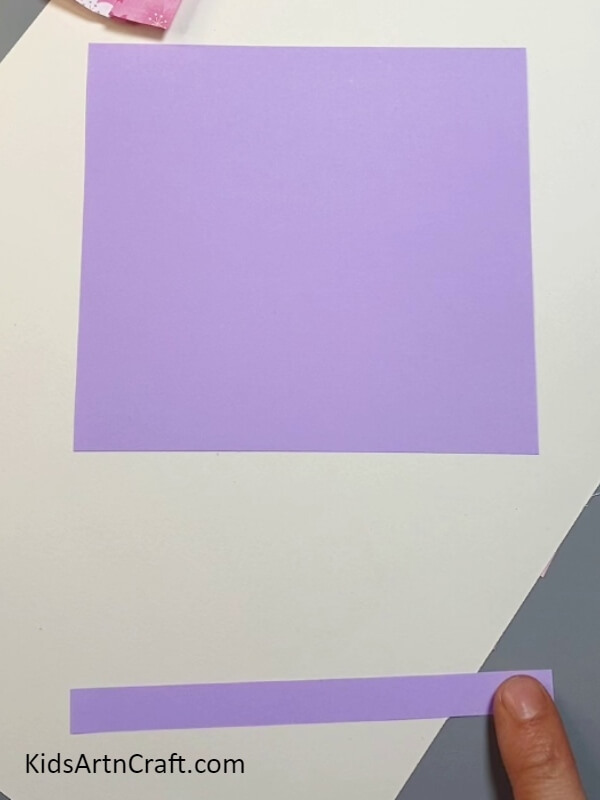

Cut a 10 x 10 cm square from the purple-coloured paper. Also cut out a long, narrow strip from the same paper.
Step 2: Let’s Cut
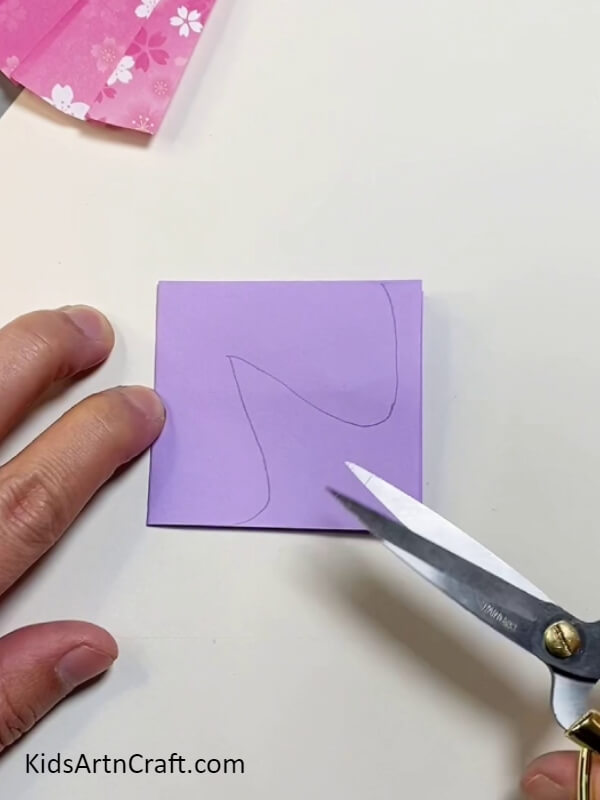
Fold the square into four and draw the following shape and cut it out.
Step 3: Our Kimono Is Ready
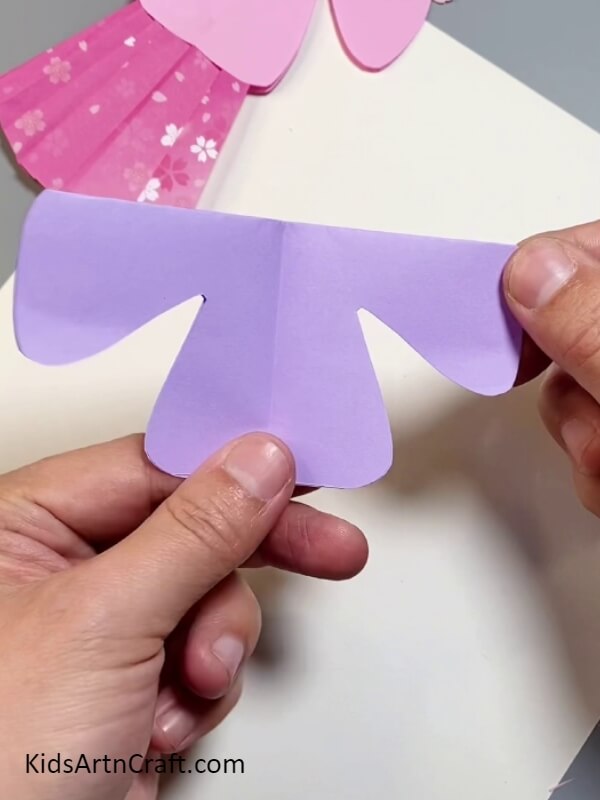
Unfold it and here we get the body of our kimono.
Step 4: Let’s Make A Collar For Our Kimono
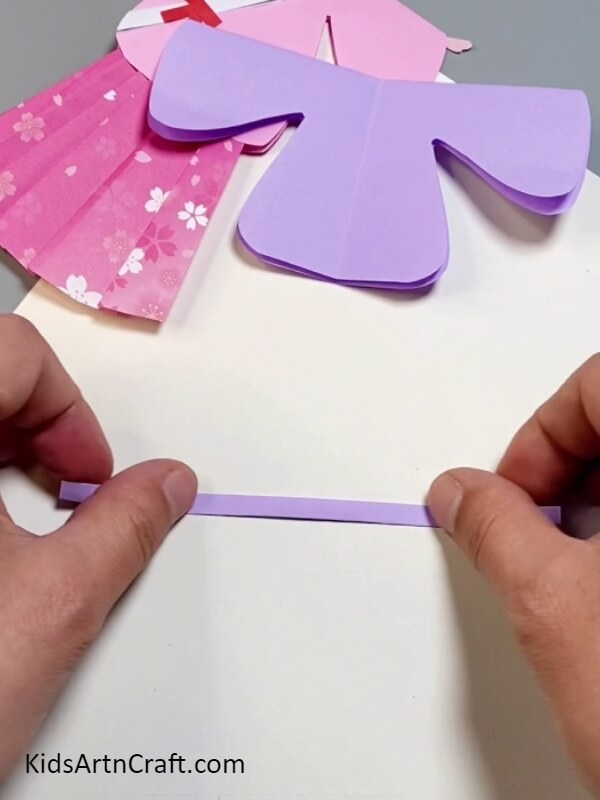
For making a collar for the kimono, take out the long, narrow paper strip that we have cut before.
Step 5: Folding The Strip
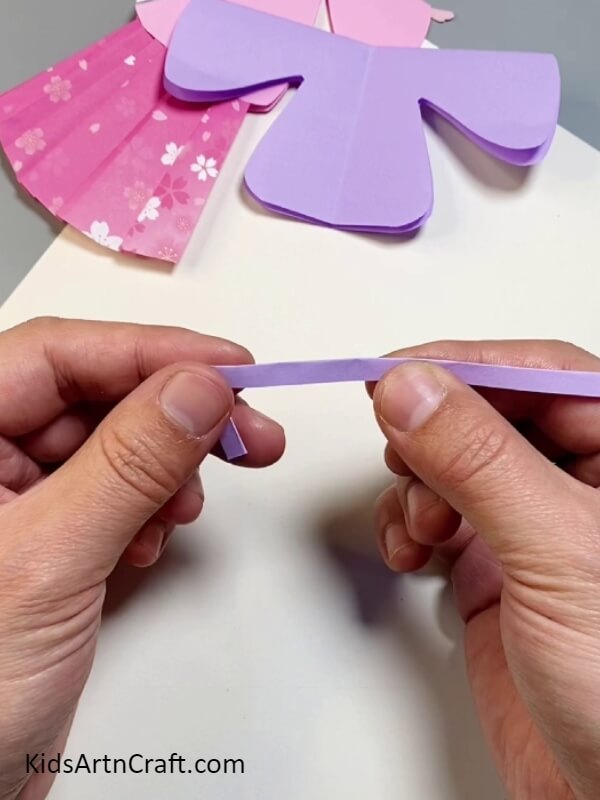
Now fold the edge of the strip downwards as shown in the picture.
Step 6: More Folding
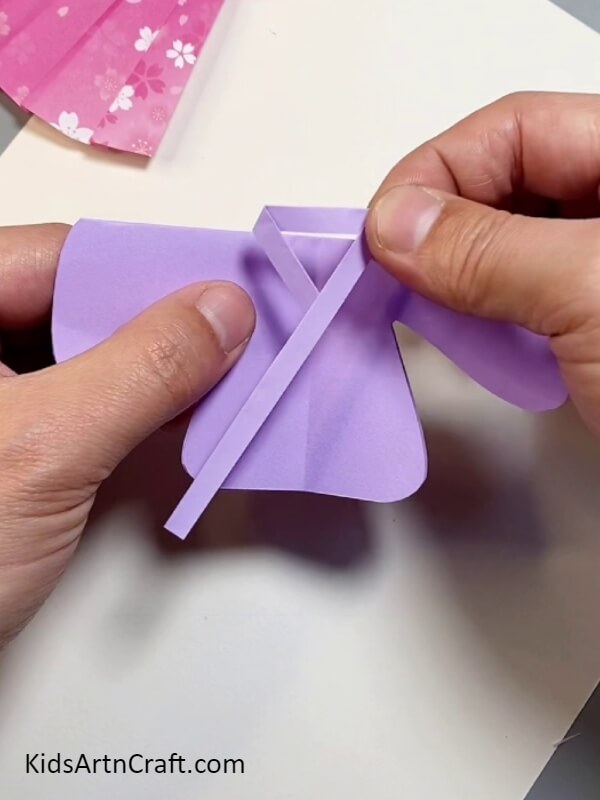
Fold the other end of the strip to make the collar and side cut of our kimono.
Step 7: Adding More Colour
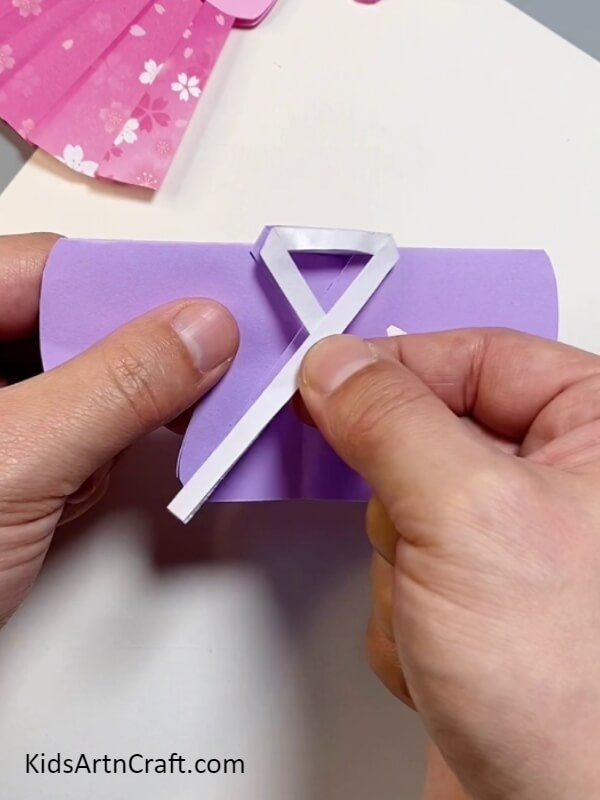
Now cut out a long, narrow strip of white paper and make a triangular folding for the collar.
Step 8: Adding In More Prints
Now, take out a rectangular piece from the gift wrapping paper.
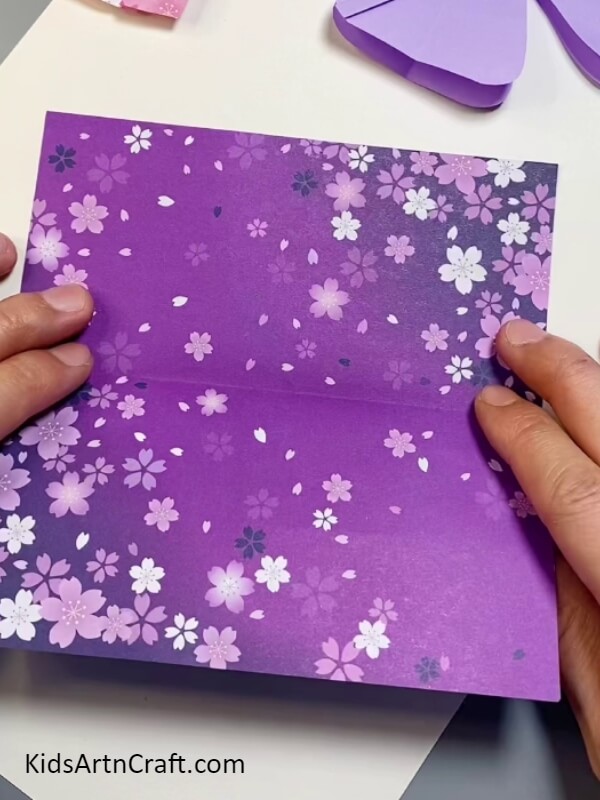
Step 9: Let’s Make The Bottom Part Of The Kimono (Fuki)
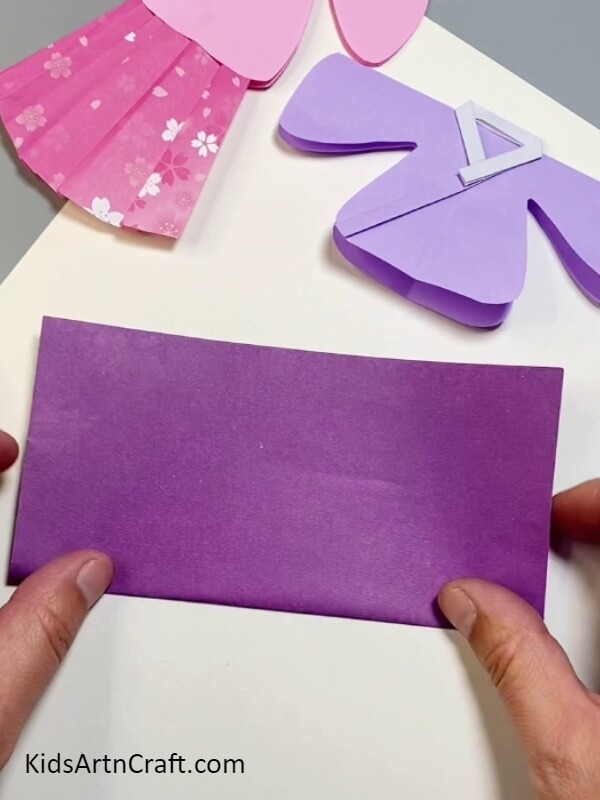
Take out the rectangular piece of gift wrapping paper and fold it into two.
Step 10: More Folding To Do
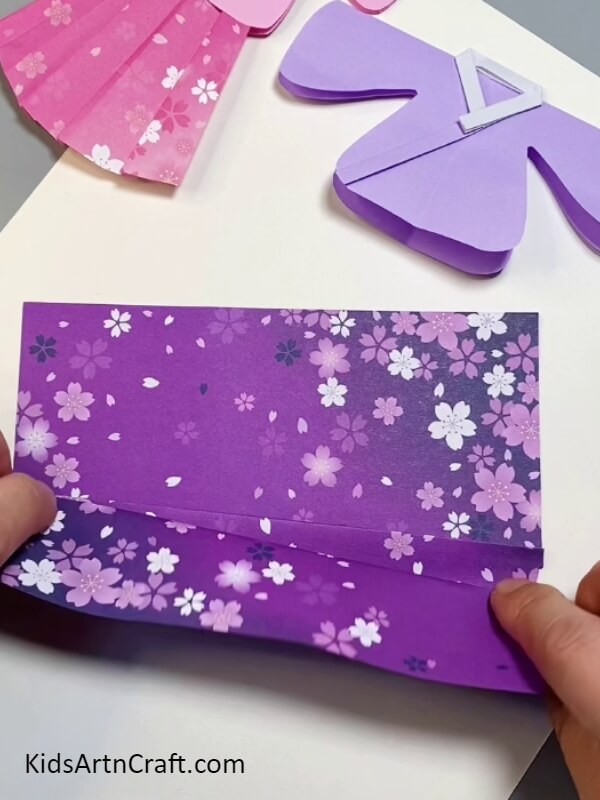
Fold the gift wrapping paper as follows to make the kimono’s pleats.
Step 11: Cutting The Extra Paper
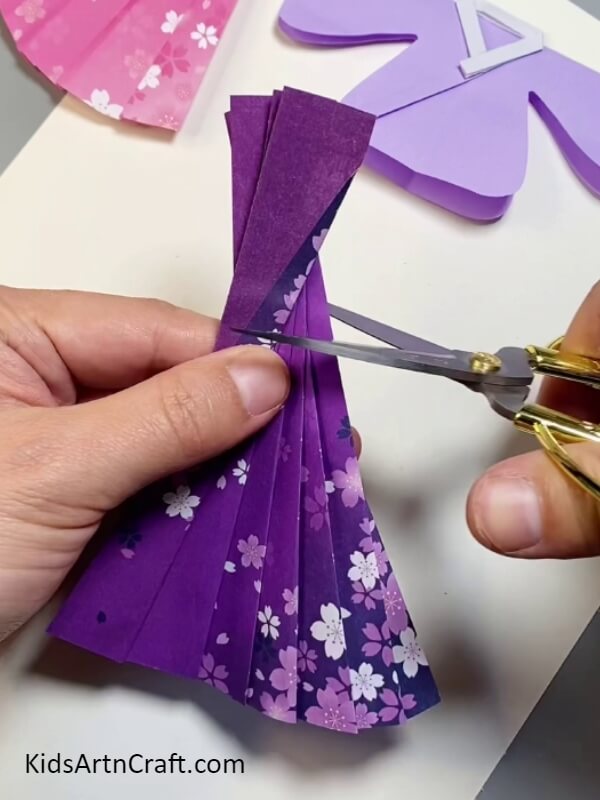
Now after folding and making the pleats, cut off the top extra portion of the paper.
Step 12: Sticking The Fuki
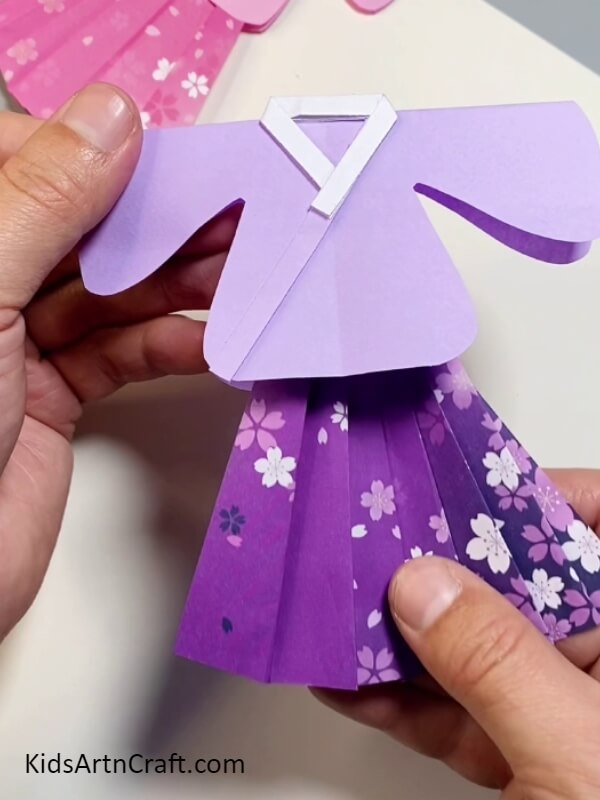
Now use glue to stick the folded pleats inside the body of the kimono which we have already made.
Step 13: Adding More Details
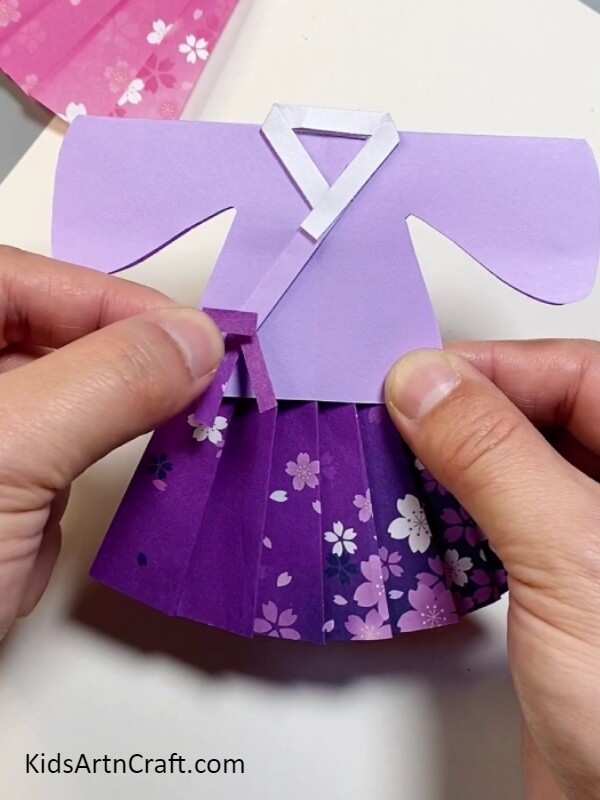
Take a thin strip of violet-coloured paper. Fold it to make a ribbon out of it.
Step 14: Make Our Kimono More Pretty
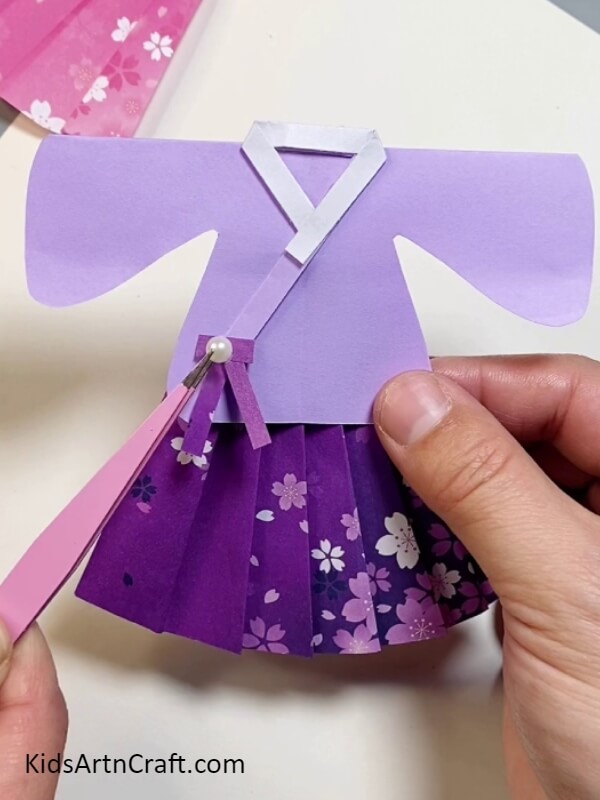
Stick the folded ribbon to the edge of our collar line. Decorate it using sequences or pearls according to your wish.
Now, Our Beautiful Kimono Is Now Ready
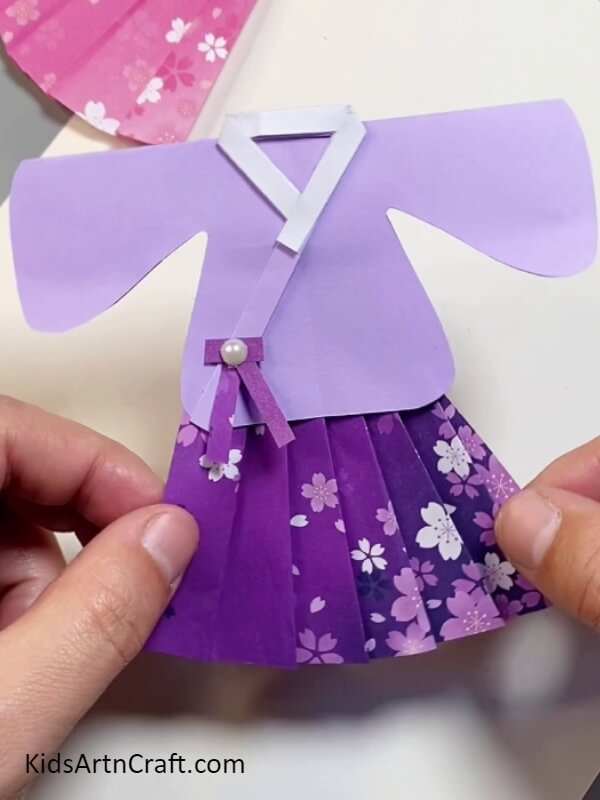
This is an easy paper craft which can be engaging for kids. Kids can use their creativity and imagination to make more designs. This craft idea wakes up the designer within them. Making a kimono might also excite kids about the traditional festivals and culture of Japan.
Hoping that you will try this out at home. Please reach out to us through comments in the comments section below. Also, visit our site for more such informative craft ideas.
Thank you so much for visiting our site!!
Follow us on Youtube for art and craft tutorials and much more.
More Articles from Kids Art & Craft
- DIY Easy Paper Chick Craft For Kids
- DIY Heart Shape Cat Craft for Valentine’s Day
- Heart Shaped Paper Mouse Craft Step by Step Tutorial
- How to Make Easy Paper Snowflakes Tutorial
- DIY Paper Tree Crafts for Kids Easy Tutorial