Clay Crafts
Ladybug In Garden Scenery Artwork Clay Craft Tutorial

This article gives you an easy and detailed plan for making a pretty ladybug clay craft to decorate your garden. All you need are some basic materials and instructions and you’ll have a cool and unique decoration in no time.
Hola! We present to you a fun and interesting step-by-step tutorial on how to make ladybugs in garden scenery artwork. You can make it on your own or involve your kids in the process. It will help you spend quality time with your children and will also develop their sensory skills as this scenery involves the use of clay dough to make the body of the ladybugs. Shaping clay into shapes and objects also helps the students to improve hand-eye coordination. So, gather your craft supplies, and let’s get started!
DIY Ladybug In Garden Scenery

Read More: DIY Clay Giraffe Step-by-Step Tutorial For Kids
Materials Required
- Craft sheet(White)
- Clay dough(Red)
- Watercolors
- Paintbrushes
- Toothbrush
- Cotton buds
- Ruler
- Scissors
- Sketch pen(Red, Black)
Procedure
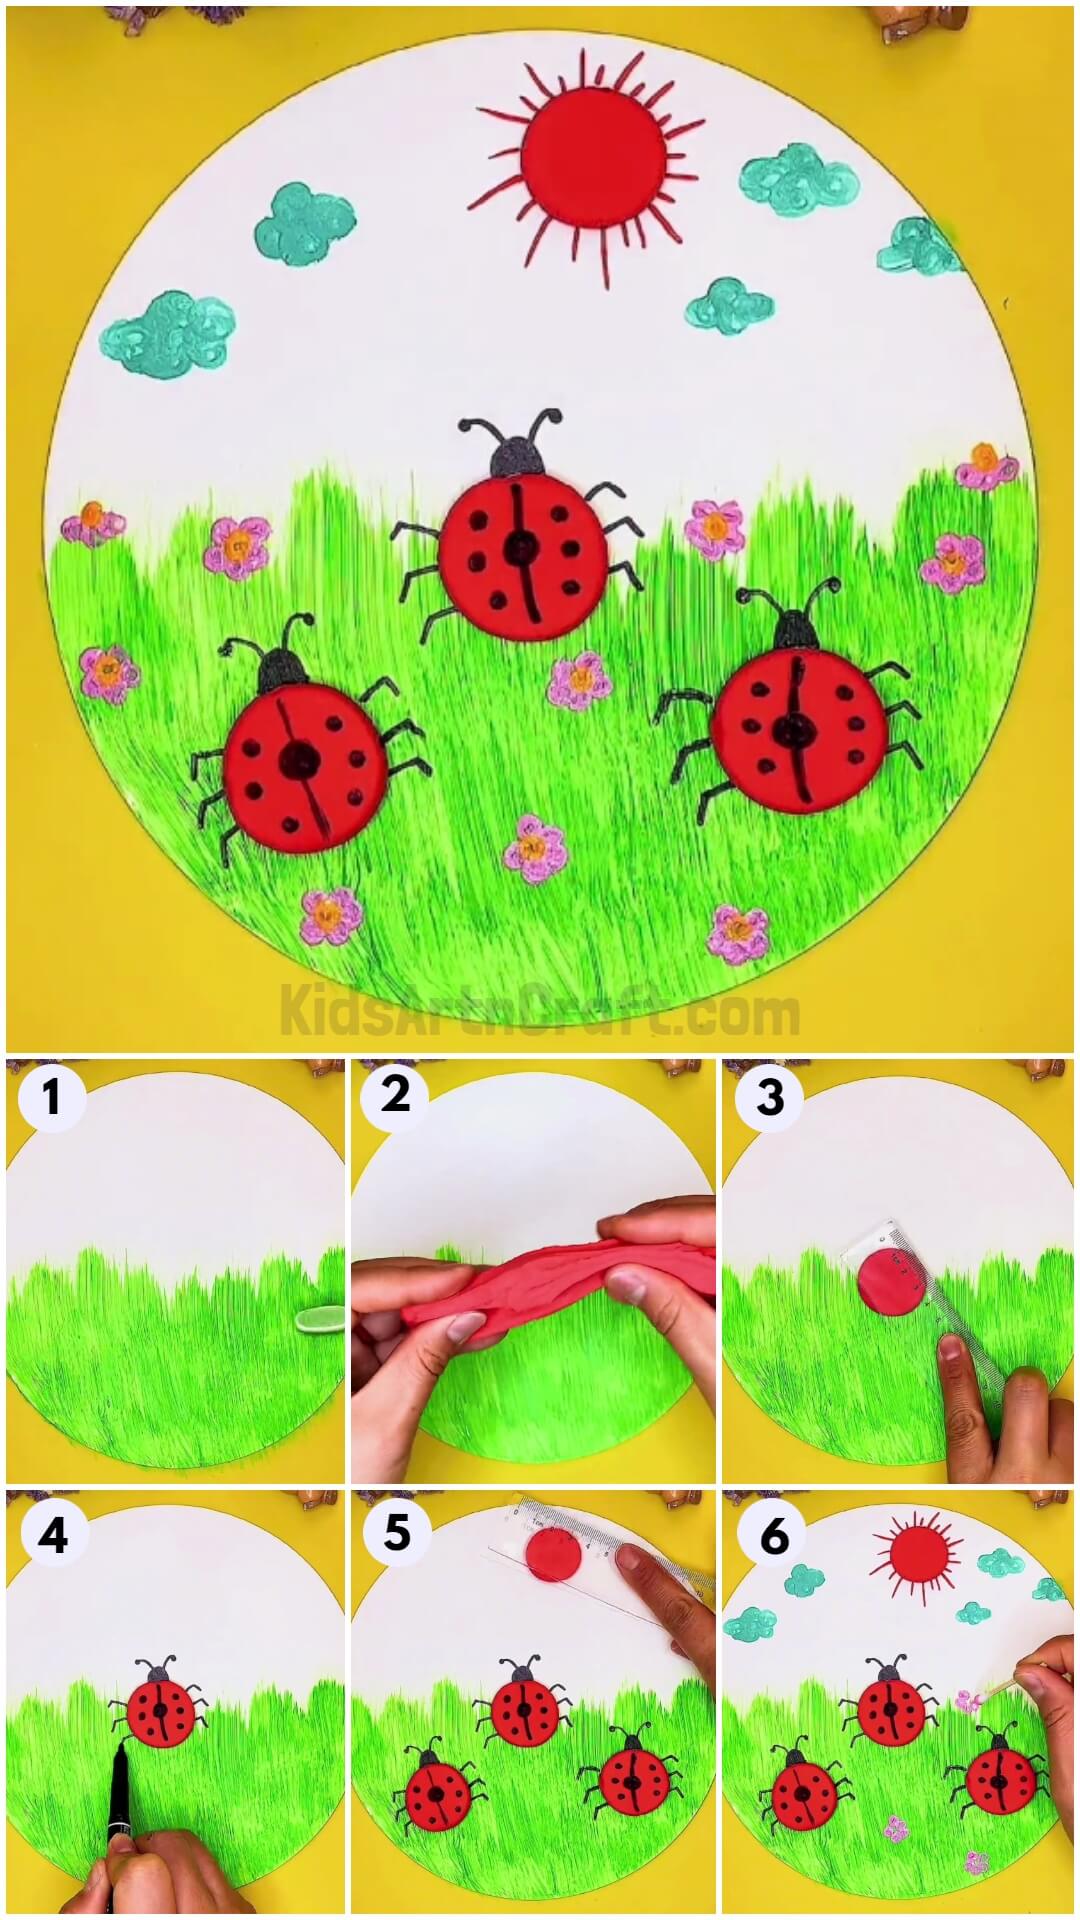
Step 1: Making The Grass Using A Toothbrush
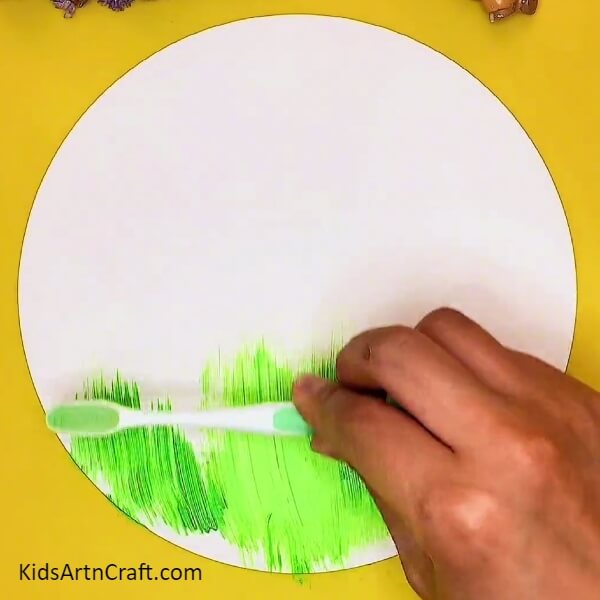

Let’s begin by taking a white craft paper. Cut a circle from it. This will become the base of our painting. Take a toothbrush and apply green paint on its bristles. Make green grass using the brush on the lower portion of the white circle as shown.
Step 2: Completing The Grass
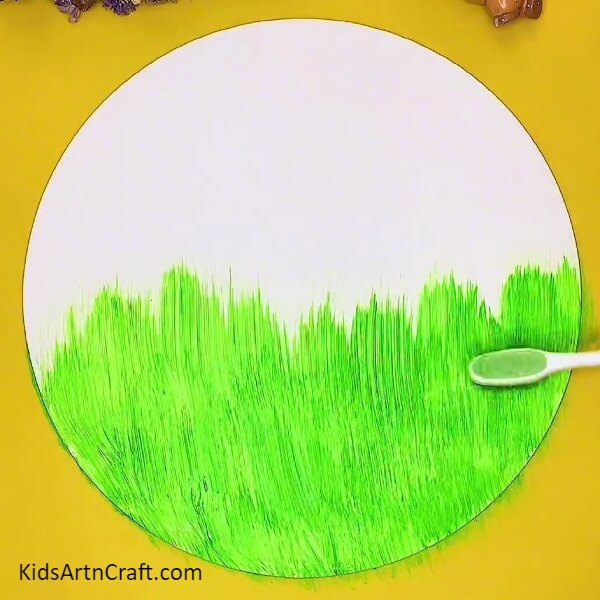
Make the green grass texture up to the middle of the circle as shown in the image. The texture of the green grass comes beautifully with the application of the brush.
Step 3: Getting The Red Clay
Take a red clay dough and make a small red clay ball out of it.
Step 4: Making A Red Clay Circle
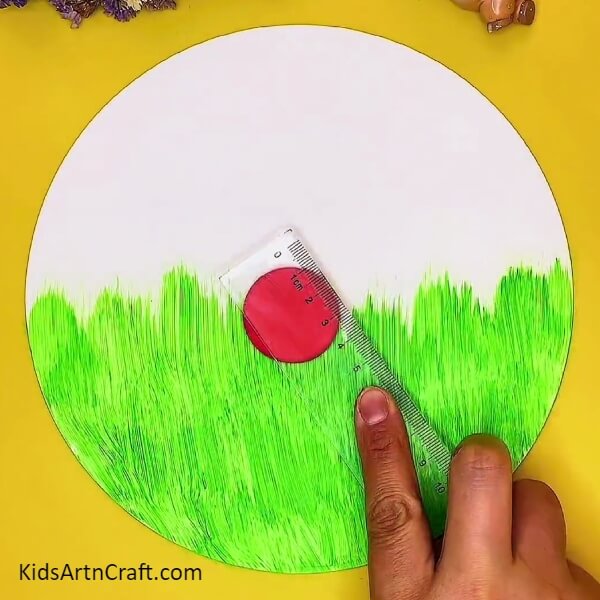
Place this red clay ball on top of the grass and flatten it with a ruler to make a flat circle. This will become the body of the ladybug.
Step 5: Making A Ladybug
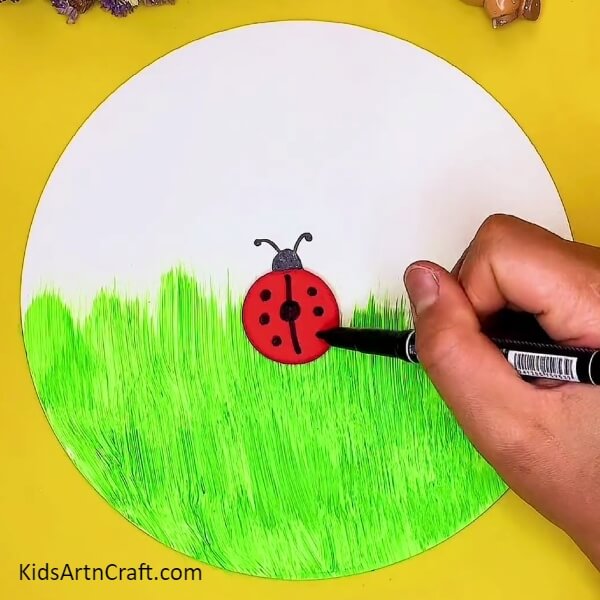
Using a black marker, draw the details on the ladybug such as the head, the antennas, and the legs on the body of the ladybug as shown.
Step 6: Drawing The Legs Of The Ladybug
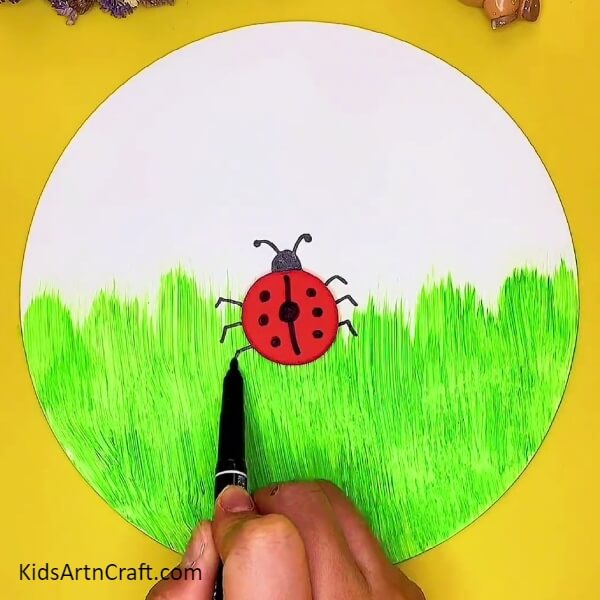
Using the black marker, draw the legs of the ladybug as shown.
Step 7: Making More Ladybugs And The Sun
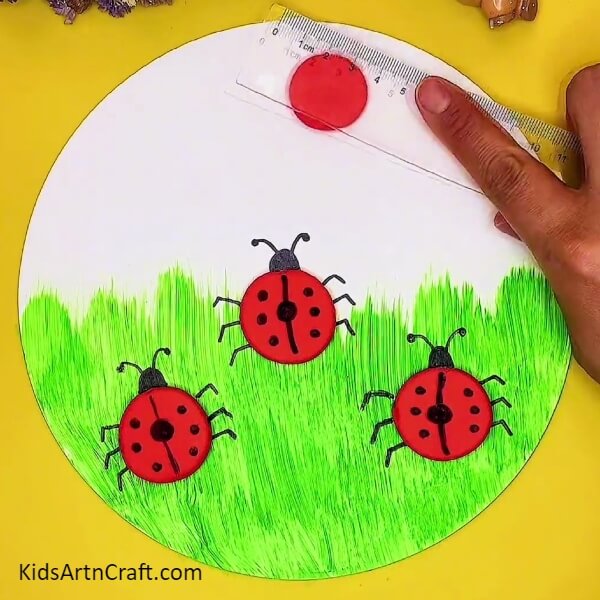
Repeat the above steps and make more bodies of the ladybug as shown. Make one more flat red circle and paste it on top of the white circle to make the sun.
Step 8: Drawing The Rays Of The Sun

Make the rays of the sun using a red sketch pen as shown.
Step 9: Painting The Clouds Using Cotton Buds
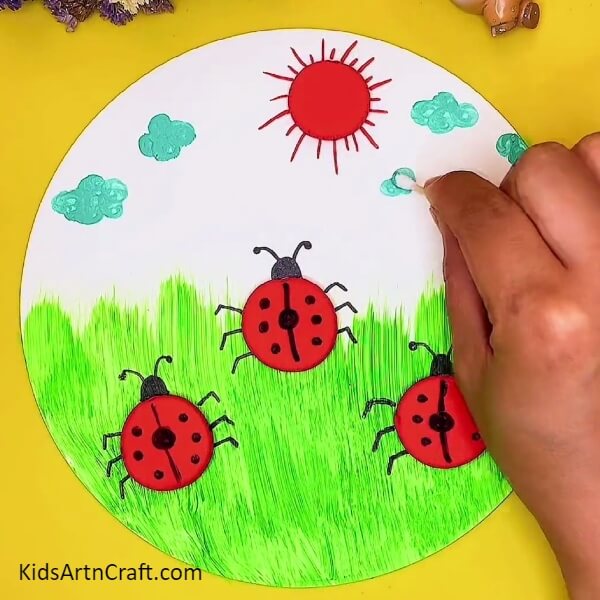
Take a cotton bud and dip it in blue paint and make the clouds using it as shown.
Step 10: Making The Flowers
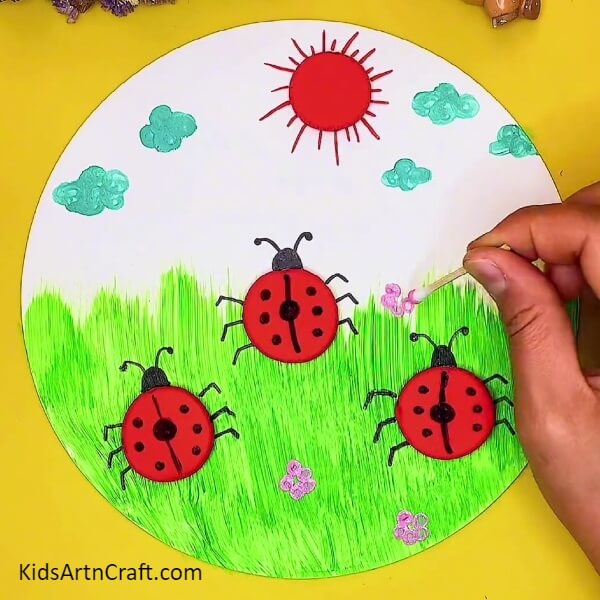
Dip the cotton bud in pink paint and make the cute pink flowers on the grass as shown.
Step 11: Making The Center Of Flowers
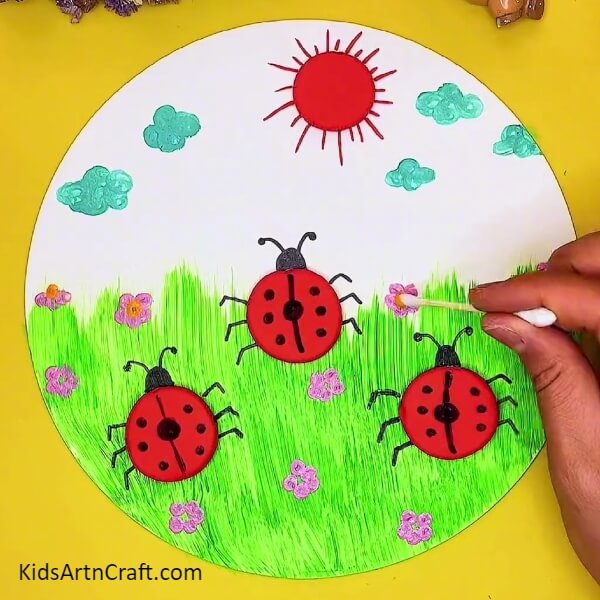
Next, to make the center of the flowers, dip the cotton bud in yellow paint and gently press it in the center of each flower to complete the flower.
The Ladybug In Garden Scenery Artwork Is Ready!
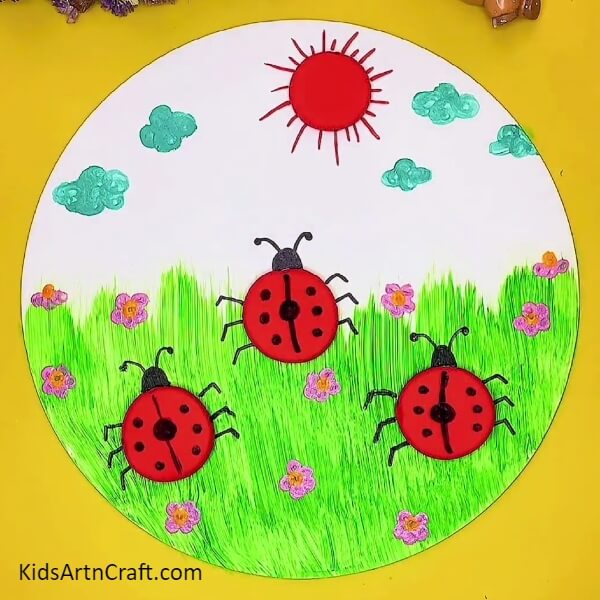
And that’s it, the beautiful garden scenery with ladybugs is ready! You can embellish it further as per your imagination!
Engage your kids in this enriching activity using clay crafts and watercolors. They will learn how to use clay dough and make basic shapes out of the clay dough. This ladybug scenery can be used as room decor for the kids. It can be preserved for days to come. Kids will feel proud in showing off their artwork to friends and family. Nurture their curiosity b telling them about ladybugs if they happen to ask. This will boost their knowledge about the various insects present in nature. Keep following our website for more creative ideas and content.
Thank you for visiting our website!
Follow us on Youtube for art and craft tutorials and much more.
More Articles from Kids Art & Craft
- Simple & Tasty Ice-Cream Craft Using Clay – Step-by-Step Tutorial
- How to Make a Clay Bird Easy Artwork tutorial for kids
- How to Make Clay Flower Easy Tutorial for Kids
- Clay watermelon ice cream easy craft tutorial
- How to Make Worms Using Clay For Kids