Painting
DIY Mushroom Painting Art With Seeds – Step by Step Tutorial

Create a unique piece of art with this easy DIY project! Learn how to make a beautiful mushroom painting with just some seeds and simple supplies. Get creative with this fun, affordable craft that you can easily do at home.
Are you looking for a fun and creative craft project? Look no further than DIY Mushroom Painting Art With Seeds! This fun project is perfect for both adults and kids alike and is sure to bring a splash of life and color to your home. Not only is it an easy and cost-effective way to spruce up your decor, but it will also help bring a calming and peaceful atmosphere to your space. With some basic supplies and a bit of creativity, you can create beautiful works of art with mushroom seeds. Read on to find out more about this creative and unique project!
DIY Mushroom Painting Art With Seeds For Kids – Step by Step Instructions

Read More: Simple Paper Crab Craft – Step-By-Step Tutorial
Material Used:
- White Paper
- Green Craft Paper
- Scissors
- Glue Stick
- Seeds (Staples)
- Mini Flowers Artificial
Procedure
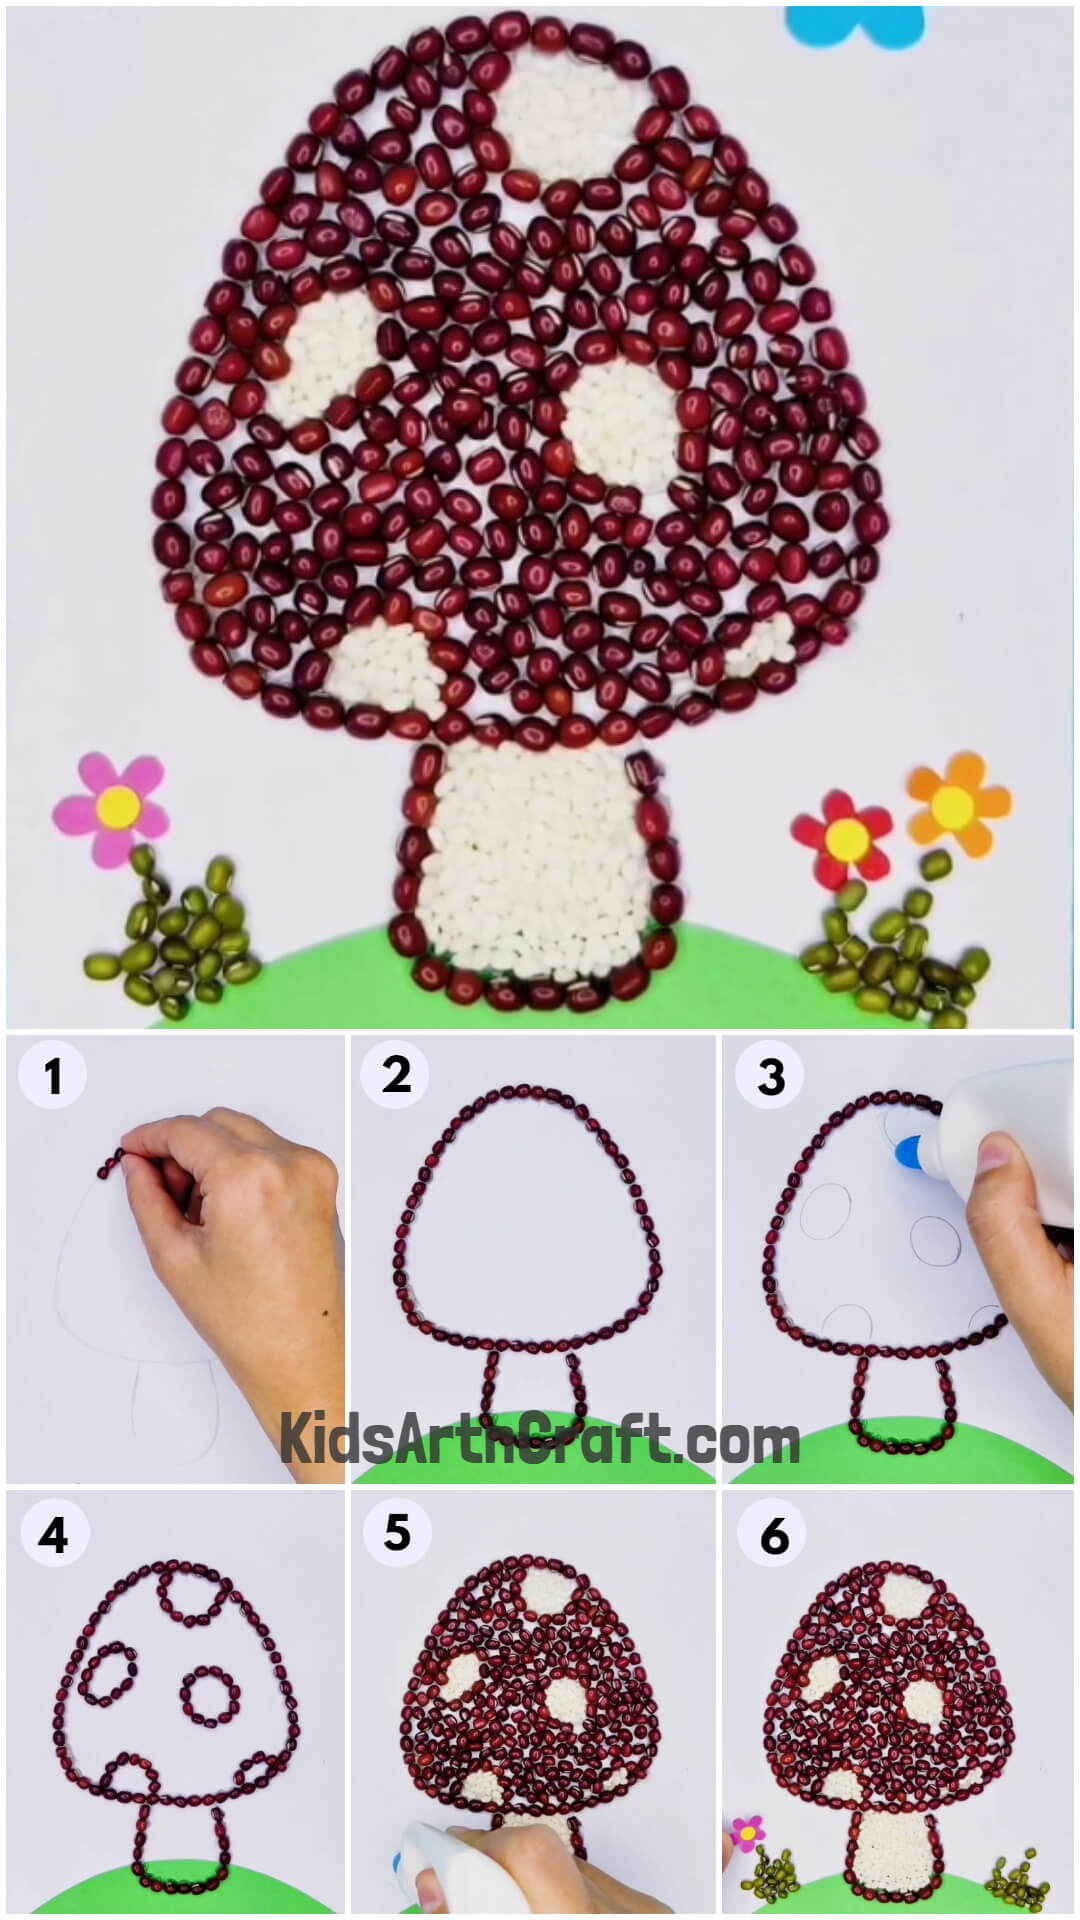
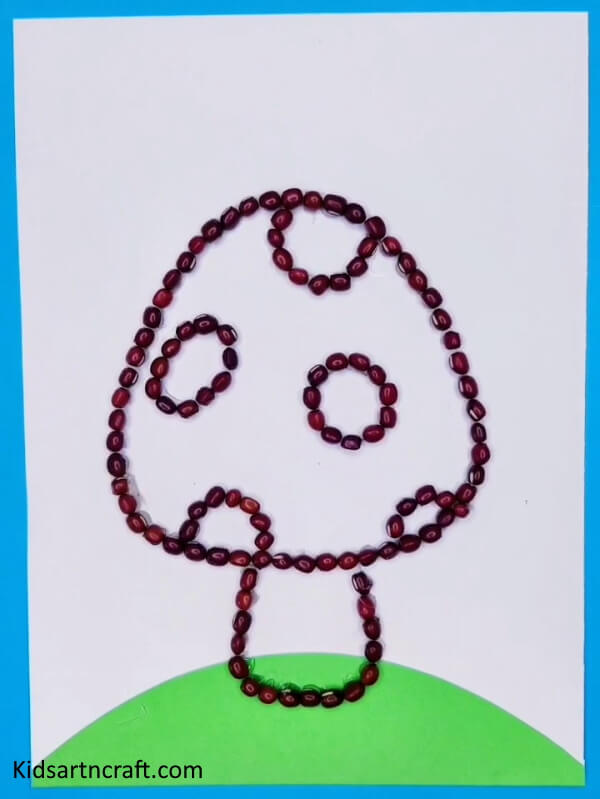
Step-1: Starting With Drawing a Mushroom On a Paper


Take one white sheet and using a pencil draw a mushroom on it.
Step-2: Covering Edges With Seeds
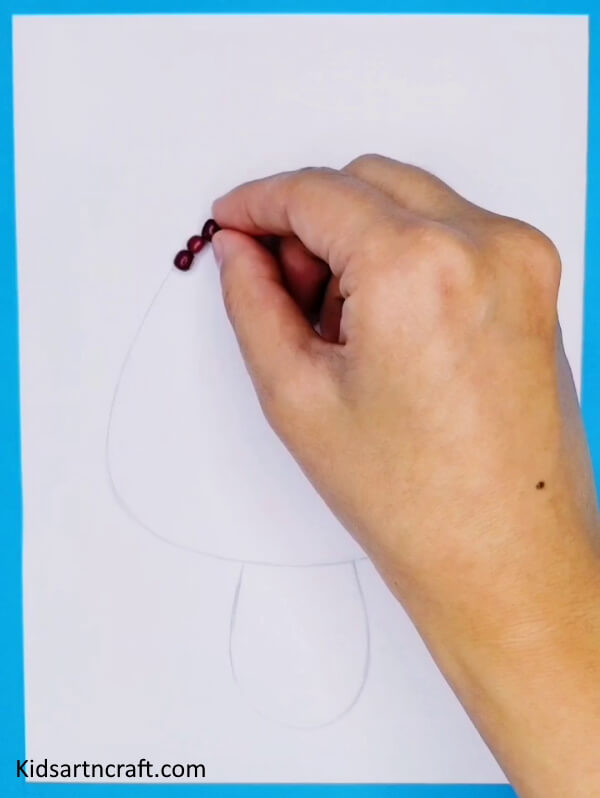

Paste the seeds on the edges of the upper part of the mushroom.
Step-3: Covering The Edges
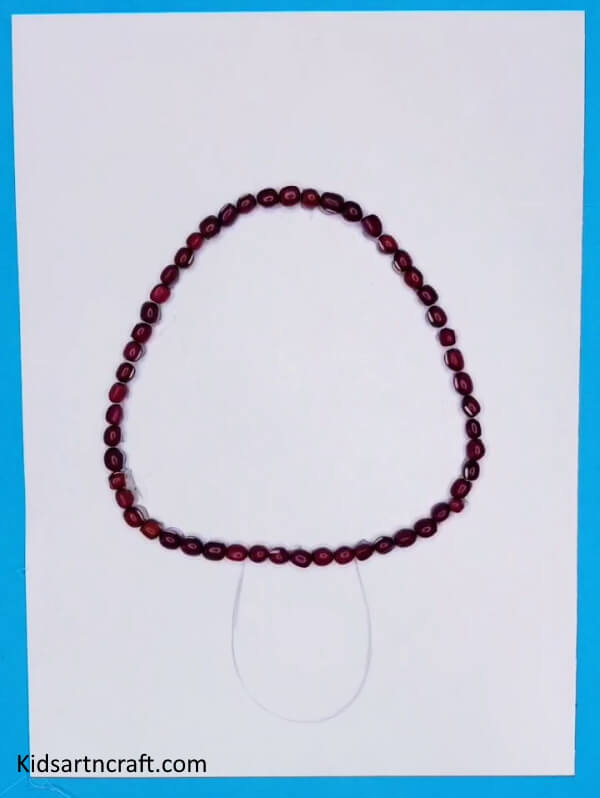
Make a border of the upper part with seeds.
Step-4: Pasting Green Paper
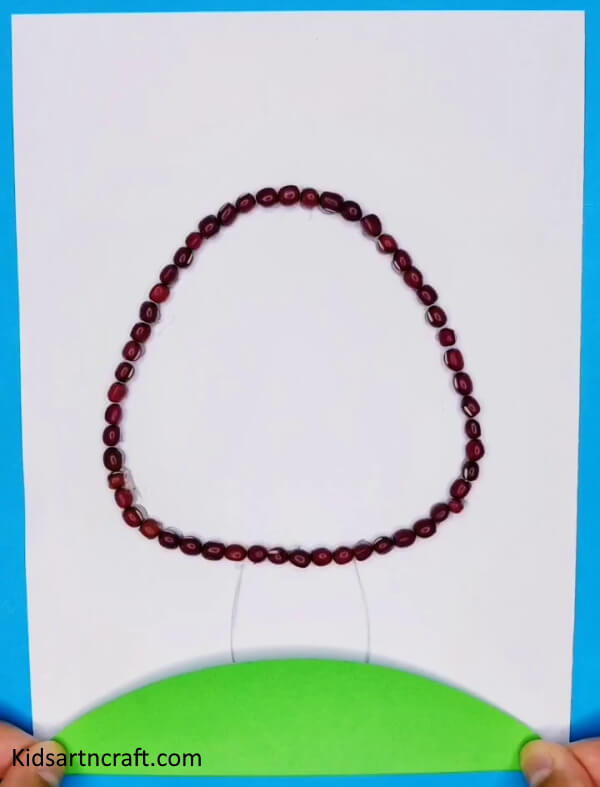

Take a green sheet and in the center of it, bottom put a compass and draw the 180-degree line and cut it and paste it on the bottom of the white sheet.
Step-5: Pasting Seed On Lower Part Of the Mushroom
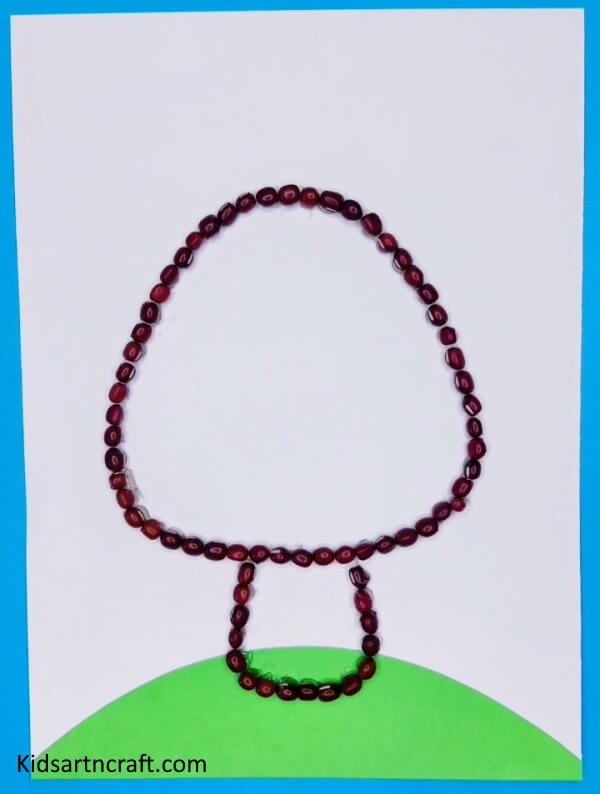
Take more seeds and paste them on the edges of the bottom part of the mushroom.
Step-6: Making Ovals Inside The Mushroom
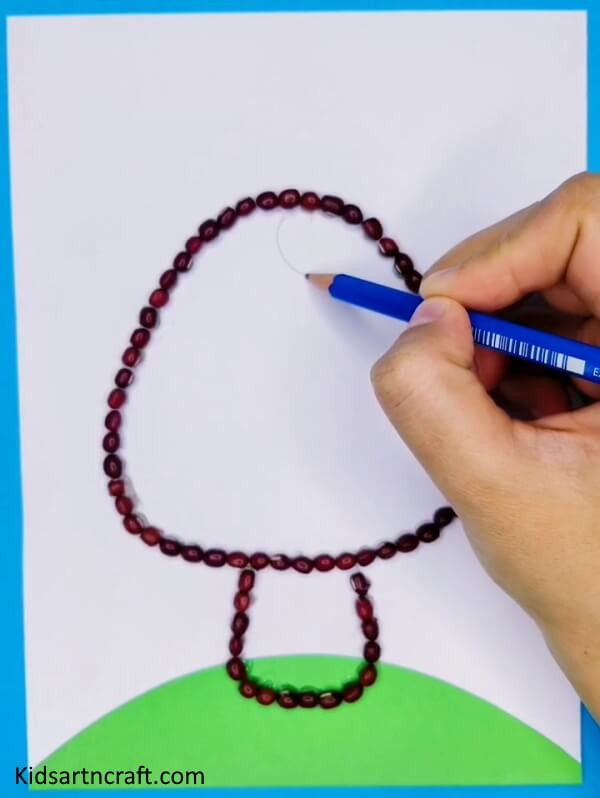
Using a pencil draw ovals inside the mushroom.
Step-7: Making Few Ovals Inside
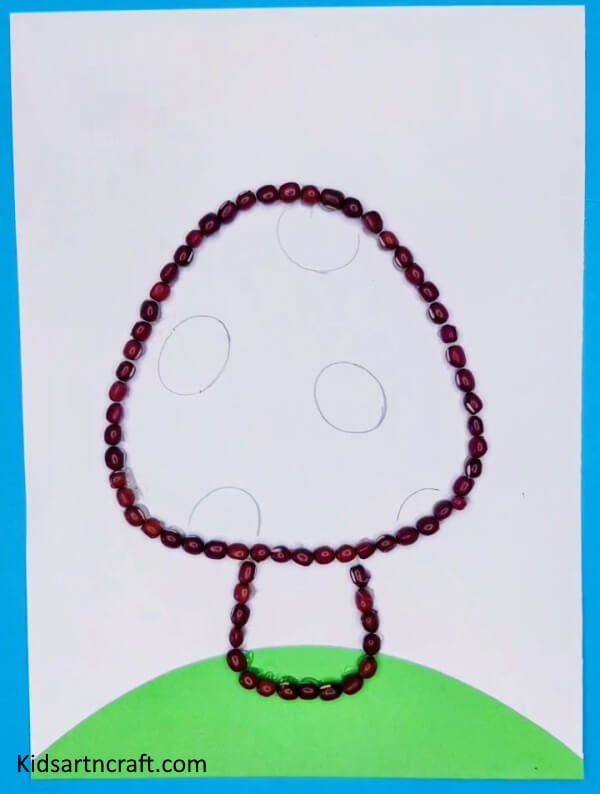
Make a few ovals inside some full and some half ovals.
Step-8: Applying Glue Stick
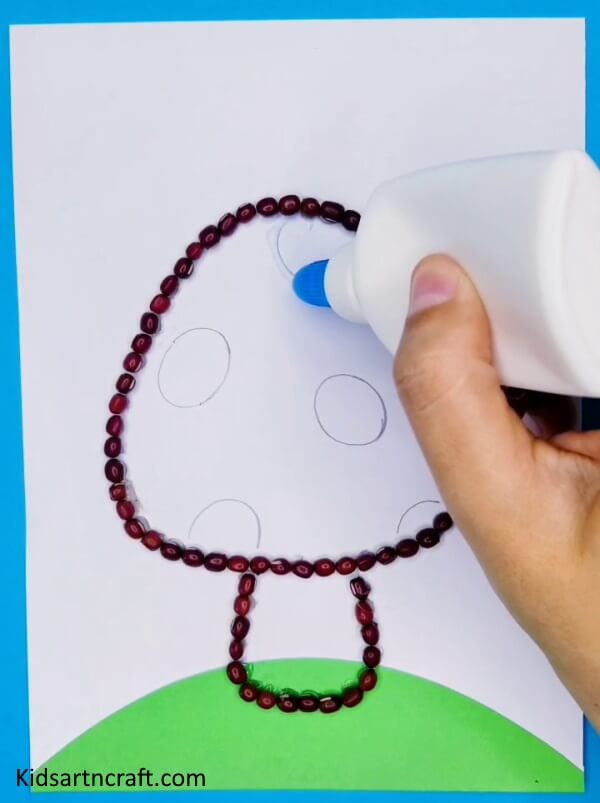

Apply glue stick on the edges of the ovals one by one.
Step-9: Pasting Seeds


After applying the glue stick, paste the seeds on the edge of the ovals.
Step-10: Covering All The Ovals

Surround all the ovals with seeds.
Step-11: Filling The Mushroom With Seeds
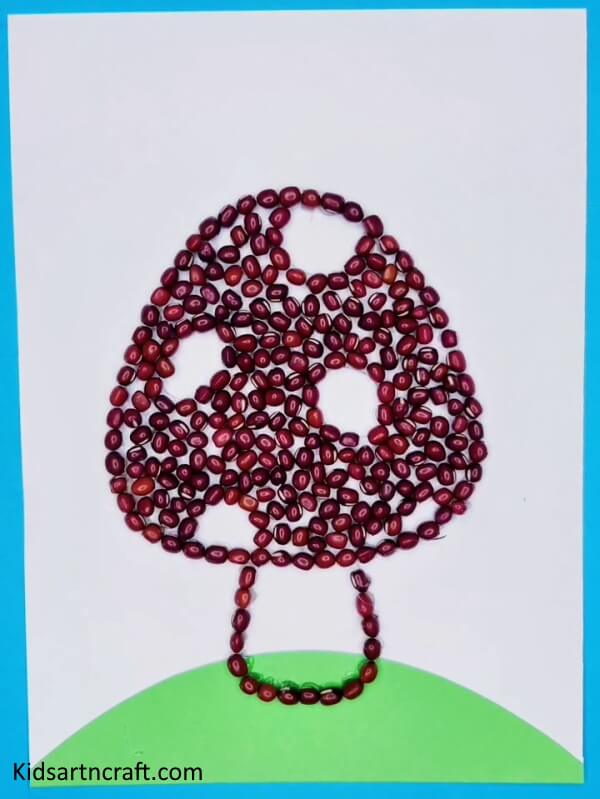
Paste the seeds inside the mushroom except for the lower part and the ovals.
Step-12: Pasting White Seeds
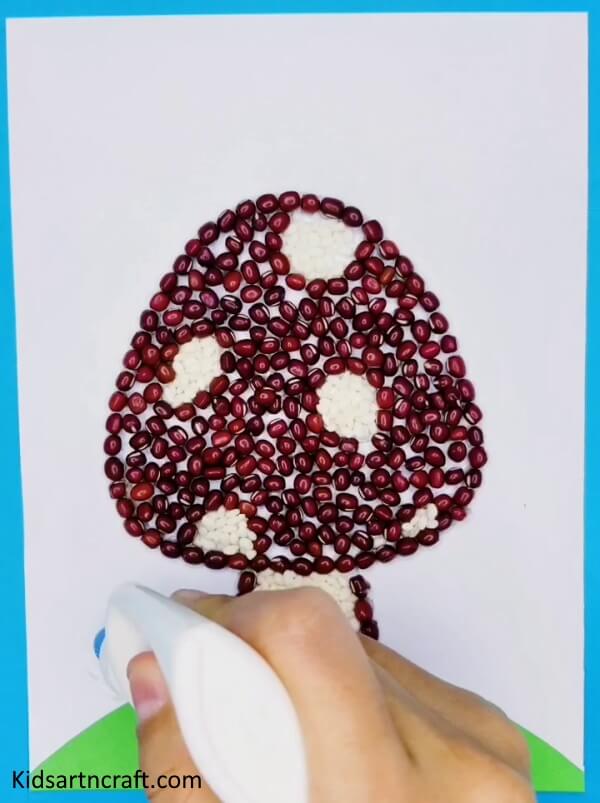
Paste white seeds in the spaces left inside the mushroom.
Step-13: Pasting Green Seeds
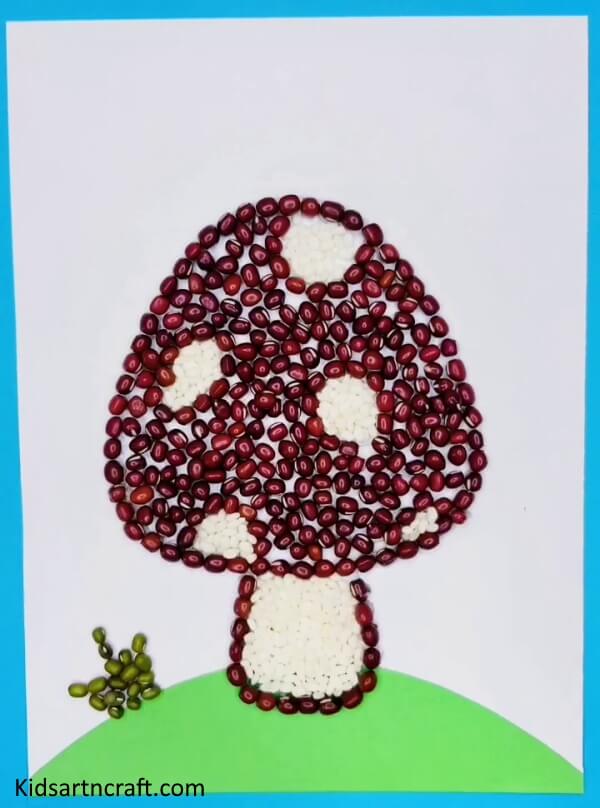

Paste green seeds on the edge of green paper for grass. Paste a few on the left side of the mushroom and a few on the right side.
Step-14: Pasting An Artificial Flower
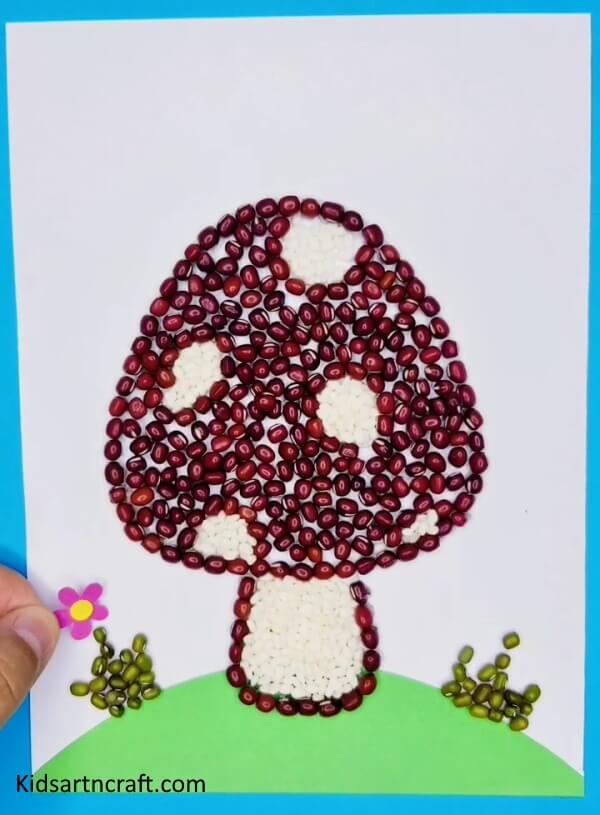

Paste the flower on the grass.
Step-15: Pasting Another Flower
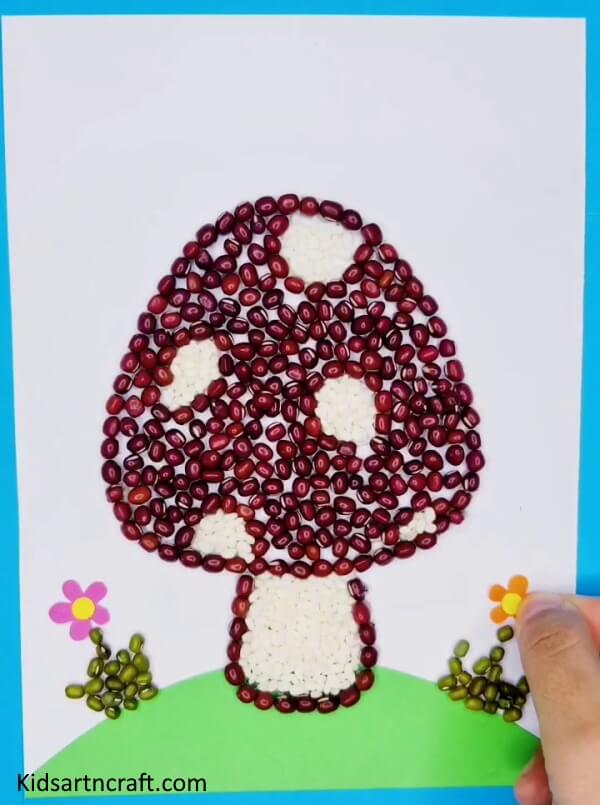

Paste another flower on the other side.
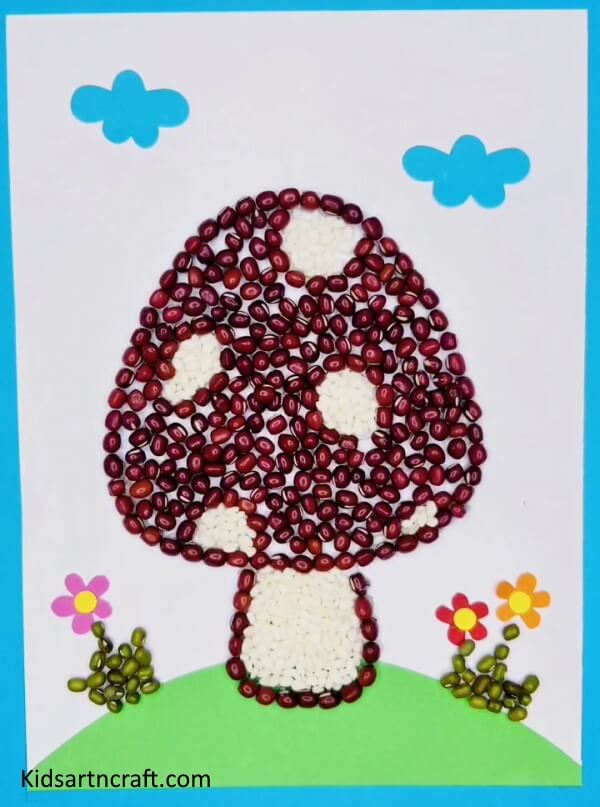
Final Step: This Is Your Final Mushroom

FAQs
What type of materials do I need to create a DIY mushroom painting art with seeds?
You will need some mushroom seeds, a canvas, a brush, some paint, and a work surface.
How do I prepare the seeds for painting?
Soak the mushroom seeds in water for at least 12 hours before painting. Then, lay out the seeds on a flat surface and use a brush to rub off any dirt or debris.
What types of paint should I use?
It is best to use water-based paints or acrylics to paint the mushroom seeds.
How do I attach the seeds to the canvas?
You can use a glue gun to attach the mushroom seeds to the canvas.
How long should I allow the painting to dry?
You should allow the painting to dry for at least 24 hours before adding any additional layers.
This DIY Mushroom Painting Art With Seeds project is a fun and creative way to bring nature and art together.
Follow us on Youtube for art and craft tutorials and much more.
More Articles from Kids Art & Craft
- Apple Stamping Art Ideas for Kids
- Easy Leaf Painting Art Ideas for Preschoolers
- How To Make Sunflower Clock Craft Using Paper
- Balloon Stamping Art Ideas for Kids
- DIY Paper Flower Craft – Step-By-Step Tutorial