DIY and Crafts
DIY Origami Paper Crown Easy Tutorial for kids

This tutorial will show you how to make your own paper crown from origami. It’s an easy craft that kids can do and it will result in a cool crown that everyone can wear and enjoy!
Welcome to this DIY Origami Paper Crown Easy Tutorial for Kids! In this tutorial, we will learn To make Origami paper Crown with a few simple steps. This craft can be made by kids and adults alike. All you need is Some construction people, Glitter stringy balls, and glue. With few craft skills you will have this Origami paper Crown ready in no time so let’s get creative!
Easy Origami Paper Crown For Kids


Read More: Simple Origami Animal Crafts Video Tutorial for Kids
Materials Required
- Craft Papers (any color of your choice)
- Glue
- Stringy balls (for decor)
Procedure
Step 1: Begin With A Square Shape Craft Paper
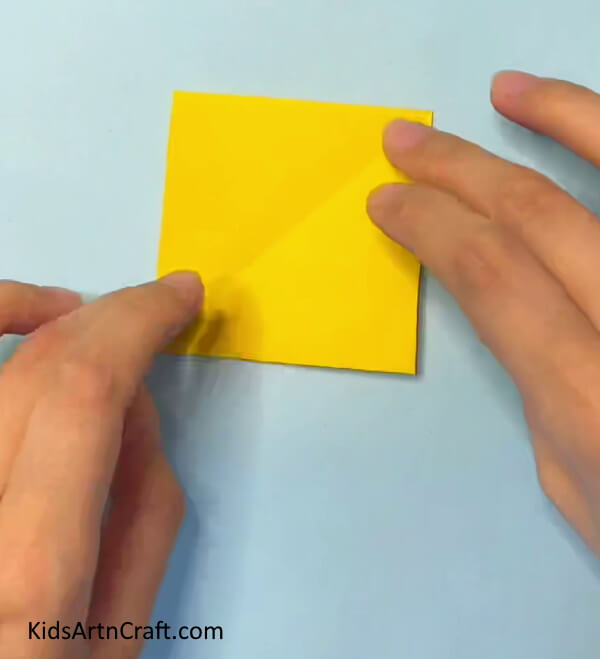

Let’s create this origami paper Crown. To begin with, you will need a yellow craft in the square. Fold it diagonally and mark this center line as shown in the picture.
Step 2: Now Fold It Into A Triangle
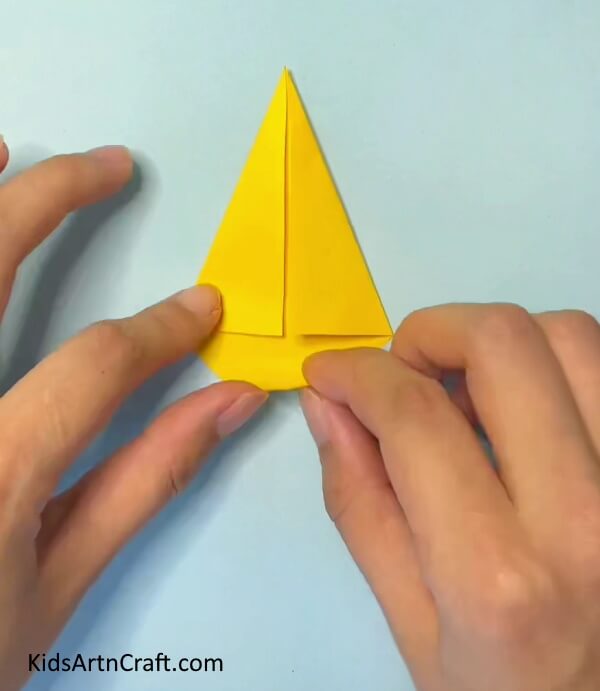

After marking it diagonally, Grab the opposite corners of this and drag it to the middle of the marked Line as shown in the picture.
Step 3: Fold The Rest Of The Paper Inwards
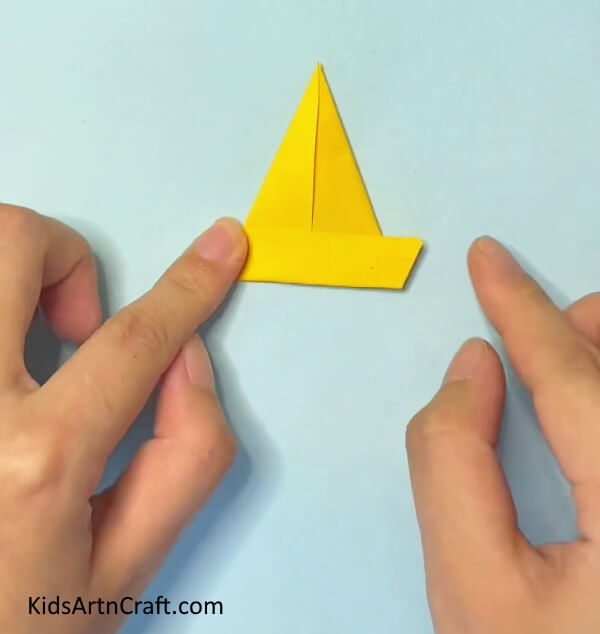

Now that you finished folding the triangles. Fold the below paper twice, equally inwards.
Step 4: Make Some More Origami Papers
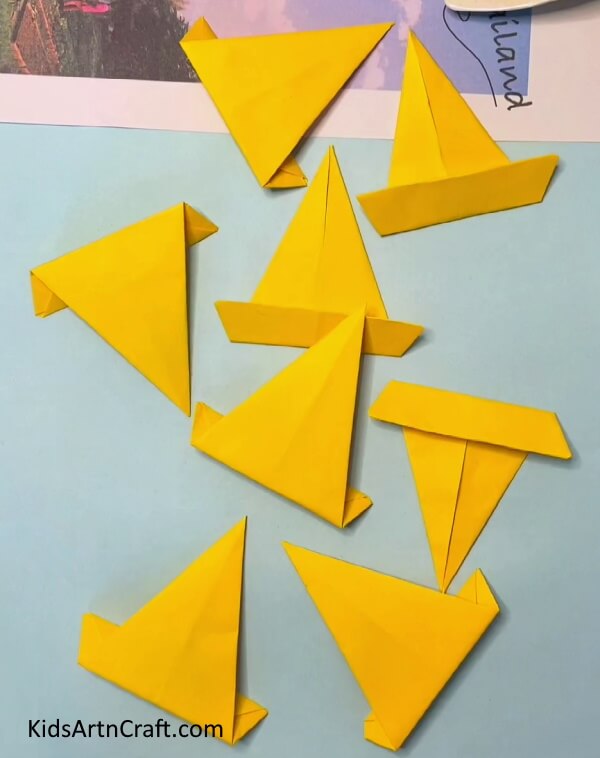

Make a couple more Origami papers to fit the size of your crown, as given above.
Step 5: Glue Each Origami Paper
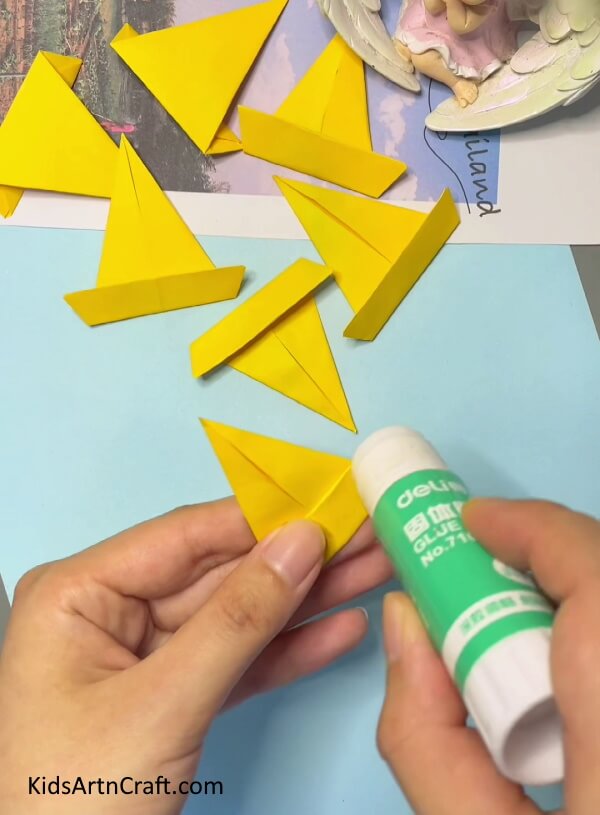

After making seven to eight pieces of Origami Paper, apply glue using a glue stick to the bottom sides of each piece.
Step 6: Attach Each Piece Together


Attach each piece to the other and make sure the glue is stick firm.
Step 7: Keep Attaching Each Piece Together
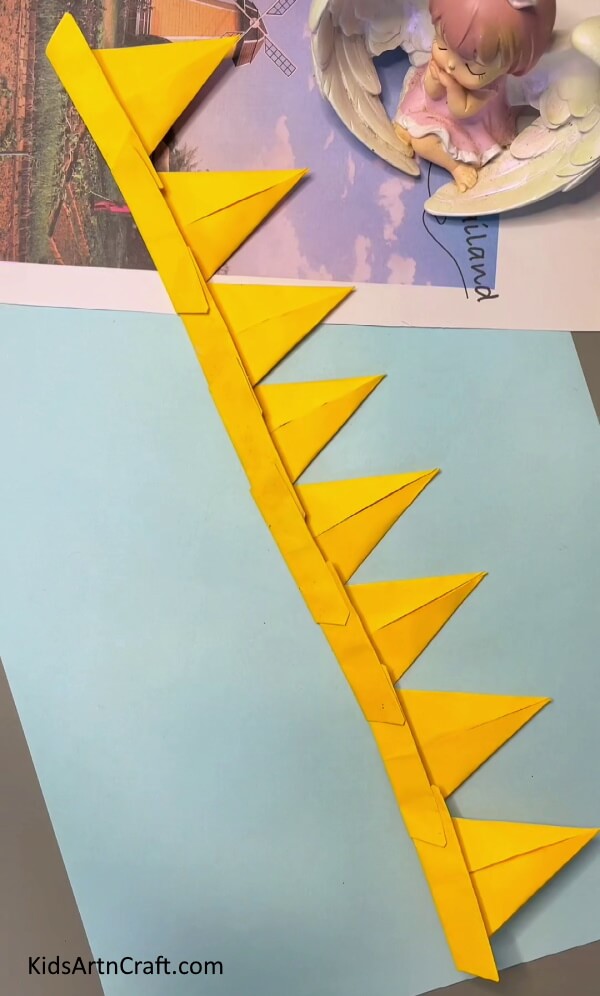

Glue and attach each piece together in order, you will get something like this, as in the picture.
Step 8: Glue The Last TwoTo Get A Origami Crown
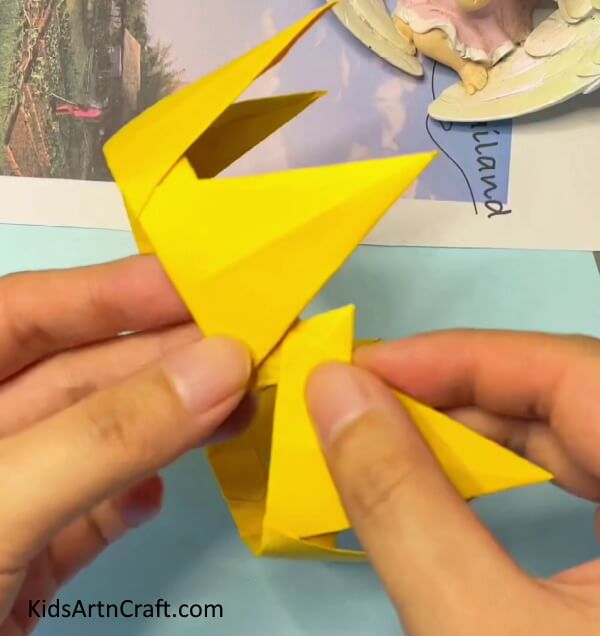

Make sure the glue is stick firm and attach opposite ends together using the glue stick, to get a Crown.
Step 9: Your Origami Crown Is ready!
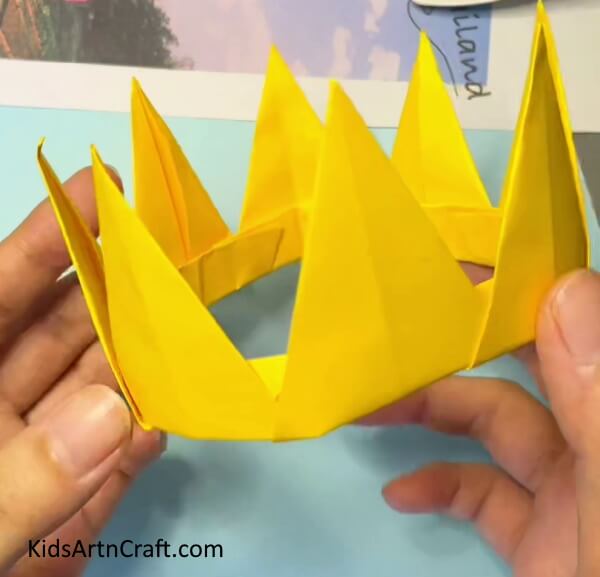

Let the glue dry and set, while your Crown is ready. You will get something as shown in the picture above.
Step 10: Give It Some Details With Glitter Craft Paper
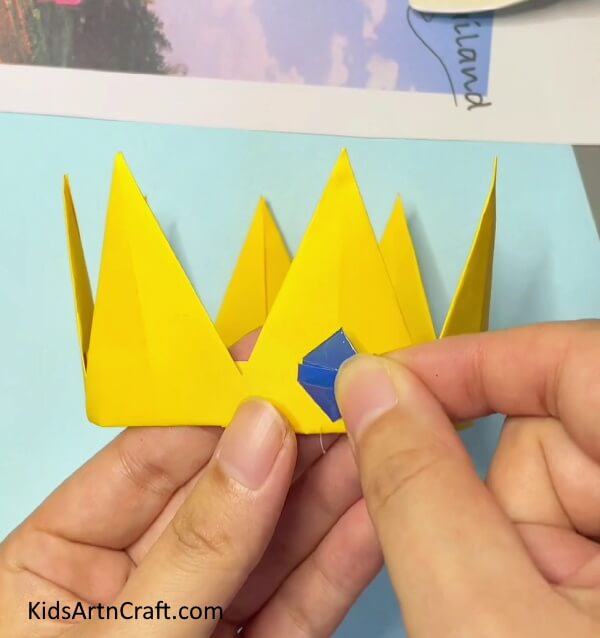

Give your Crown some detail. Cut a blue glitter paper in the shape of diamonds. And stick them on your Crown using a Glue stick.
Step 11: Place The Stringy Balls On The Tips Of Your Crown
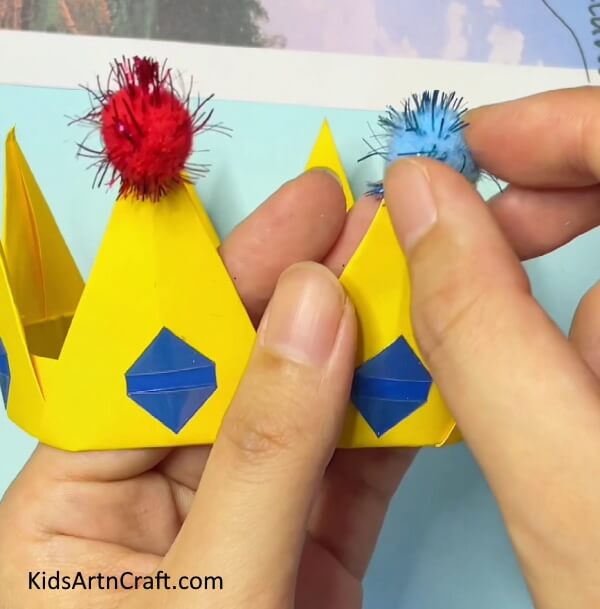

Make some more Blue paper diamonds using blue glitter paper and stick them on each piece of triangles of your Crown. Likewise, glue the Stringy Balls to each tip of your Crown as shown in the picture.
Ta-da! Your Origami Paper Crown Is ready
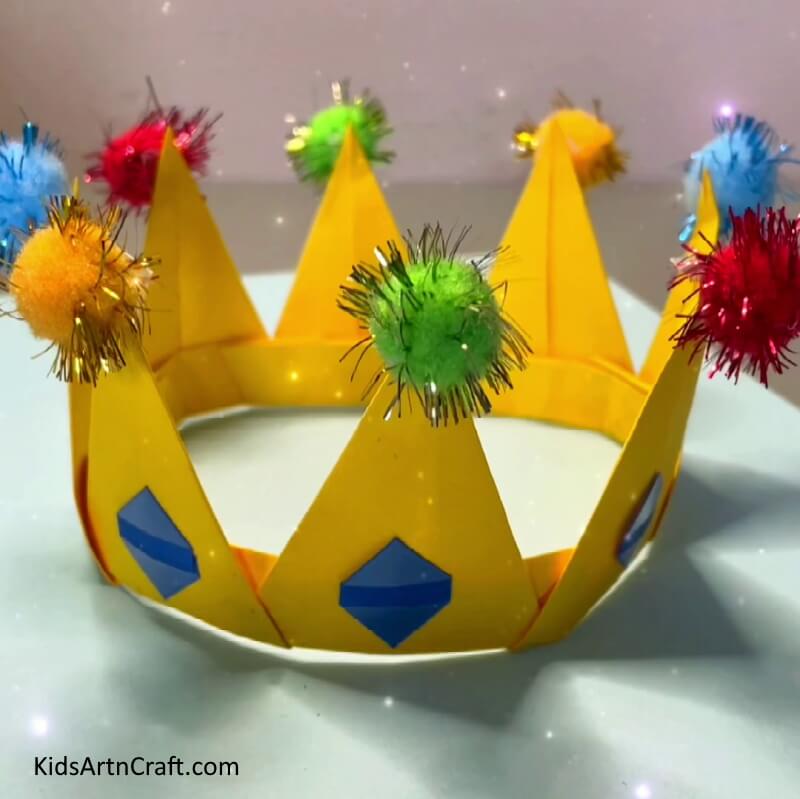

Here you go! In just a few easy steps and some craft skills, your DIY Origami Paper Crown will be ready. Give this Craft a try and prepare your own Orgami paper Crown in a few steps.
Hope you had fun while creating this fun tutorial with us. Let us know your views and thoughts in the comment section below. Feel free to Check out our website for more articles and Ideas.
Follow us on Youtube for art and craft tutorials and much more.
More Articles from Kids Art & Craft
- Easy Origami Shirt and Bow Paper Bag Craft At Home
- DIY Monster Bookmarks for Kids
- Paper Origami Frog Craft Tutorial for Kids
- Origami Crab Making Easy Tutorial For Kids
- DIY Paper Butterfly Easy Craft For Kids