


Paper Crafts
Easy Origami Shirt and Bow Paper Bag Craft At Home

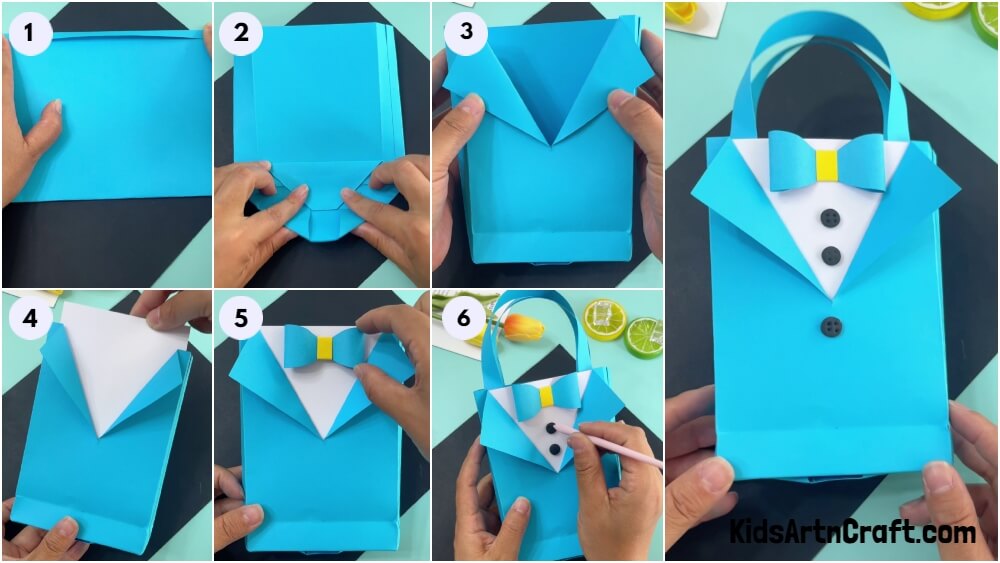
Create a unique paper bag craft for your kids at home with this easy origami shirt and bow tutorial. Perfect for birthday parties and special occasions, your kids will love making this fun and creative project!
Learn to create an elegant shirt with a bow paper bag! They can be the perfect bags for distributing as a return gift at your little boy’s birthday party or on the account of farewell or prom, anything suited upon! They look like a realistic flawless pair of shirts and bows! Kids will surely be happy to receive such bags and more if they will create them themselves! This origami paper bag is beginner-friendly and with just some easy folds and turns you will be able to make a bag! The output will definitely be a piece to showcase!
Easy Origami Shirt and Bow Paper Bag Craft
Read more: Origami Star Flower Easy Step-by-Step Tutorial
Materials Required
- Colored Papers (Blue, White, And Yellow)
- Black Colored Clay
- Glue
- Scissors
- Pointed Clay Shaping Tool
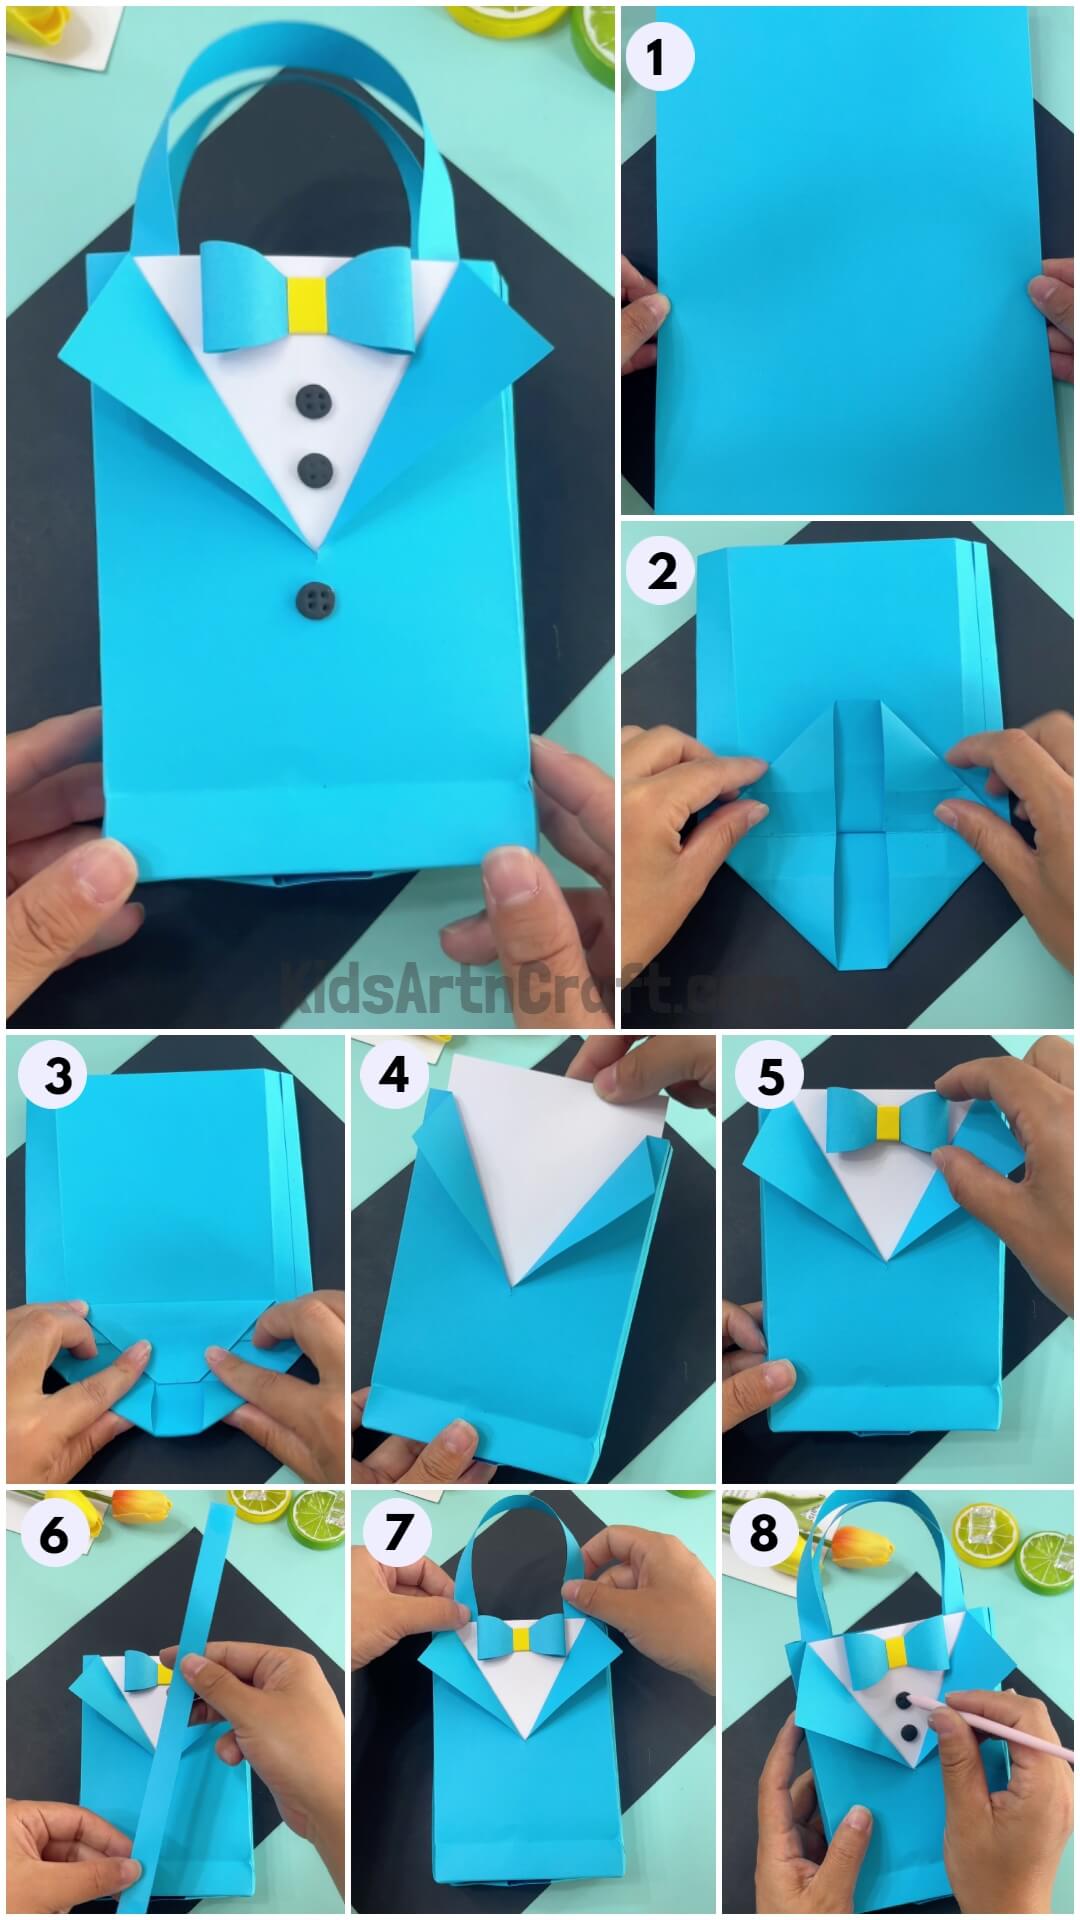
Procedure
Step 1: Taking A Blue Colored Paper
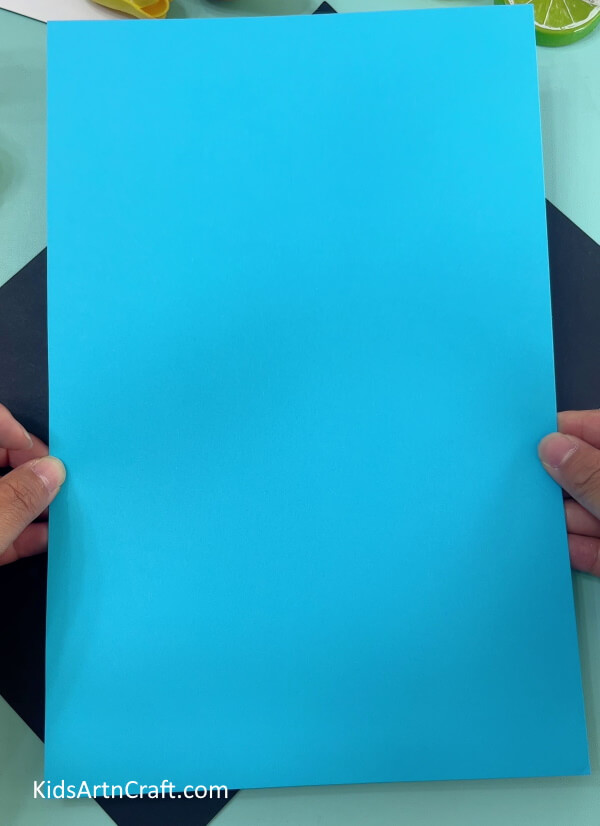
Begin with this craft by taking a blue colored paper.
Step 2: Forming A Rectangle Loop

Fold the blue paper sheet from the longer side in almost half by leaving some gap as a thin strip. Now, fold the thin left strip over the folded paper and make a crease. This will form a rectangle loop with 2 open ends from top and bottom.
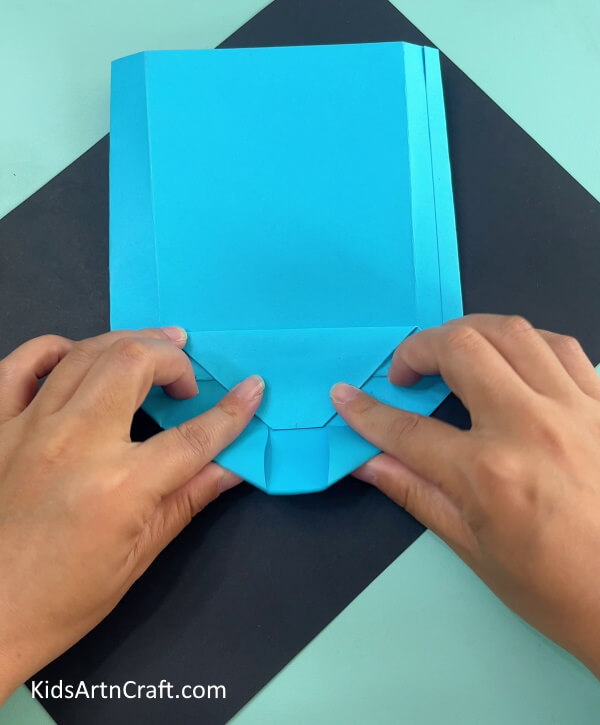
Step 3: Forming Hexagon And Creases
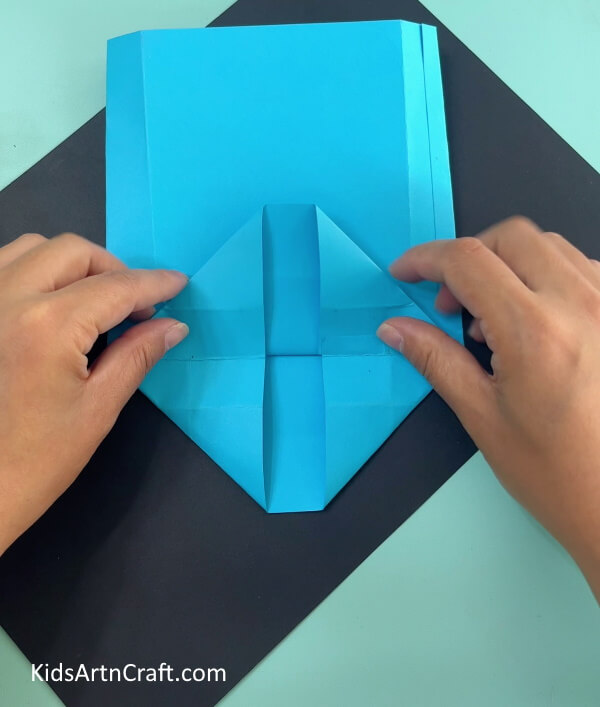
Fold the one open side of the rectangle loop over it in a thick strip and make a crease. Unfold the upper layer of the strip and press fold the 2 corner flaps in it to form 2 triangles and the whole figure a hexagon.
Now, fold the tiny upper and lower sides of the hexagon to the center, making creases, and unfold them. Then, again fold the sides to the formed creases of one another to again form creases and unfold them. Fold the long sides of the rectangular loop in a way that the creases of it and the creases of the hexagon are adjacent, and unfold them.
Step 4: Pasting The Hexagon’s Side
Using glue, fold and paste the top tiny hexagon side to the crease of the lower side.
Step 5: Pasting The Other Side
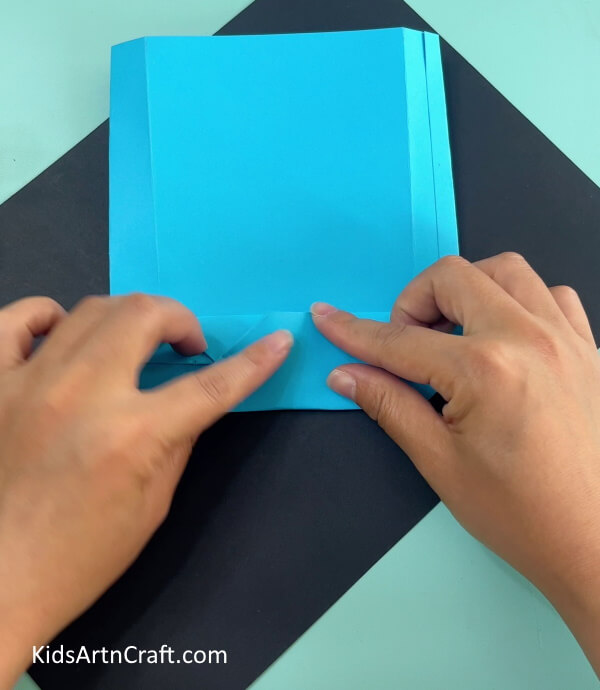
Paste the other side of the hexagon over it to enclose the shape and form a bag.
Step 6: Making Collars
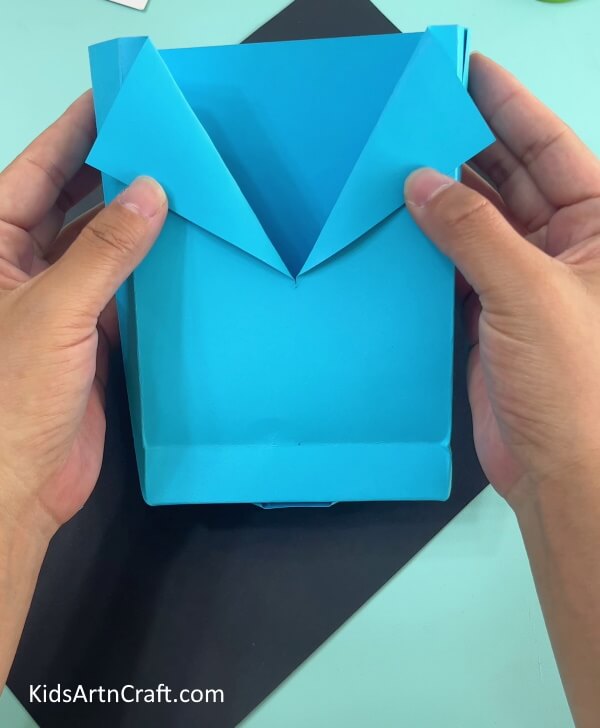
Make a half-cut in the top center of the opened side of the bag and fold other the side outwards slantingly to form collars.
Step 7: Making Shirt
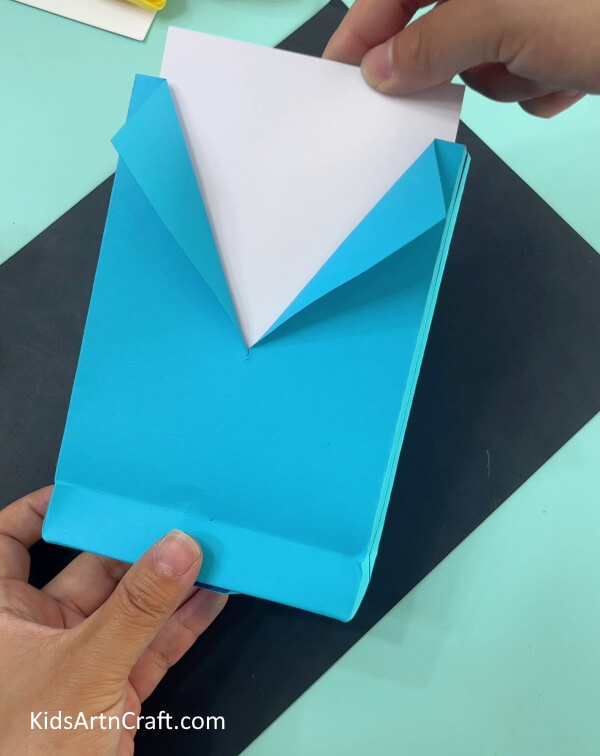
Cut out a piece of white paper and paste it from inside the bag to cover the gap between collars and make a shirt.
Step 8: Cutting Out A Bow Shape
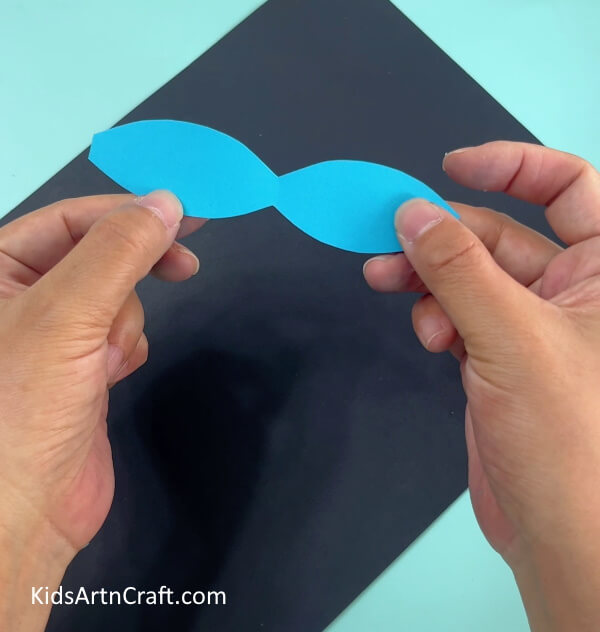
From a blue sheet, cut out a flattened long bow shape.
Step 9: Forming Bow
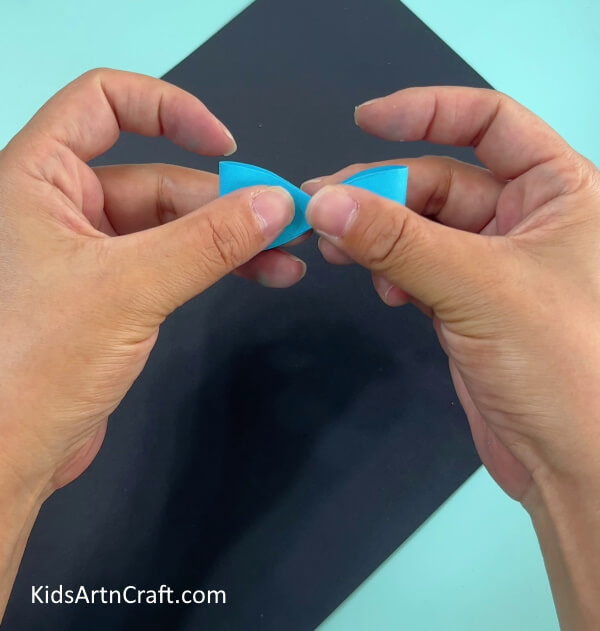
Fold both sides of the bow shape to the middle and form a 3D bow.
Step 10: Adding A Yellow Strip To Bow
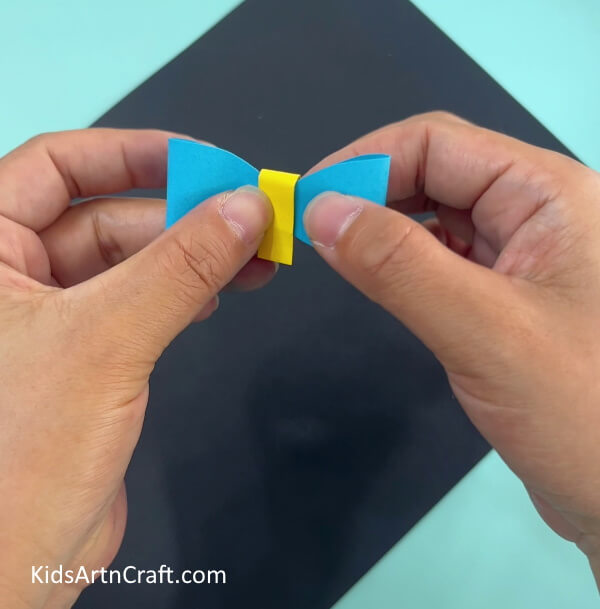
Cut out a yellow small strip and paste it over the center of the bow securing the ends.
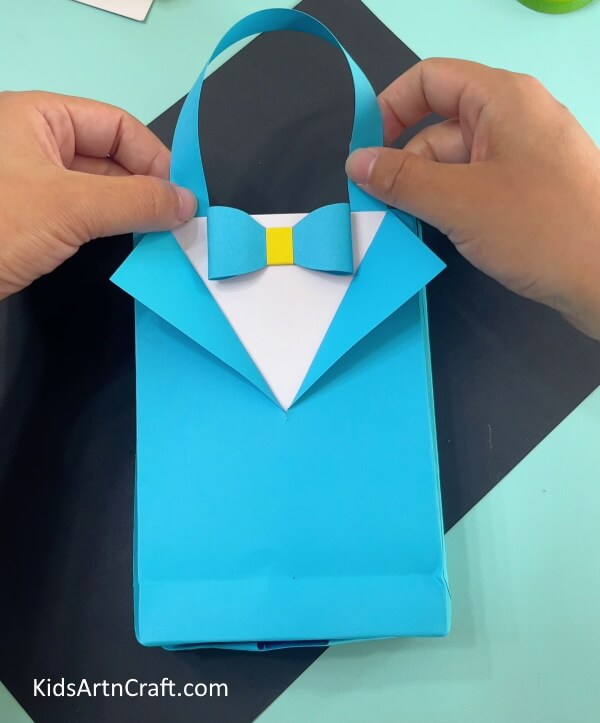
Step 11: Pasting The Bow
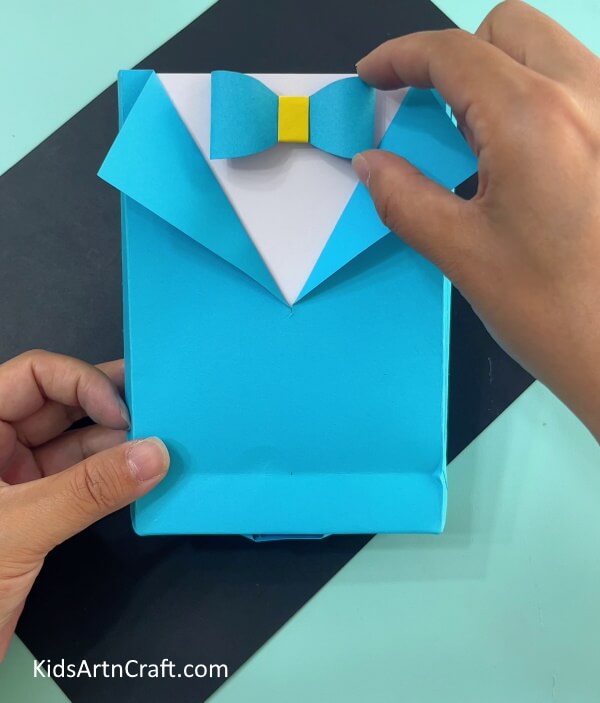
Paste the bow in the top-middle of the shirt using glue.
Step 12: Cutting Out Blue Strip
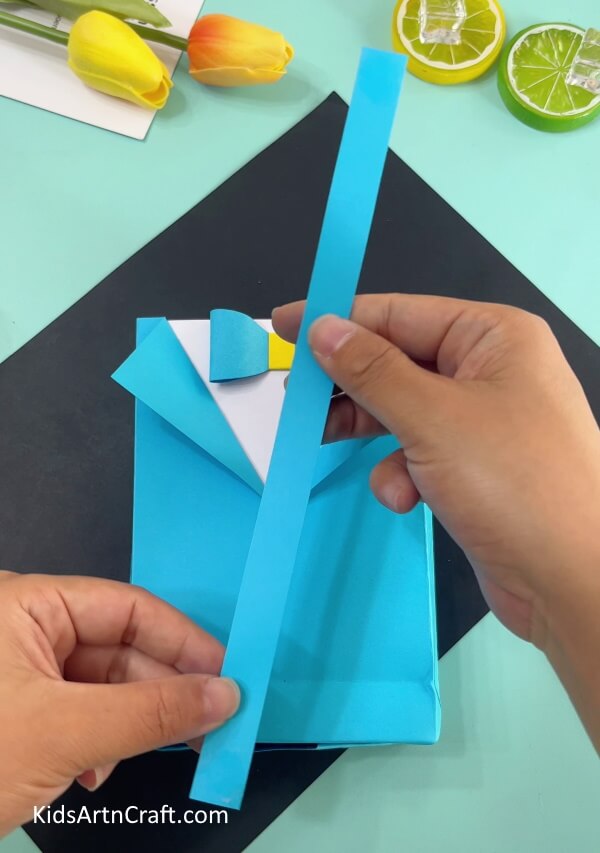
Using scissors, cut out a broad and long blue strip.
Step 13: Making Bag Handle
Paste both ends of the blue strip from behind the bag for making the handle. Do the same for the other handle.
Step 14: Adding Buttons To Shirt
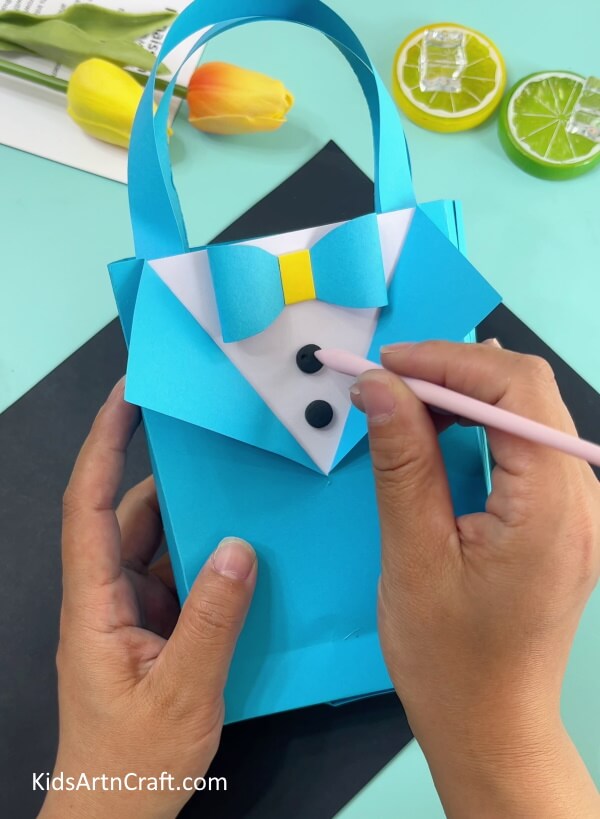
Dough a black-colored clay into 2 small circles and stick them over the shirt below the bow. Now, using a pointed clay shaping tool make 4-4 holes in the clay to add details to the buttons.
Your Shirt-Bow Paper Bag Is Ready!
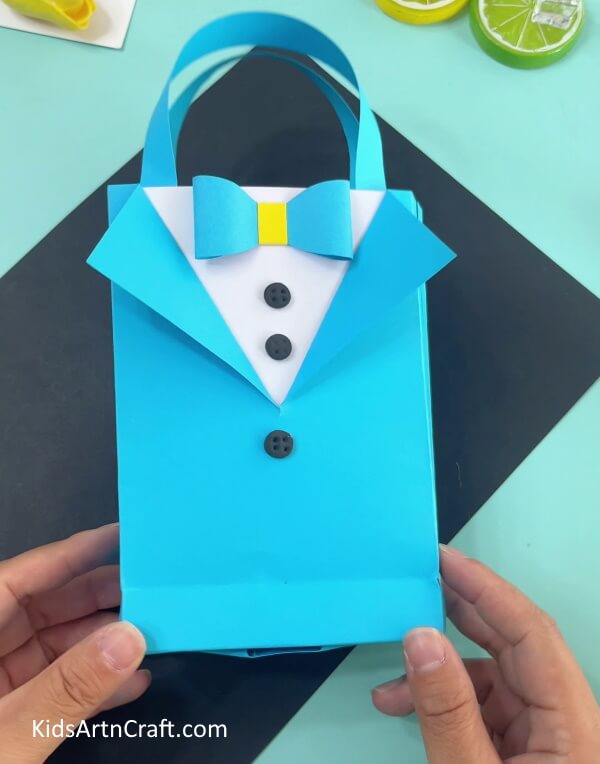
For the final step, add another button to the blue coat as shown.
Voila! Your origami shirt-bow paper bag is ready to thrive! This paper bag is a perfect mix of elegance and usefulness! This can be the best creative bag you can make! Using this tutorial you can also customize the design of the bag, creating more outfits! Your imagination is the limit!
Some More Paper Bag Craft Tutorial
Preparing Paper Bag With Handle Craft for Youngsters
Image Source/Tutorial: Kids Art & Craft
This craft is an ideal activity for youngsters. It is easy and fun to make a paper bag with a handle. All that is needed is paper, scissors, glue, and some creativity. Kids will have a great time creating their own paper bags in no time!
Hope you liked the article and make this amazing paper bag! Like and comment on the article and this idea we brought to you! Also, share this amazing crafty idea with your friends and family and make different-different outfit bags!
Follow us on Youtube for art and craft tutorials and much more.
More Articles from Kids Art & Craft
- Paper Airplane Origami Step-by-Step Tutorial For Kids
- DIY Easy Origami Paper Shark Toy Tutorial For Kids
- Simple Origami Animal Crafts Video Tutorial for Kids
- DIY Origami Paper Claws Easy Tutorial For Kids
- Easy Paper Folding Crafts Video Tutorial for Kids


