


Paper Crafts
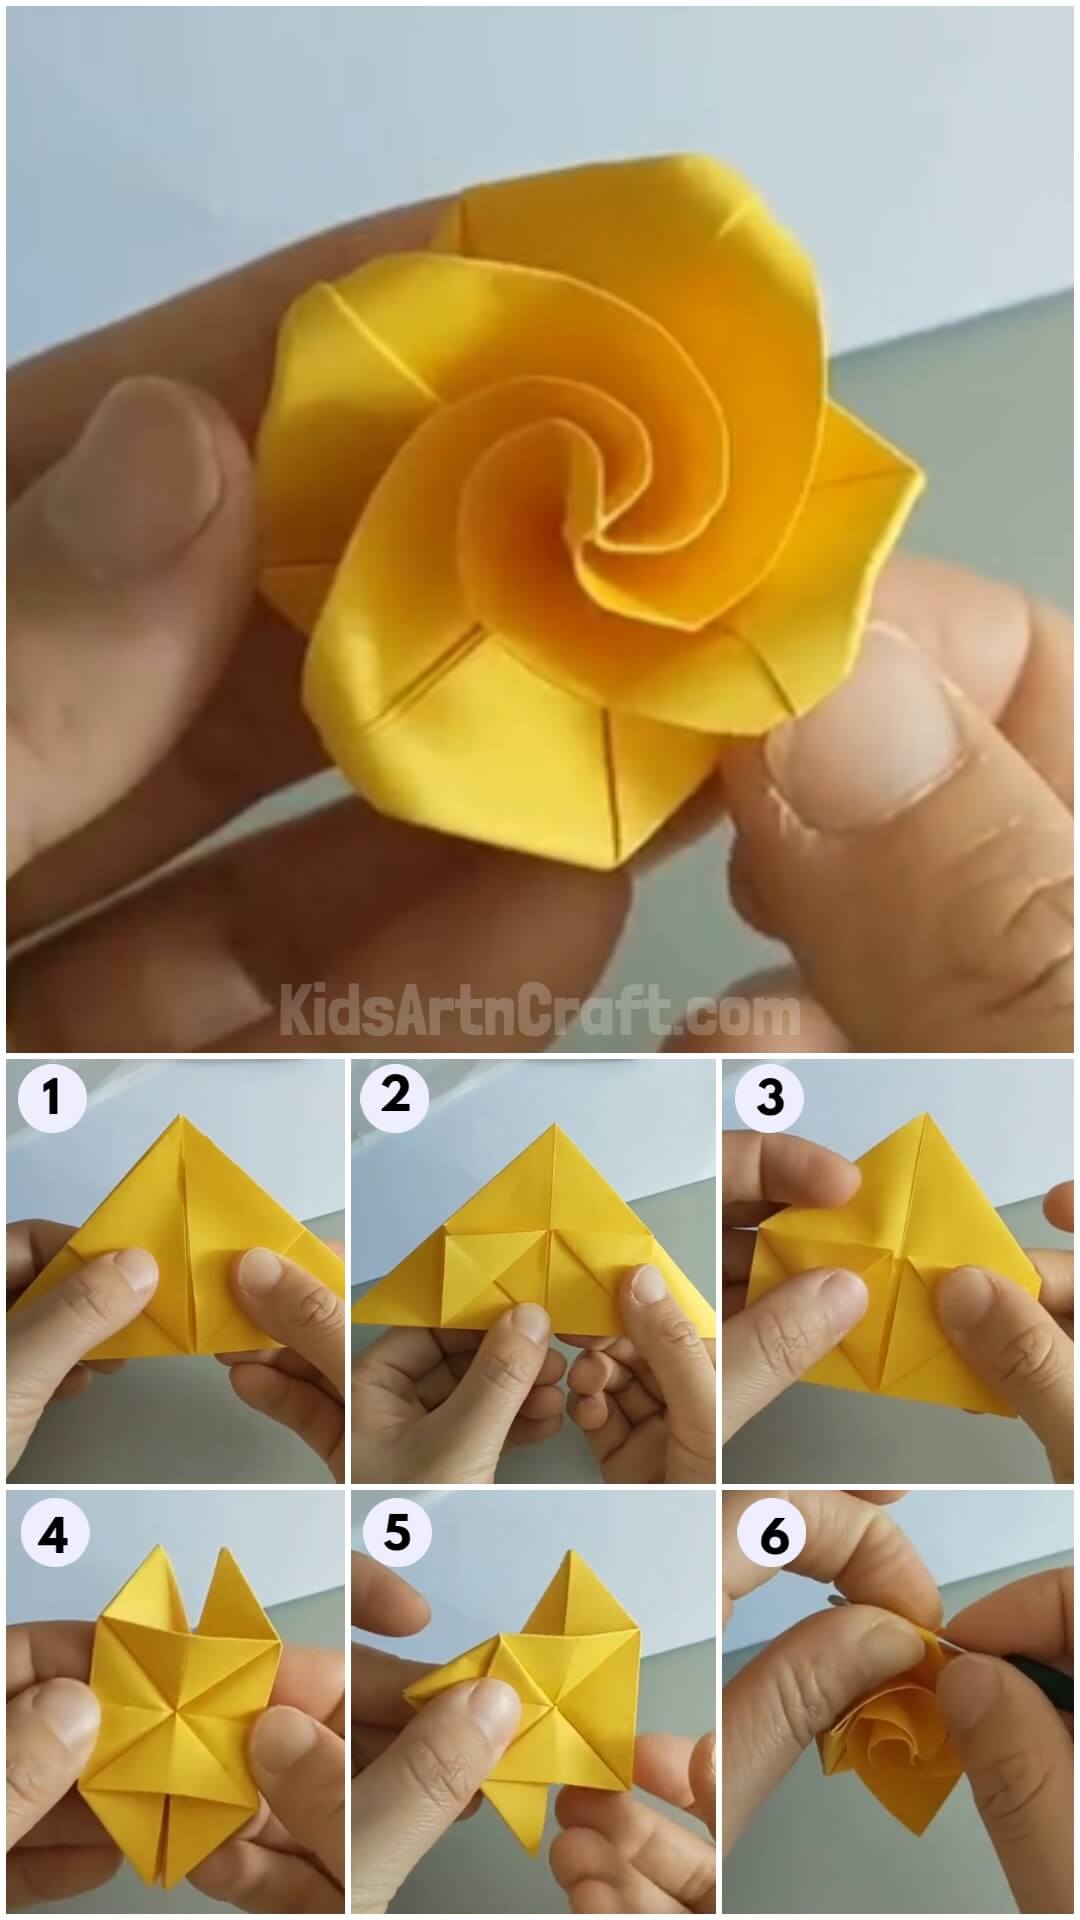
How to Make Origami Rose Easy Tutorial For Beginners

Learn how to make an origami rose with this easy-to-follow tutorial! Perfect for beginners, this step-by-step guide will have you creating beautiful paper roses in no time.
Looking for an origami craft activity to help your kids to make the most out of their folding talent? We have got you covered! This easy and fun rose craft guide would surely make your little ones hone their skills and keep them busy! This idea allows kids to learn the craft of origami without too much hassle.
This idea improves their attention to detail, develops their fine motor abilities as well as following of step by step instructions with efficiency. The art of origami has been in practice throughout the years and is definitely a must-try for your little one, whether it is an art workshop or origami themed party, this amazing rose origami craft idea is sure to be the life of the party. This idea is suitable for kids as well as adults and fosters their artistic and creative abilities in youngsters and adults alike. So, grab your papers and get ready to create your own paper gardens!
Easy Origami Rose Craft Tutorial For Beginners
Read More: DIY Easy Origami Paper Shark Toy Tutorial For Kids
Materials Required
- A colored sheet of paper suitable for origami
Procedure
Step 1: Creating The Creases
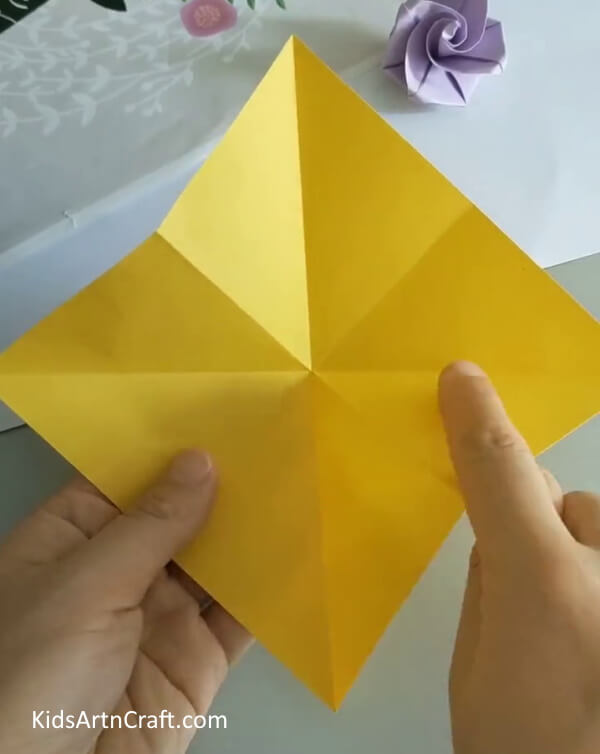
Firstly, take the yellow-colored sheet of paper and create the creases for the same as shown. You may create these creases by folding the paper into half, both horizontally and vertically, and then create the final fold diagonally to get the image as shown below.
Step 2: Folding The Paper Into Two Halves
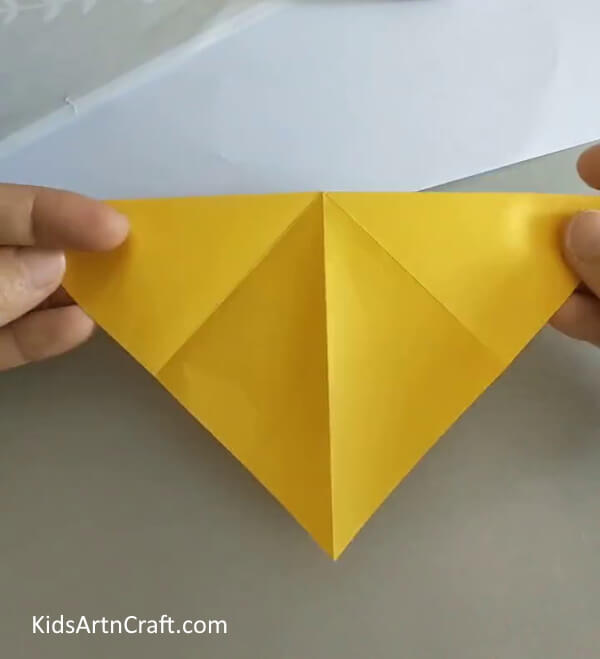
Next, you may fold the paper into two halves as shown in the image below.
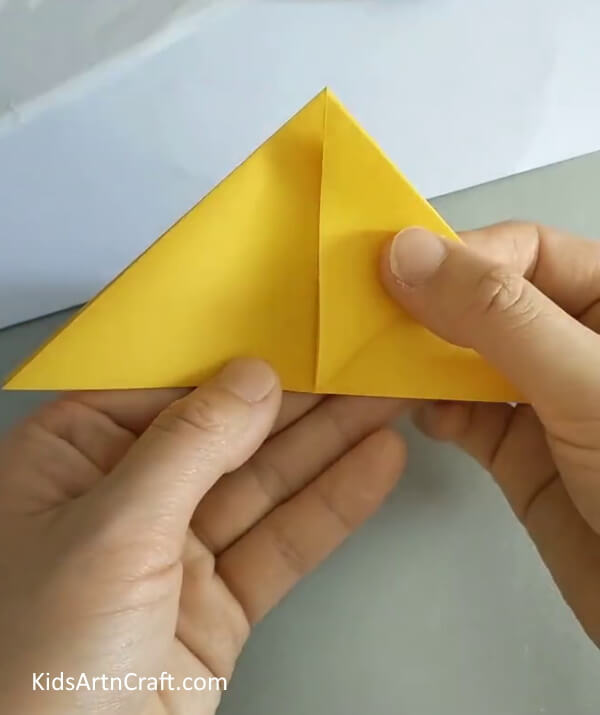
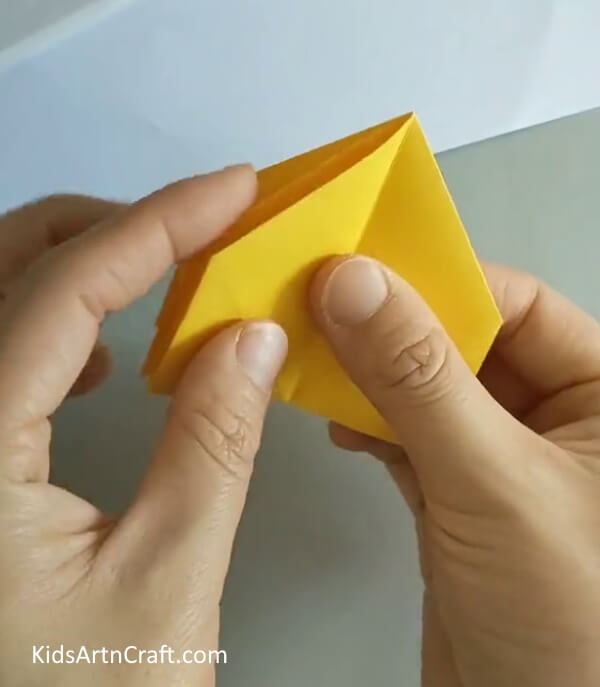
Step 3: Folding It Into A Triangle
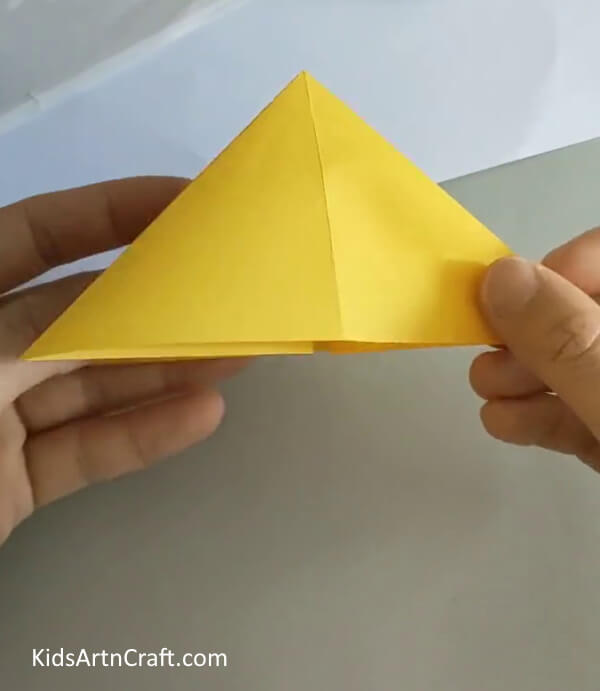
Now, using the crease, fold it into a triangle as shown.
Step 4: Take The Upper Portion And Fold It Towards The Left
Next, take the and fold it upwards to the left such that it coincides with the topmost edge.
Step 5: Take Another Portion And Fold It Toward The Right
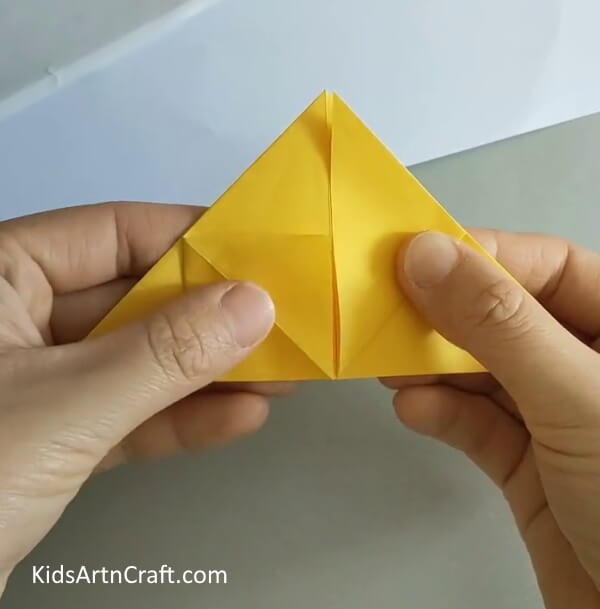
Similarly, take the left portion and fold it upwards in the right direction. Then press both folds together.
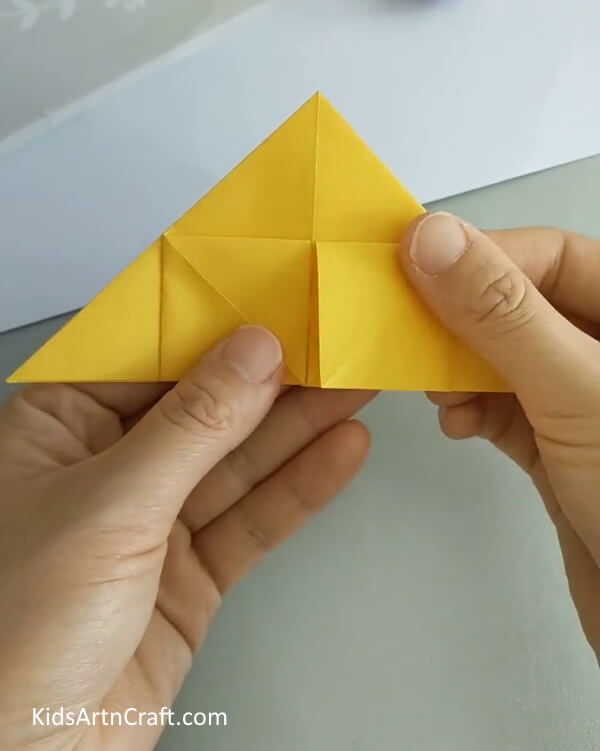
Step 6: Create Small Pockets By Giving A Small Fold
Now, create a smaller fold to make two small pocket-like shapes.
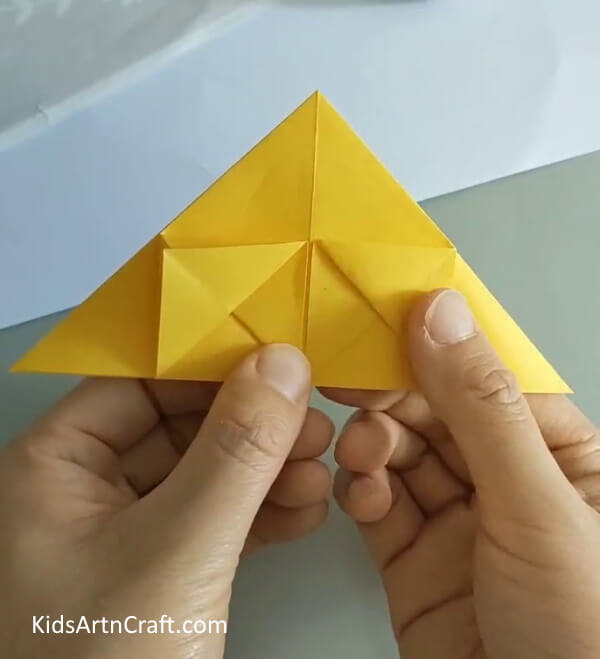
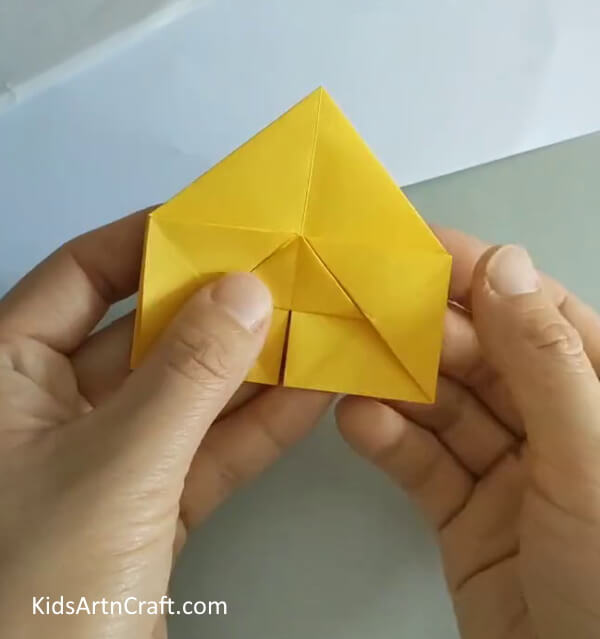
Step 7: Bring The Other Portion Outwards
Now, bring the other portion of the pocket-like designs outwards, so that they look like small squares.
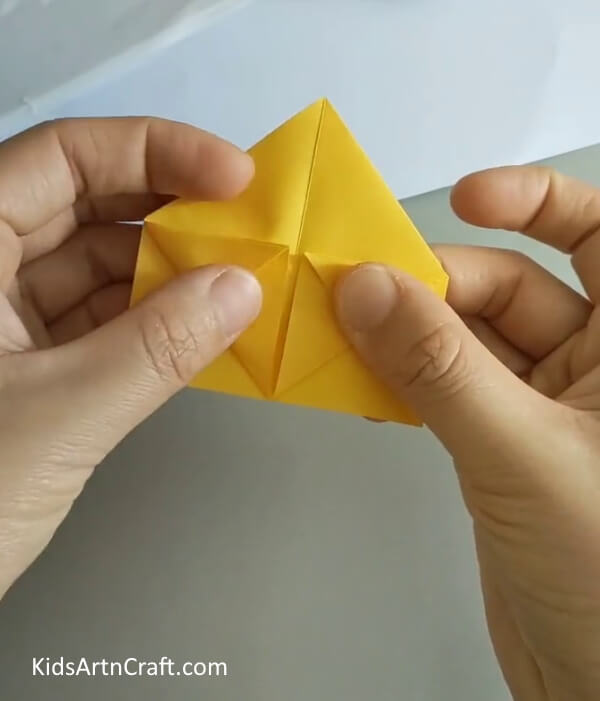
Step 8: Fold The Design Upwards, Creating Small Triangles
Next, take one edge of both squares and fold them upwards in directions opposite from each other. Notice the small diamond-like shape in the middle of the whole design.
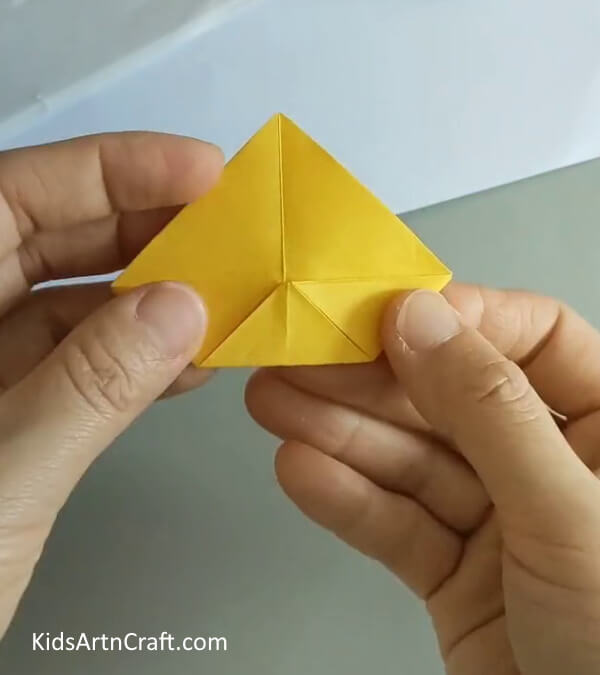
Step 9: Fold The Middle Portion Upwards

Now, fold one portion of the diamond-like design in an upward fashion.
Step 10: Bring The Sides Of The Bigger Triangle Toward The Back
Next, you are supposed to bring both of the leftover edges of your whole paper toward the back by folding them.
Step 11: Fold The Portion To The Other Side
Next, fold this whole design as shown in the image below.
Step 12: Create Inward Triangular Folds At The Lower Part
Next, you are supposed to take out some portions from both the edges at the lower half of the design and fold them inwards into the shape of two small triangles . Make sure that they are folded in such a manner that they cover one-half of the whole design.
Step 13: Fold The Inverse Triangle Portion Upwards

Next, again bring the small diamond-like shape into the middle by folding it.
Step 14: Bring The Leftover Edges Toward The Back
Now bring the leftover edges toward the back of the whole design.
Step 15: Open The Design

Now, carefully open your whole design to the other side, and you will get the image as shown below.
Step 16: Bring The Triangular Folds In Place

Now, bring the triangular folds into place as they are going to be the petals of our flower.
Step 17: Take One Of The Edges And Start Folding The Whole Design

Now, take one of the edges of the whole design and rotate it, the rotation should be similar to the one used in quilling.
Step 18: Roll The Petals
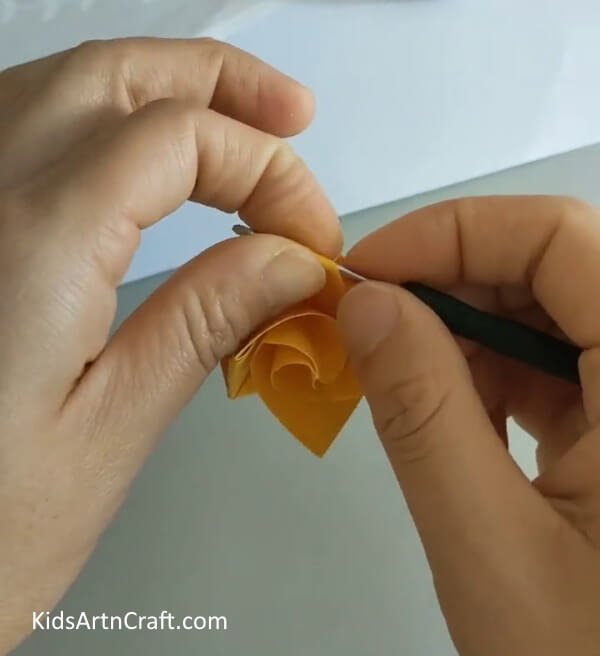
Now, take a quilling needle and roll each and every petal into the needle to get realistic petal designs.
And You Are Done look at that beautiful flower !!
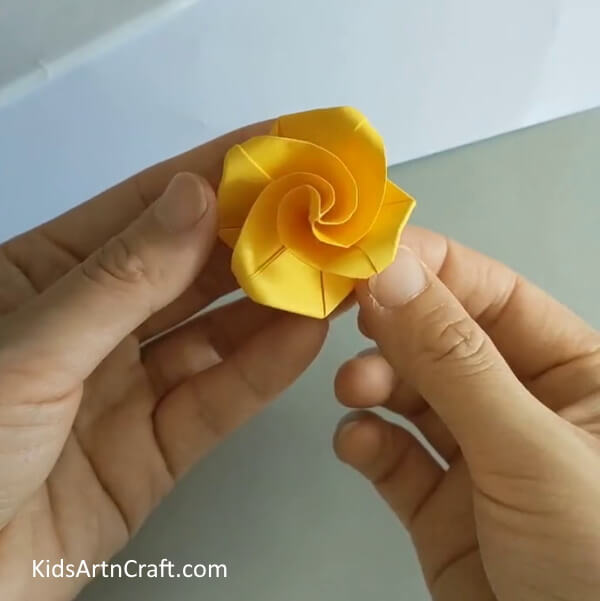
And you are done!! Look at this adorable and beautiful flower! This origami art idea is a must-try for each and every origami enthusiast as the process is as delightful as the end results. This origami activity tests your paper folding skills and allows you to pay heed to each and every step. Whether you are a kid or an adult, we are sure that you won’t stop at one !! So, grab as much paper as you can and let your imagination run free as you create your own pretty paper garden!
Some More Flower Craft Tutorial
Beautiful Rose Flower Craft Using Paper for Kids
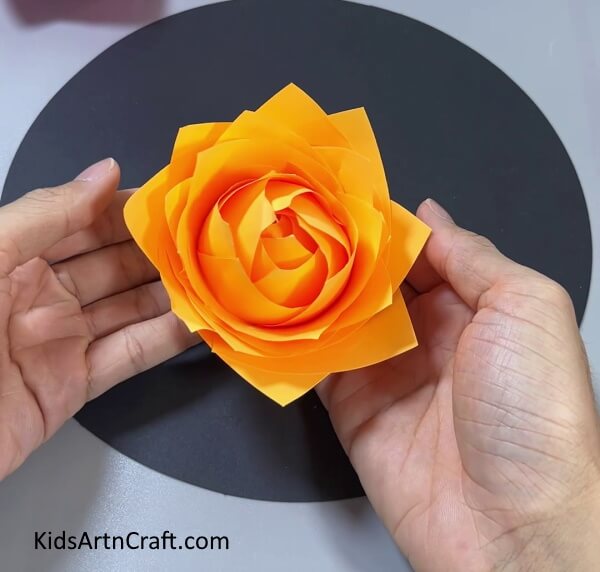
Image Source/Tutorial: Kids Art & Craft
This craft is a great way for kids to explore their creativity and have fun. They’ll use paper to make a beautiful rose flower and learn the basics of paper folding and cutting. Plus, it’s an easy and inexpensive craft that will give everyone something to be proud of!
Do let us know your thoughts in the comment section below and do check our other posts for more such amazing art and craft ideas for kids! Until then, happy crafting !!
Follow us on Youtube for art and craft tutorials and much more.
More Articles from Kids Art & Craft
- Easy Origami Shirt and Bow Paper Bag Craft At Home
- Paper Origami Frog Craft Tutorial for Kids
- DIY Origami Dragonfly Easy Tutorial for kids
- Origami Crab Making Easy Tutorial For Kids
- DIY Paper Butterfly Easy Craft For Kids


