


Paper Crafts
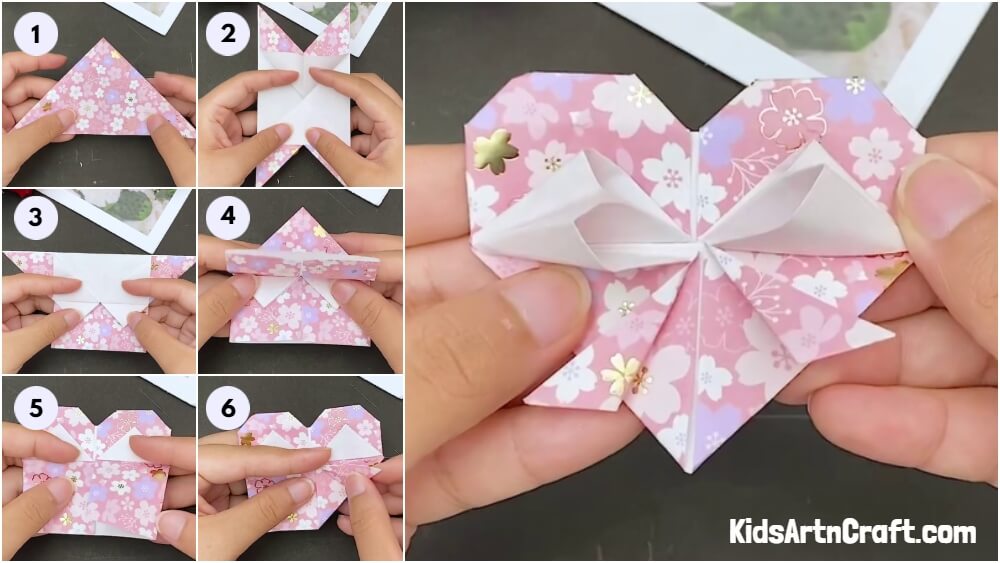
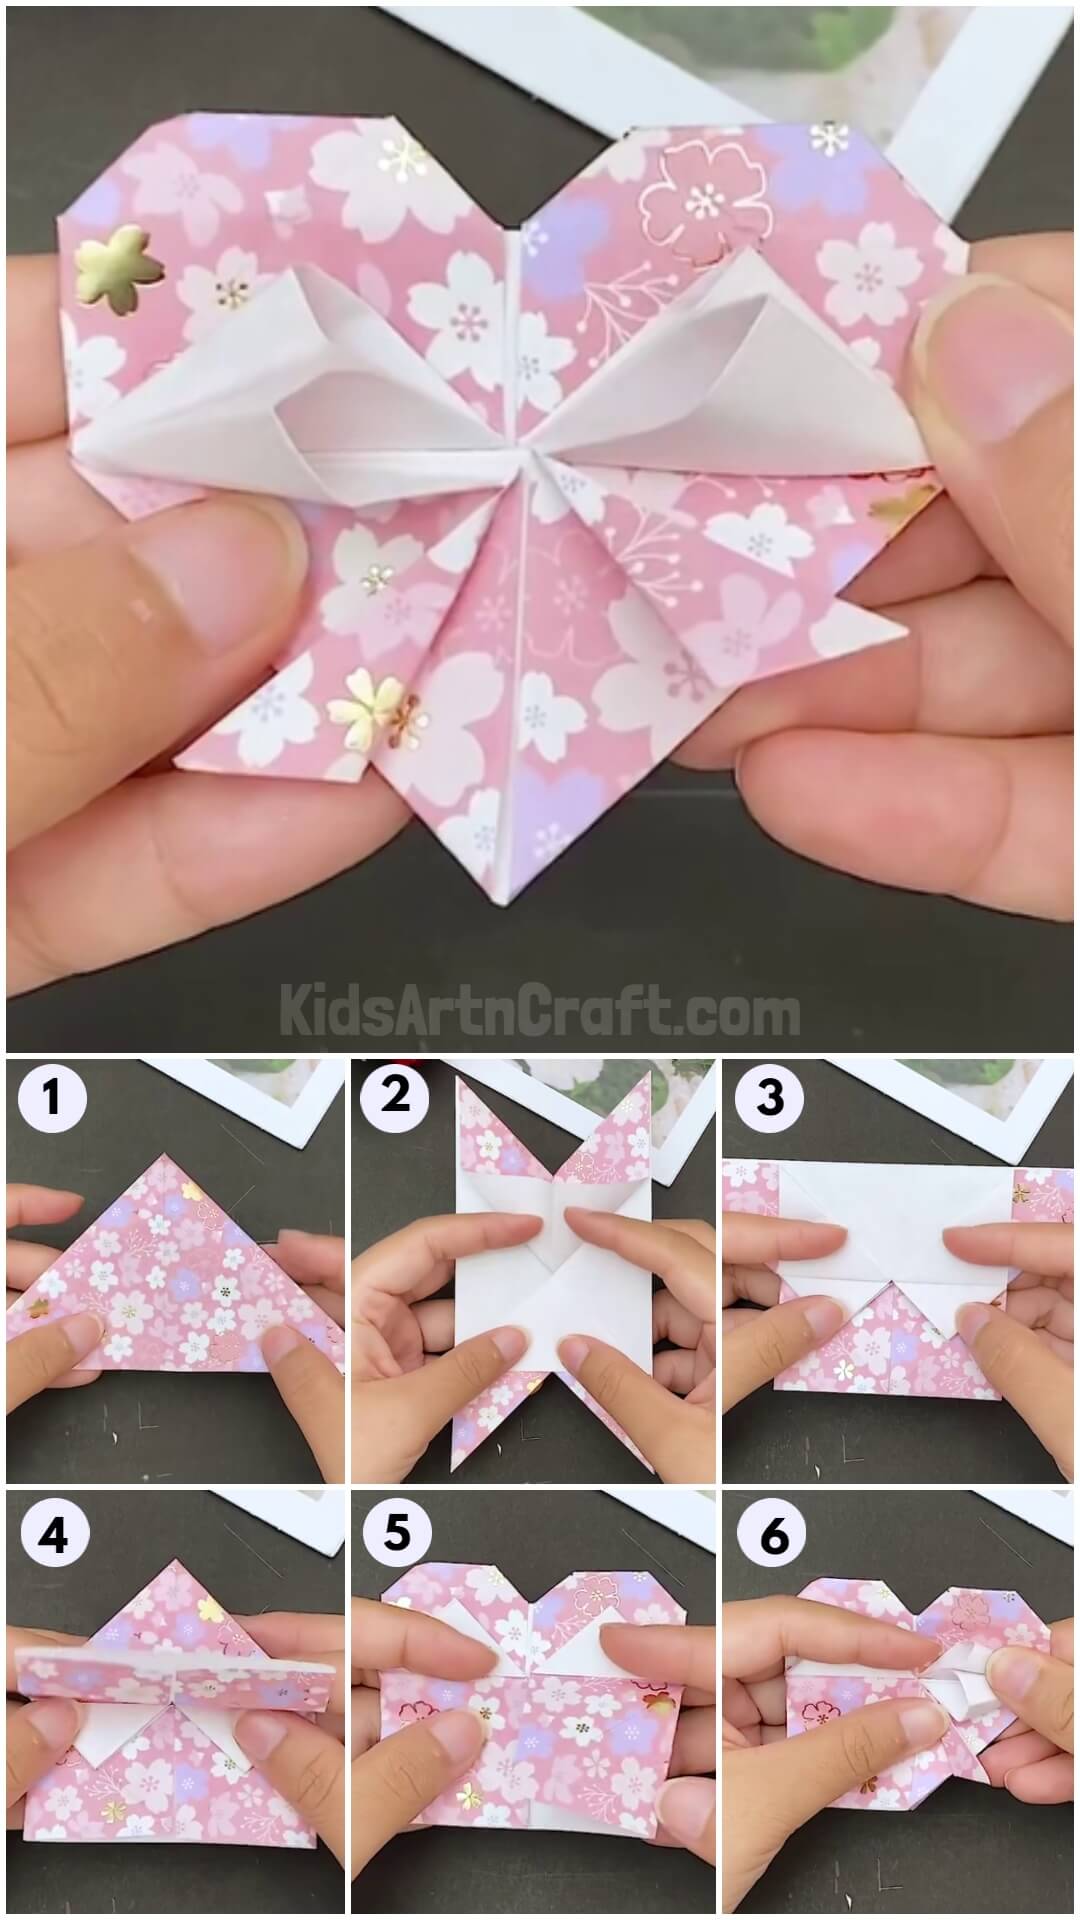
How To Make Origami Heart Envelope Step-by-step Tutorial

This tutorial will teach you to make gifting craft material. The craft in question is a heart-shaped envelope of origami. With a sheet of paper and some good folds, you can make this envelope.
This tutorial will be quite unique from all the other ones as it will be teaching you to make a product not just a craft. You can utilize this product and put it to some use. So collect all the material required which accounts for just a sheet of paper, and let’s begin with making this origami.
Easy Origami Heart Envelope Step-by-Step Instruction
Read More: DIY Paper Butterfly Easy Craft For Kids
Material Required
A wrapping paper in floral print
Procedure
Step 1: Make Some Fold Marks On The Sheet
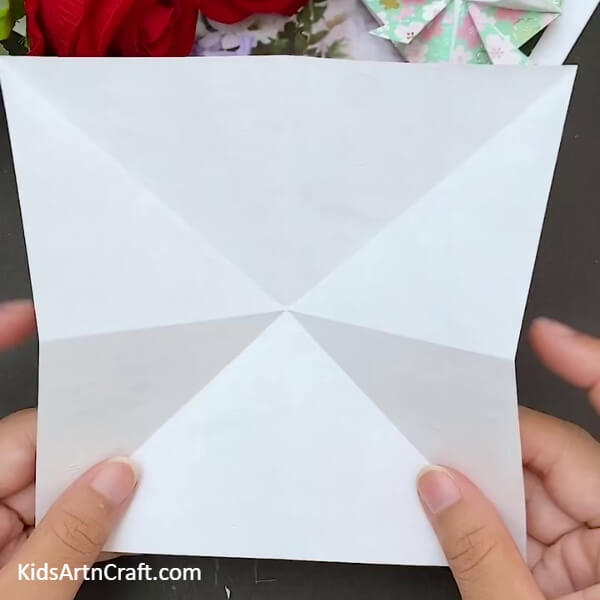
Take the wrapping sheet and place it on the table turning the inside white side on top. Make a fold on one corner by dragging it to the opposite corner. Repeat the process on the rest of the two opposite corners as well. Finally, make a fold in the middle of the sheet, this time on the floral side of the sheet. See the marks on the sheet in the image below for reference.
Step 2: Connecting Both The Triangle Marks
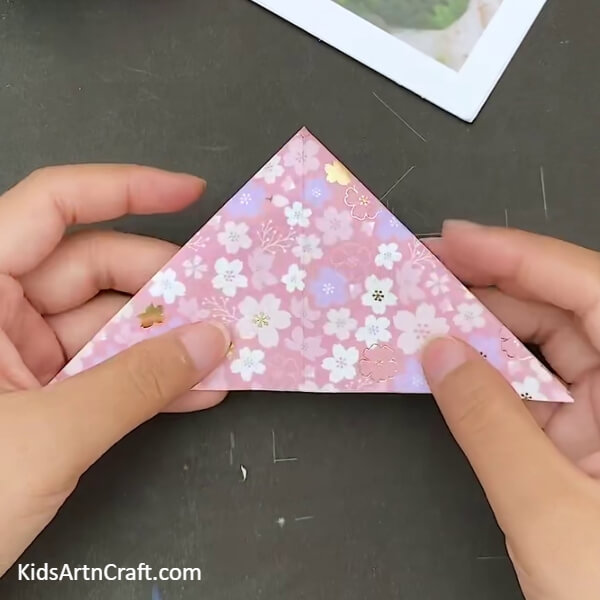
Make a fold on the sheet following the marks of the triangles on the sides made by making folds earlier. Placing your index fingers on the corners of these triangles, push them inwards aligning them with the baseline and making the next to each other. Now, flatten the sheet connected to it lying above these folds. The sheet should now resemble a triangle as shown in the picture below.
Step 3: Making A Fold On The Top Corner Of The Triangle
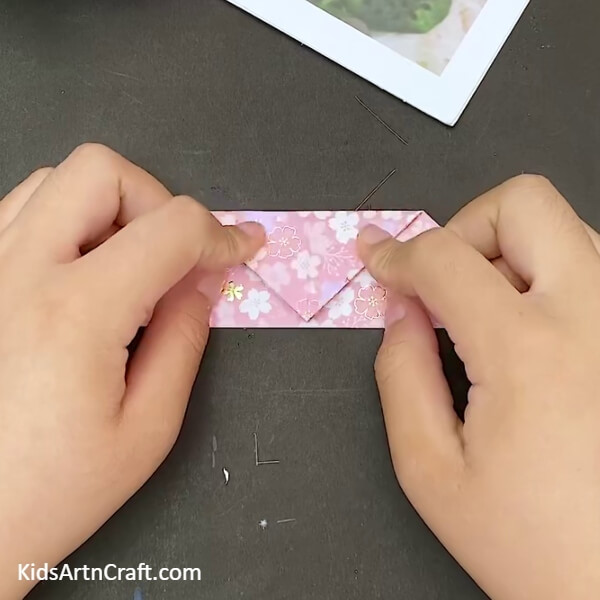
Make a fold on the top corner of the triangle by dragging it up to the base of the triangle. See the picture below for reference.
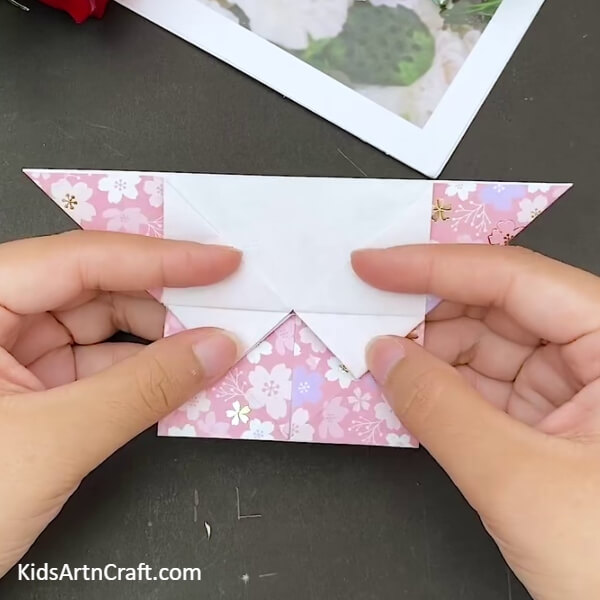
Step 4: Turning The Shape Inside Out
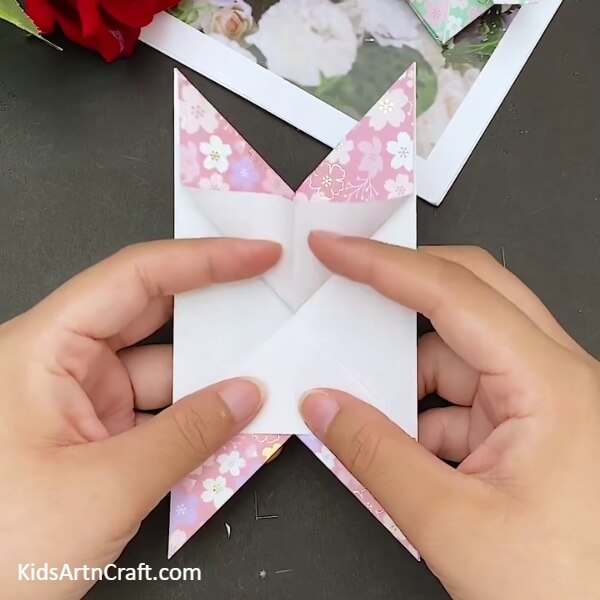
Hold all the corners and stretch them out to reveal the intricate design inside. Fold the two parts of the sheet protruding out in the middle line of the shape into triangles. See the picture below for reference.
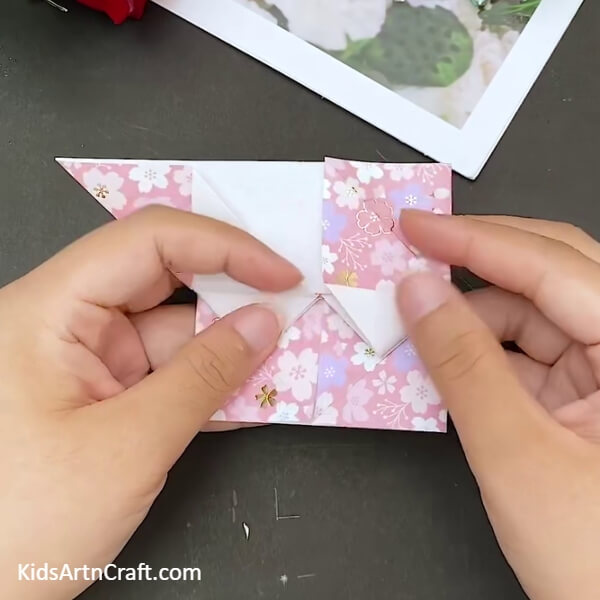
Step 5: Make Some More Folds
Take the corner on the right side of the bottom section of the shape you just made and opening the fold flatten this part of the sheet by folding the opened corner in the shape of a square. See the picture below for reference.
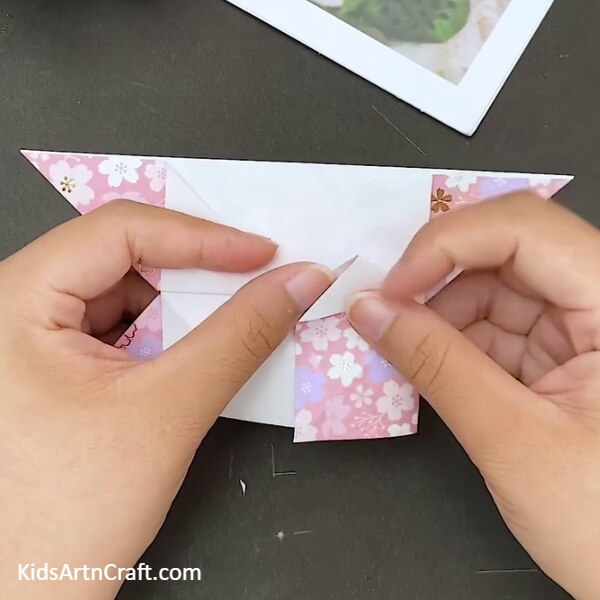
Step 6: Repeating The Process Of The Other Side
Repeat the process on the other corner of the same side by making the same square fold with a triangle at the top as shown in the picture below. This will make the folds aligned, next to each other.
Step 7: Flattening The Triangular Folds Downwards
Take the two triangle folds at the top of the square folds you just made and drag them backwards to flatten them on the square fold below. Apply pressure to seal the positioning. See the picture below for reference.
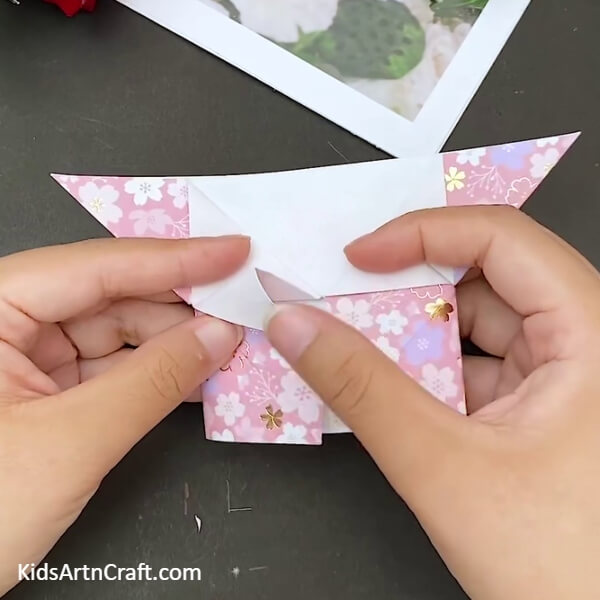
Step 8: Make Folds On the Top Section As Well
Make similar square folds on the top right corner of the shape as well as shown in the picture below.
Step 9: Make The Folds Stand
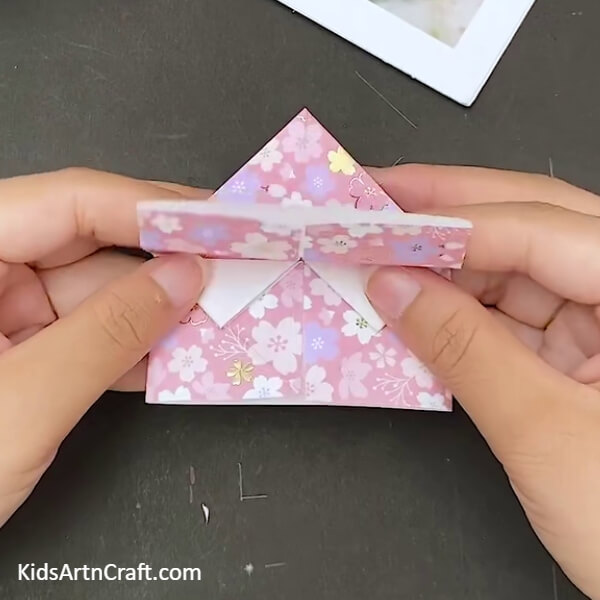
Repeat the process on the top left corner of the shape as well. You now have four triangular folds in the middle of the sheet. Flatten the two triangles belonging to the top section of the shape on the triangles on the bottom section. Finally, position the square folds at the top vertically as shown in the picture below.
Step 10: Make Folds On This Vertical Shape
Flatten the standing sheet back on the big triangle fold at the back. Now, push on the ends of the fold mark on the right side of this flattened sheet. This will make a small triangle shape at the right end of this side as shown in the picture below.
Step 11: Make A Tiny Triangle On This Fold
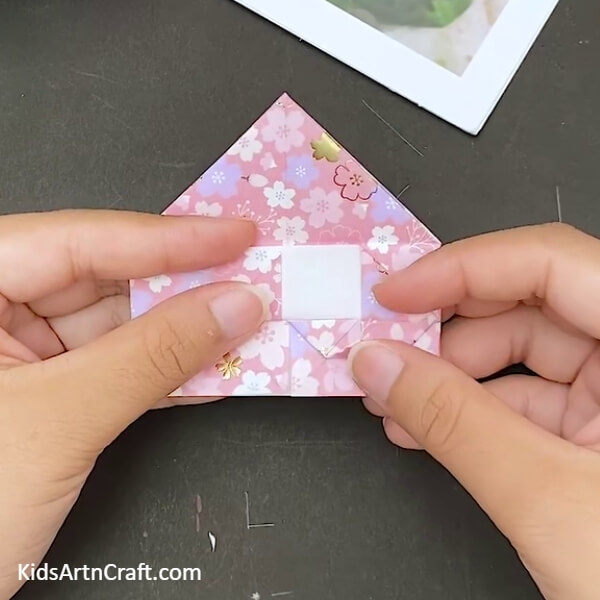
Fold the sheet lying on the side of the bottom corner of this triangle fold. Now, make a small fold on the same bottom corner of the triangle fold you made in the previous step. This shall leave us with a smaller triangle fold at the bottom of the already-made triangular fold as shown in the picture below.
Step 12: Repeating The Process On The Other Side As Well
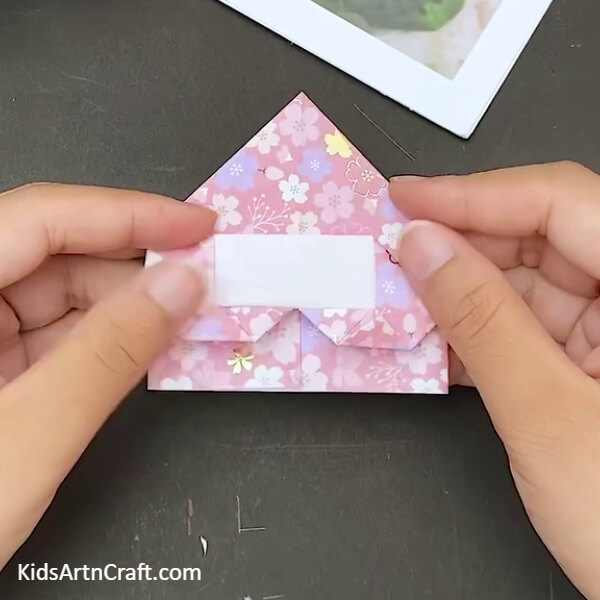
Take the opposite side of this folded side and repeat the last two steps on it as well. See the picture below for reference.
Step 13: Turning The Folds Backward
Fold the entire shape you made in the last three steps, backward. Flatten it on the other side as shown in the picture below. Now, turn the triangles in the middle, backward as well, and flatten them on the same side. See the picture below for reference.
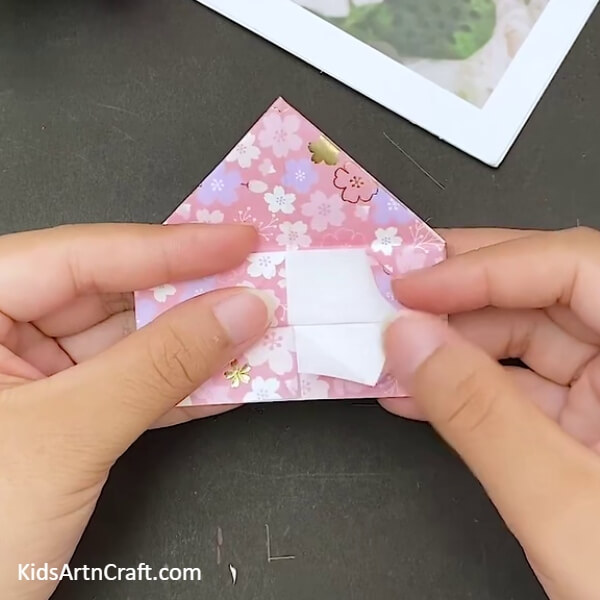
Step 14: Fold The Bottom Section Back
You can now see the two square folds at the bottom clearly. Fold the square on the right side of this section back on the marks of the folds you made earlier as shown in the picture below.
Step 15: Align The Two Triangles
The bottom right side now is shaped into a big triangle with a fold mark in the middle making a possibility for two triangles. Fold the triangle above this fold mark backward on the triangle below the fold line. Finally, fold a little area of the bottom corner of this triangle you just folded. This fold needs to be made on the right side of the shape making the fold poke a little outside the peripheries of the shape. See the picture below for reference.
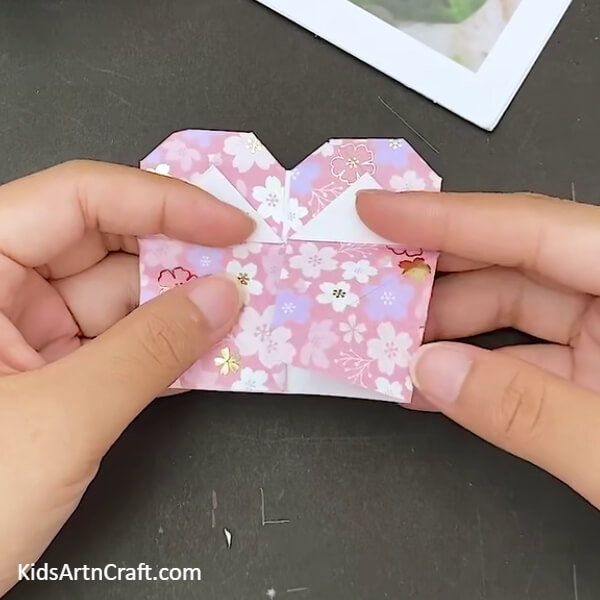
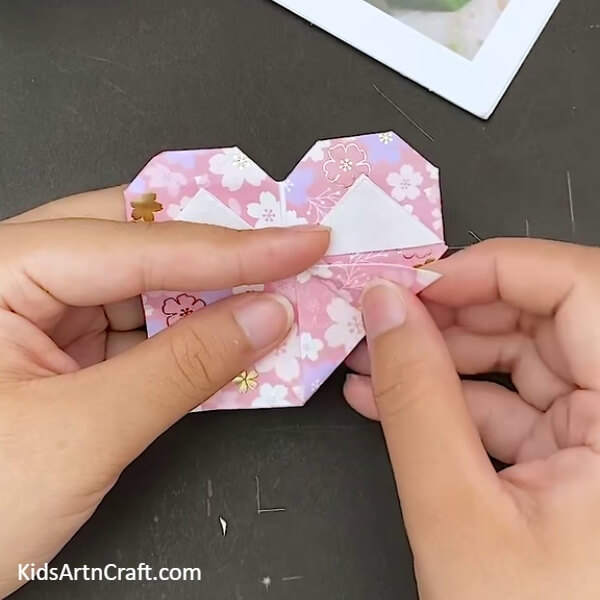
Step 16: Working On The Triangles In The Middle
Press on the fold marks lying on the right sides of both triangles in the middle. This shall make the triangles change shape and have open pockets instead. See the picture below for reference.
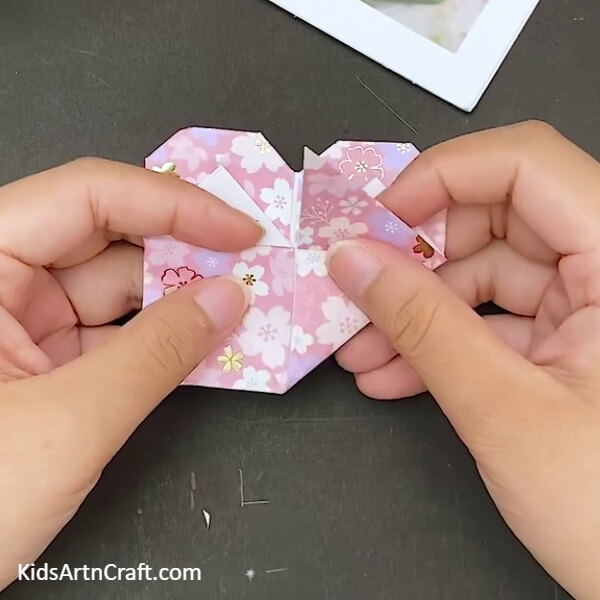
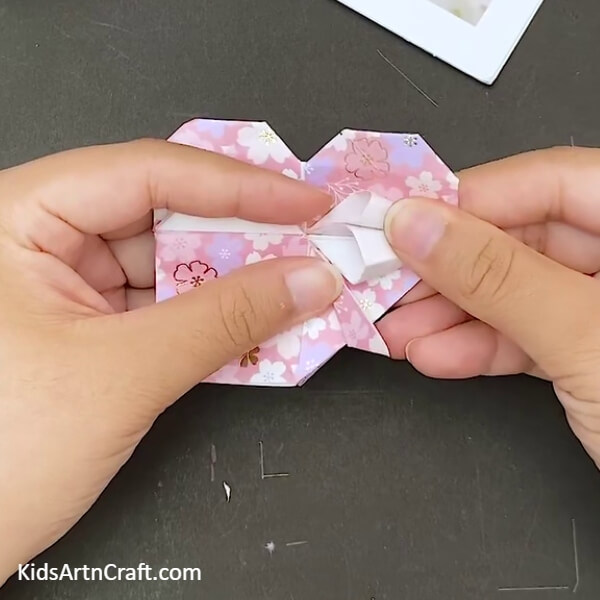
Your Craft Is Ready!!

Repeat the previous three steps on the opposite side of the shape as well as shown in the picture below. We now have a heart-shaped envelope with a ribbon bow in the middle.
Our beautiful gifting envelope is ready. You can write a message to someone using the envelope. You can use it to gift cards to people on occasion. Today, you learned some highly intricate folding techniques which will surely strengthen your basics of art and craft. This origami can be of great help, especially in the festive seasons. Think of more such unique ideas to practice these techniques on and master your craft. Good luck.
Follow us on Youtube for art and craft tutorials and much more.
More Articles from Kids Art & Craft


