Kids Activities
Paper Fan Toy Craft for kids to Play Easy Tutorial

This easy-to-follow tutorial will show kids how to make a fun and colorful paper fan toy. With just a few simple supplies, kids will be able to create a unique and entertaining craft that can provide hours of entertainment. Enjoy!
Paper fan toys are a fun and easy craft for kids to make and play with. All you need is a few simple supplies and a bit of creativity to create these fun and colorful toys. Not only are they fun to make, but they’re also a great way to encourage creativity and imagination in children.
Welcome to our easy paper fan toy craft tutorial! This tutorial is perfect for kids as it is a really simple craft that can be done with minimal materials. All you need to get started is some paper, scissors, and a few other items. With this tutorial, your kids will be able to create a fun and interactive paper fan toy that they can play with and enjoy. Here’s a quick and easy tutorial to help you make your own paper fan toy.
Fun to Make Paper Fan Toy Craft For Kids To Play
Read More: DIY Easy Paper Strawberry Tutorial For Kids
Materials Required
- Construction Paper (Yellow and Blue)
- Thread
- Scissors
- Double Side Tape
- Glue
Procedure
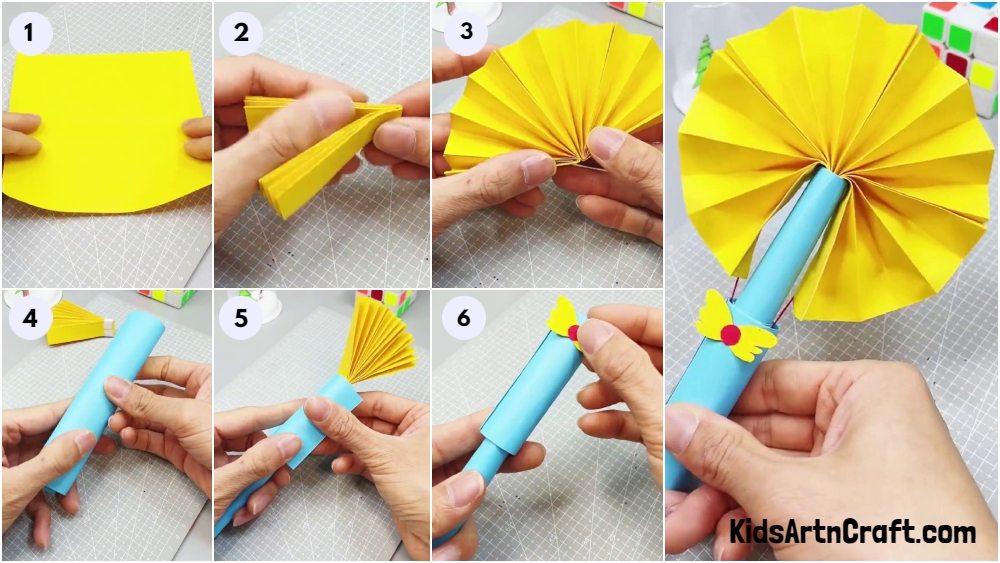
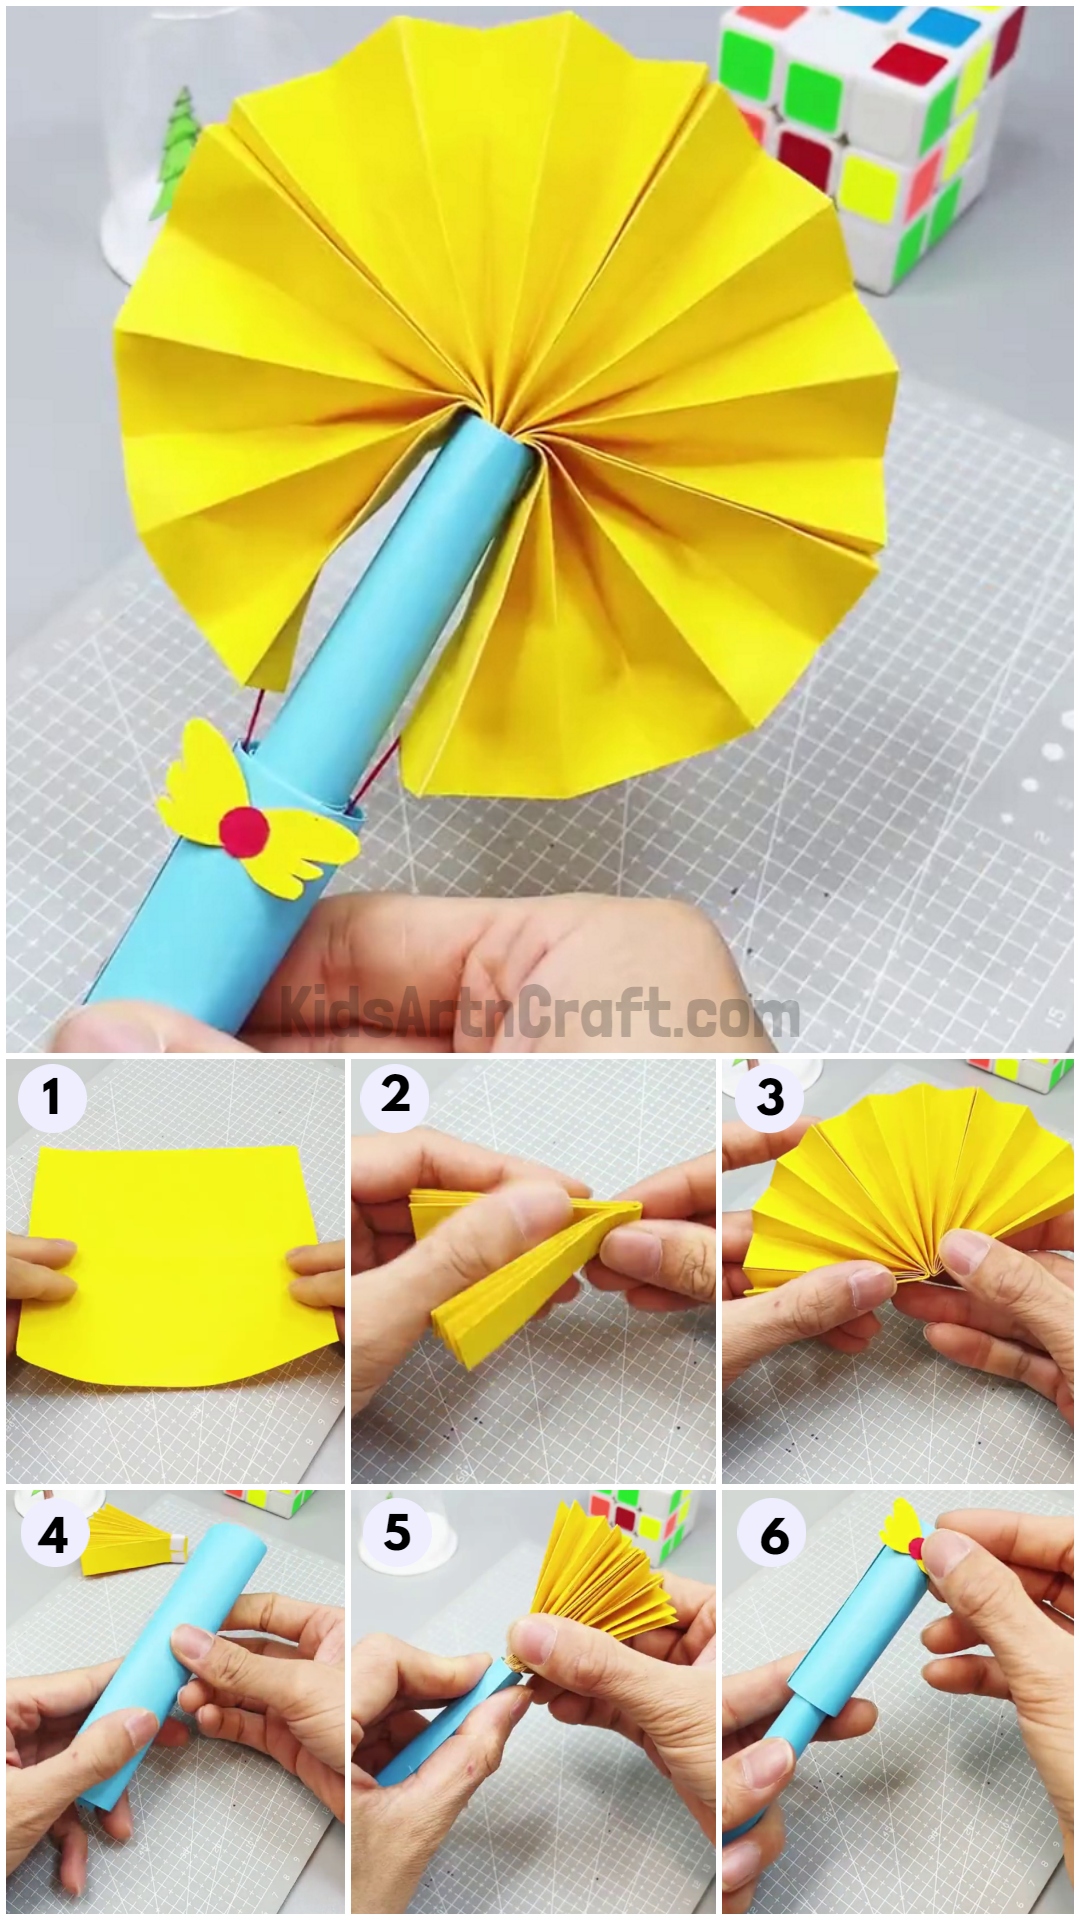
Step 1: Getting Ready With A Yellow Square Paper
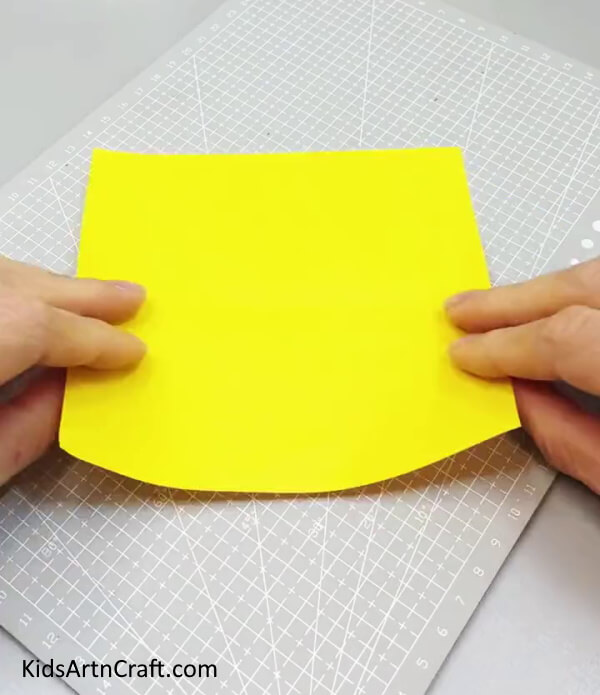
To begin with, get ready with a square-shaped yellow paper to make a magic paper fan craft.
Step 2: Folding Paper To Make a Fan
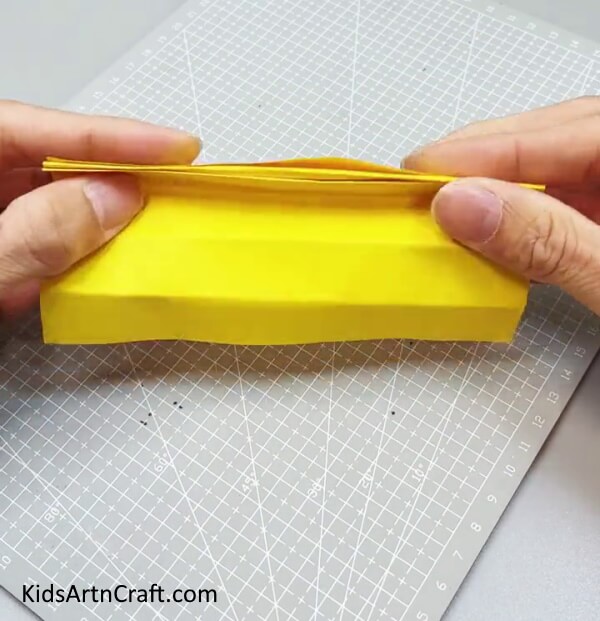
Take one side of the yellow square paper and fold the paper about one inch from one side and flip the paper. Again fold about an inch but in the opposite direction, and flip the paper again. Repeat the same till the end of the paper. You should get a paper strip now.
Step 3: Folding Paper Strip In Half
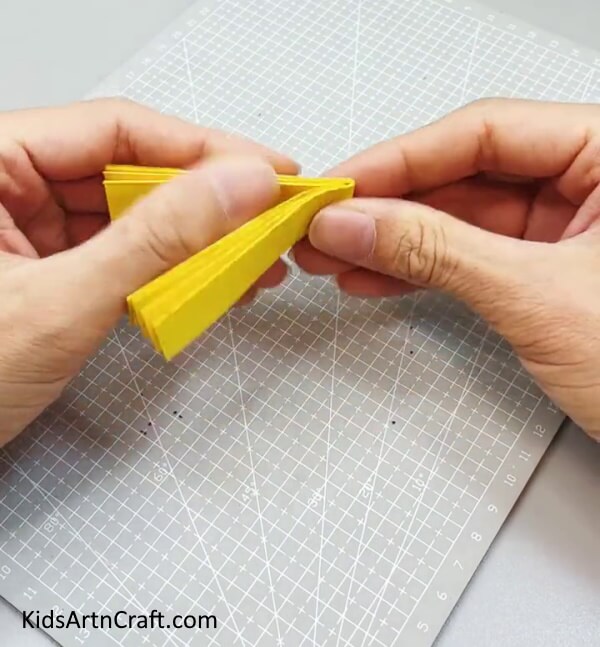
Fold the paper strip in half.
Step 4: Pasting Two Fans Together
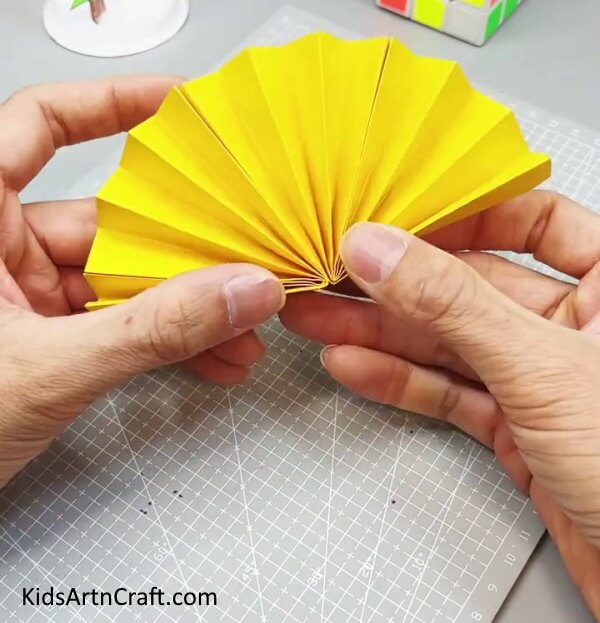
Make one more fan and paste them both together using glue.
Step 5: Applying Double Side Tape On the End Of the Fan
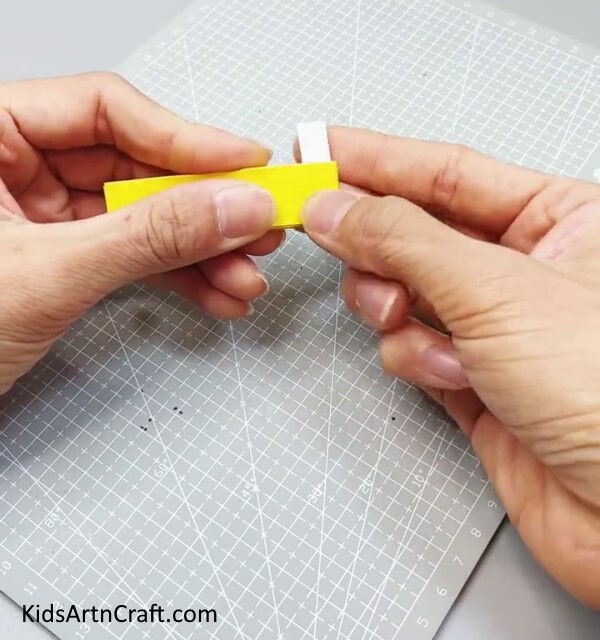
Now, pinch the paper fan and apply double side tape on the end of the paper fan.
Step 6: Getting A Blue Rectangle Paper
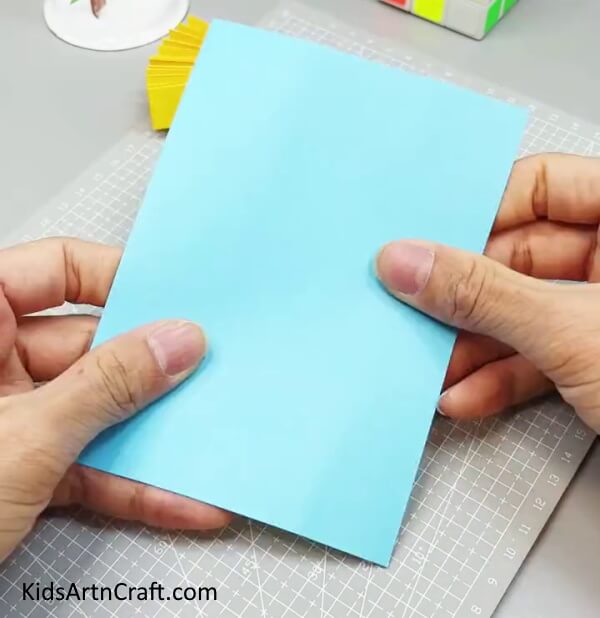
Next, take a blue rectangle of paper to make the stand of the paper fan.
Step 7: Rolling Paper To Form A Cylinder
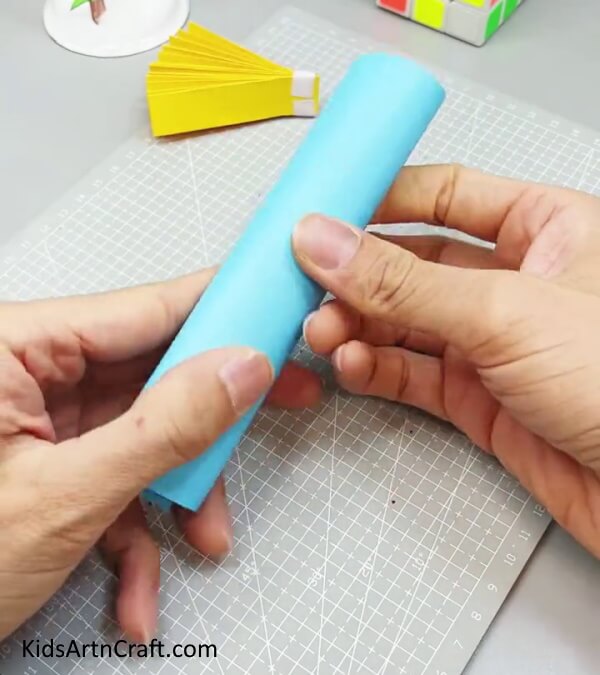
Roll the blue paper from the long side to form a cylinder shape and stick the ends.
Step 8: Inserting Fan In Cylinder Stick
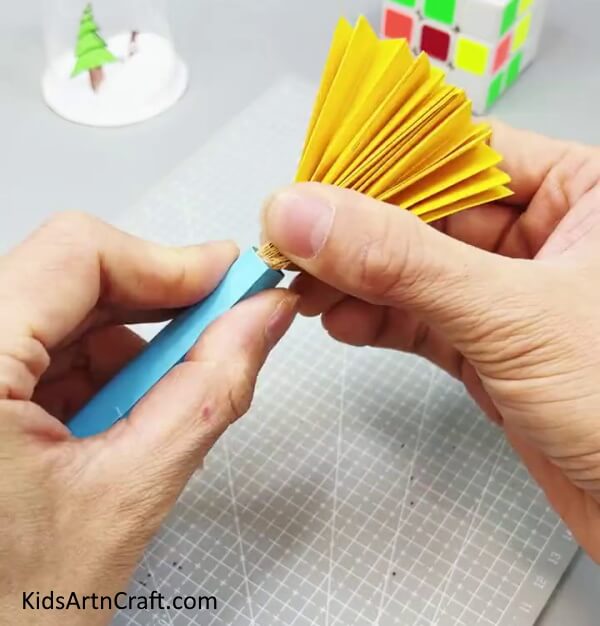
Insert the yellow paper fan into the blue cylinder tube from its top.
Step 9: Rolling Another Blue Paper
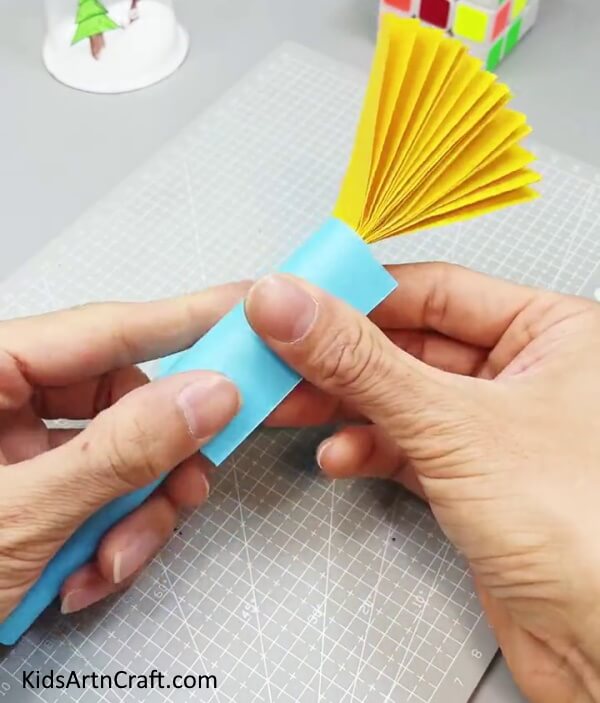
Now, roll another blue square paper around the blue paper fan stand.
Step 10: Placing Thread On the Side Fold Of the Fan
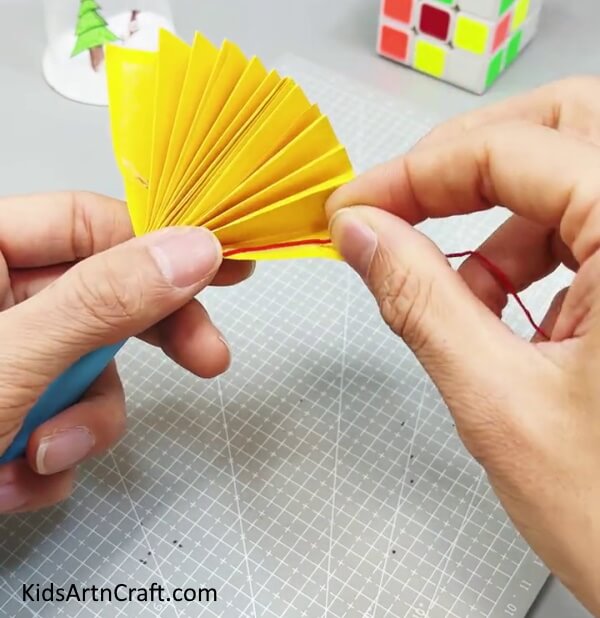
Take a thread and place it inside the last fold of one side of the fan.
Step 11: Pasting Thread On Fan
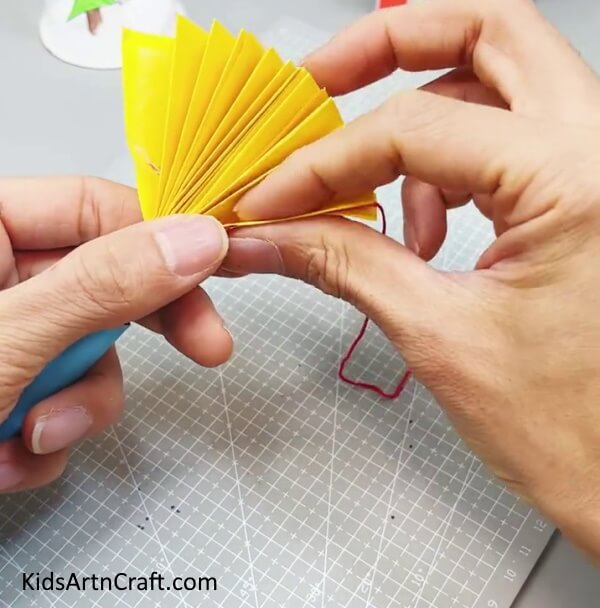
Apply glue between the folds and paste them well. Make sure that thread is glued properly between the folds. Similarly, paste another thread on the other side of the fan.
Step 12: Bringing Top Blue Paper Roll Upwards
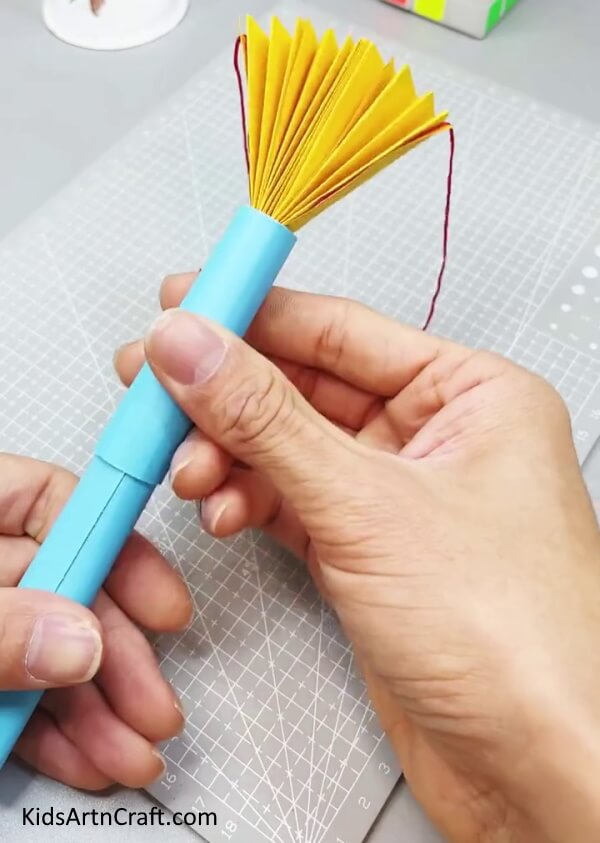
Keeping the threads upwards, bring the top paper roll upwards to cover the yellow paper fan.
Step 13: Pasting Thread On Blue Paper Roll
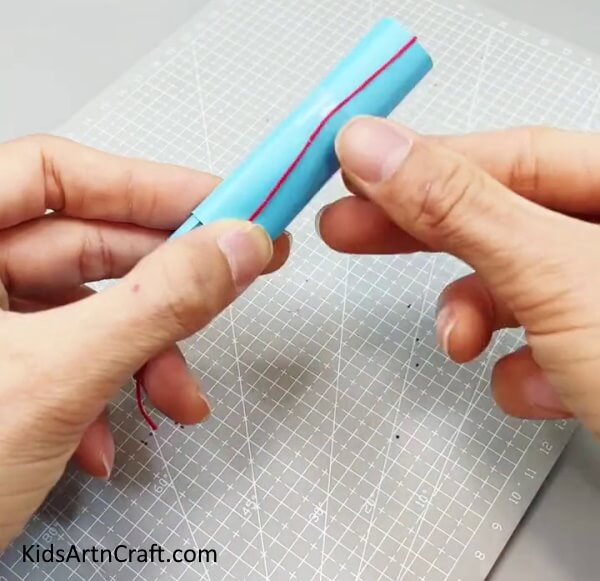
Paste the threads on the blue paper roll using a tape as shown in the above image.
Step 14: Wrapping A Blue Paper On the Top
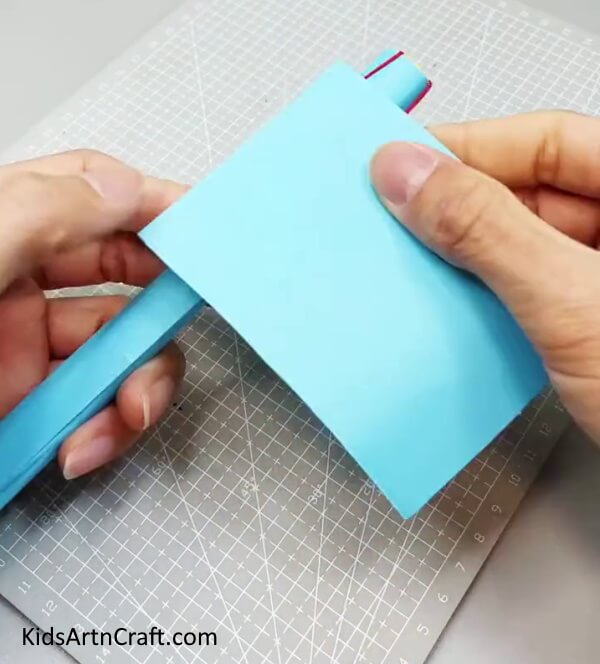
Again, wrap another blue paper on the blue paper roll.
Step 15: Pasting Ends
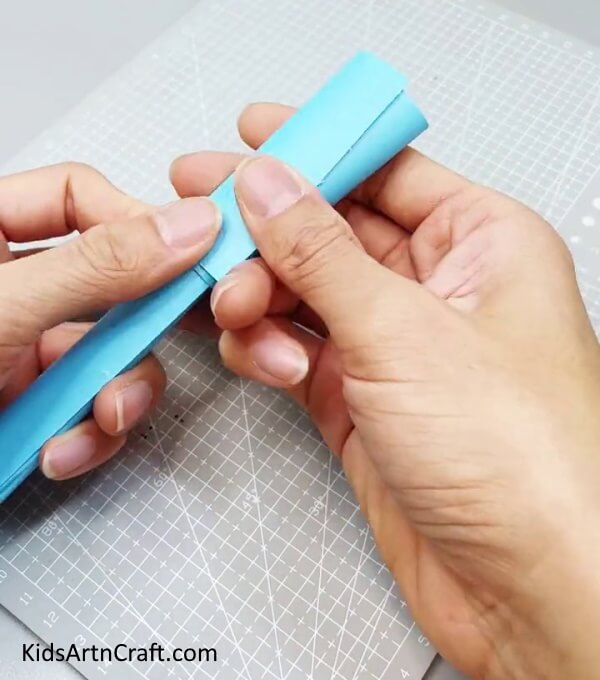
Secure its end sides using glue.
Step 16: Pasting A Bow Butterfly
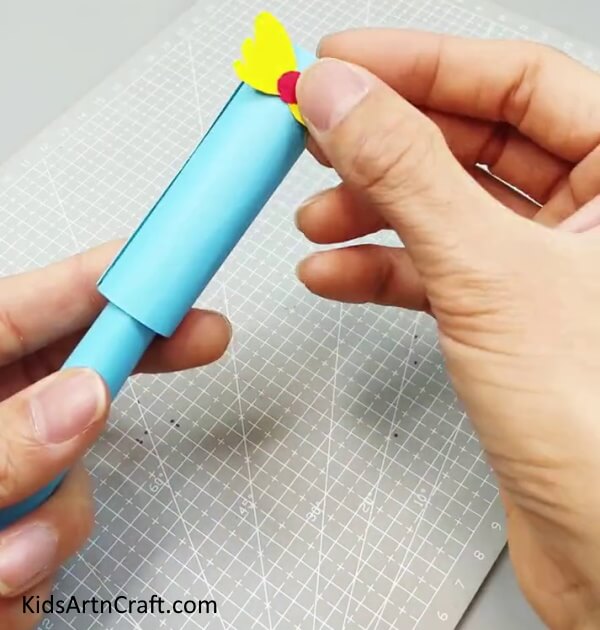
Cut a bow butterfly out of yellow paper and paste a small red circle on its middle. Paste the bow butterfly on the top of the blue paper roll stick.
Step 17: Bringing Paper Roll Down To See Magic
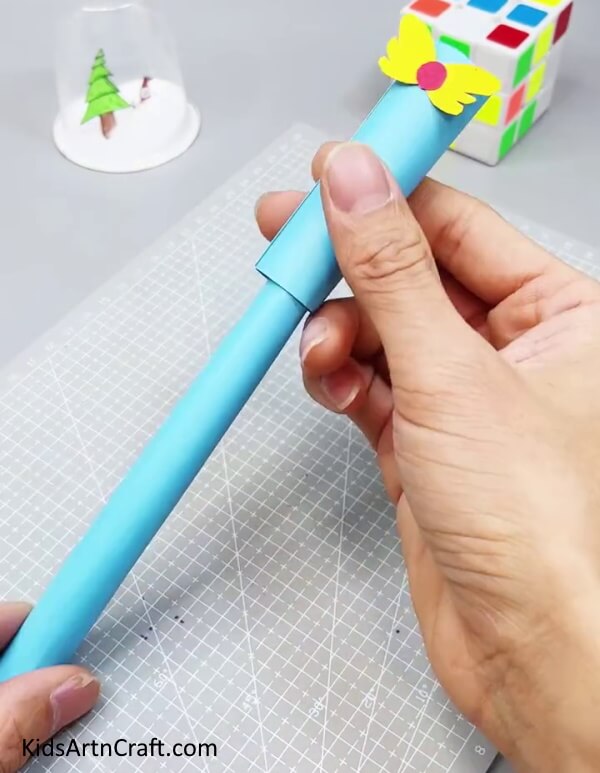
Now, bring down the blue paper roll. You can open and close the fan by bringing the blue paper roll up and down. Isn’t it magic for kids?
Magic Paper Fan Toy Craft Is Ready To Play!
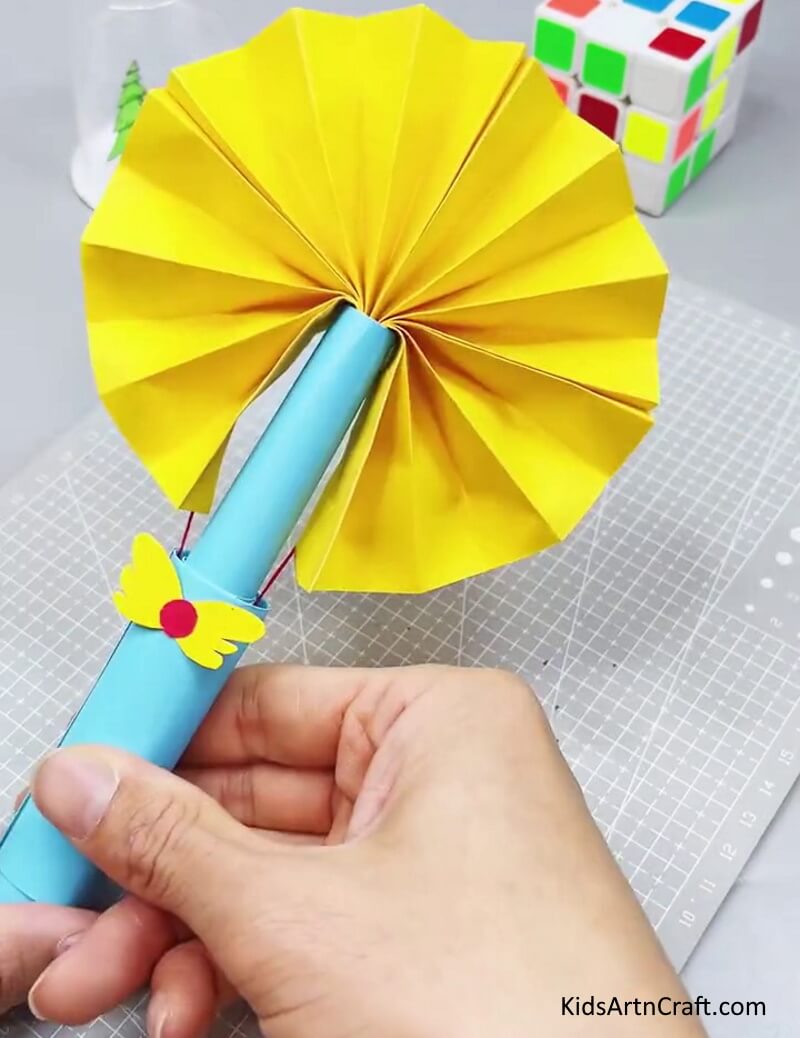
When you’re finished, your paper fan toy is ready to play with! This easy craft is a great way to keep the kids entertained and help them develop their crafty skills. Kids of all ages will enjoy this easy-to-make craft and it’s sure to provide hours of fun. So go ahead and give it a try – you won’t be disappointed!
Some More Toy Craft Tutorial
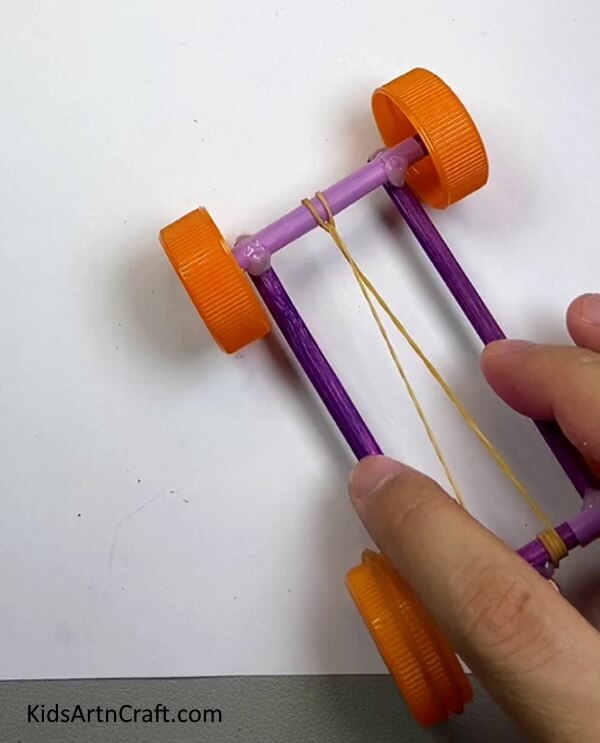
To Make Toy Car Craft Artwork Tutorial For Kids
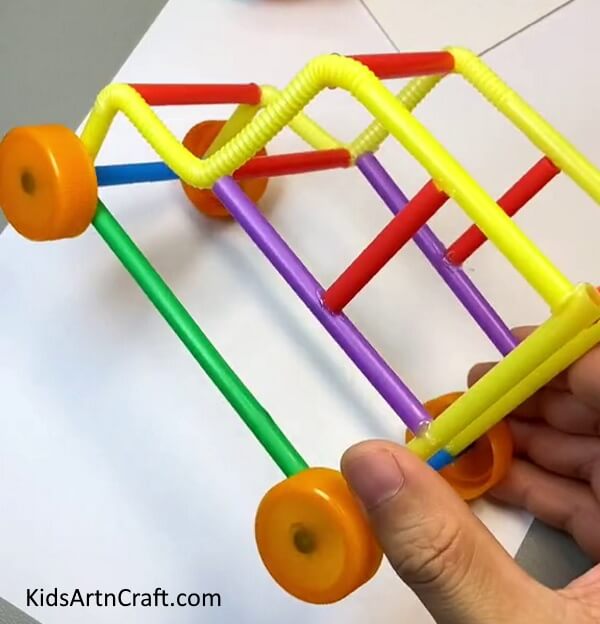
Image Source/Tutorial: Kids Art & Craft
Making a toy car out of straws is a fun and easy art project for kids. It’s a great way to teach them about the basics of engineering and craftsmanship. Plus, it’s a great way to explore their creativity as they customize their car design.
Exciting Artwork Toy Car Craft Using Chopsticks
Image Source/Tutorial: Kids Art & CraftThis creative craft project is perfect for kids and adults alike. It uses everyday materials like chopsticks and bottle caps to create exciting artwork. It’s a great way to get creative and have fun.
FAQ’s Paper Fan Toy Craft For Kids To Play Easy Tutorial
1. What materials are needed to make a paper fan toy?
You will need paper, scissors, glue, and threads.
2. How long does it take to make a paper fan toy?
It usually takes about 30 minutes to make a paper fan toy.
4. What ages can make a paper fan toy?
Anyone from ages 5 and up can make a paper fan toy.
5. Is there a special way to fold a paper fan toy?
Yes, there is a special way to fold a paper fan toy. It involves folding the paper in an accordion-style pattern.
6. How many paper fan toys can I make at once?
You can make as many paper fan toys as you have paper and supplies for.
7. Are there any special techniques for cutting paper for paper fan toys?
Not really, you can cut the paper however you like as long as it is thin enough to fold.
This is a great way to get kids to express their creativity and enjoy some quality time together. With this Paper Fan Toy Craft, your kids will have a blast!
Follow us on Youtube for art and craft tutorials and much more.
More Articles from Kids Art & Craft
- Paper Airplane Origami Step-by-Step Tutorial For Kids
- Easy Paper Robot Craft Step-By-Step Tutorial
- Amazing Creative Craft Ideas from Paper Video Tutorial for Kids
- Easy Paper Craft Activities At Home Video Tutorial for All
- Paper Origami Frog Craft Tutorial for Kids


