


DIY and Crafts
DIY Toy Car Using Chopsticks, Rubber Band, Straws and Bottle Caps

Make your own DIY toy car using everyday household items like chopsticks, rubber bands, straws and bottle caps! This fun project is perfect for children of all ages and is sure to provide hours of entertainment. Learn how to craft your own toy car today!
Hello everyone! This tutorial will step-by-step guide you to make your own working toy car that your kid will love! Working model crafts are best to combine art and science together and engage your kiddos in fun learning! This toy car will be fun to make with just some very easy and non-expensive supplies and the results will surely stun everyone in the room! Learn to make this working-racing car easily and show it off to your friends and family! Teach your friends to make their own cars and have a blast having racing tournaments together! Seize your supplies and make it with us!
Easy To Make Toy Car For Kids
Read More: Paper Princess Step by Step tutorial for kids
Materials Required
- Wooden Chopsticks
- Plastic Straw
- Purple Marker
- Glue Gun
- Plastic Bottle Caps
- Plastic Rubber Bands
Procedure
Step 1: Taking A Pair Of Chopsticks
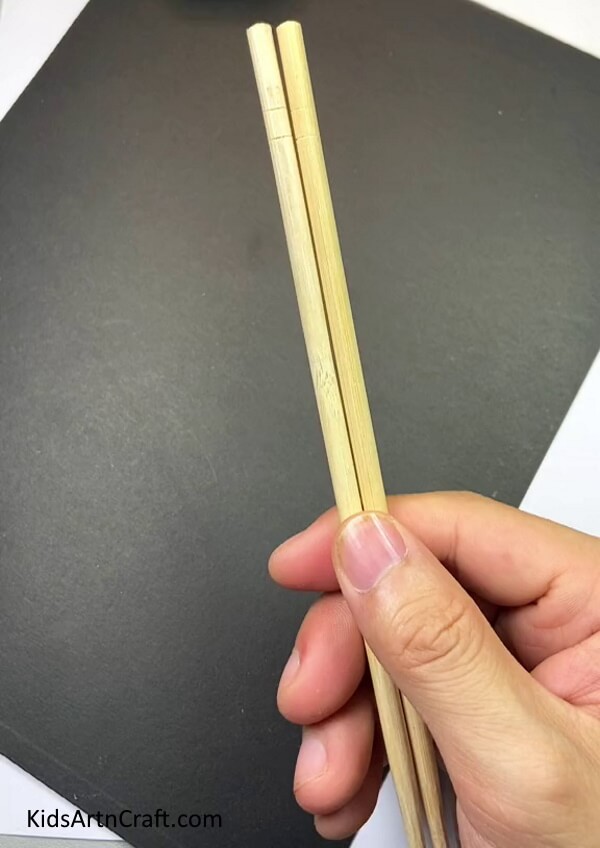
Let us begin with this crafty car by taking a pair of wooden chopsticks.
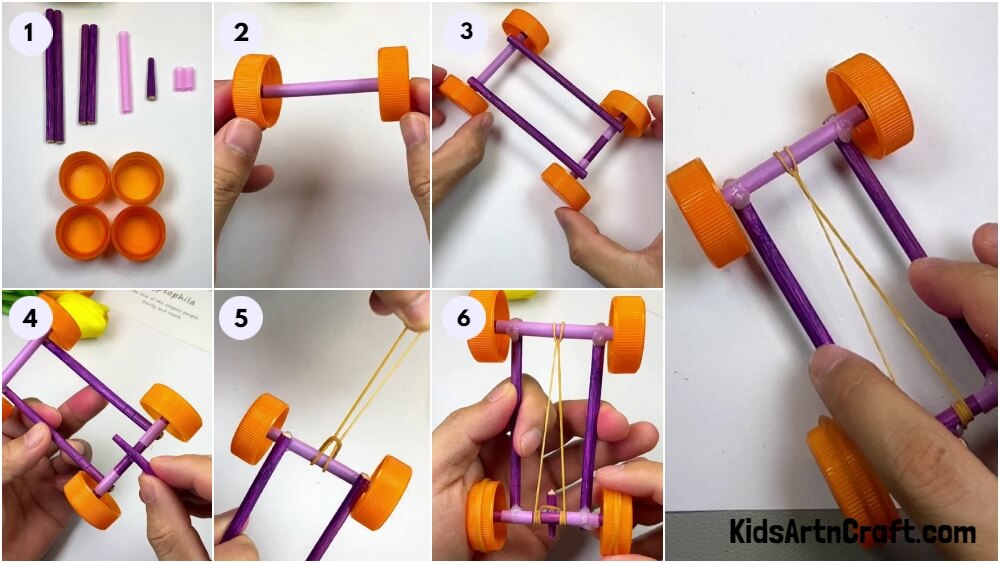
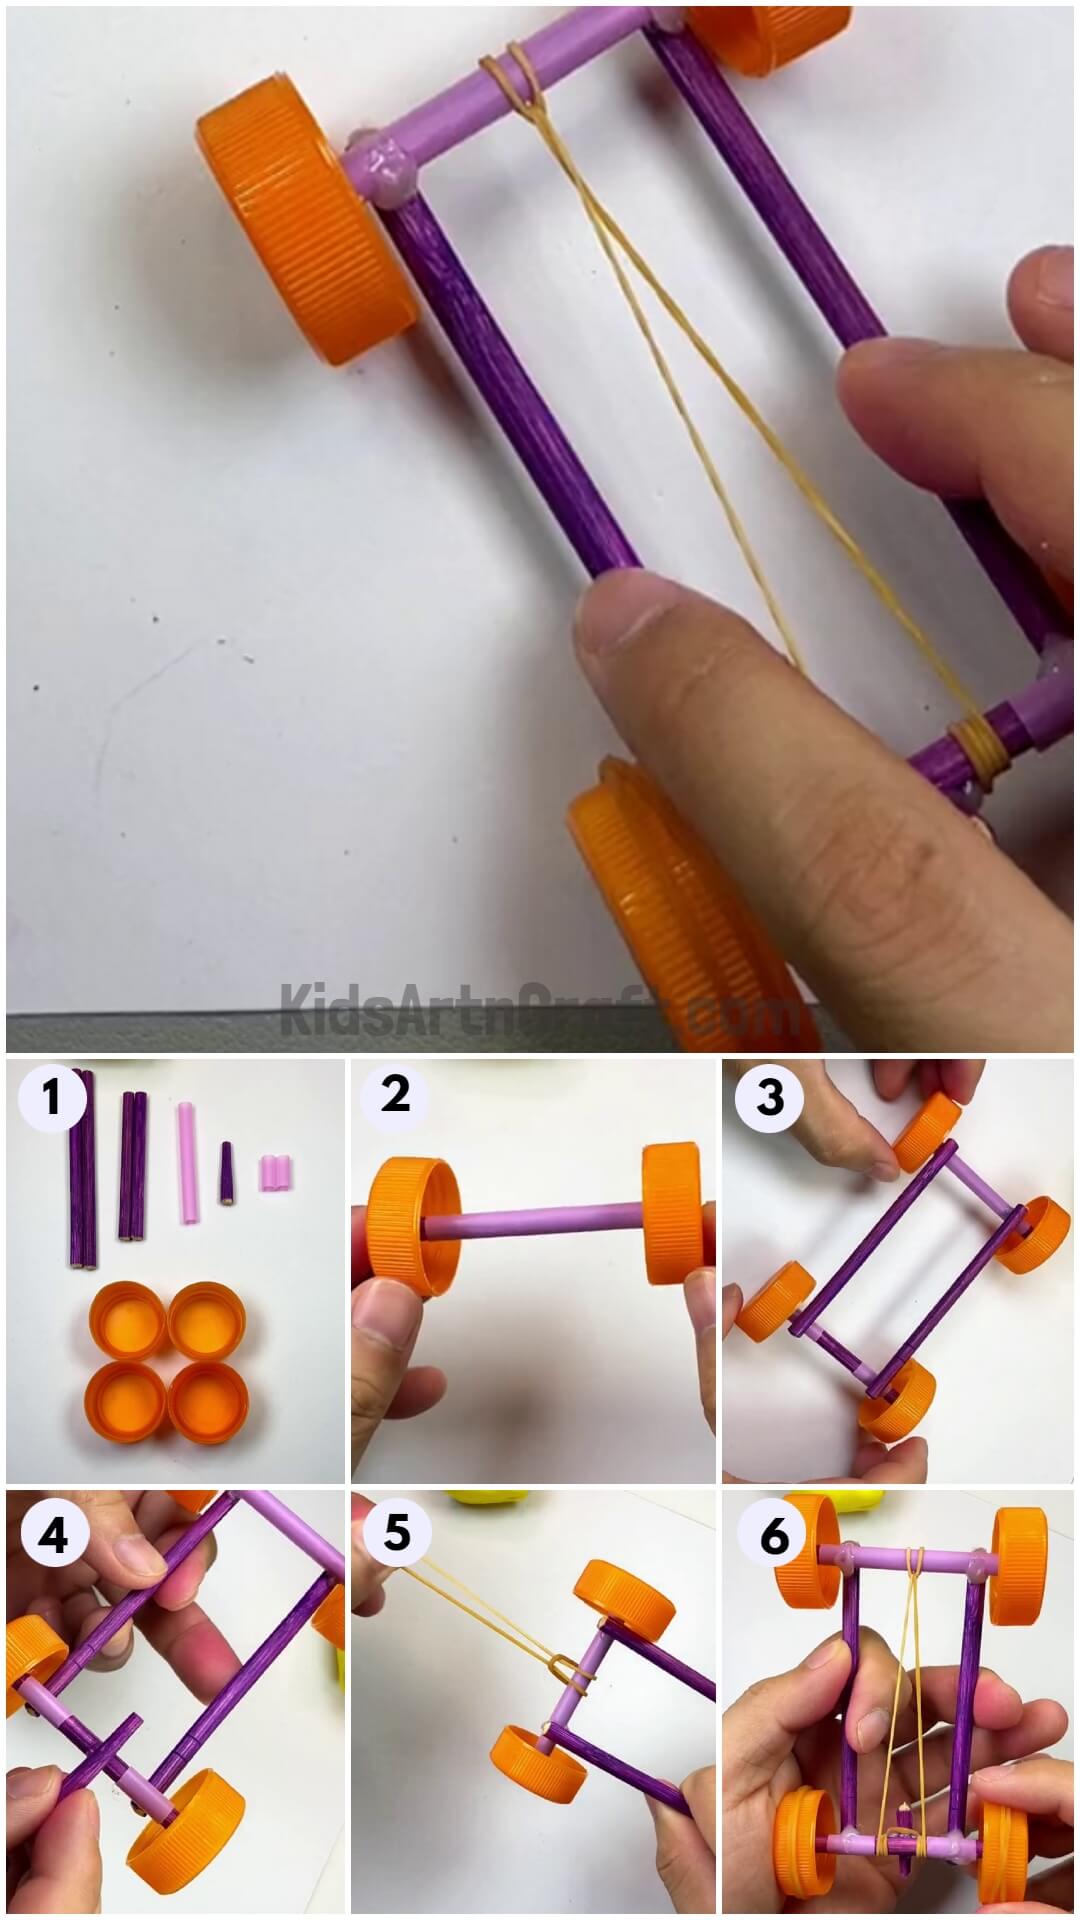
Step 2: Cutting The Chopsticks And Straw, And Taking Bottle Caps
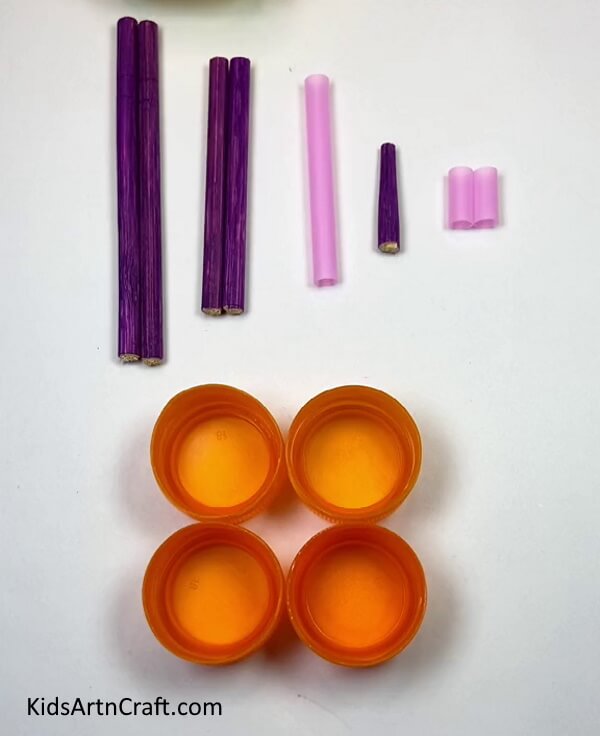
Cut the chopsticks into 3 portions and straw as shown in the image, and also take 4 similar bottle caps. Color the chopsticks with a purple marker.
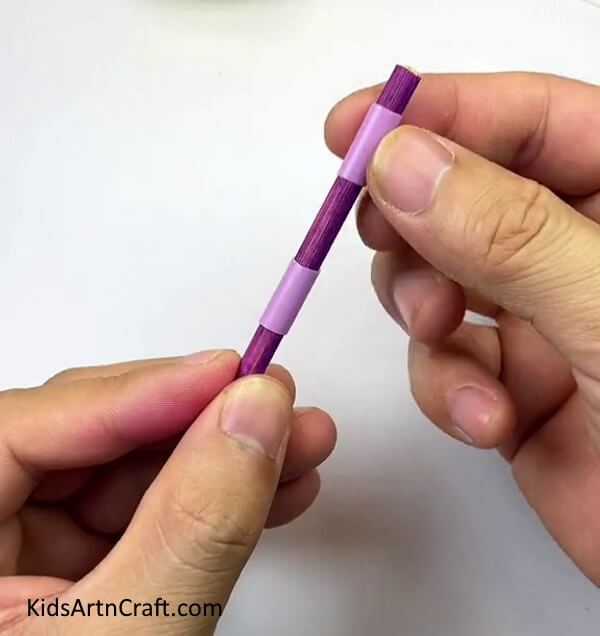
Step 3: Covering The Chopstick With Straw
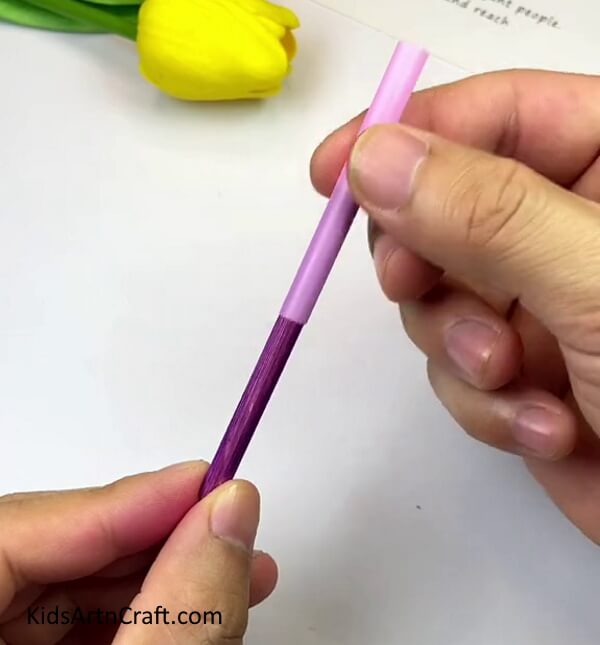
Cover the middle-length chopstick with the large straw piece.
Step 4: Applying Glue Gun In Caps
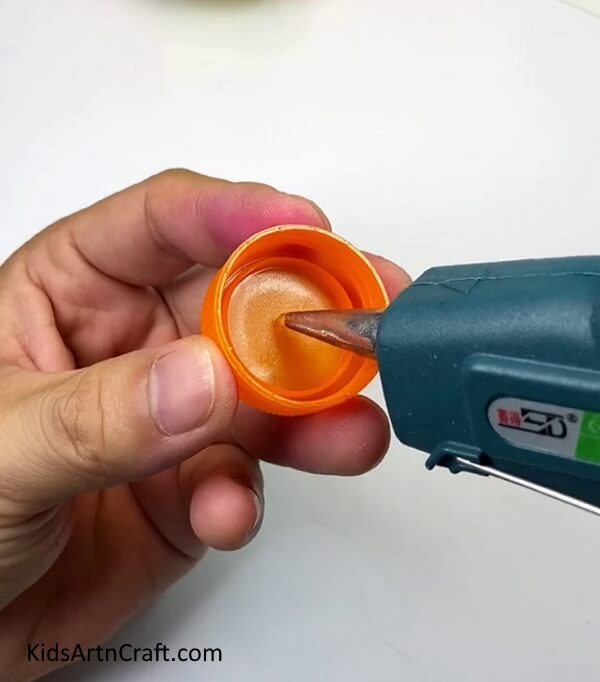
Apply glue gun inside the center of 2 bottle caps.
Step 5: Pasting The Stick To Caps
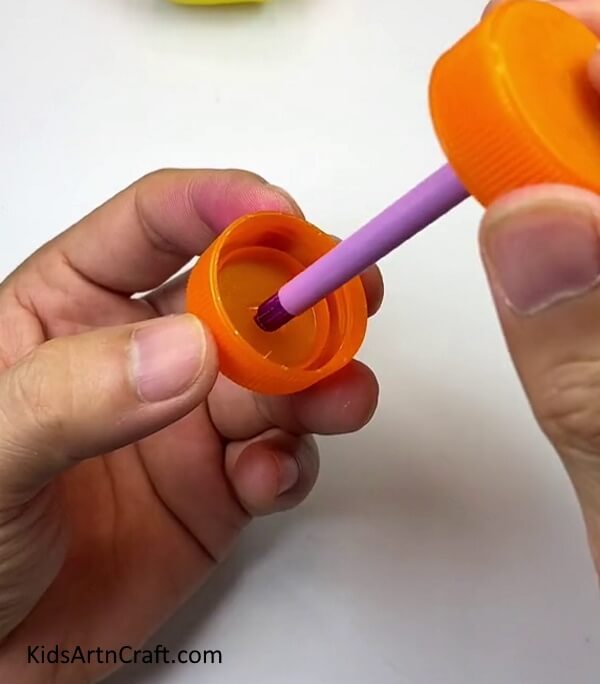
Paste the ends covered and stick them to the bottle caps from the glue gun.
Step 6: Aligning The Caps
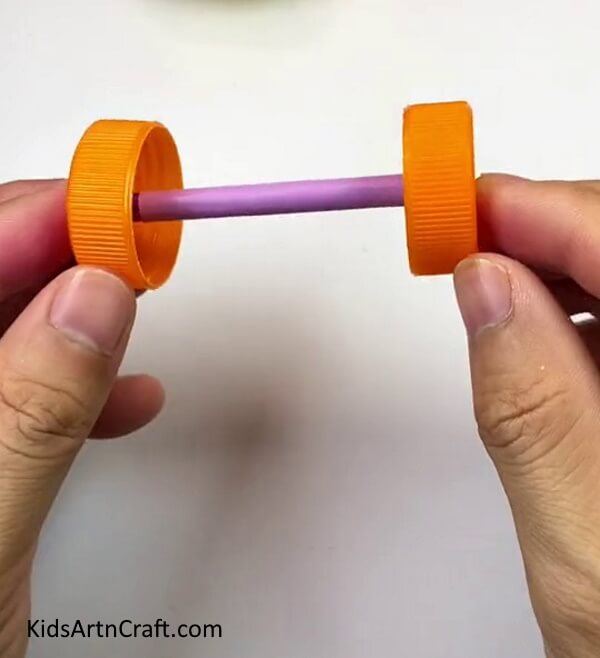
Press the bottle caps against the stick and align them properly in the center.
Step 7: Inserting The Small Straw Pieces Into Stick
Insert the small straw pieces inside the other middle-length chopstick. Make sure to place them by leaving some space from both ends.
Step 8: Making The Car Base
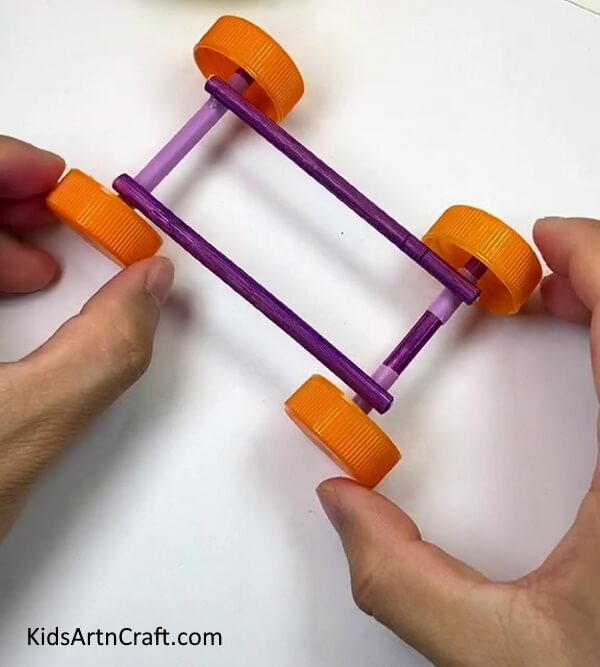
Again follow steps 4-5-6 for the other stick and form 2 sets of wheels of the car. Now, paste the longer sticks over the straw-covered part of the wheels and form a rectangle as the base of the car.
Step 9: Pasting The Smallest Stick Part
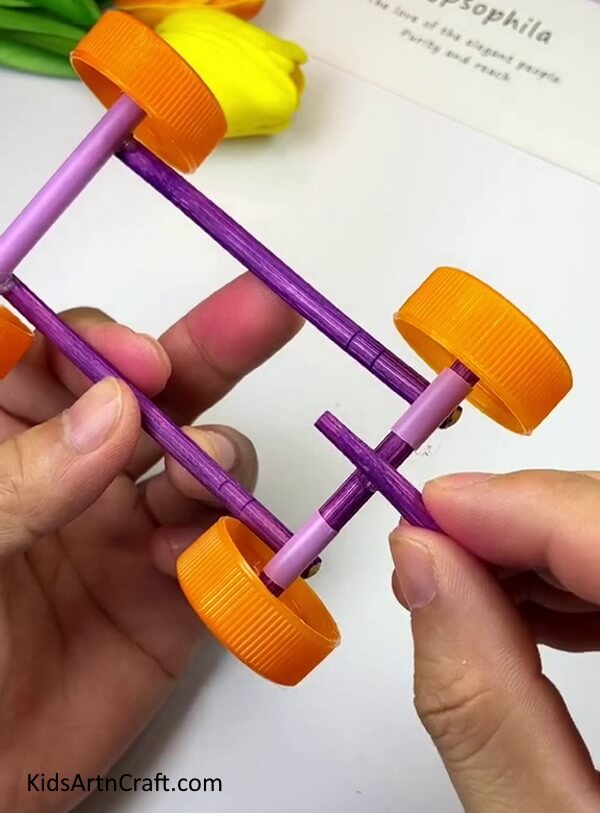
Paste the smallest stick part in between the straw-covered parts in a ‘+’ form. Make sure to keep the broader stick part outside the rectangle.
Step 10: Securing A Rubber Band Over The Strewed-Stick Part
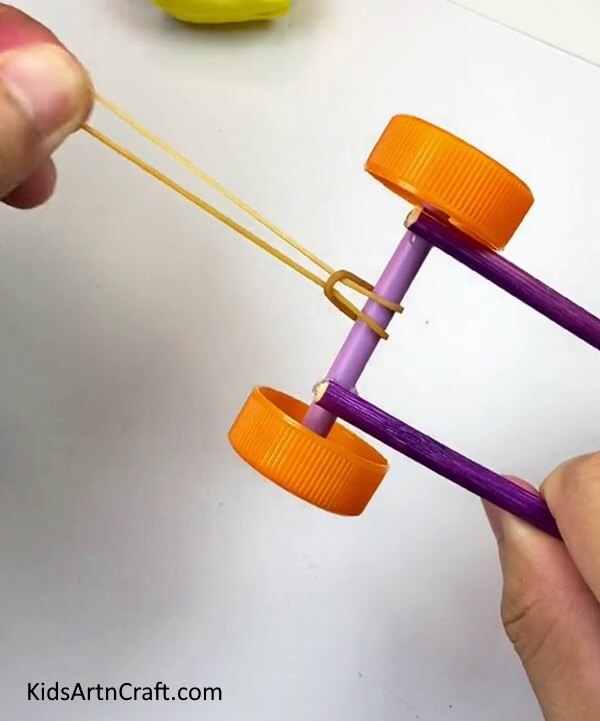
Take a rubber band and secure it over the strewed part of the car by making a knot as shown in the image.
Step 11: Stretching The Rubber Band Inside The Smallest Stick
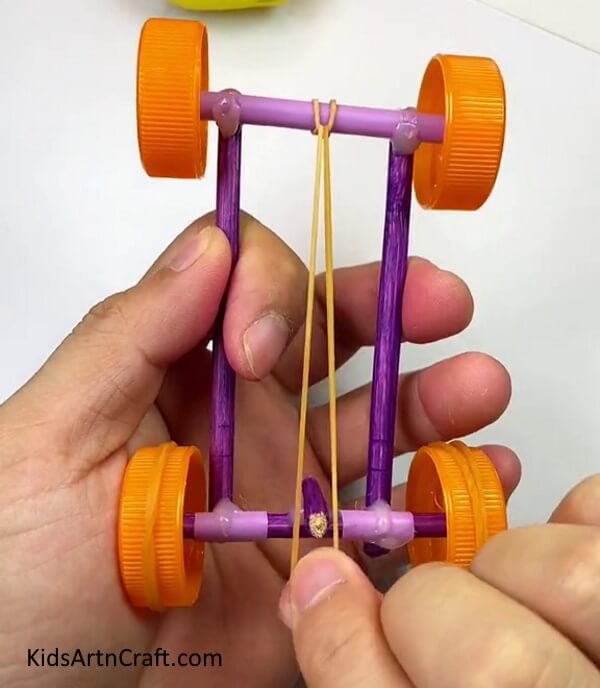
Stretch the rubber to the other side of the car over the smallest stick and put it inside the stick. Also, cover the back wheels of the car with a rubber band for making a grip.
Step 12: Rolling The Wheels
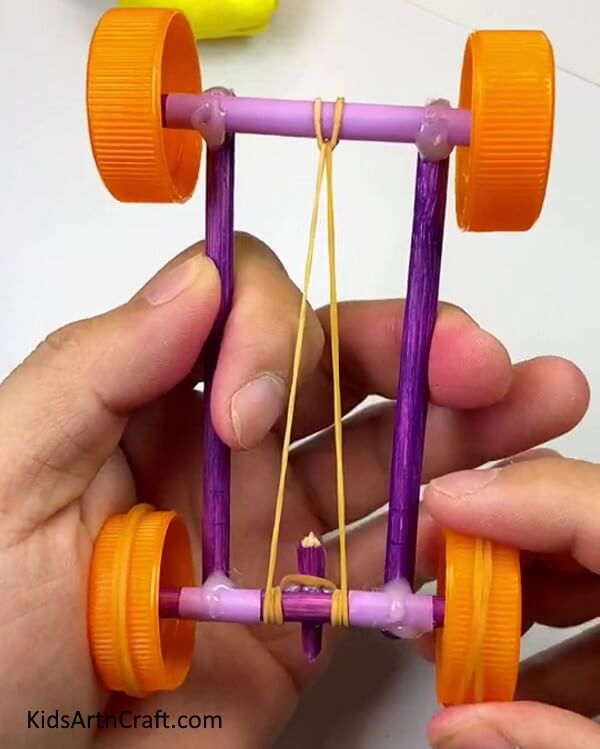
Roll the back wheels backward to roll over the rubber band over the stick.
Your DIY Toy Car Is Ready!
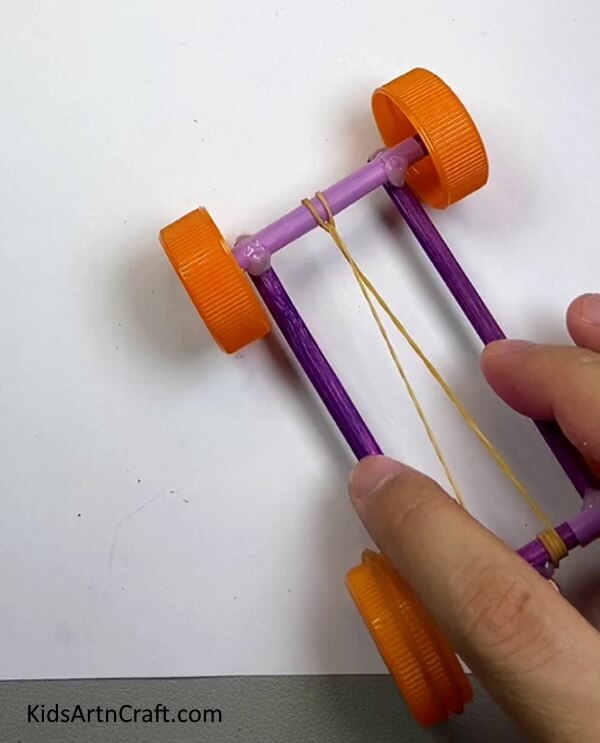
Now, hold the car over a surface and release it to make it go! Woho! Your Toy Car is ready to rock!
This amazing car will be the best of your creation to date! You can customize the creation as per your preferences to make it unique! This car will keep your kids busy creating it and playing with it! Kids are fond of toy cars and making them on their own will pop up their excitement to play with it! Make your own DIY toy car today and have fun riding it over and competing with your friends!
Some More Toy Craft Tutorial
Creating To Make Toy Car Using Straw For Kids
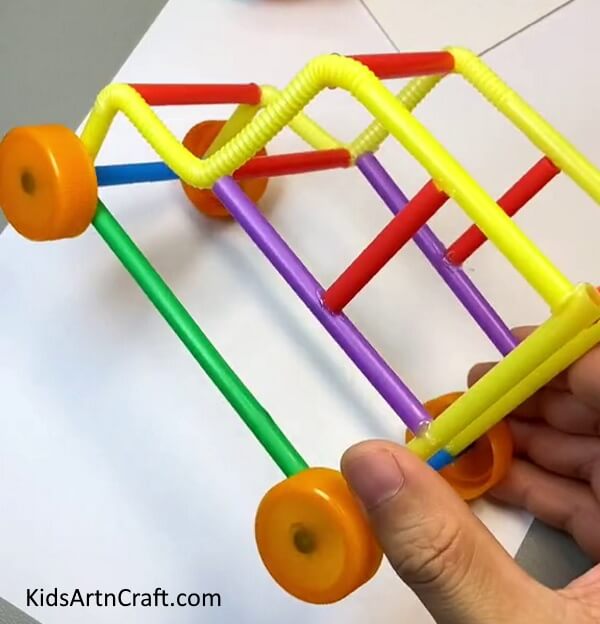
Image Source/Tutorial: Kids Art & Craft
This fun and creative activity is perfect for kids who love to build! Using simple materials like straws, kids can create their very own toy car. With a little bit of imagination and creativity, they can make a unique and fun toy car to play with.
Spinner Art Activity Using Bottle Cap For Youngsters
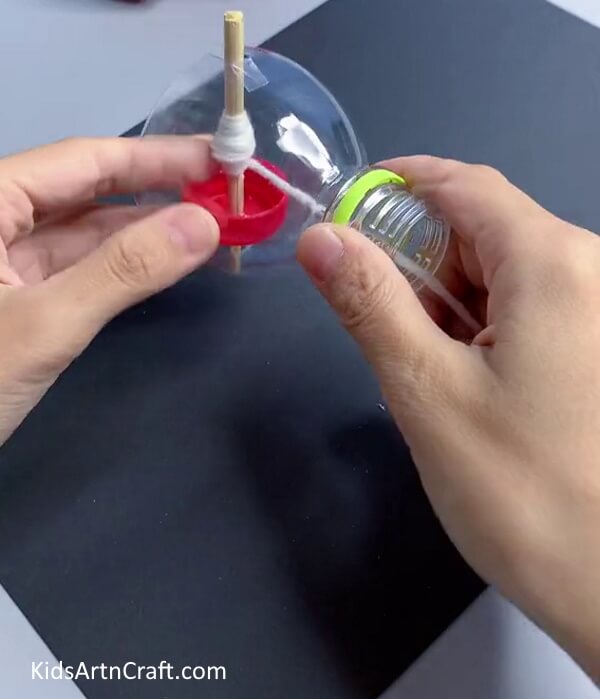
Image Source/Tutorial: Kids Art & Craft
This fun and creative spinner art activity using bottle caps is perfect for youngsters. It’s simple to do and encourages creativity and artistic expression. It’s a great way to spend time with the kids and get them excited about creating art.
Homemade Toy Car Craft with Balloons and straws
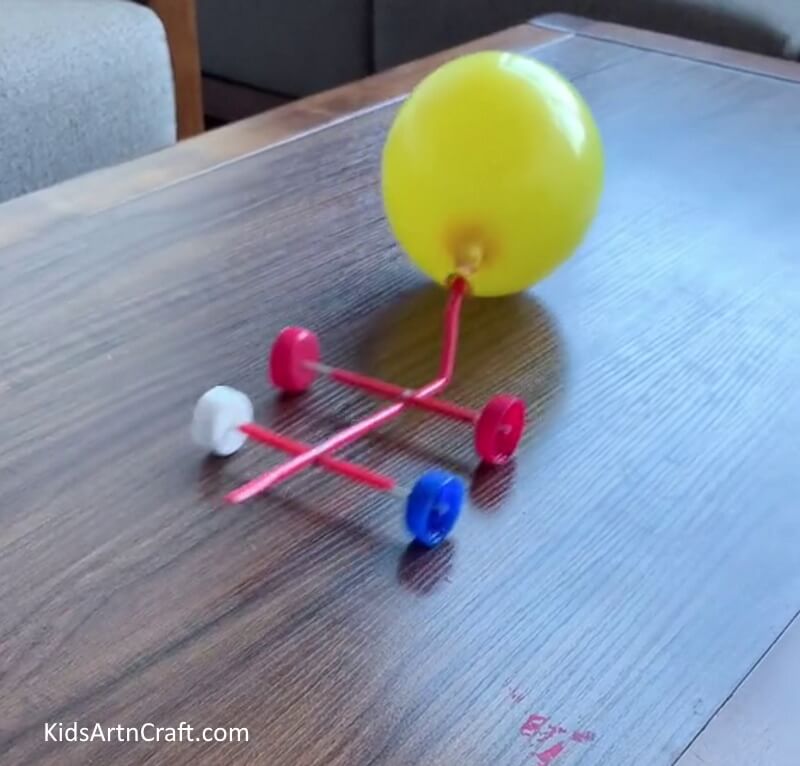
Image Source/Tutorial: Kids Art & Craft
This fun and creative car toy making craft for kids, is a great way to keep them entertained over the weekend! With just a few balloons and straws, children can make their own homemade car that they can play with and show off to their friends.
Follow us on You tube for art and craft tutorials and much more.
More Articles from Kids Art & Craft
- Easy Spinning Toy From Paper Cup And Straws For Kids
- How to Make Handmade Straw Fan Tutorial for Kids
- DIY Giraffe Handprint Craft Tutorial For Kids
- Easy Fall Leaf Craft Step by Step For Kids
- DIY Firefly With String Lights Craft Tutorial For Kids


