DIY and Crafts
DIY Bubble Wrap Hot Air Balloon Craft For Kids

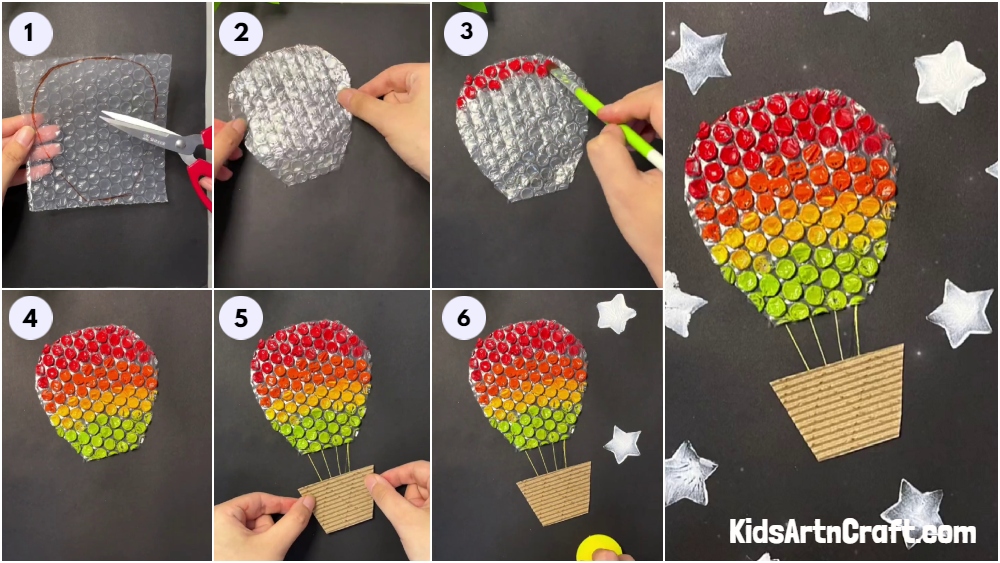
Encourage your kids to explore their creativity with this easy and fun DIY Bubble Wrap Hot Air Balloon Craft! With just a few supplies and a little imagination, they can make their own colorful hot air balloon that can be hung up in their room.
We all love shopping and what is the one thing that we love about it, apart from new stuff and the excitement that it brings along? The thing I am talking about is bubble wrap, free of cost and a great stress buster. It is known to relieve anxiety and tension. Look for one in a recent shopping bag and let’s turn it into art. This art is going to be a blend of adventure and craft. The adventure in question is a gondola hot air balloon. So, have fun with the tutorial as it includes both fun and adventure. That makes everything about this tutorial fun and energizing. So, let’s just dive into it.
Easy Bubble Wrap Hot Air Balloon Craft For Kids
Read More: How to Make Bubble Wrap Corn Craft Easy Tutorial
Material Used
- Bubble Wrap
- A Black Sheet Of Paper
- A Pair Of Scissors
- Paint (Red, Orange, Green, And White)
- A Yellow Sketch Pen
- A Glue Stick
- A Star Stamp
- A Small Piece Of Cardboard
Procedure
Step 1: Cut The Bubble Wrap
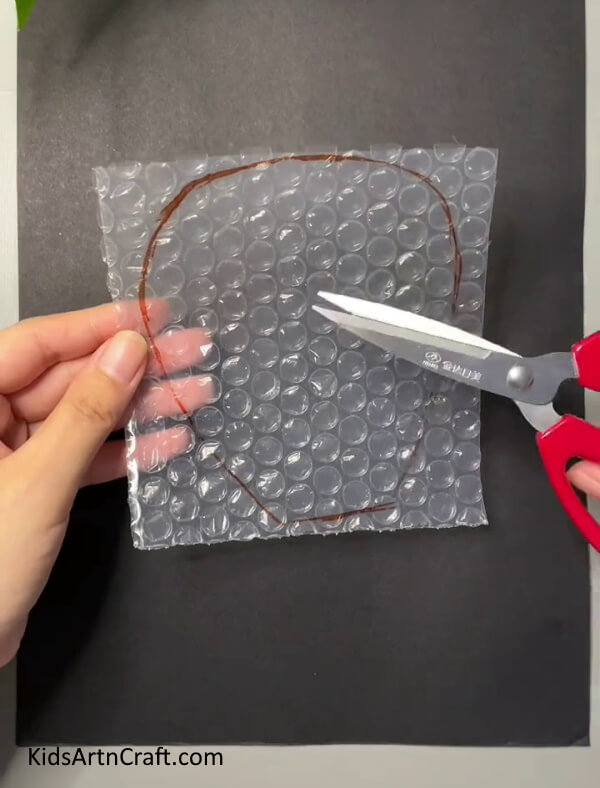
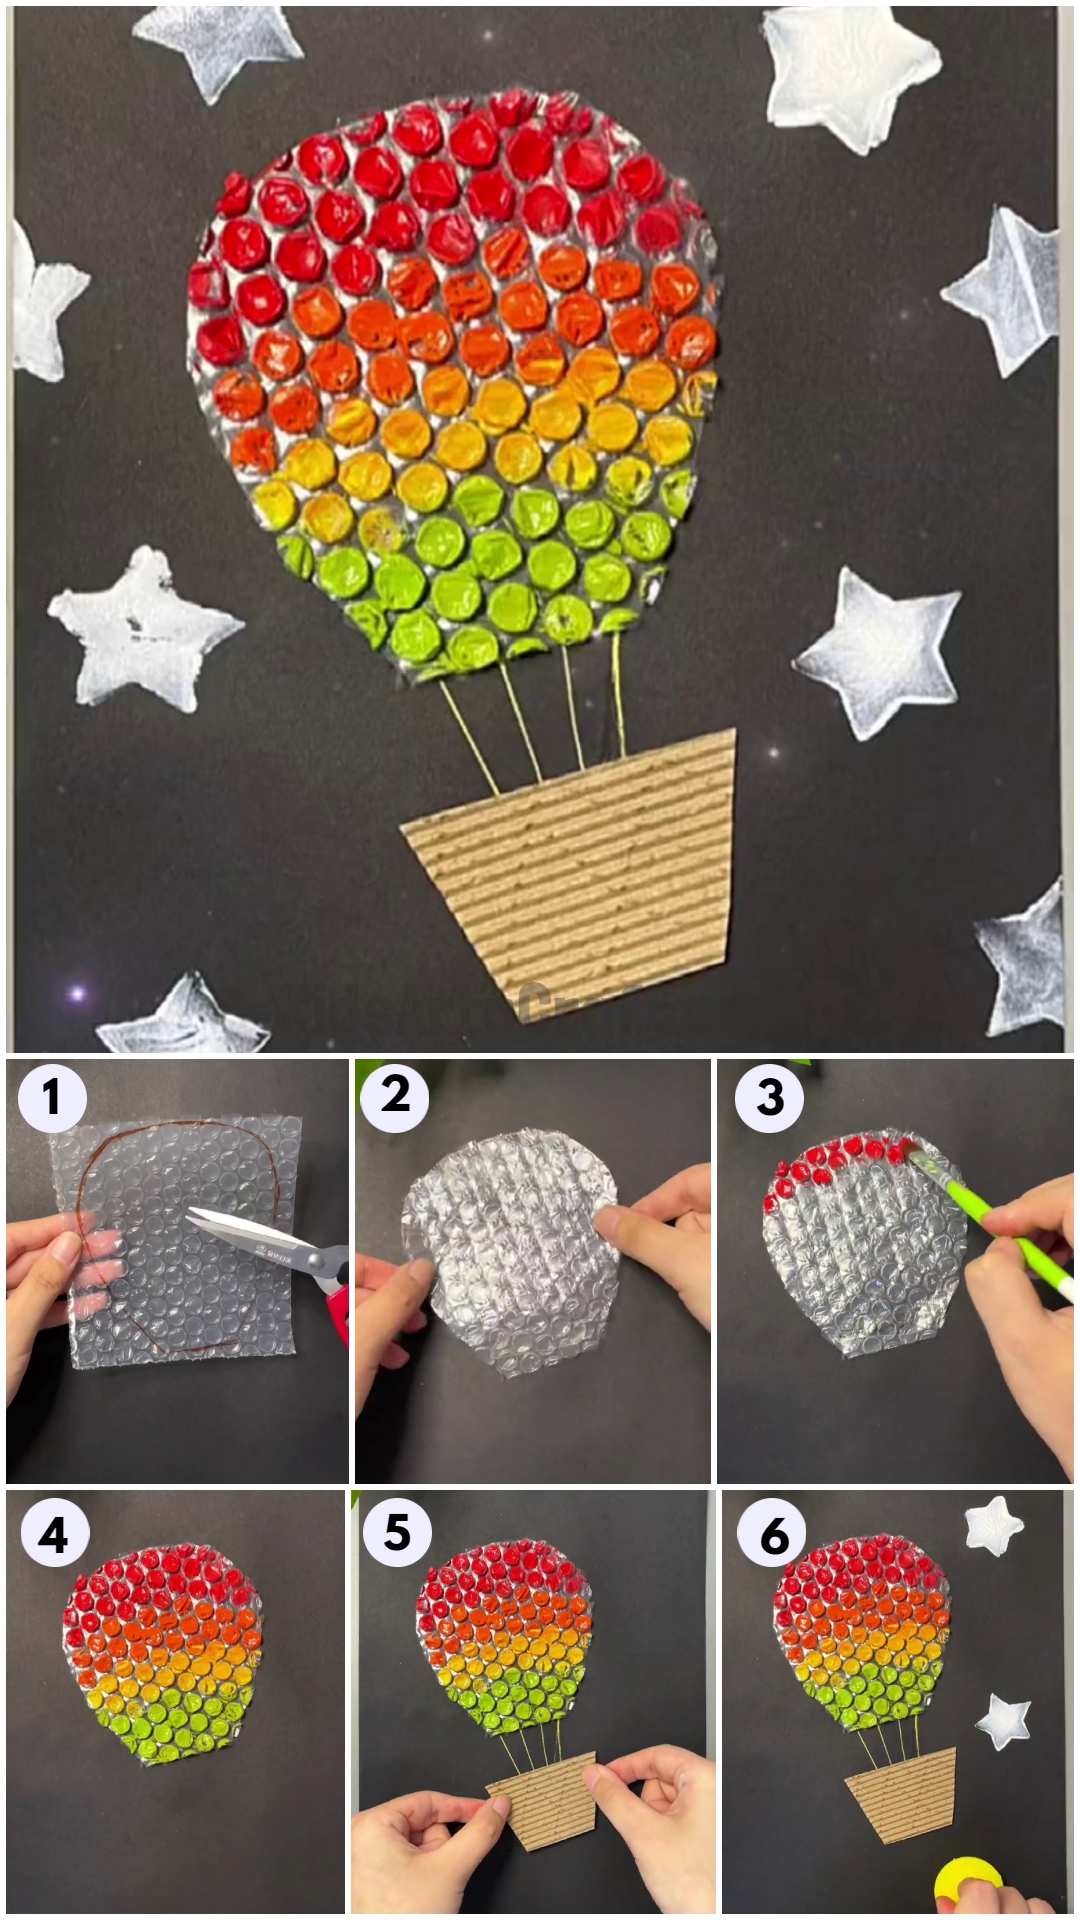
Take one piece of bubble wrap and draw a big petal shape on it with a sketch pen as shown in the picture below. It should be flat at the bottom and round at the top. Cut the bubble wrap into the petal shape you just drew. It now has a shape of a balloon.
Step 2: Pasting The Bubble Wrap
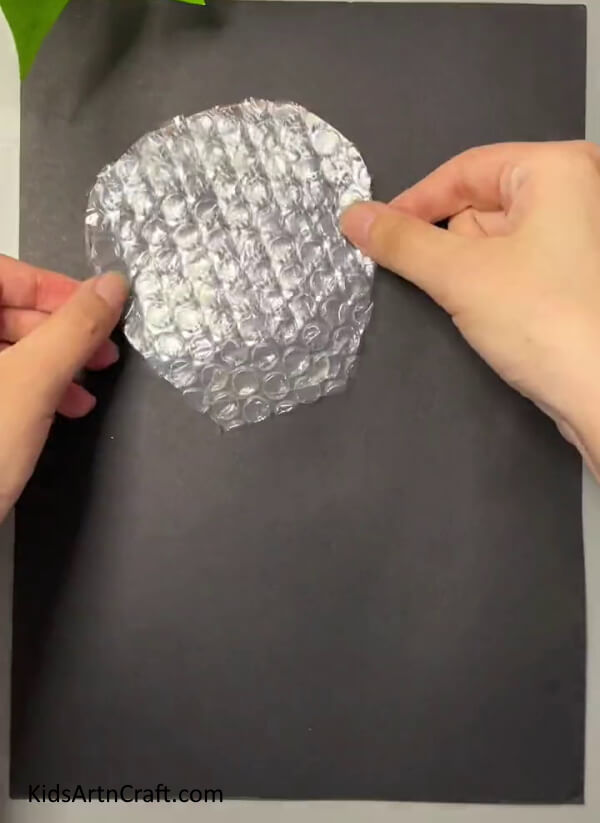
Take a black sheet of paper and place it on the table pasting the bubble wrap on it. It should be pasted a little tilted at the top left corner of the sheet as shown in the picture below.
Step 3: Paint The Bubble Wrap
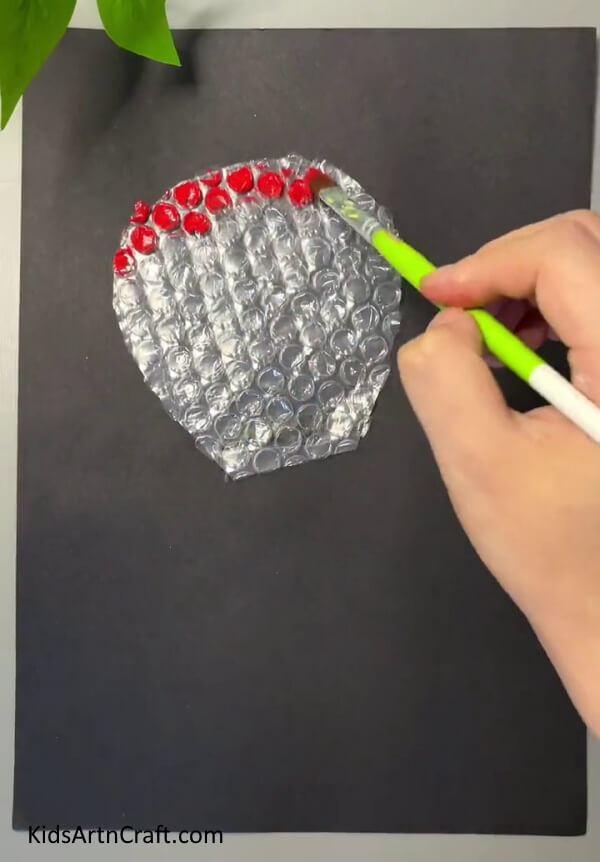
Take some red color and paint it on the top four lines of the bubble wrap on the circular bubbles only. Don’t spill it on the spaces between the bubbles.
Step 4: Colour The Rest Of The Balloon
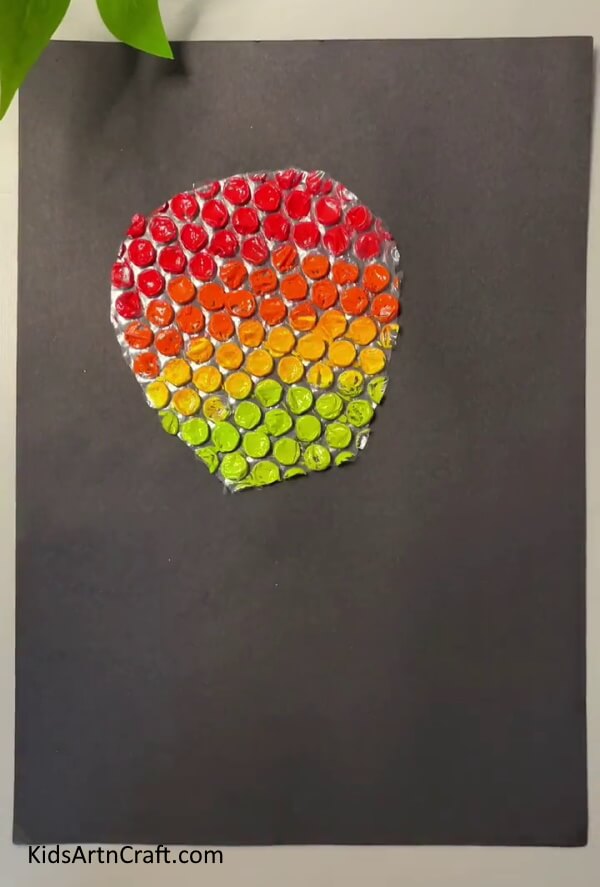
Color the middle lines of the bubbles orange and the bottom lines green. Blend the colors together at the lines where they meet to make them look organic and well-knit. Looking like a good blend of colors of the sunset. See the picture below for reference.
Step 5: Draw Some Lines On The Sheet
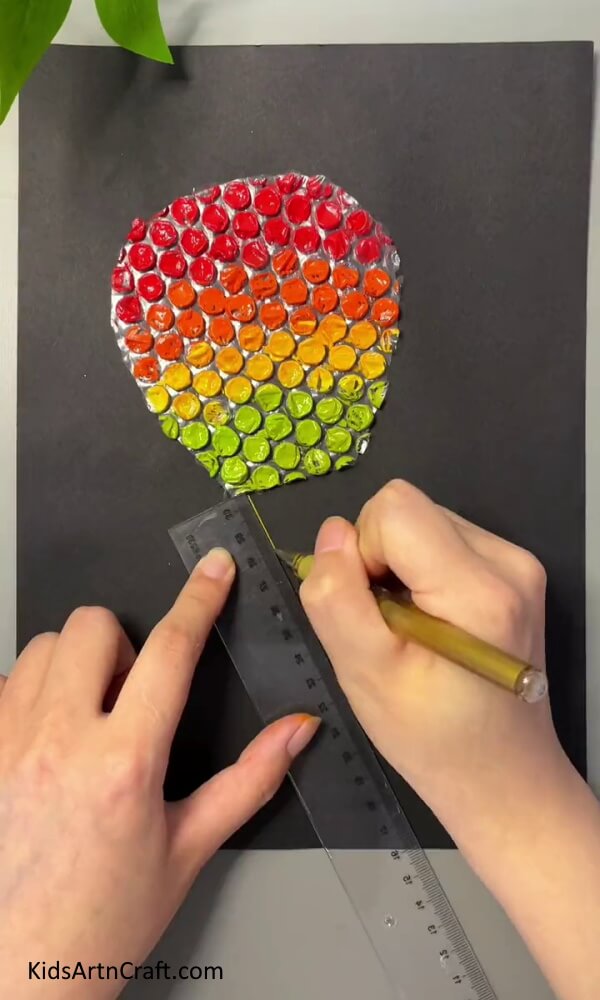
Take a yellow sketch pen and draw a line below the balloon on the black sheet. The line should be vertical and not very long. The line also needs to be a little tilted. This tilted line should be made at the corner of the flat surface. Use a scale for straight, perfect lines.
Step 6: Making Three More Lines
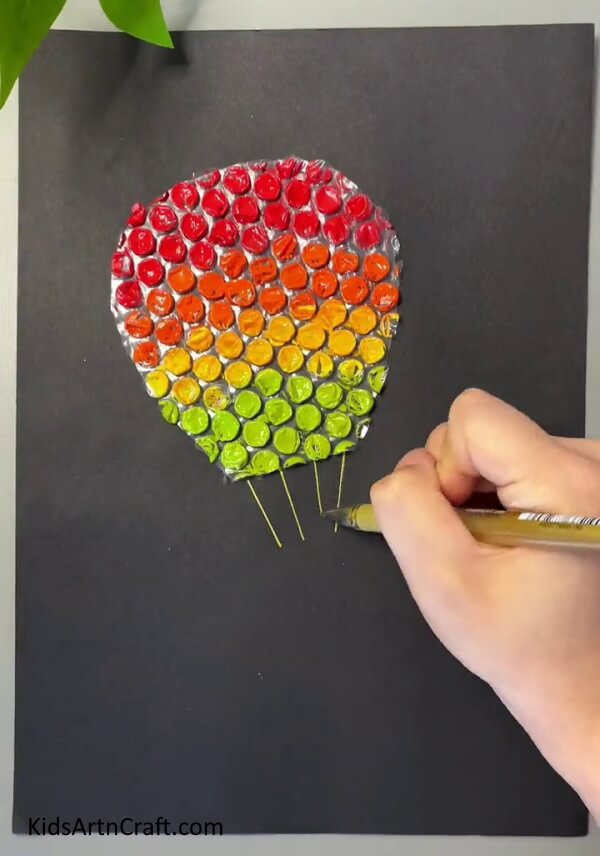
Draw a similar line on the other corner of the flat surface on the black sheet. And draw two straight lines of the same size in between. See the picture below for better reference.
Step 7: Making The Cardboard Gondola
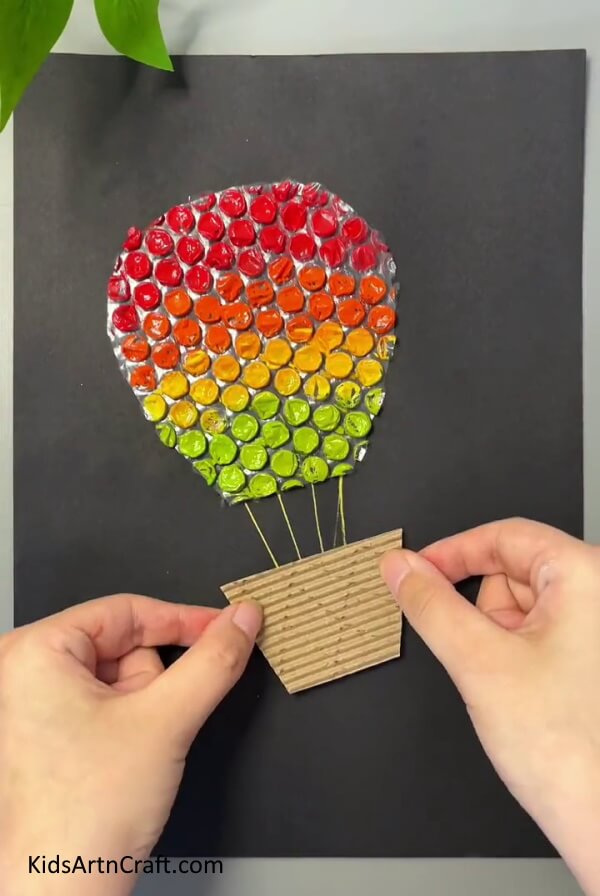
Take a cardboard sheet and draw a trapezoid on it and cut the shape out of the cardboard. This trapezoid needs to be small in size but not tiny. See the picture below for reference. Using some glue, paste the trapezoid on the black sheet. Position the trapezoid on the ends of the lines you drew earlier. Draw some criss-cross marks on it with a pencil to make it look authentic. These lines should be light and not very dark and prominent. This completes the process of making the gondola.
Step 8: Stamping a Star On The Black Sheet
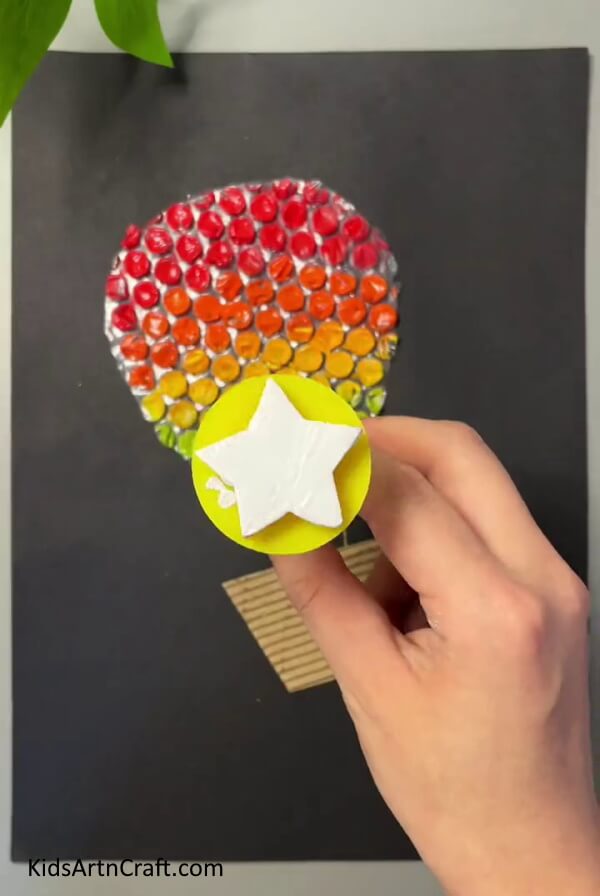
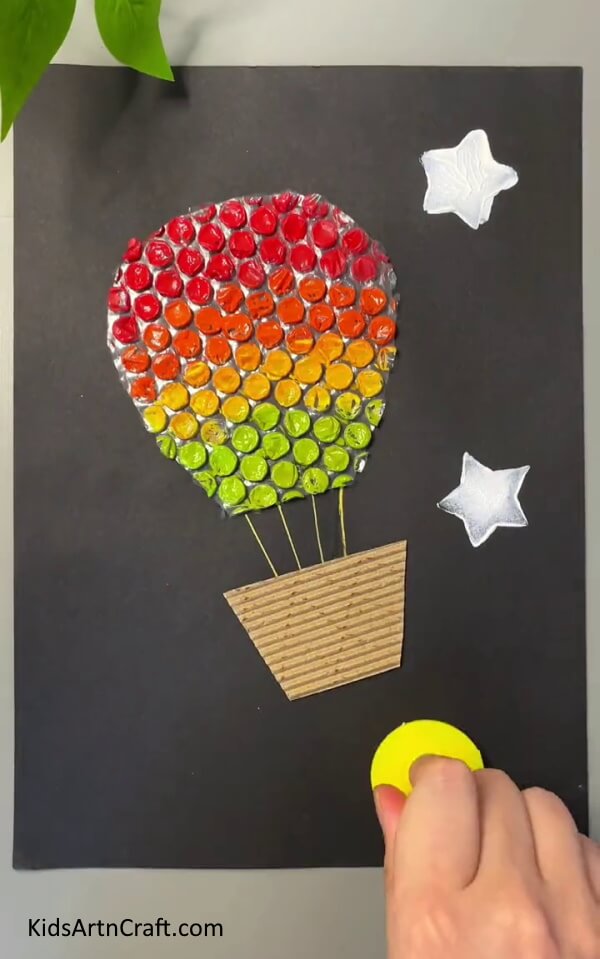
Spread some white paint on a mixing palette and mix some water in it, just a little bit. Dip the star stamp in it. Now, stamp this star on the blank space of the sheet on the right side.
Step 9: An Alternative For The Stamp
If you don’t have a star stamp, take a white sketch pen and draw a star on the blank spaces and paint it with white color. Give proper definitions to the ends of the star. Make more such stars on the entire blank space on all the sides to give the effect of a beautiful starry night.
Hot Air Balloon And a Starry Night!
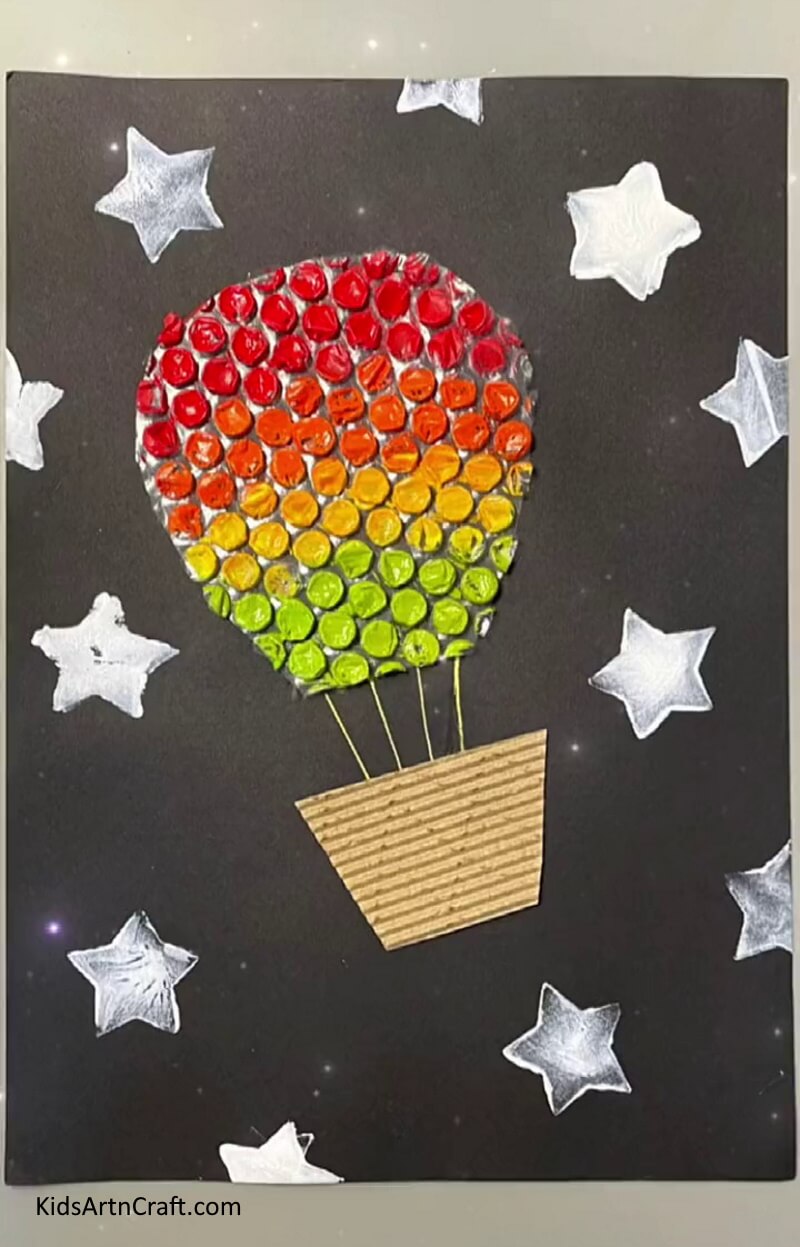
This completes the entire image of this art with both the balloon and the mysterious star-lit night. The colors on the balloon look absolutely amazing and the stars look bright, adding life to the blank sheet of paper giving it an apt appearance of the night.
This brings an end to the tutorial. Today you learned to use inexpensive, wrapping stuff to make art and add some considerable value to it. You also learned good painting skills today. Practice the blending technique you came across in this tutorial as it is going to help you in a lot of artistic ventures. You can hang it on the walls of your room, paste it in your art book or submit it as an art project to your class. Think how cool will it look on the walls of your class. You can use items like bubble wrap to make more art involving different, unique ideas. Use your imagination to shape your art into something that is significant to just you. Explore the depths of your mind to bring out exclusive ideas and plans. Keep practising and keep moving on with your art reaching the next levels one step at a time.
Follow us on Youtube for art and craft tutorials and much more.
More Articles from Kids Art & Craft
- DIY Easy Paper Cup Octopus Craft For Kids
- Recycled Turtle Craft With Sun Using Leaves
- How to Make Ladybug with Toilet Paper Roll
- Easy Paper Robot Craft Step-By-Step Tutorial
- Bubble Wrap Printed Pomegranate Craft For Kids


