


DIY and Crafts
Paper Princess Step by Step tutorial for kids

Kids are fascinated with stories of princes and princesses! They love to listen to stories about them and get inspired to become like them. We present to you an amazing and simple-to-follow step-by-step tutorial on how to make a paper princess. With a few basic craft supplies and a little guidance, let your kids dive into the world of craft wearing the cape of imagination and creativity. Let’s get started!
DIY Paper Princess Craft With Step by Step Tutorial
Read more: Easy to Learn Father’s Day Drawing Video Tutorial For All
Materials Required
- Colored Papers
- Scissors
- Glue
- Wooden Stick
- Sketch Pen (Black, Red)
Procedure
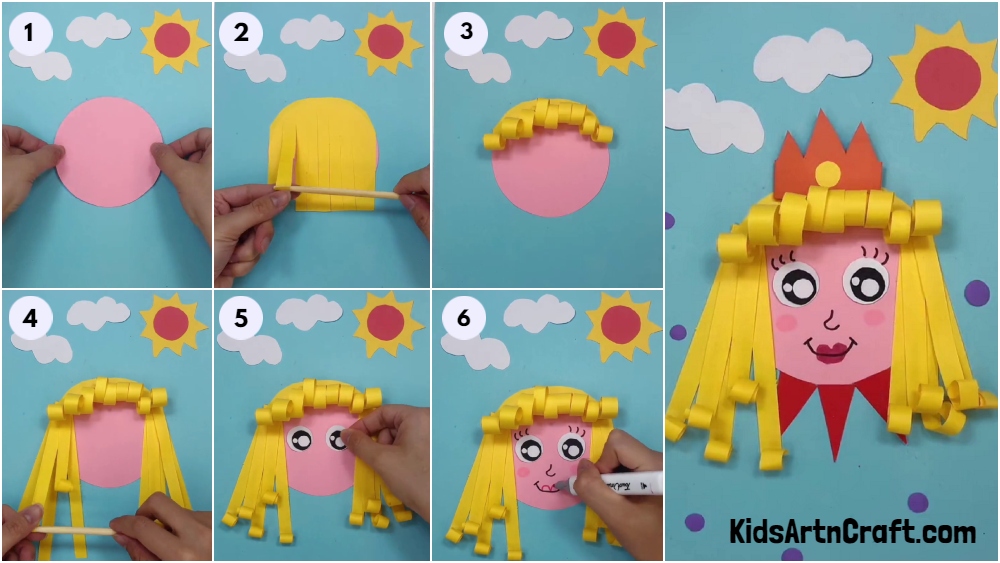
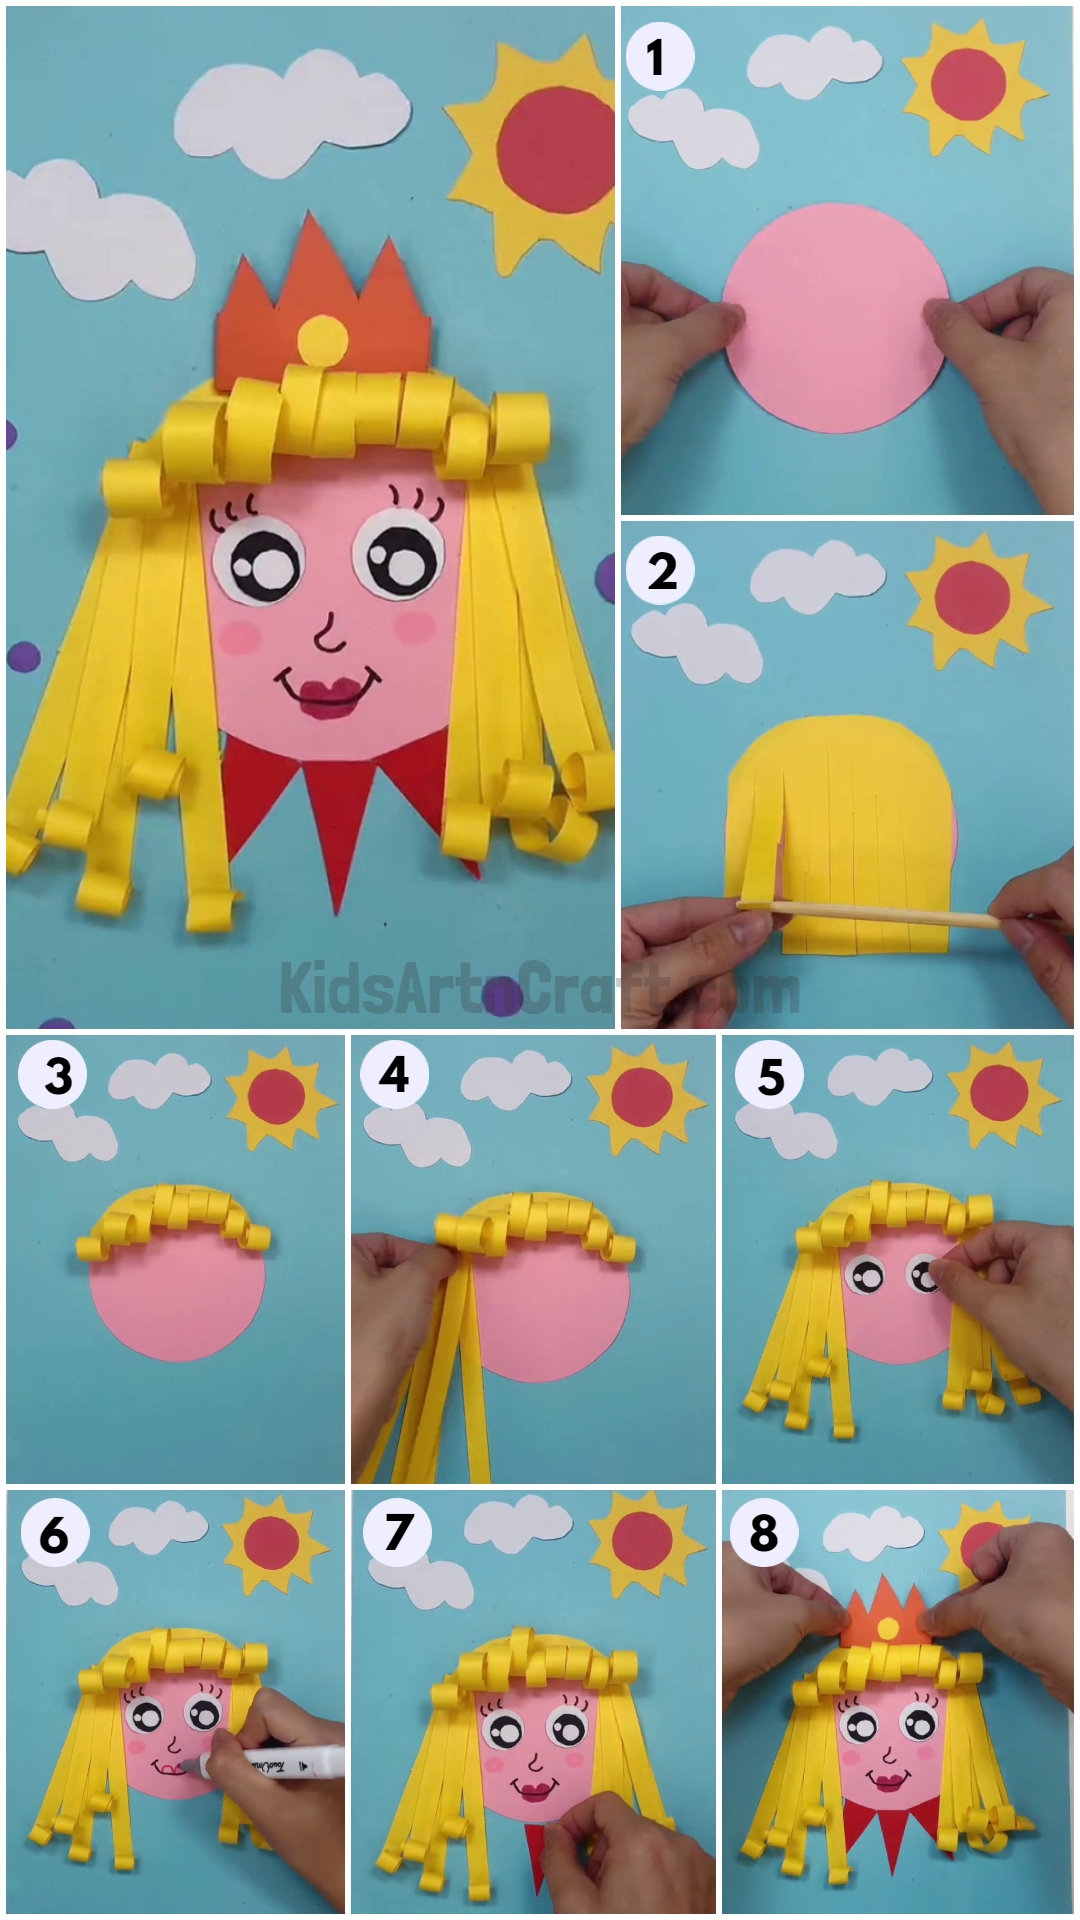
Step 1: Cutting A Pink Circle
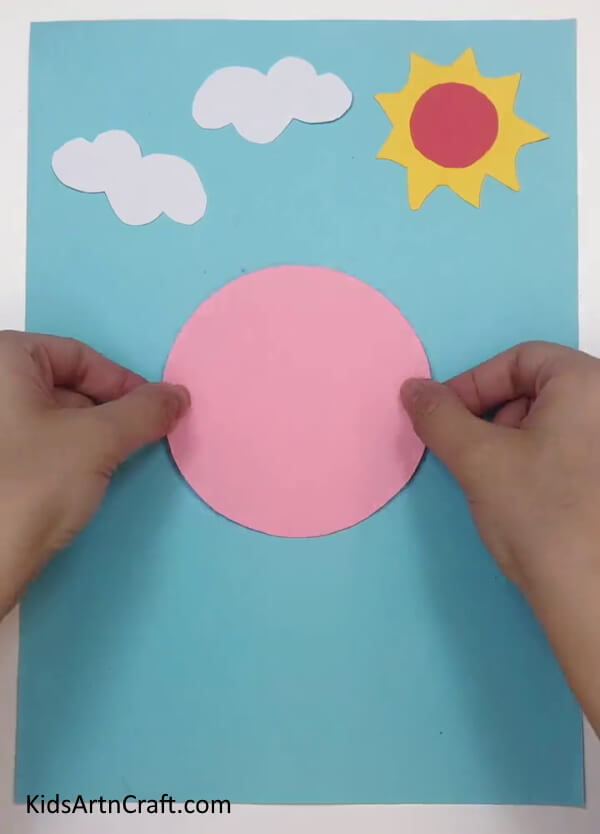
Let’s begin our paper princess craft by taking a blue paper. Make the sun with yellow and orange paper and the clouds with white paper. Paste them on top of the blue paper. Next, take pink paper, and cut a circle out of it. Paste it in the center of the blue paper as shown in the image.
Step 2: Making Cuts on A Yellow Paper
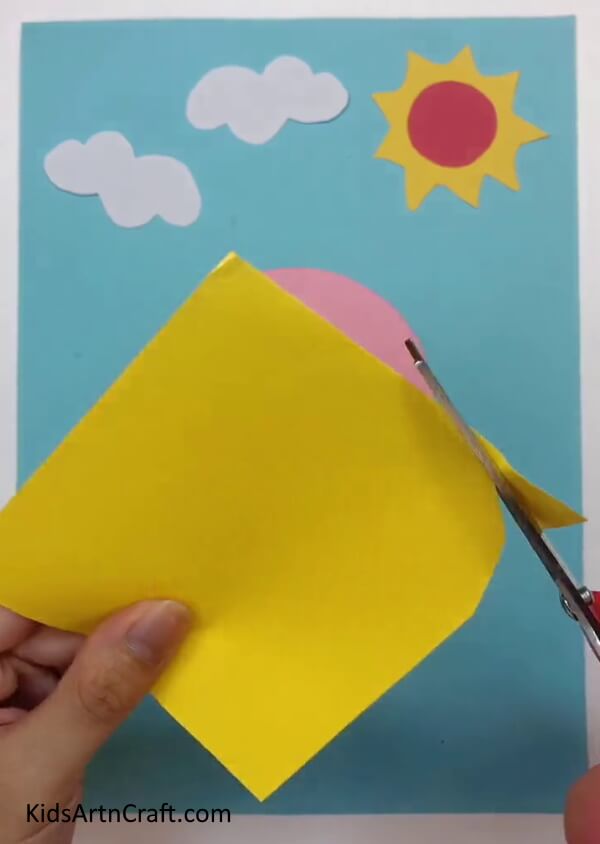
Take a yellow paper. Cut it into a square shape. Make one side of the square round in shape.
Step 3: Cutting Vertical Strips
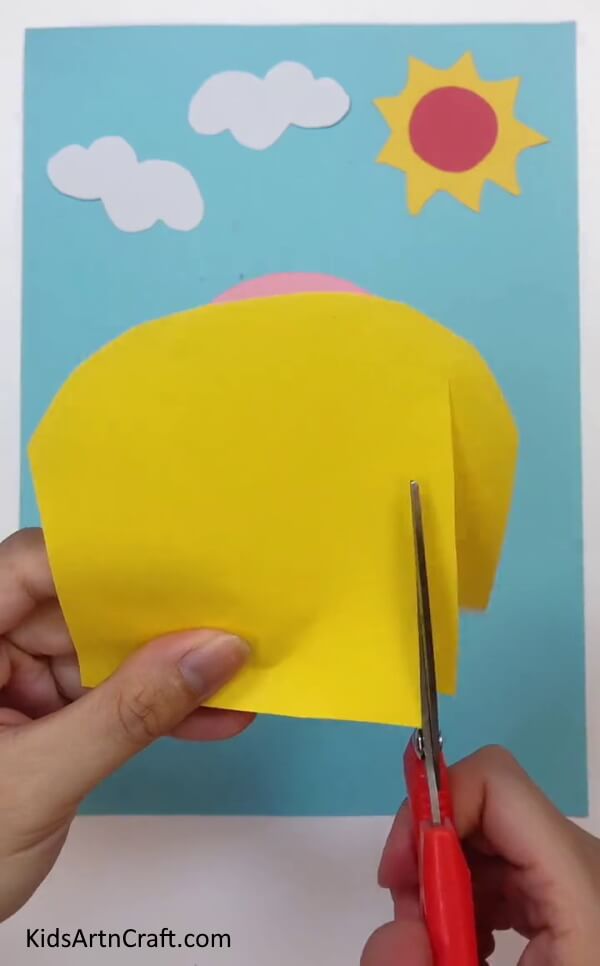
Keep the rounded edge on top. From the bottom edge, cut equally spaced vertical strips. Leave some margin at the top. Don’t cut the strips till the end.
Step 4: Rolling The Vertical Strips

To roll the strips, take a wooden stick. Place it at the end of the strip and start rolling it upwards to make a spiral shape. This will make beautiful bangs for the princess.
Step 5: Pretty Hair Bangs For The Princess
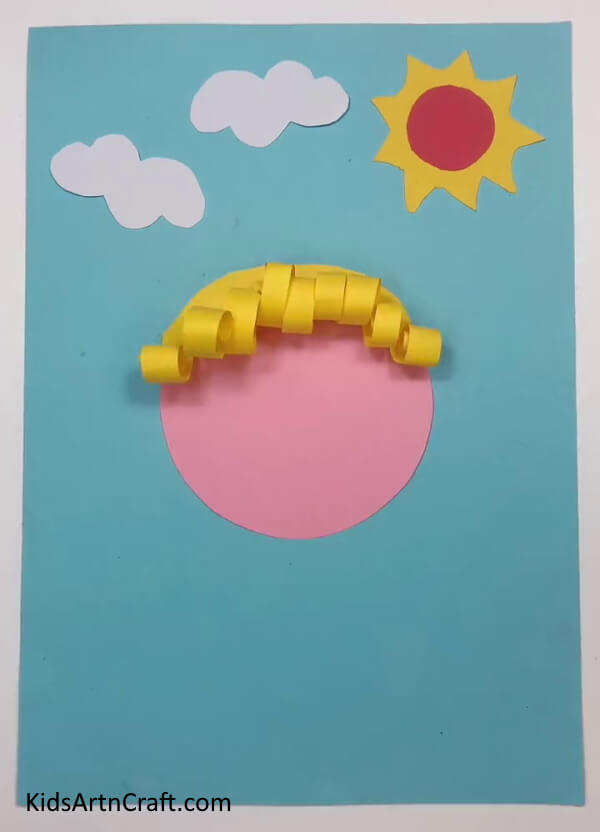
After finishing the above steps, you will get beautiful bangs for the paper princess.
Step 6: Attaching More Hair Strands
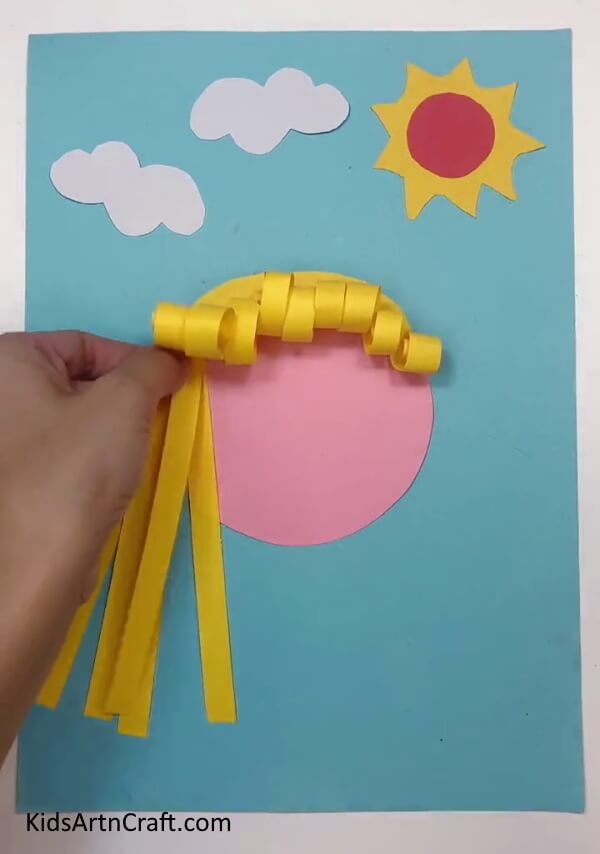 Take yellow paper and cut vertical strips. Attach them closely on both sides of the hair bangs as shown in the image.
Step 7: Rolling The Hair Strands
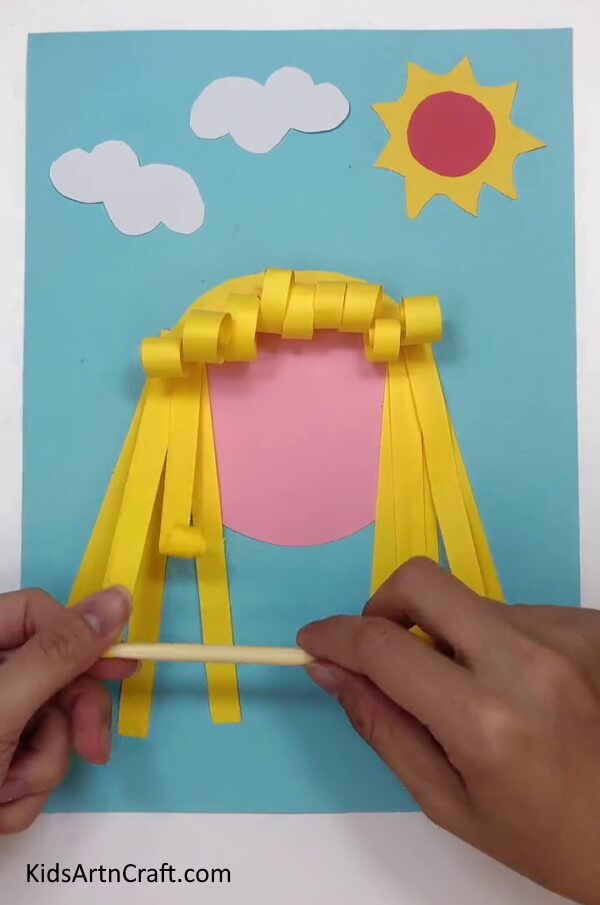
Take the wooden stick, and slightly roll the ends of the hair strands upwards as shown. Repeat the same on both sides.
Step 8: Making The Eyes For The Paper Princess
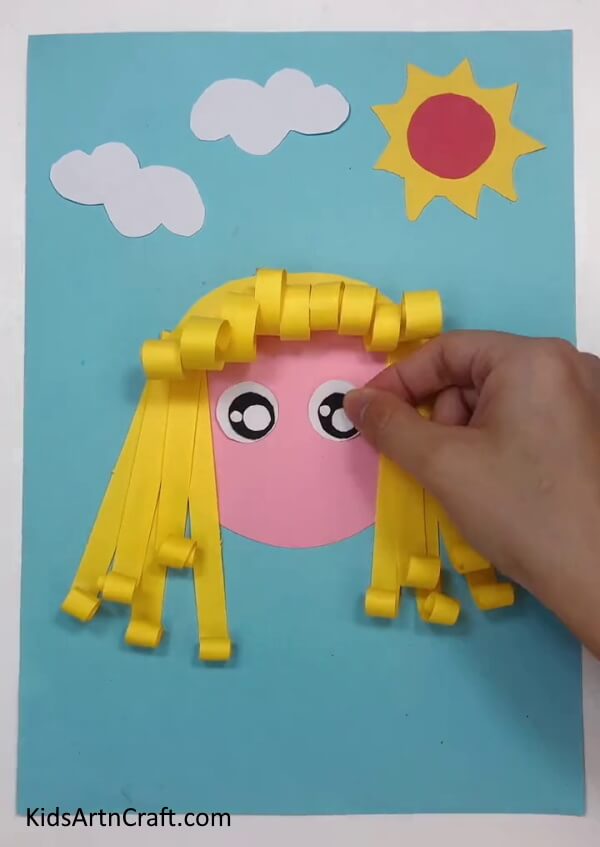
Using black and white paper, make eyes for the paper princess. Paste them below the bangs as shown.
Step 9: Making The Eyelashes And The Nose
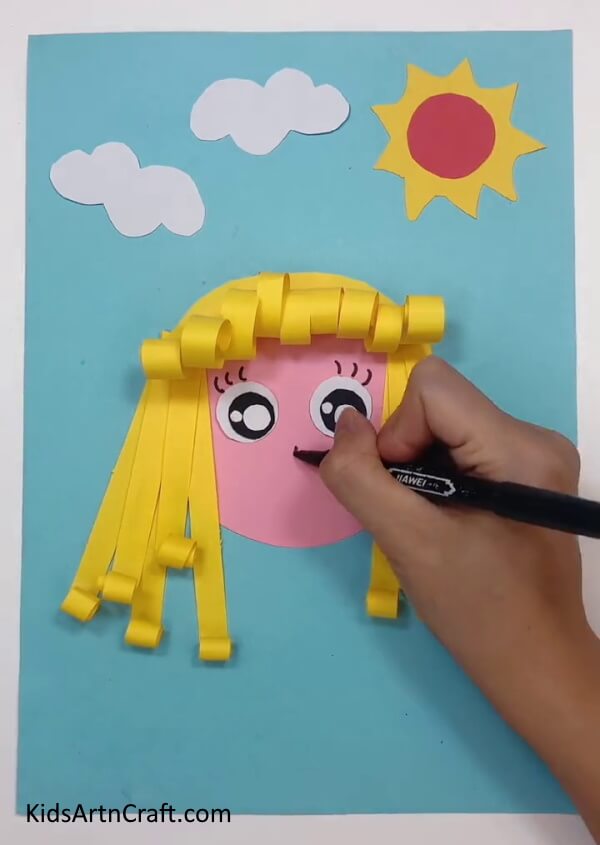
Using a black marker, draw eyelashes on the eyes of the paper princess. Next, draw a nose.
Step 10: Making The Princess’s Mouth
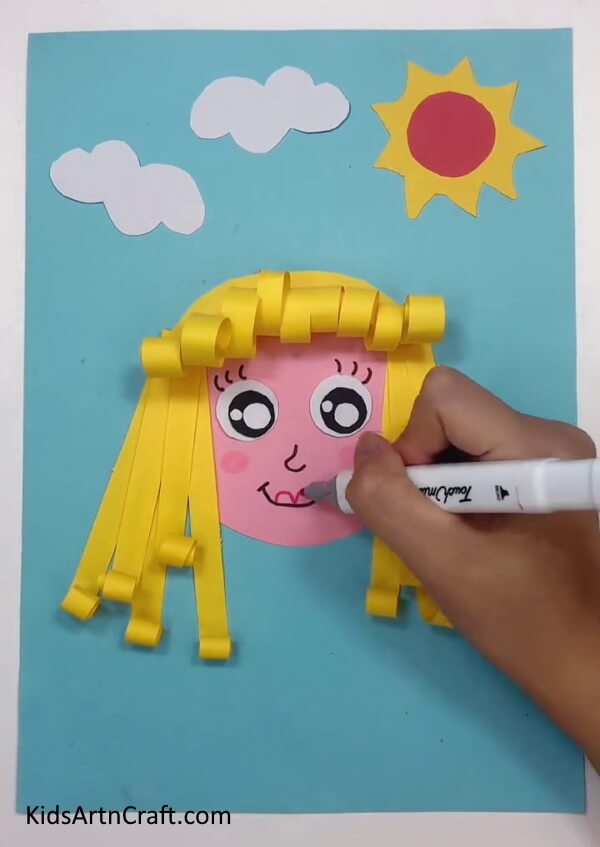
Using a black marker, draw a smile on the face. Using a red sketch pen, draw the lips of the princess. Fill them with red color.
Step 11: Making The Princess’s Collar
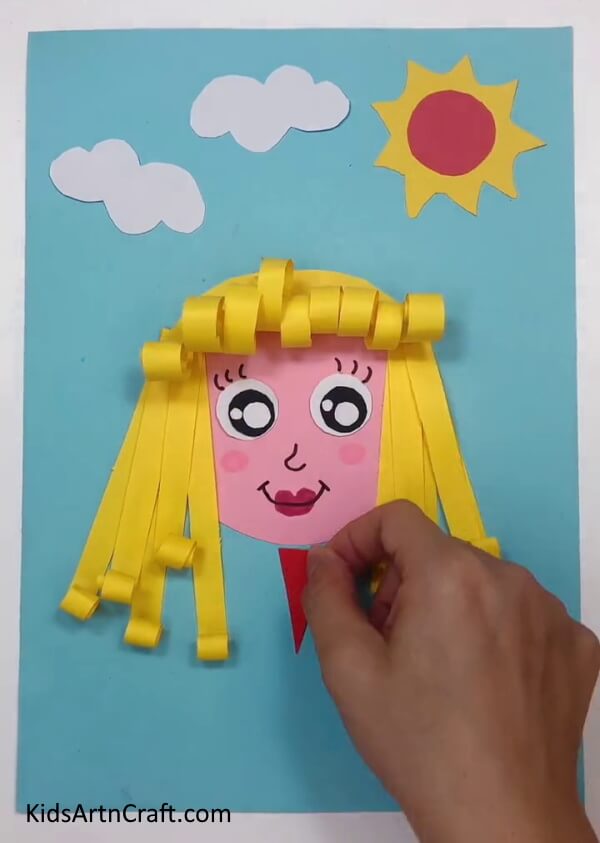
Take red paper, and cut a small triangle. Flip it and paste it below the chin of the princess as shown. Make two more similar triangles and paste them on both sides of this triangle to complete the collar.
Step 12: Pasting The Crown
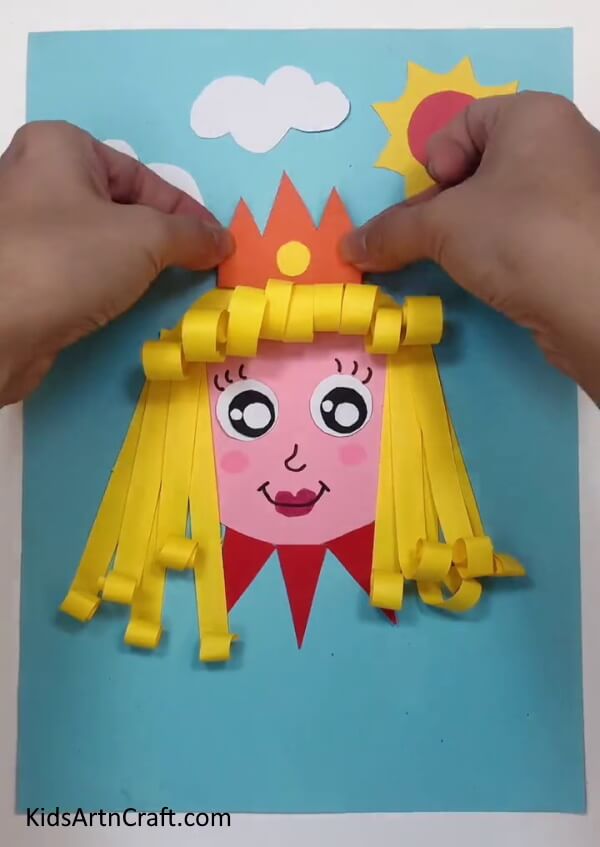
Let’s make a crown for our princess. Take orange paper and cut a crown shape from it. Take a piece of yellow paper and cut a small yellow circle. Paste it in the center of the crown. Paste the crown on top of the paper princess.
This Is The Final Look Of Our Paper Princess Craft!
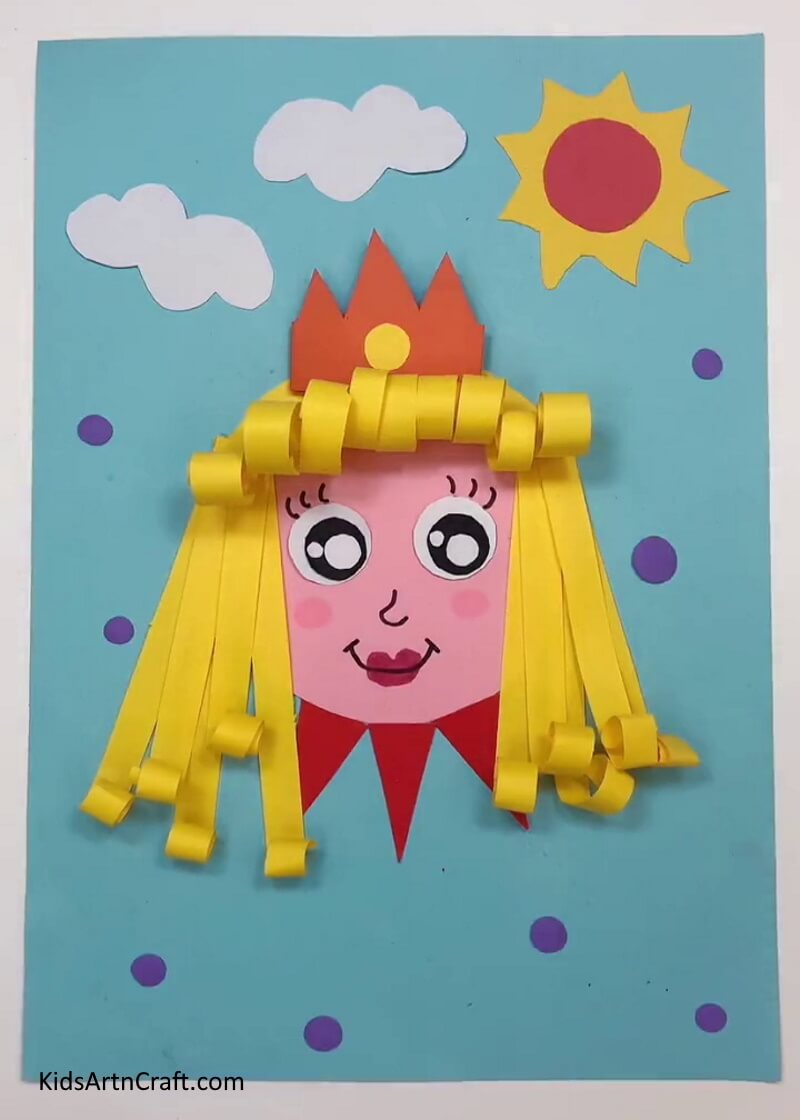
Cut small circles with purple paper and paste them all over the blue paper to enhance the look of this craft. And that’s it, you have completed your paper princess craft!
The final look of this craft is stunning! You can hang it on the walls and show it off to your friends and family. It is also a great activity to develop crafting skills and nurture the artistic side of your kids. You can use your imagination and add more visual elements to this craft. You can also make a princess that comes to save the princess and weave wonderful bedtime stories for your kids. Have fun!
Follow us on Youtube for art and craft tutorials and much more.
More Articles from Kids Art & Craft
- Easy Paper Robot Craft Step By Step Tutorial
- DIY Fun Craft Activities At Home Video Tutorial
- Simple Paper Animal Craft Ideas Video Tutorial for All
- Fun Paper Craft Ideas Make At Home Video Tutorial for Kids
- Learn To Make Paper Duck Craft Tutorial


