


Paper Crafts
Easy Origami Bow Craft Tutorial For Kids

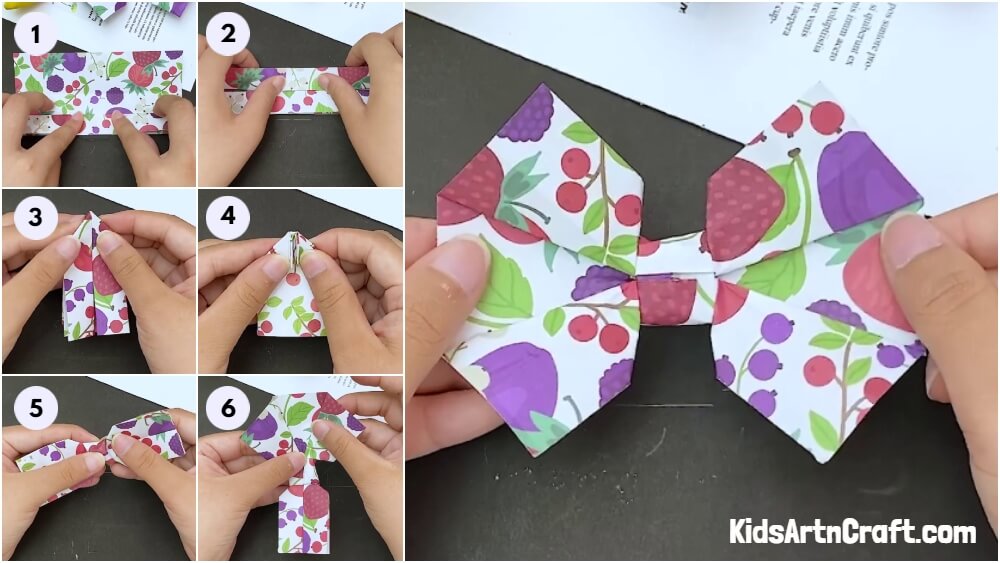
This easy origami craft tutorial will show kids how to make a beautiful bow out of paper. This fun activity is perfect for birthday parties, play dates or just a fun way to spend the day. With simple instructions and colorful paper, your children will have a blast making origami bows.
The origami we are going to make today is a clothing item used to make your attire formal and more presentable. This tutorial will take complex foldings to create the origami. These complex folding are only complex in terms of looks, but very easy in creating. With a single sheet of paper, you can make this bow tie. We will be using a sheet of paper with fruit print on it to make it more appealing. So, collect the little material required to make it, and let’s get started.
Easy Origami Bow Craft For Kids
Read More: DIY Paper Butterfly Easy Craft For Kids
Materials Required
- A sheet of paper
- scissors
Procedure
Step 1: Starting With The Sheet Of Paper
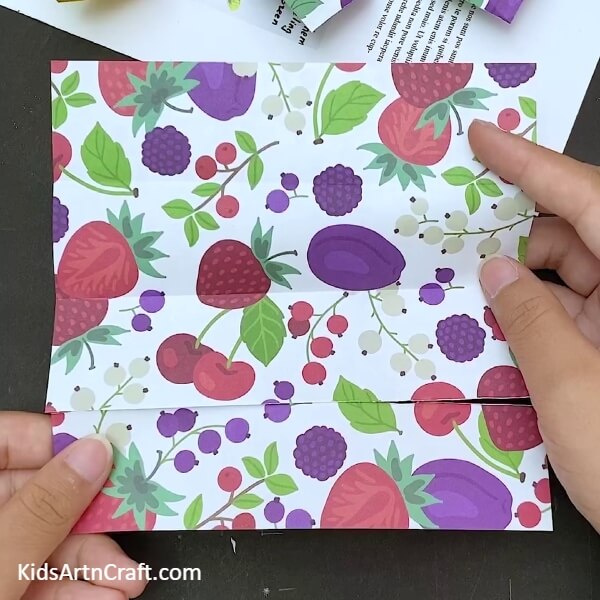
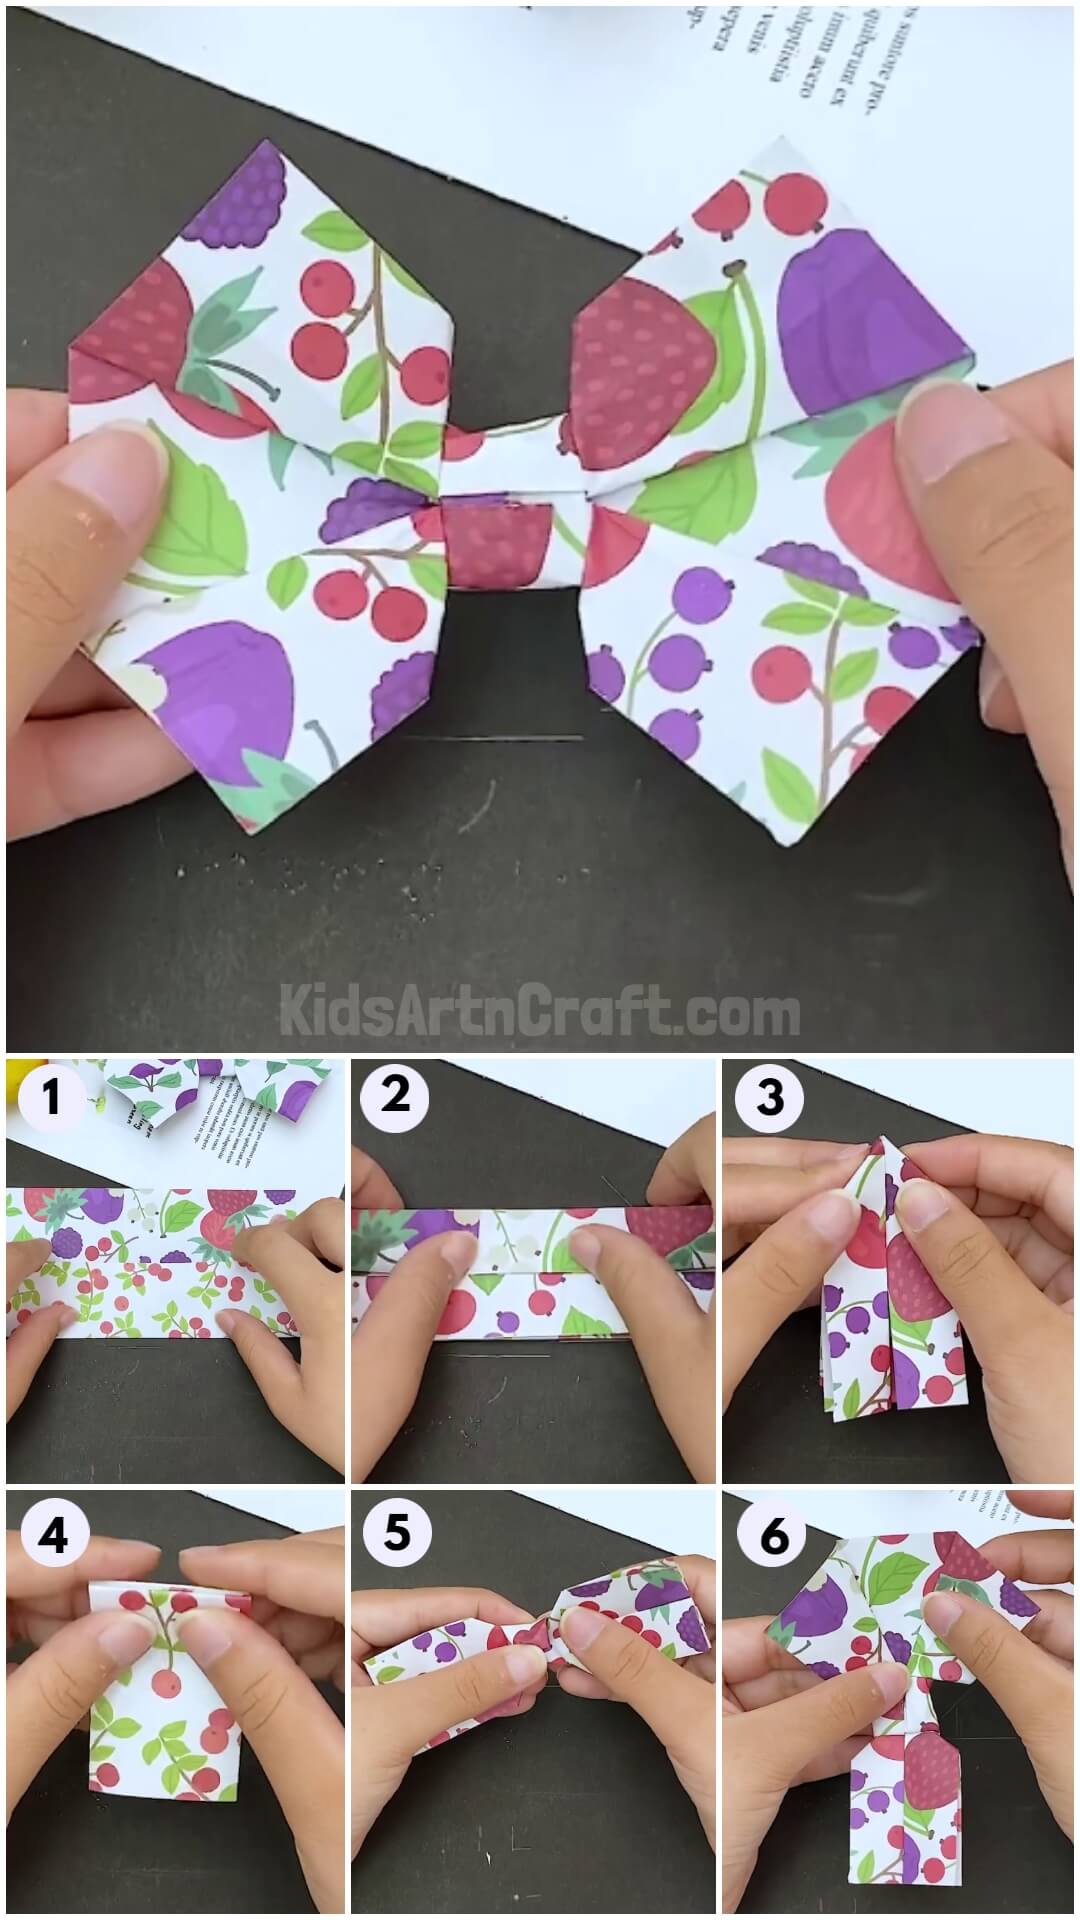
Take a sheet of paper and divide it into four parts by folding it three, horizontally. Now, open the sheet and cut the last part at the bottom as shown in the picture below.
Step 2: Examining The Sheet
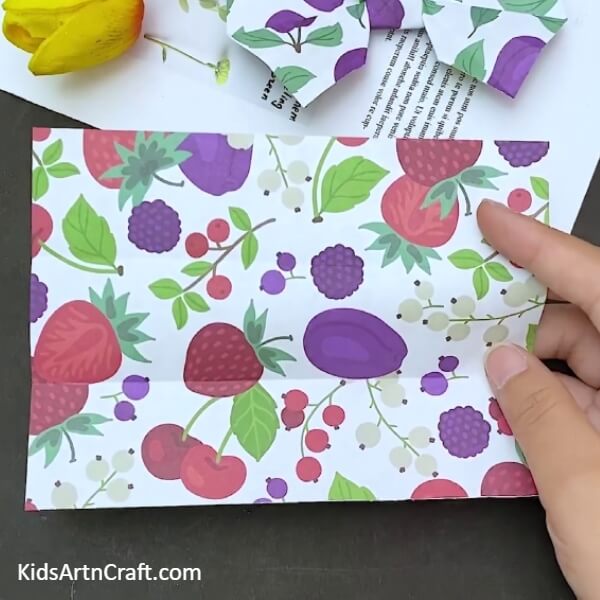
The sheet now has two-fold marks and three sections. Place this sheet on the table.
Step 3: Starting The Folding Process
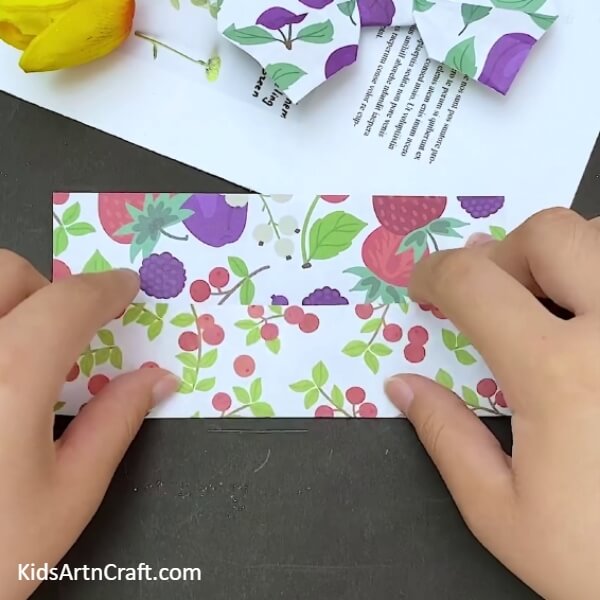
Fold the bottom side of the sheet following the marks of the fold you made earlier. See the picture for reference.
Step 4: Making A Smaller Fold On This Fold
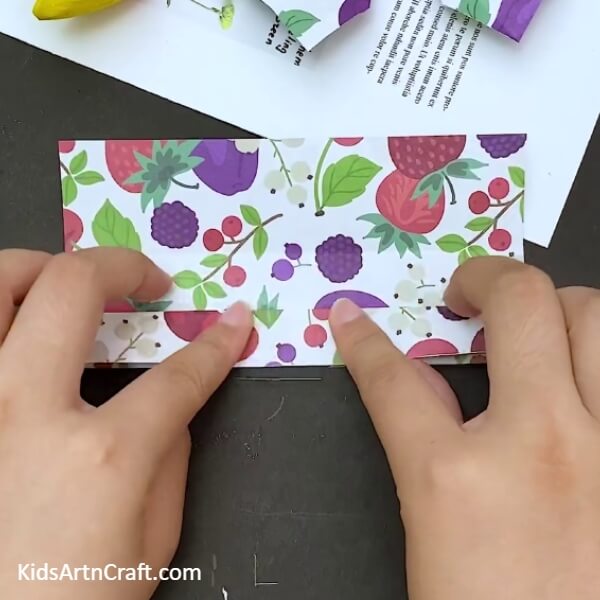
Make a further fold on this side by folding it in half by turning it backward. This will divide the previous fold into half and create two folds layered on each other on the bottom side of the sheet. See the picture below for reference.
Step 5: Making Similar Folds On The Top Of The Sheet
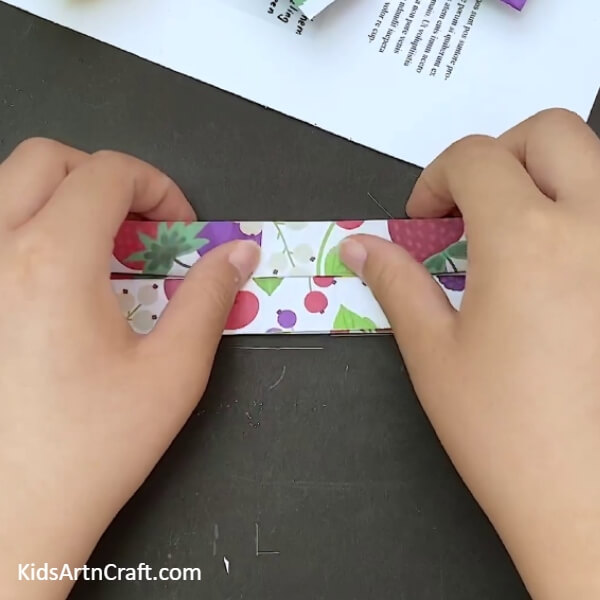
Following the previous two steps, make similar folds on the top section of the sheet. The folds now are aligned next to each other right in the middle of the sheet, horizontally. See the picture below for reference.
Step 6: Making A Vertical Fold On The Sheet
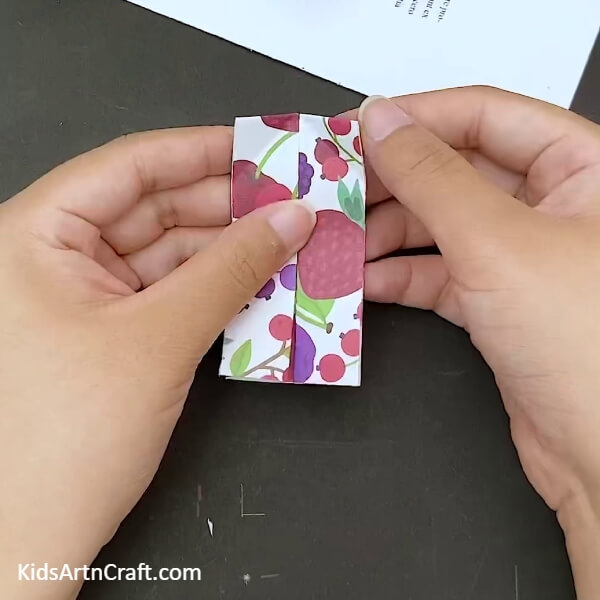
Fold this sheet into half, vertically. The sheet now has reduced in size a lot due to all the foldings. See the picture below for reference.
Step 7: Making Two Folds At The Top
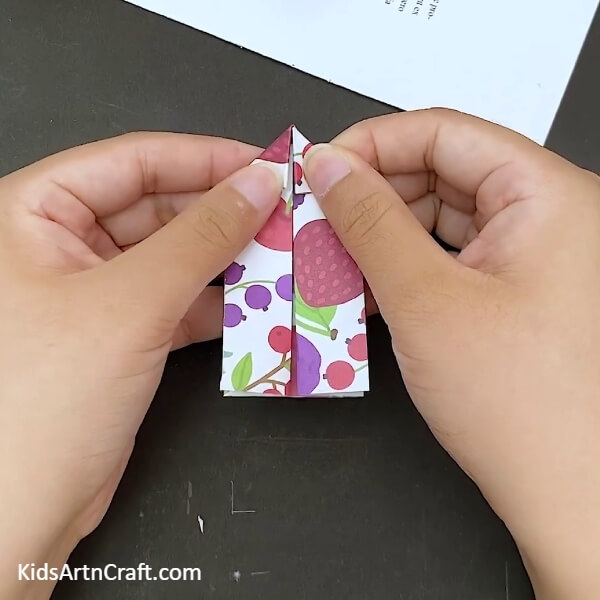
Make a small fold at the top corner of this sheet by inverting it to the middle of the sheet. Repeat the process on the other corner at the top of the folded sheet as well. The sides of the small folds are now aligned next to each other as shown in the picture below.
Step 8: Modifying These Small Folds
Open both the two folds you just made and place your index finger on the marks of the fold at the top right side of the sheet. Now, push on the mark making the sheet fold inwards. Flatten the outside of this inverted fold to lock the shape. See the picture below for reference.
Step 9: Repeating The Process On The Other Side As Well
Repeat the previous step on the marks on the left side of the top section of the sheet as well. See the picture below for reference. This shall make a pointed end at the top of the sheet.
Step 10: Opening The Sheet
Put your thumbs on the back side of the entire folded sheet and open the vertical fold you made earlier to reveal this backside. See the picture below for reference.
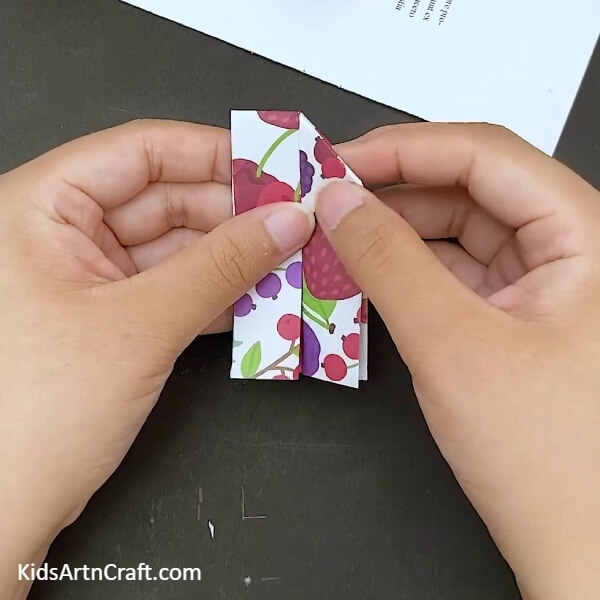
Step 11: Making Another Vertical Fold

Fold the sheet into half by making the fold in forward direction than in a backward one. Do not follow the lines of the previous vertical fold. Press in on the fold to seal the shape. See the picture below for reference.
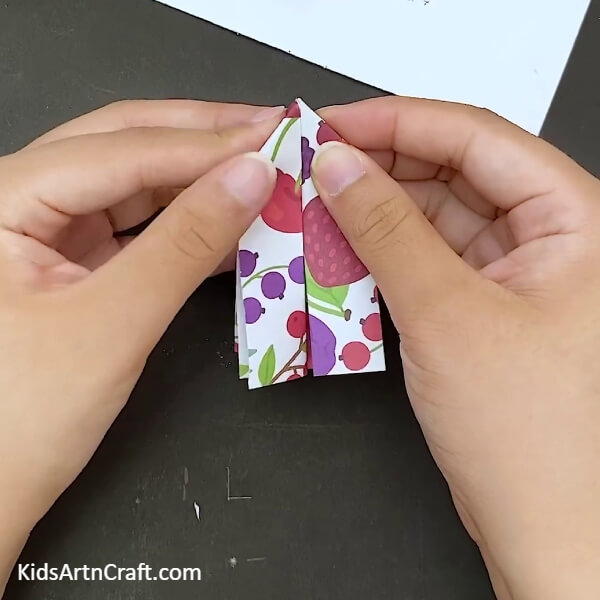
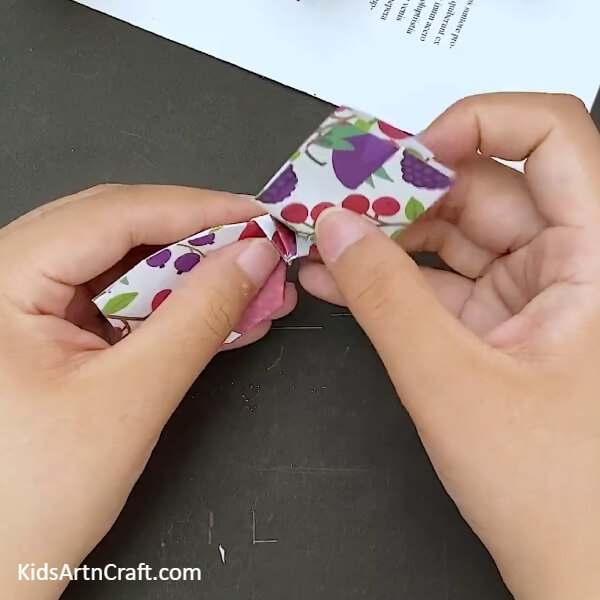
Step 12: Making Small Folds At The Top

The previous fold shall reveal open-ended sides at the top. Now, make small triangular folds on the two open-ended sides on the front side at the top of the sheet. The folds should be aligned next to each other as shown in the picture below.
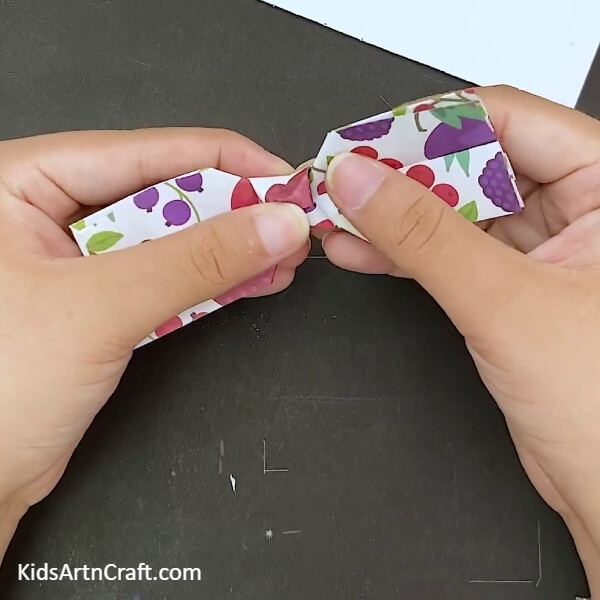
Step 13: Repeating The Process On The Side Below

Repeat the previous step on the two open-ended sides at the back of the vertically folded sheet. See the picture below for reference.
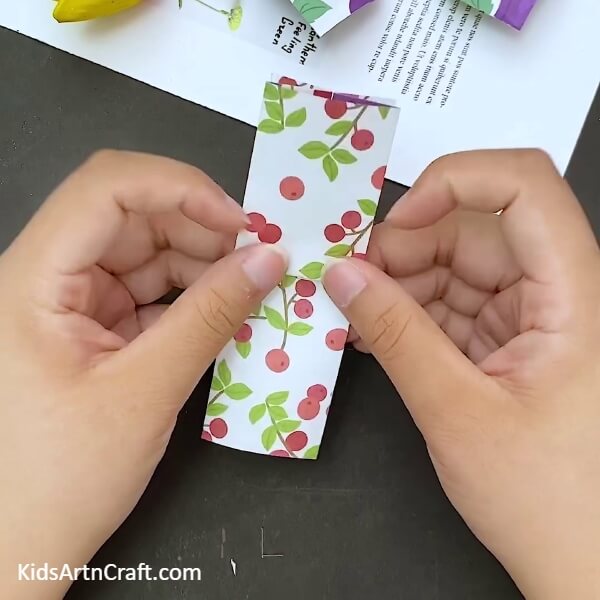
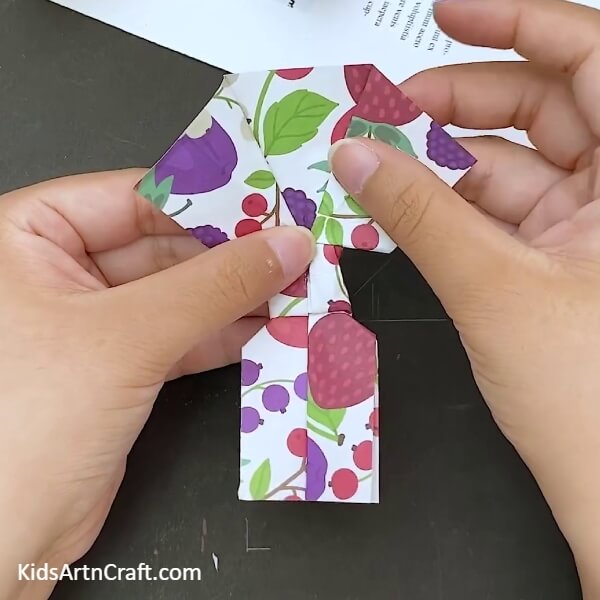
Step 14: Opening The Fold In The Middle
Open the vertical fold you made earlier by holding the two sides of the sheet and stretching them out gently. See the picture below for reference.
Step 15: Adjusting The Shape In The Middle
Adjust the shape in the middle by pressing down on the sides attached to it and the shape itself as well as shown in the picture below.
Step 16: Opening The Folds On The Sides A Little
Stretch out the layered folds on both sides of the shape and press down on the two-fold marks in the mid-section of the sheet on both sides. This shall create the shape you desire the sides to have. See the picture below for complete reference.
Now, Your Craft is Ready!!
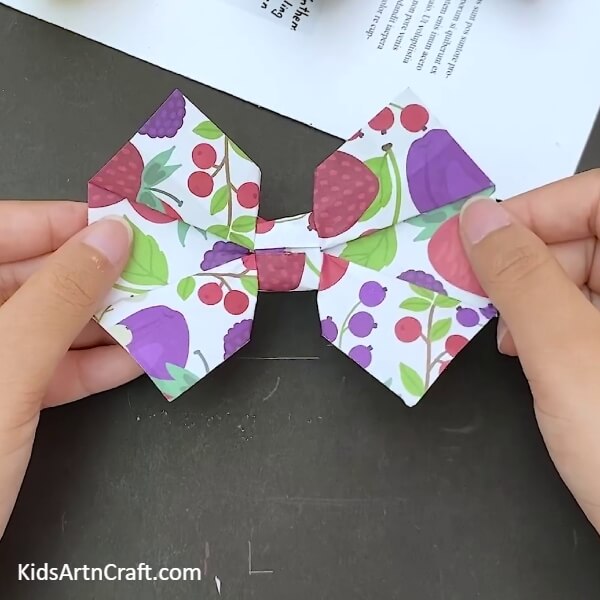
With this final step, our bow is ready to go.
You can paste it on the cover of your notebook or any book to make it more fun or you can decorate a gift box using this bow. You learned complex yet easy folding techniques in this tutorial. Think of more such brilliant ideas to create more amazing crafts. Keep practicing the techniques you learn in these tutorials and keep up the good work. Best of luck.
Some More Bow Craft Tutorial
Simple Paper Bow Craft For Children
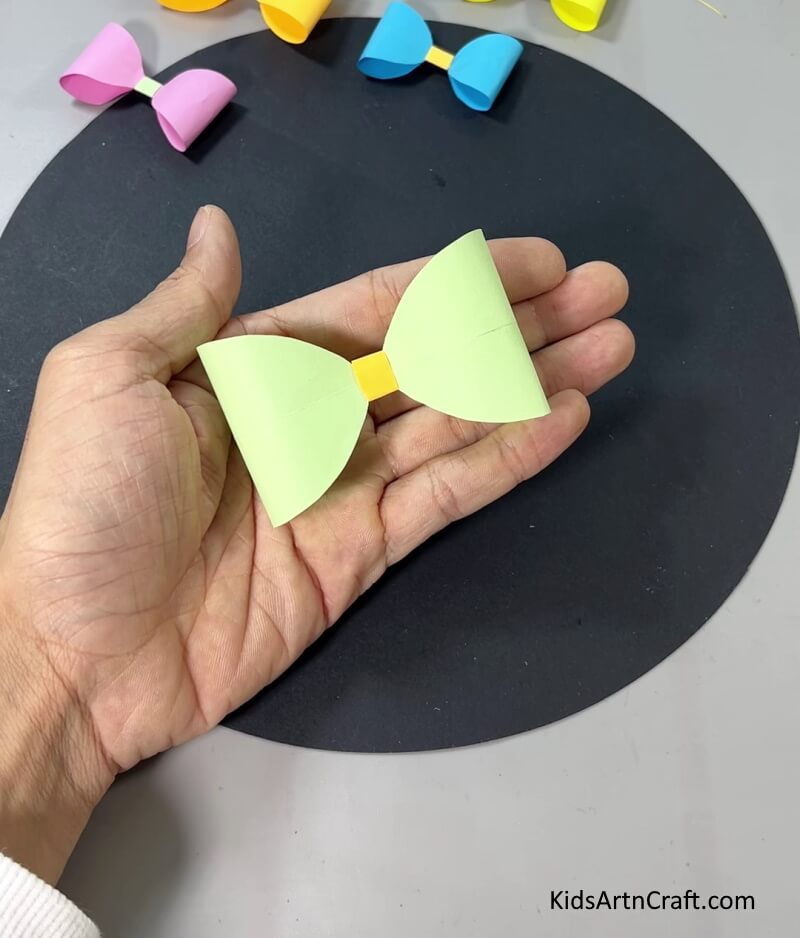
Image Source/Tutorial: Kids Art & Craft
This simple paper bow craft is a great activity for children to do on a rainy day. It is easy to make and requires minimal supplies. Kids will have a blast creating these colorful bows to decorate their room or give as a gift!
Follow us on Youtube for art and craft tutorials and much more.
More Articles from Kids Art & Craft
- Easy Kids Crafts Makes At home Video Tutorial
- Folded Paper Leaf step by step Tutorial For Kids
- Easy Origami Shirt and Bow Paper Bag Craft At Home
- Simple Origami Animal Crafts Video Tutorial for Kids
- How To Make Paper Dinosaur Origami Craft Easy Tutorial


