Paper Crafts
Folded Paper Leaf step by step Tutorial For Kids

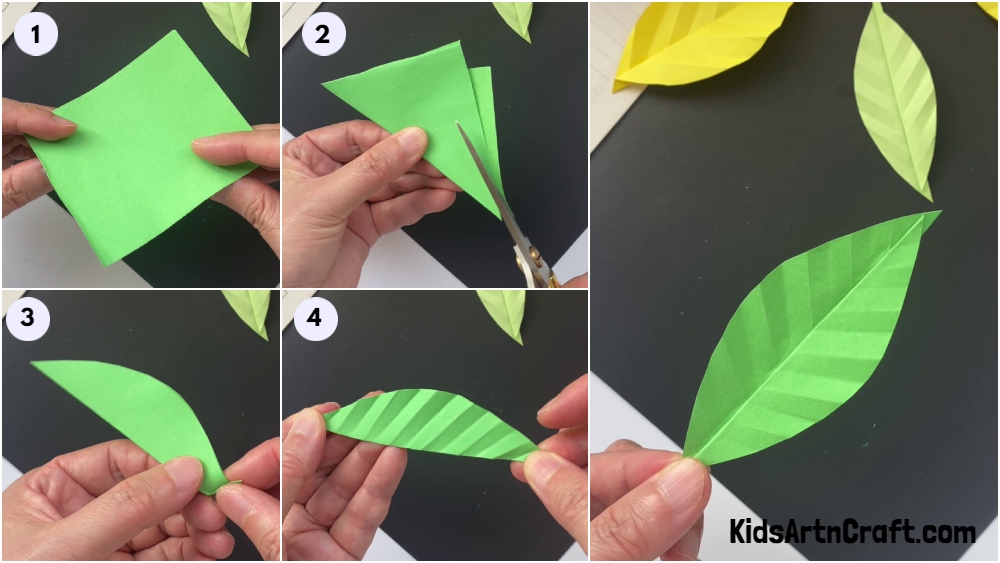
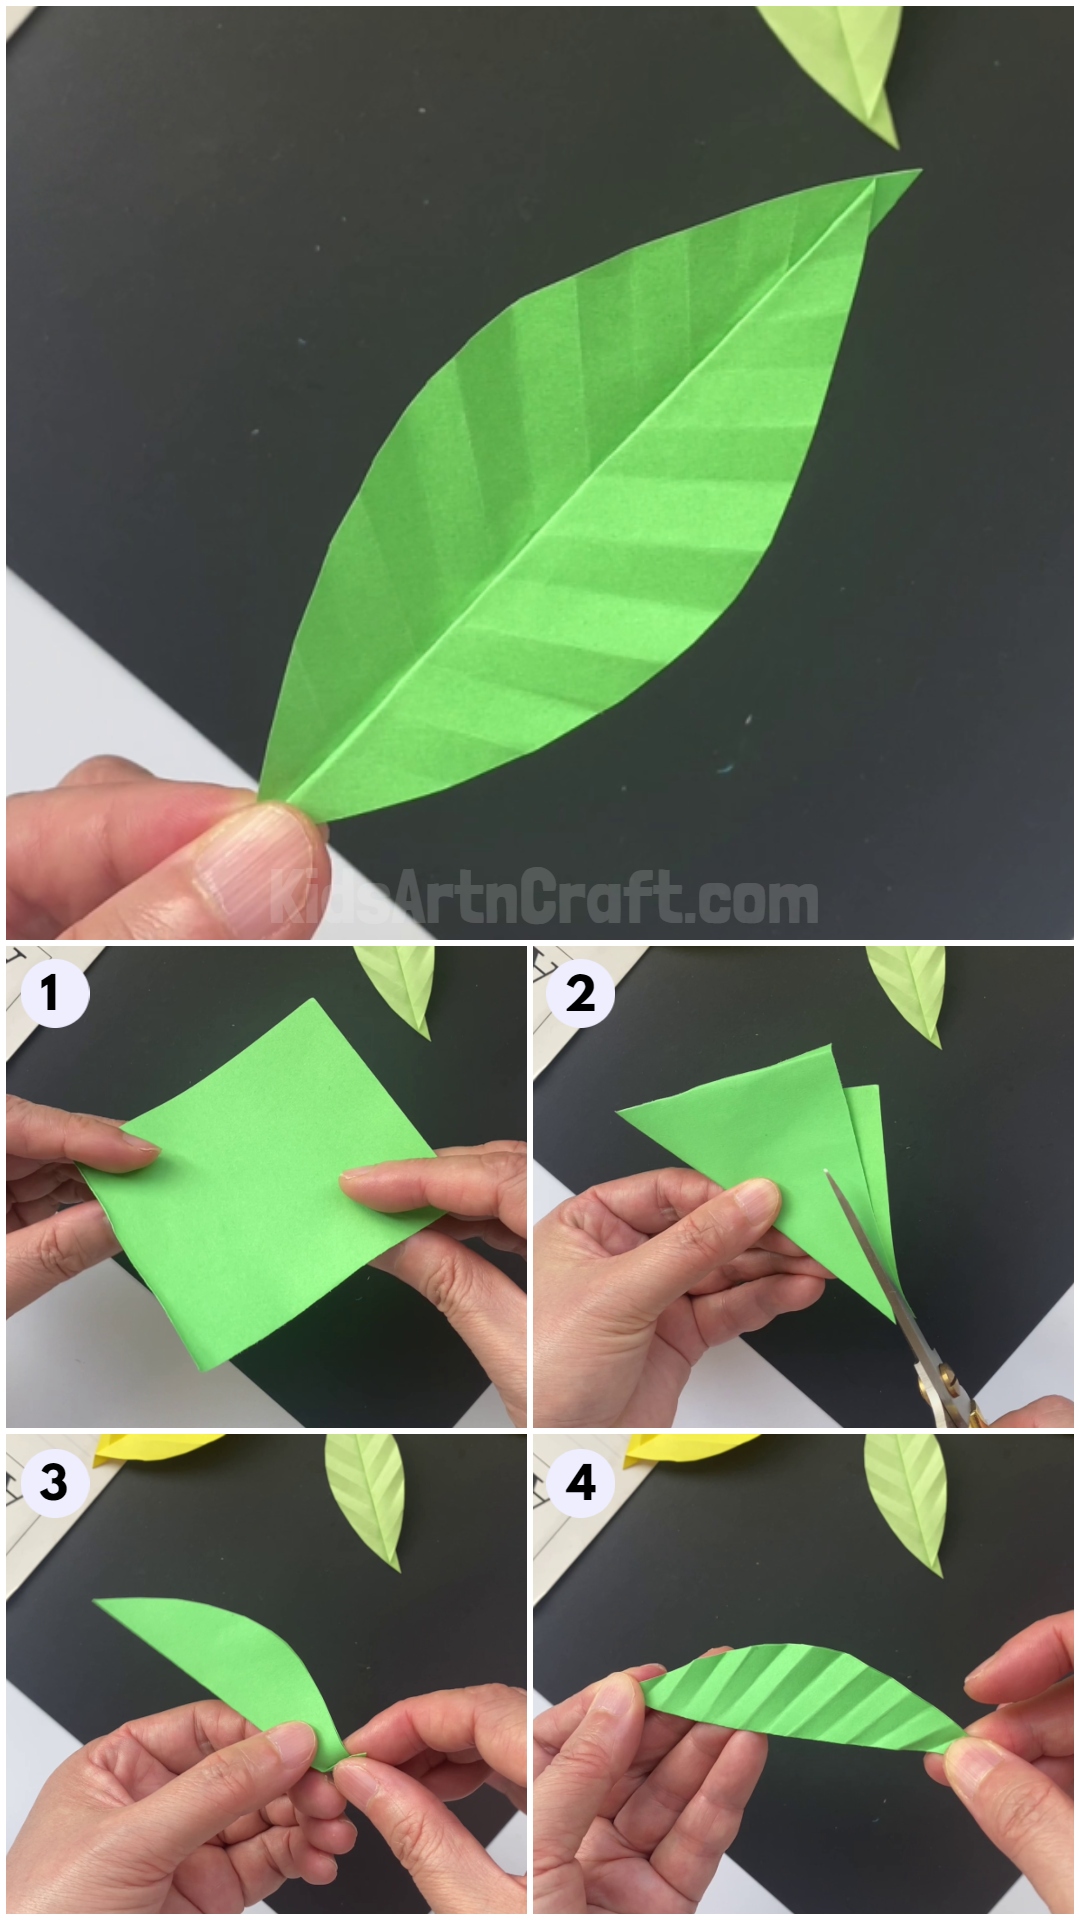
Welcome to this step-by-step tutorial for kids on how to make a folded paper leaf! It is a fun and easy craft that can be done with just a few simple supplies. In this tutorial, we will guide you through the process of folding and cutting paper to create a beautiful leaf. This activity is great for kids of all ages and can be used to make decorations, cards, or even gifts. So grab your supplies and let’s get started!
Easy To Make Folded Paper Leaf Craft Tutorial For Kids
Read More: Paper Rainbow Cloud Craft step by step Tutorial
Materials Required
- Colored paper(Green)
- Scissors
Procedure
Step-1: Getting A Square Green Paper
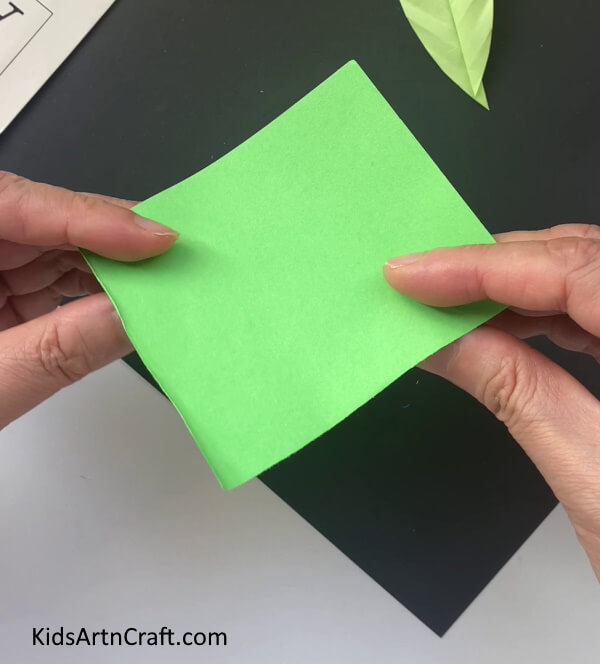
Let’s begin by taking a square green paper as shown.
Step-2: Folding The Green Paper In Mountain Shape
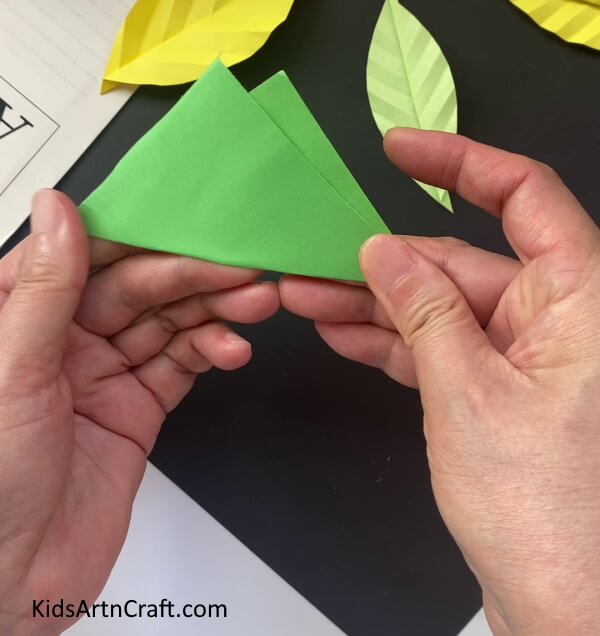
Fold the green paper in such a way that two triangles are formed, making a mountain shape as shown.
Step-3: Cutting The Leaf
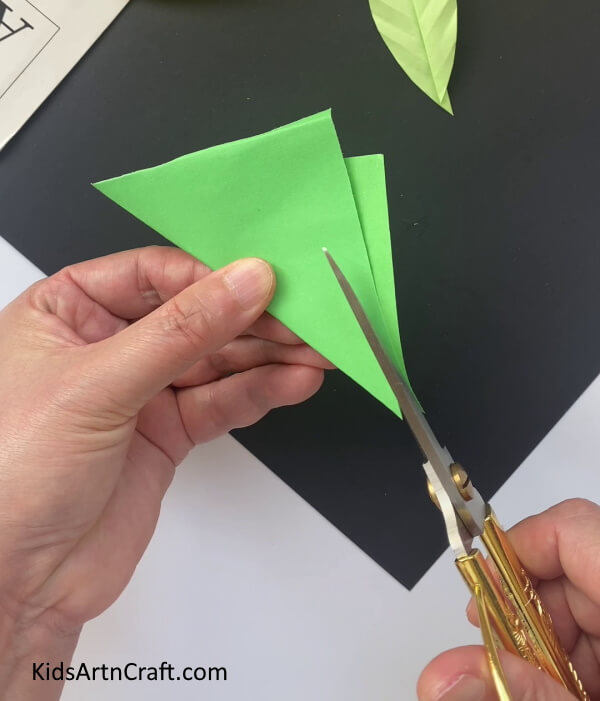
Hold the green paper along the closed edge and cut a semicircle to form a leaf shape.
Step-4: Creasing The Green Leaf To Make Veins
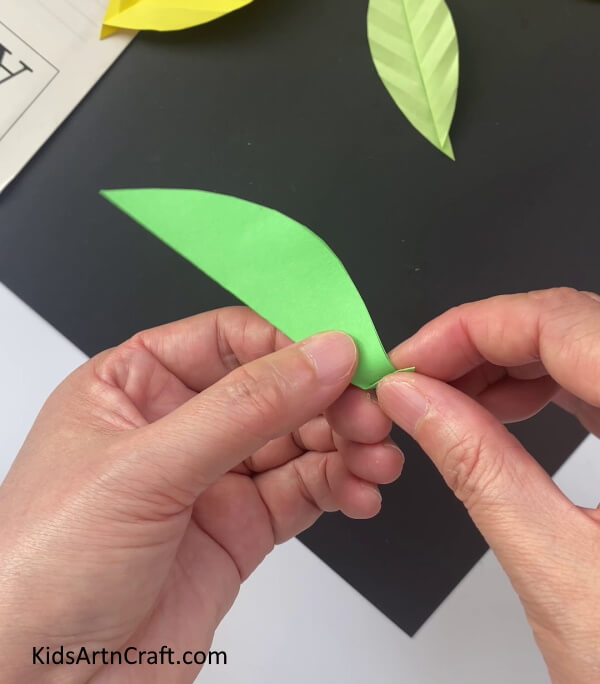
Now, take one end of the folded leaf, and fold it into a small section.
Step-5: Completing The Zigzag Pattern
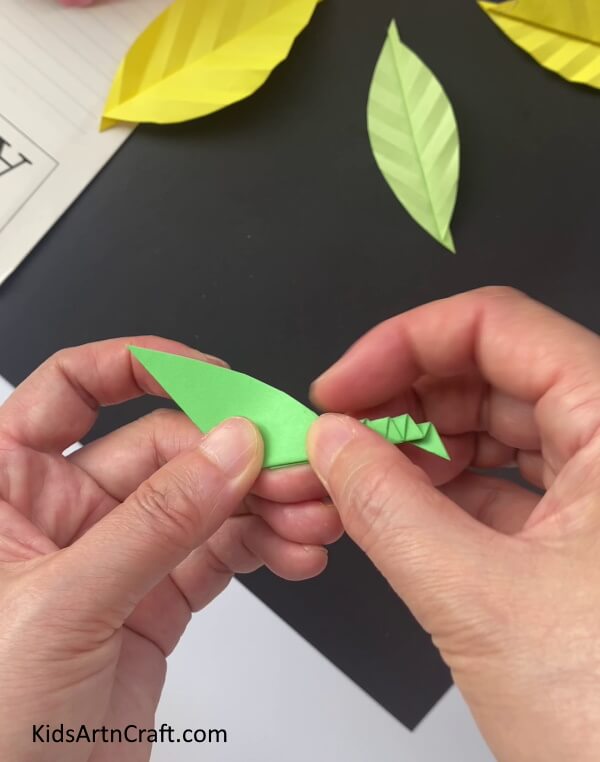
Now, take that section and again fold it in the opposite direction, forming a zigzag pattern as shown in the image. Repeat, till you reach the end of the leaf.
Step-6: Unfolding The Zigzag Pattern
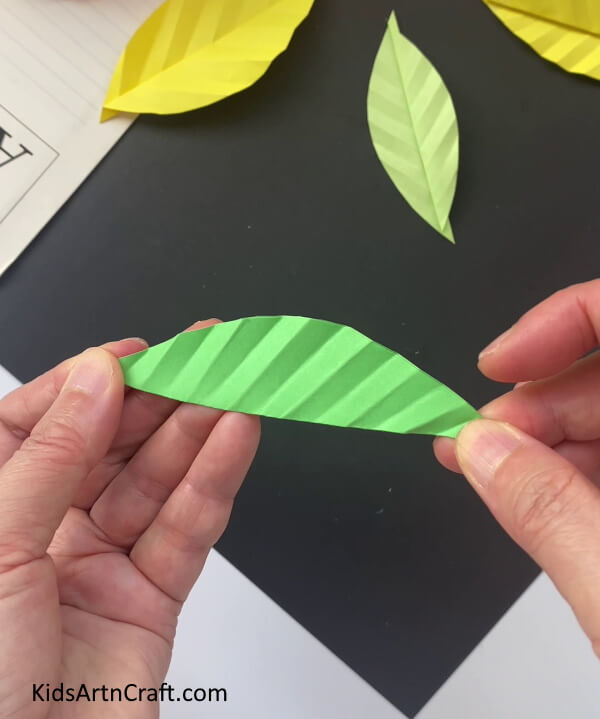
Now, unfold the zigzag pattern to get creased veins as shown in the image.
Step-7: Making A Small Fold Along The Closed Edge
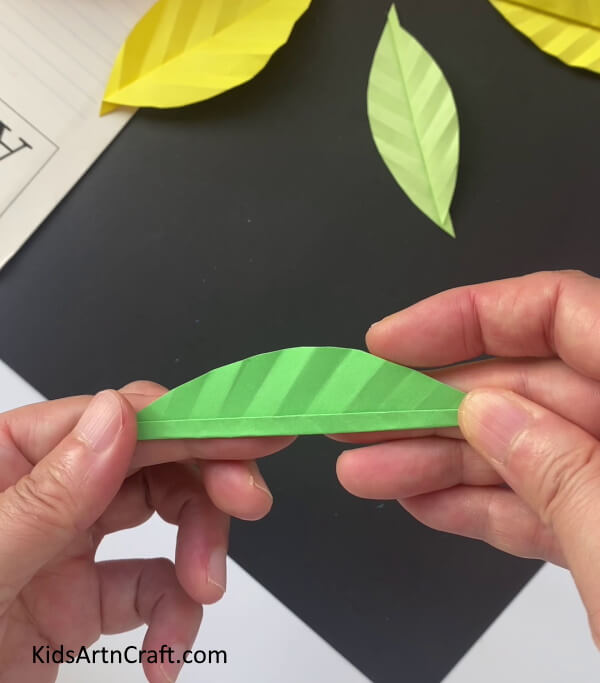
Now, make a small fold along the closed edge in the inward direction as shown. Unfold the paper to get the final look of the leaf.
This Is The Final Look Of Our Folded Paper Leaf Craft!
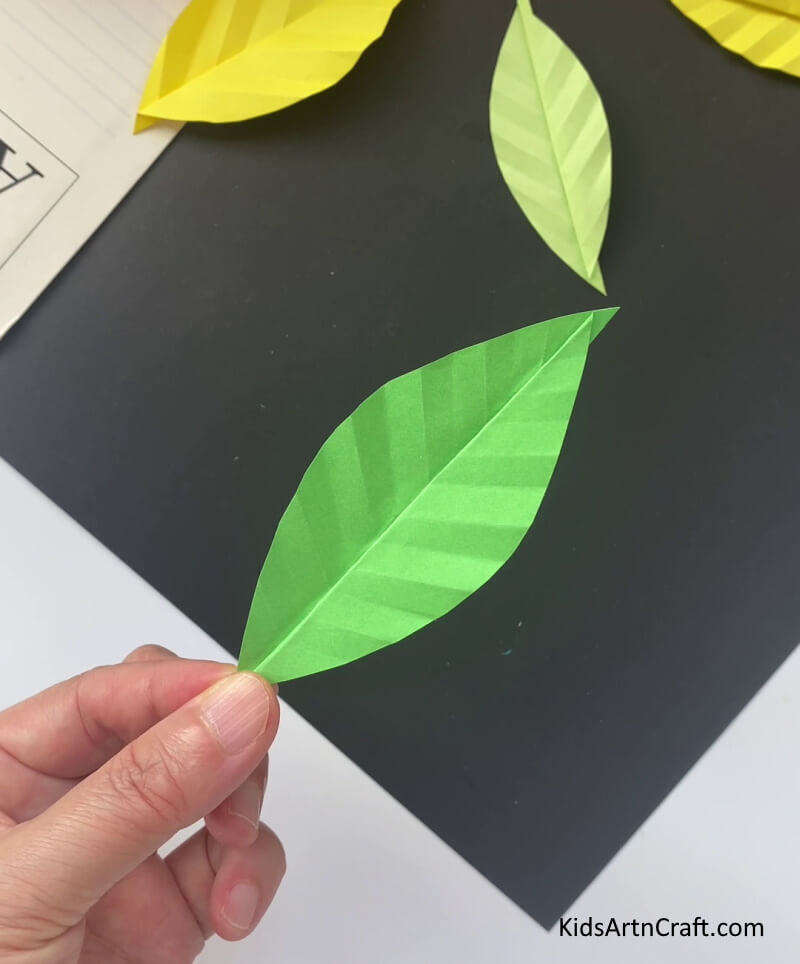
Congratulations! You’ve just finished making a beautiful folded paper leaf craft. This folded paper leaf craft is a great way to get creative with paper and make something beautiful! With a little bit of patience and creativity, you have turned a simple piece of paper into a beautiful, unique work of art. In just a few folds, you can make a unique leaf decoration for any room of your home. Have fun!
Some More Leaf Craft Tutorial
Easy Paper Fall Leaf Craft For Kids
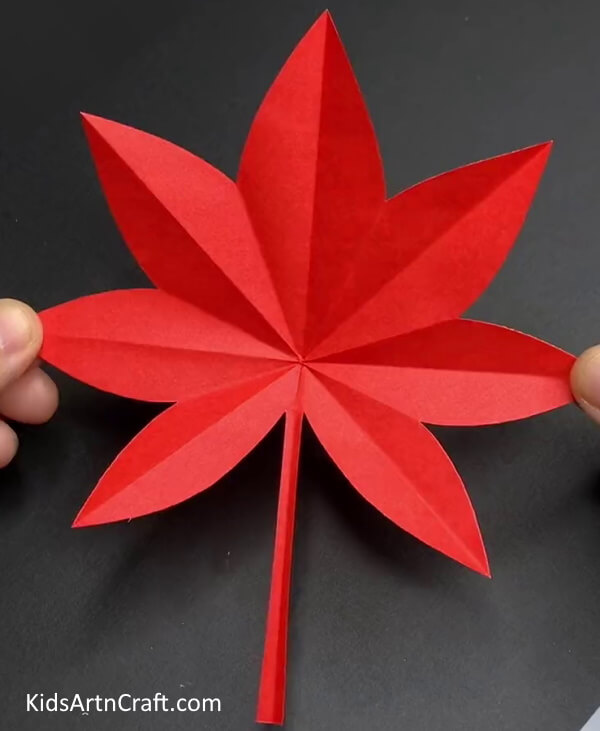
Image Source/Tutorial: Kids Art & Craft
This basic paper fall leaf craft for kids is an easy and fun way to help children celebrate the fall season. It’s a great way to get creative and explore different colors, textures, and shapes while creating a beautiful piece of art.
FAQ’S Folded Paper Leaf Step-By-Step Tutorial For Kids
1. What materials are needed to make a folded paper leaf?
You will need paper, scissors, glue, and any other decorations you would like to add.
2. How do I add decorations to my paper leaf?
You can add any decorations you like, such as markers, stickers, glitter, glitter glue, or anything else you can think of.
3. How do I attach the leaf to my project?
You can attach the leaf to your project using glue, tape, or staples.
4. What other shapes can I make with paper?
You can make any shape you like with paper. Try circles, triangles, squares, or even stars.
5. Can I use different colors of paper for my leaf?
Yes, you can use any color of paper you like.
6. What type of paper should I use for my leaf?
You can use any type of paper you like, but cardstock or construction paper works best.
7. Can I make a larger leaf?
Yes, you can make a larger leaf by cutting the paper to a larger size.
This step by step tutorial for kids will help them learn how to make a folded paper leaf. With a few simple steps, your child will be able to make a beautiful folded paper leaf that they can proudly show off to their friends and family. This is a great project for kids of all ages. It’s simple, yet creative and will allow them to express themselves and their creativity.
Follow us on Youtube for art and craft tutorials and much more.
More Articles from Kids Art & Craft
- Easy to Make Paper Crafts Video Tutorial for Kids
- Easy Paper Folding Crafts Video Tutorial for Kids
- Paper Airplane Origami Step-by-Step Tutorial For Kids
- Paper Rainbow Cloud Craft step by-step Tutorial
- Simple Origami Animal Crafts Video Tutorial for Kids


