Recycled Crafts
Creative Mountain Scenery Craft From Cardboard

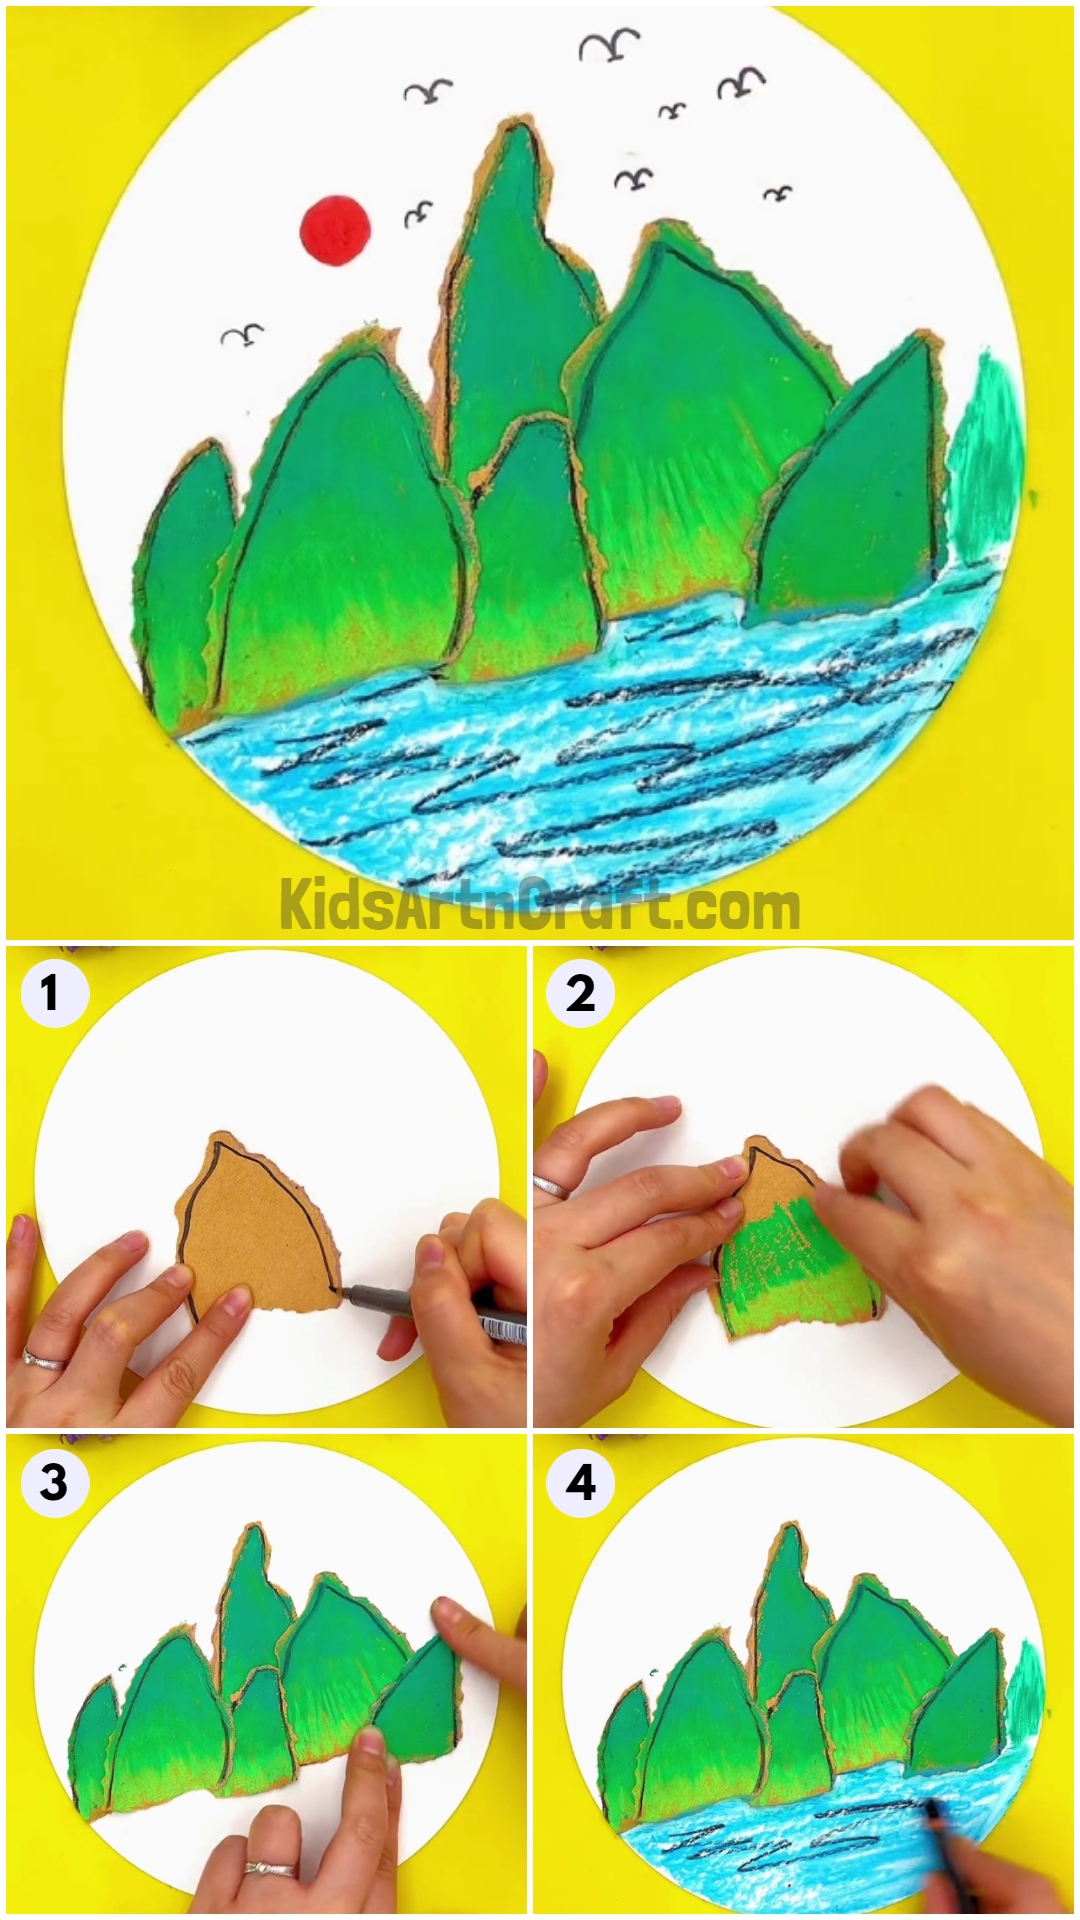
Make your own creative mountain scenery craft from cardboard! Learn how to cut, assemble, and paint the perfect mountain range and add some extra flair with glitter and gems. Get creative and start crafting!
Drawing and coloring are great ways to express ourselves creatively. The paper and the colors give form to our innate unexpressed emotions and feelings. The creative mountain scenery craft is one such great idea to realize the beauty of nature and the human feelings connected to the mountains and the rivers. This scene provides a sense of relief and calm to our souls. Hence, it can be hung on the walls to radiate joy and peace. So, grab your colors and start drawing!
Easy To Make Creative Mountain Scenery Craft
Read More: Amazing Creative Ideas for Paper Art Video Tutorial for Kids
Materials Required
- Cardboard
- Oil Pastels
- Craft Sheet(White)
- Glue
- Scissors
- Black Marker
Procedure
Step 1: Making The Mountain
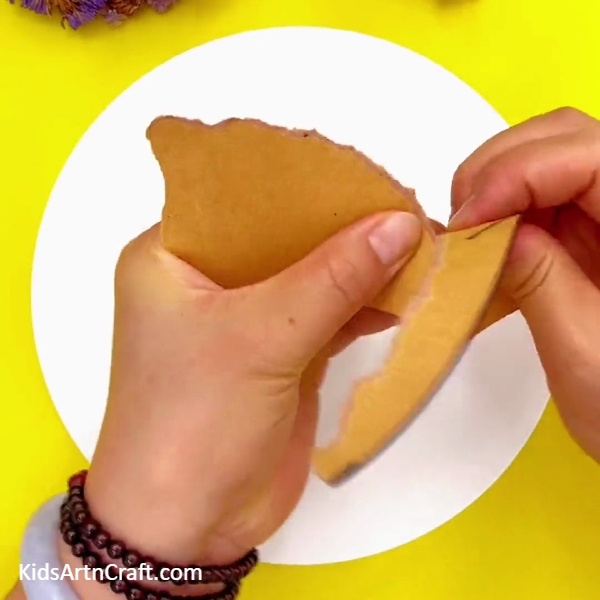
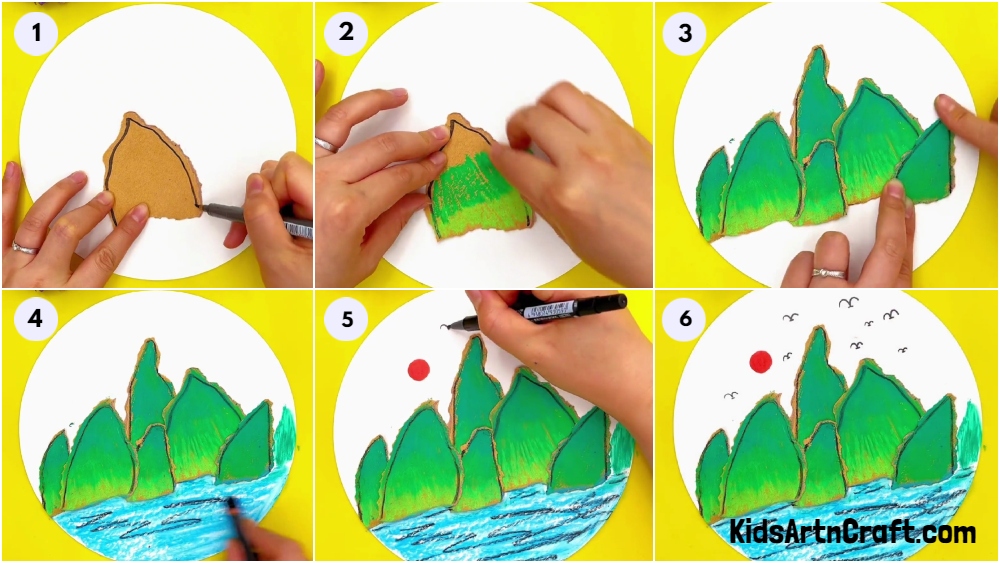
Let’s begin this craft by taking cardboard. Take a cardboard piece and tear it into the shape of a mountain with your hands. Don’t use scissors as tearing with your hands will help in shaping the mountain more naturally. Take a white sheet of paper. Cut a big circle out of it. This will become the background of our mountain scenery.
Step 2: Outlining The Mountain

Use a black marker and draw the outline of the mountain as shown in the image.
Step 3: Coloring The Mountain
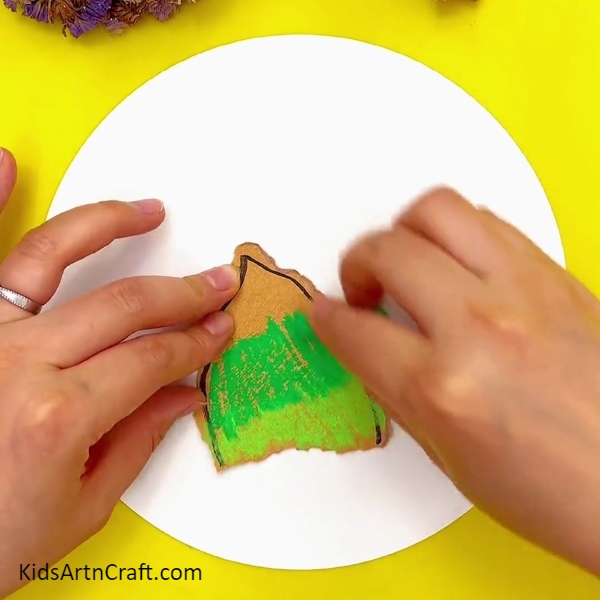
Take a light and dark green shade of oil pastels and color the mountains green as we aim to create a green mountain scenery.
Step 4: Completing The Coloring Part
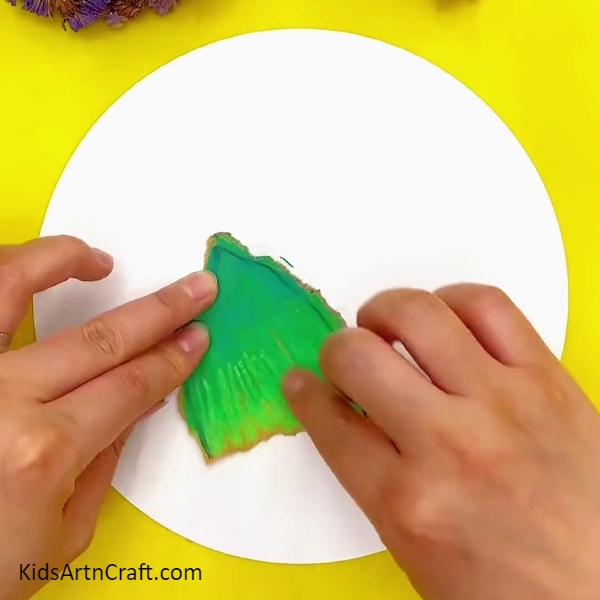
Complete the coloring part. Make sure no spot remains empty.
Step 5: Making A Bigger Mountain
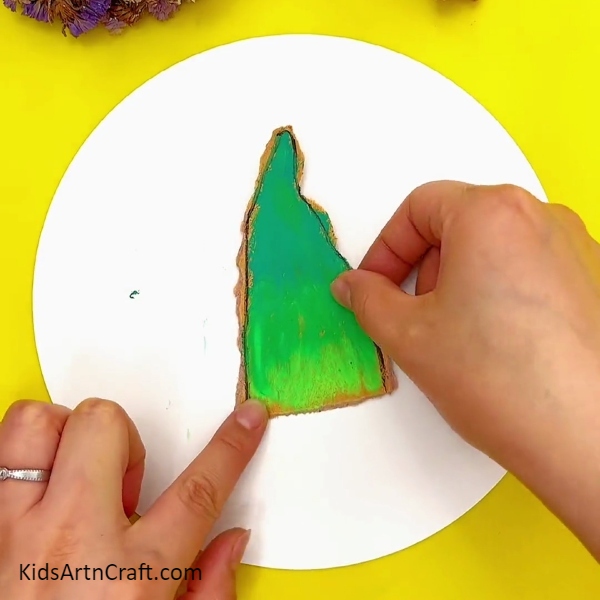
Now, take a cardboard piece and repeat the above steps, to make a bigger mountain as shown.
Step 6: Pasting The Two Mountains Together
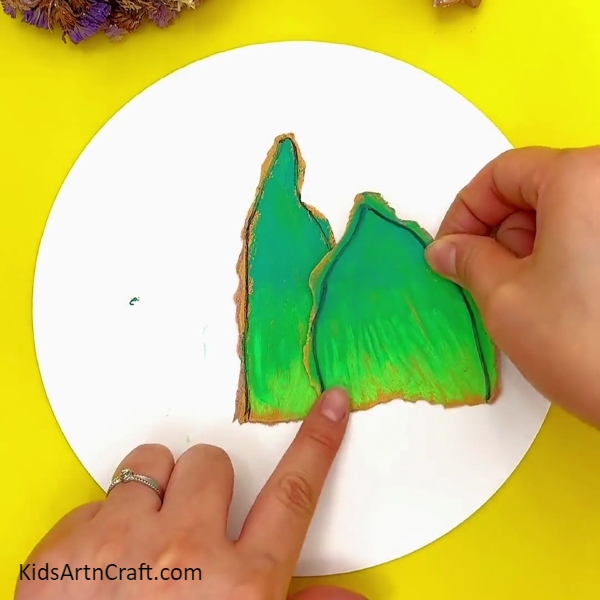
Now, paste the two mountains together as shown in the image.
Step 7: Making A Third Mountain
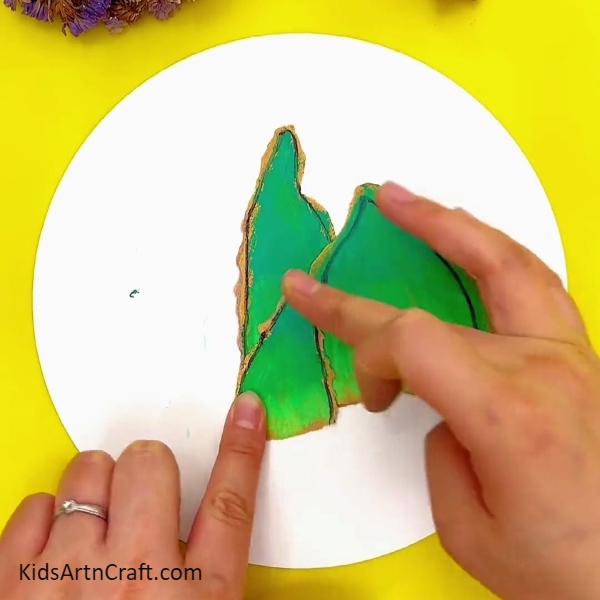
Take a cardboard piece and make a smaller mountain as shown. Paste it between the two mountains as shown in the image.
Step 8: Pasting More Mountains
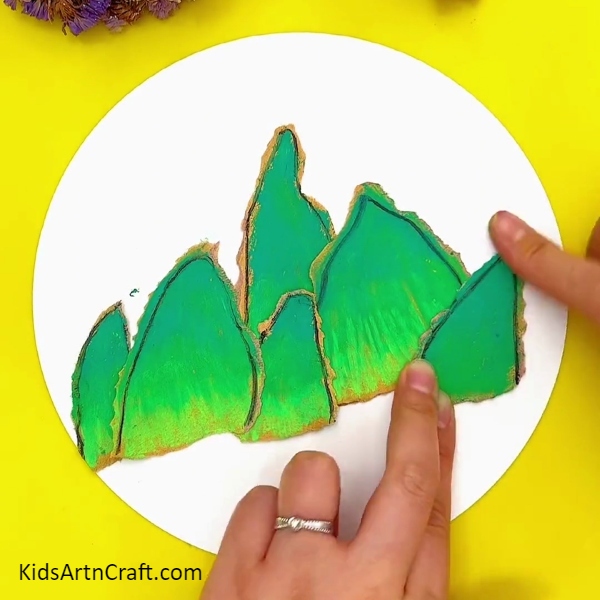
Repeat the above steps and make more such green cardboard mountains and paste them together as shown in the image.
Step 9: Coloring The Water Blue
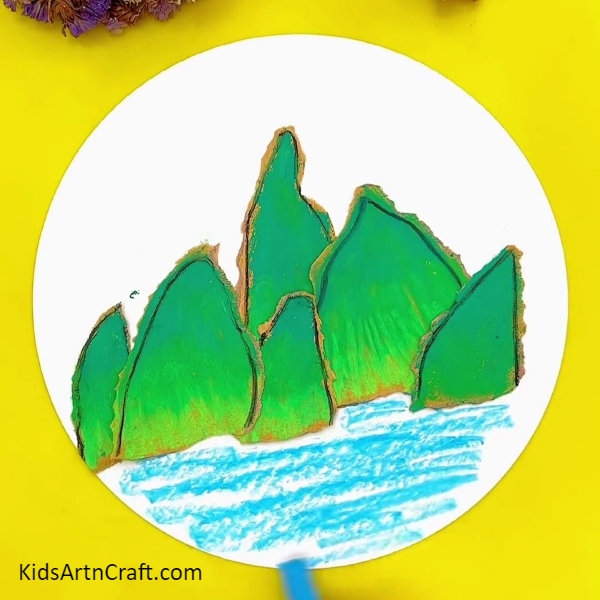
Now, take a blue oil pastel and color the water in blue color.
Step 10: Making The Waves
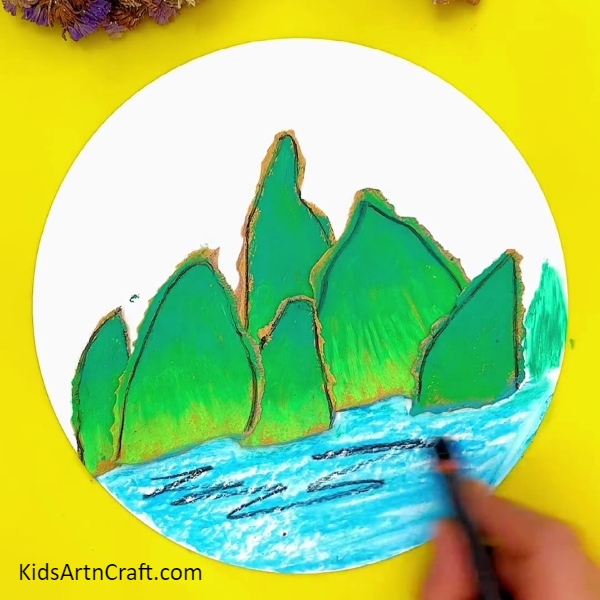
To add an artistic element, take a dark blue oil pastel and make the waves of the water as shown in the image.
Step 11: Drawing The Sun And The Birds
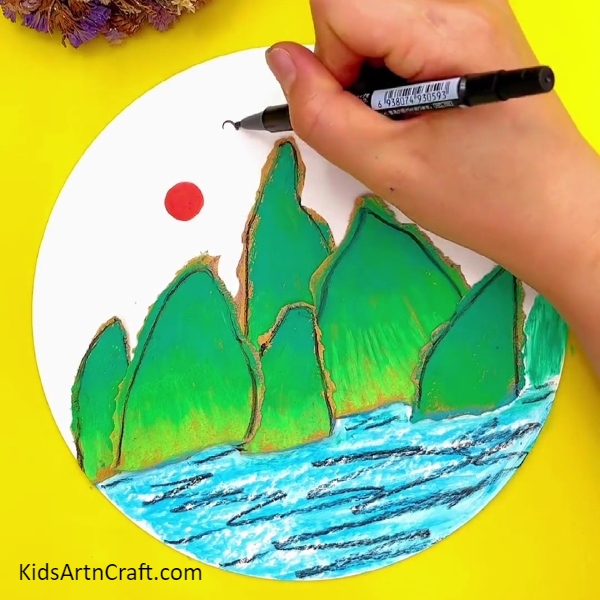
Next, take an orange oil pastel and make the sun. Take a black marker and draw the birds in the sky as shown in the image.
The Creative Mountain Scenery Craft From Cardboard Is Ready!
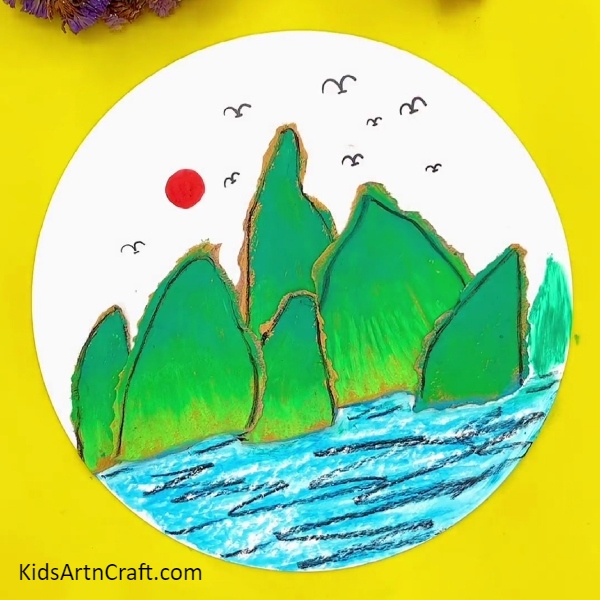
And that’s it, you have completed your creative mountain scenery craft! Use your own imagination and add other artistic elements so that this art piece can become more visually appealing!
This can be a great motor skill craft activity for the kid. The coloring and drawing activities help children to develop hand dexterity and hand-eye coordination. These activities also help to improve the handwriting of the children. This helps them to relax and spend time in a more productive and creative way. It is also a way to keep kids away from digital screens. Engaging them in such activities will help them develop into better individuals.
Follow us on Youtube for art and craft tutorials and much more.
More Articles from Kids Art & Craft
- How to Make Cardboard Ice Cream Craft in Easy Steps
- DIY Cardboard Tube Octopus For Kids
- DIY Cardboard Tube Owl Craft
- How to Make Fighter Tank Using Cardboard Tube & Paper Cup
- DIY Cardboard Roll Reindeer Puppet Craft For Christmas


