Paper Crafts
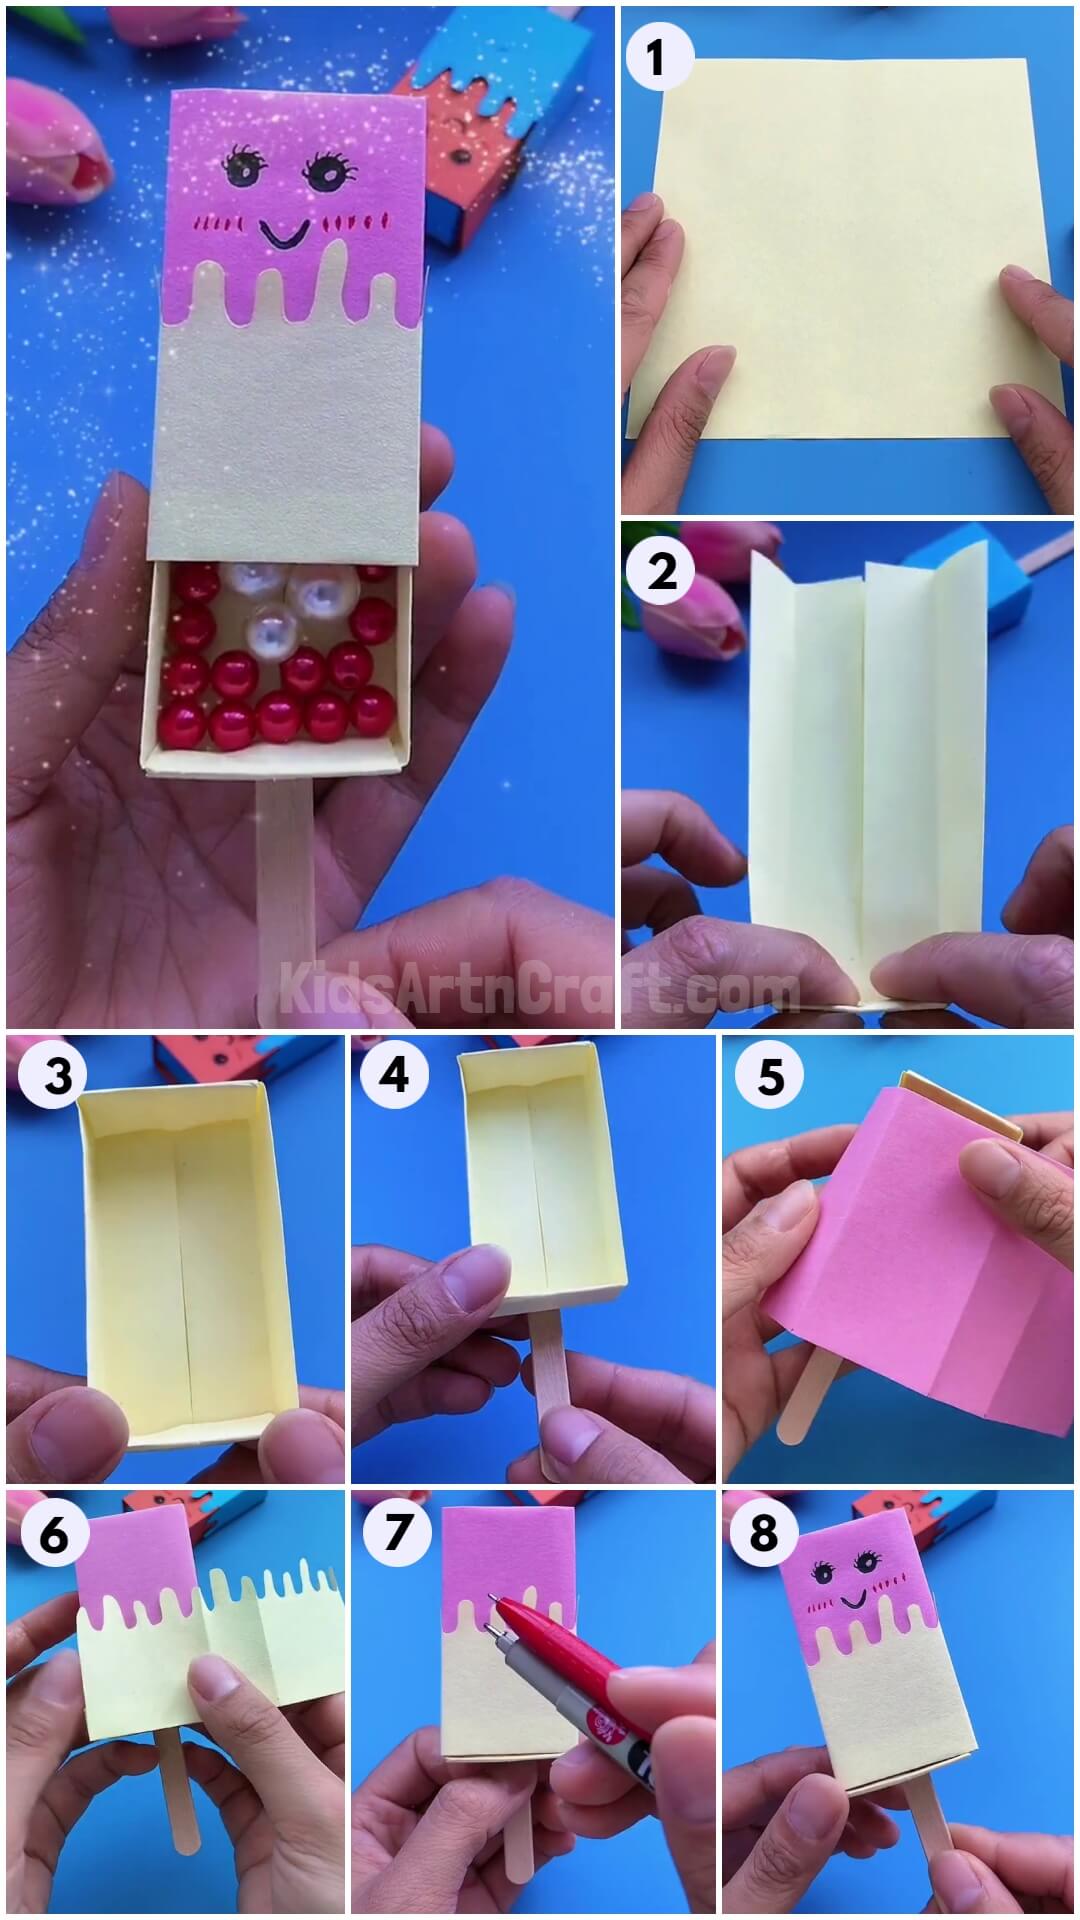
How to make Easy paper Ice Cream box For kids

Learn how to make an easy paper ice cream box for kids. This simple and fun craft is perfect for summer days and is sure to make any child smile.
Ice-creams are everyone’s favorite, be it a child or an adult. I mean, who wouldn’t love it? Ice cream is the comfort food that everyone craves for their lifetime. So, today we are going to make everyone’s favorite food box that is so cute and irresistible.
Just grab your craft materials and follow the simple tiny steps to make everyone crave their comfort food.
Easy Paper Ice Cream Box Craft Tutorial For Kids

Read More: Easy Dinosaur Craft Step-by-Step Tutorial For Kids
Materials Required
- Craft Paper (Cream And Pink)
- Popsicle Stick
- Pen (Black And Red)
- Scissors
- Glue
Procedure
Step 1: Taking a Cream-colored Craft Paper
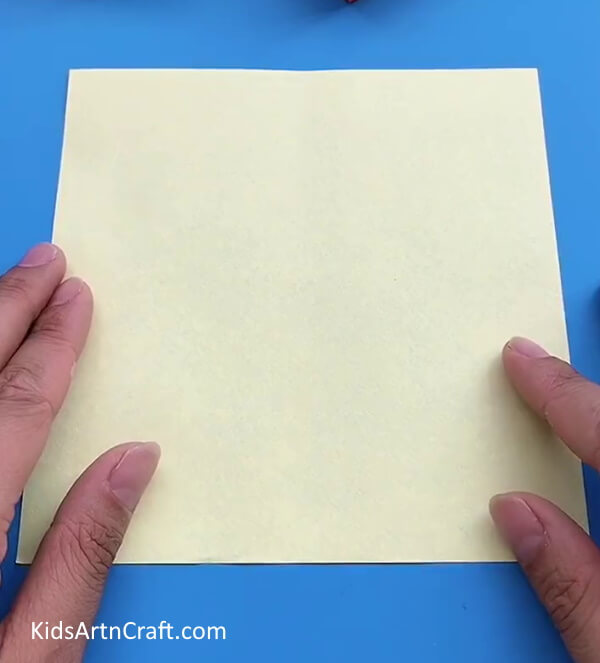

The first step is to take a cream-colored craft paper that is square in shape.
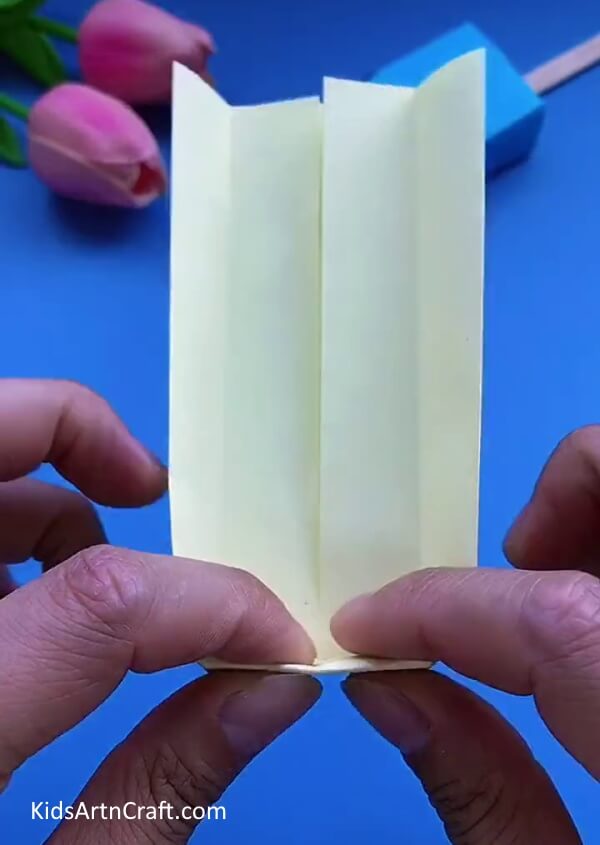
Step 2: Folding The Cream-colored Craft Paper
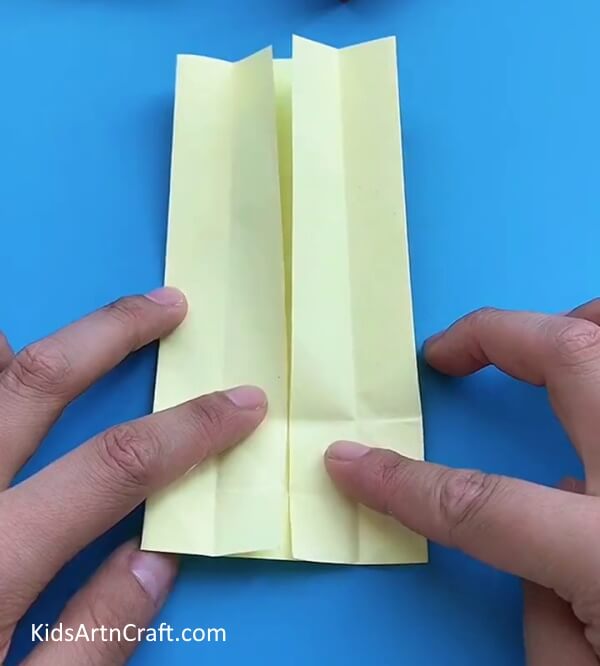

Now, fold the cream-colored craft paper. First, fold one side into the middle and then fold the other side of the cream craft paper into the middle too. Now, by repeating the process, make two more folds on each side of the craft paper as shown above. The next step is to make two folds from the bottom as shown in the picture.
Step 3: Folding the Bottom Part Of The Cream Craft Paper
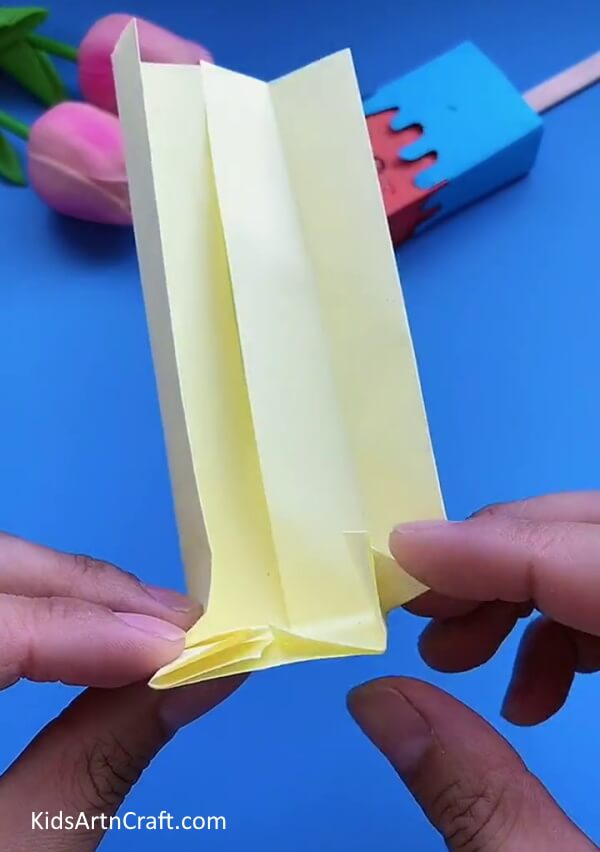

Now, fold the bottom part of the cream-colored craft inwards as shown above. This can be a tricky part but you will get it.


Step 4: Fold The Bottom Large Part Inwards

Now, fold the bottom large part/width of the cream-coloured craft paper inwards as shown in the picture.
Step 5: Repeat The Same Process
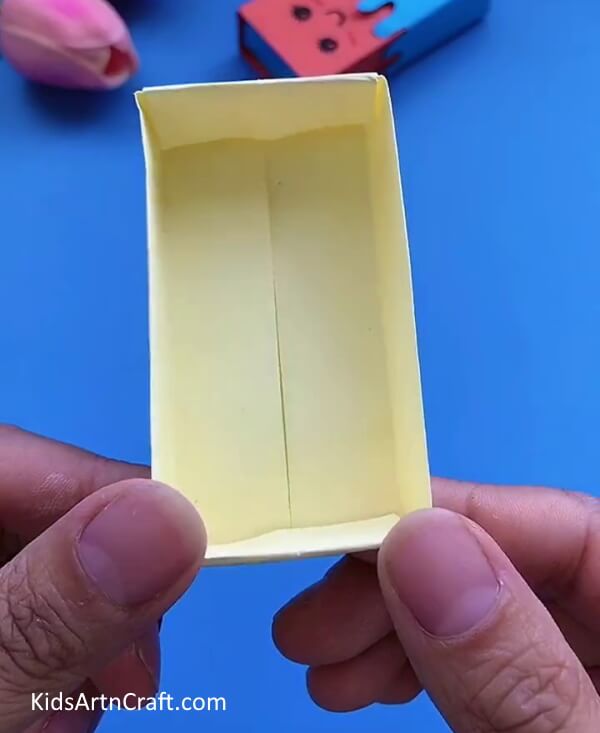

To make the same part on the top of the cream-coloured craft paper as on the bottom, repeat the above steps in which you have made the bottom part.
Step 6: Stick The Popsicle Stick With Glue
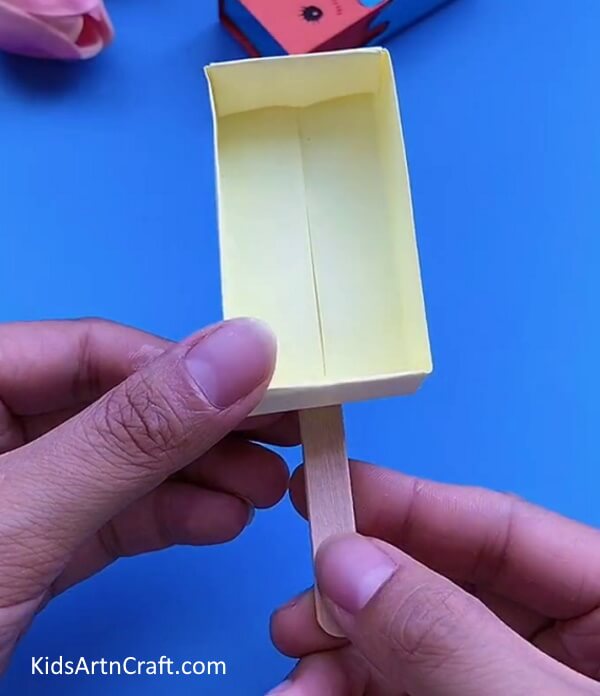

Now, with the help of the glue, stick the popsicle stick behind the unopened part as shown in the picture.
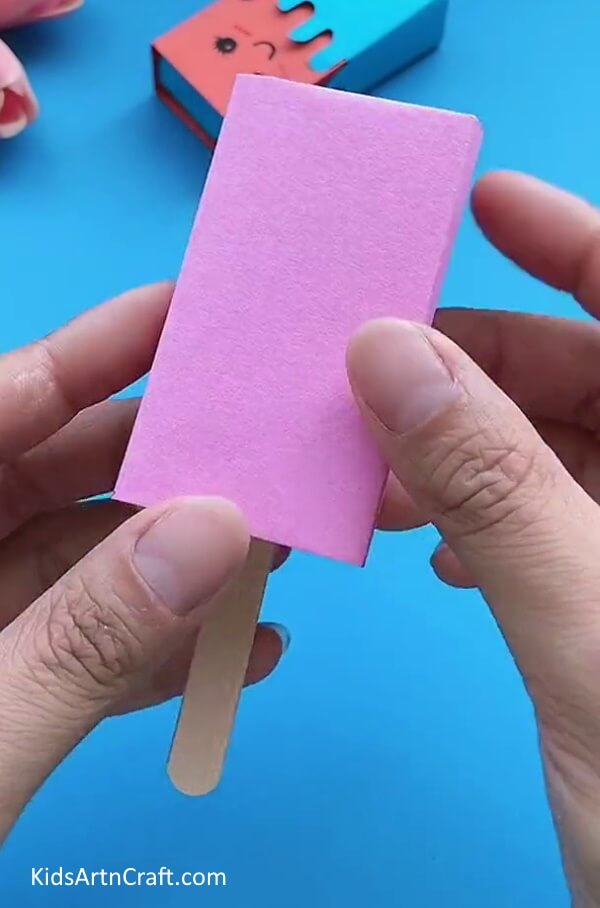
Step 7: Wrap The Pink Craft Paper On Cream
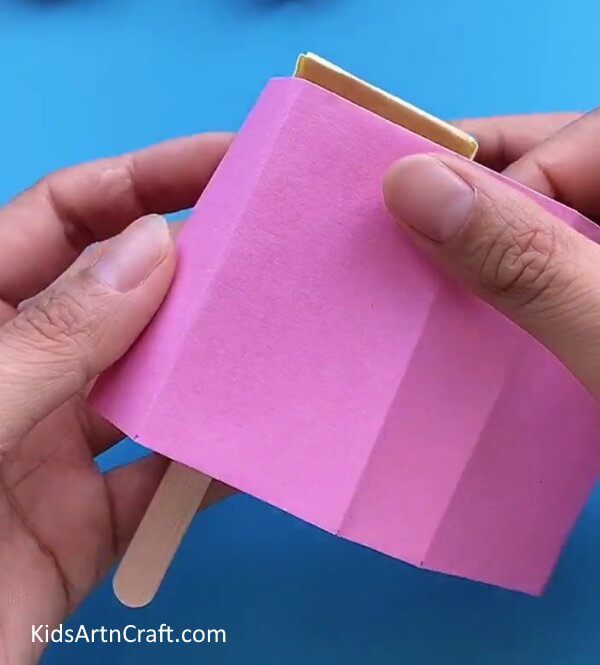

Take the pink-coloured craft paper and fully wrap the cream-coloured craft paper with the help of glue.
Step 8: Wrap The Pink Craft Paper Fully

After fully wrapping the pink-coloured craft paper over the cream-coloured craft paper, this is how it will look after wrapping it. So, make sure you do it the right way.
Step 9: Stick The Cream Craft Paper On The Pink Craft Paper
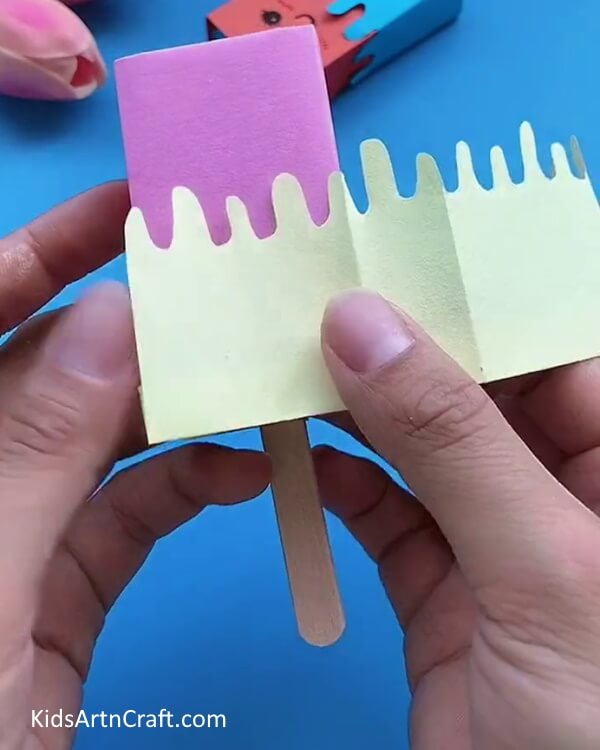

Now, with the help of scissors, cut a shape on a cream-coloured craft paper of a dripping ice- cream. To know about the shape, look at the image above. Then, after cutting the cream-coloured craft paper into a shape, stick it on the bottom side of the pink-coloured craft paper with the help of glue as shown in the picture.
Step 10: Take Black And Red Pens
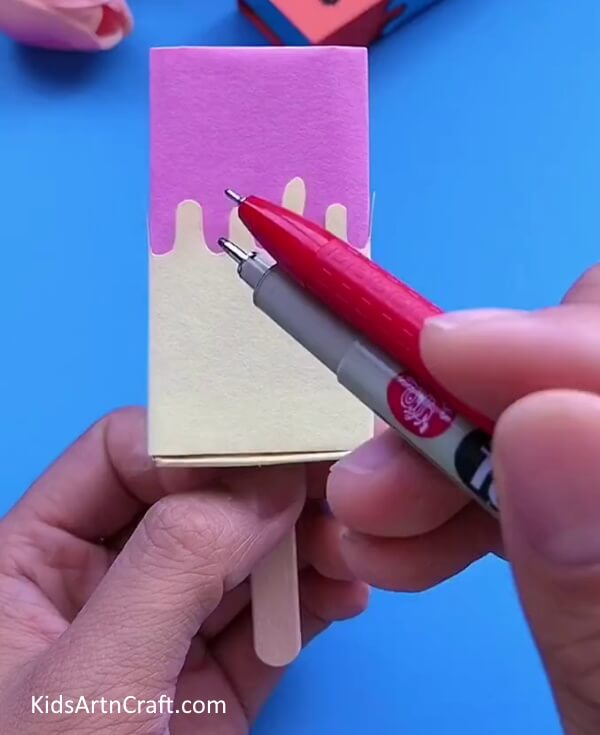

Now, take black and red coloured pens to make features of the ice cream. You can take ballpoint pens or gel pens to make cute features. Although, gel pens work more smoothly than ballpoint pens. So, you can make a choice.
Step 11: Draw Features Of Ice Cream With Black And Red Pens
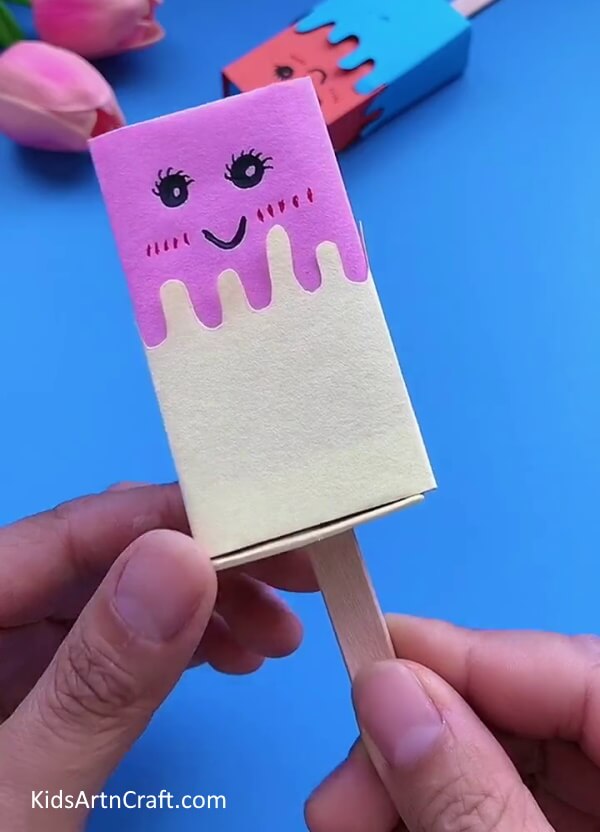

Now, with the help of black and red coloured pens, make cute features (eyes, smile and blush) of an ice cream that no one can resist. You can take reference from the above picture to make the cute features of ice cream.
Your Paper Ice-Cream Box Is Ready!


Your cute tiny ice cream box is ready to be savoured. It looks so cute that even I can’t resist it. This craft has different purposes as it you can even store small things in the box by pulling the popsicle stick. You can even keep this craft for decorative purposes in the house. You can even use it to prank someone, haha! Just kidding.
Do try this cute little tiny ice cream box at home. If someone saw your craftwork, they will definitely be left in awe and couldn’t resist saying “aww” multiple times. So, what are you waiting for, make your cute and adorable ice cream box now!
Follow us on Youtube for art and craft tutorials and much more.
More Articles from Kids Art & Craft
- How to Make Paper Sheep With Step-By-Step Tutorial
- Recycled Plastic Bottle Dragon Craft Tutorial for Kids
- Beautiful And Easy Paper Crafts Video Tutorial for All
- Fun To Make Paper Chick Craft
- Easy Way To Make Paper Stress Relief Flower Craft