Paper Crafts
Amazing Paper Peacock Craft Tutorial For Beginners

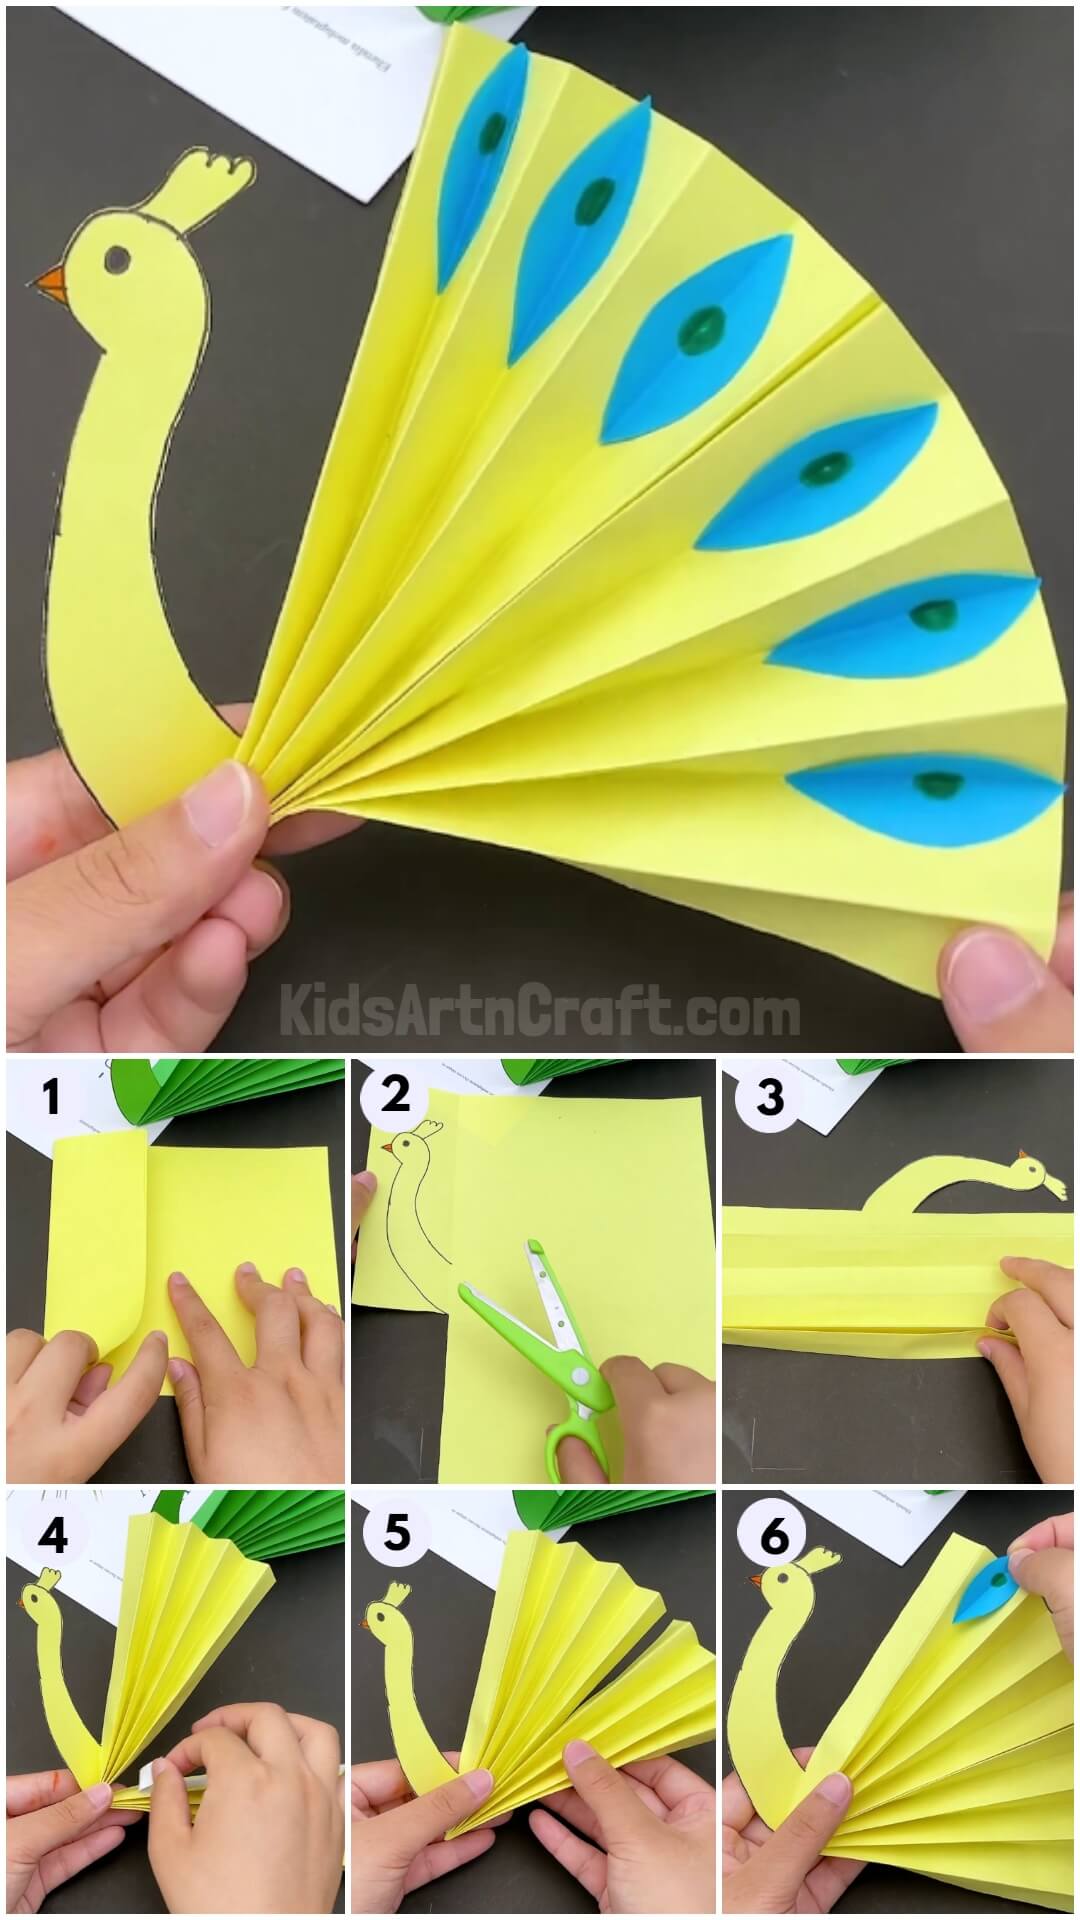
This tutorial will help you make a gorgeous paper peacock craft. It is simple enough for beginners and perfect for any special occasion. Follow the instructions and you will have a stunning paper peacock craft.
Looking for a craft idea which is colourful and wholesome? do not worry, because just like always, we have got you covered! We are here today with an amazing, fun and easy step by step tutorial to guide you through the journey of creating this vibrant peacock. Suitable for kids between the ages of five and seven years of age. Combining the fun and creativity of artistic pursuits and educational values of the nature’s majestic creatures. This will surely be at the top of the to-do lists of your young artists at various events such as birds workshops, picnics and bird-themed parties. So, grab the materials and get started with this one as soon as you can !
Amazing Paper Peacock Craft For Beginners

Read More: DIY Woven Paper Fish Step by Step Tutorial for kids
Materials Required
- A yellow coloured sheet of paper
- A black coloured pen
- A pair of scissors
- A blue coloured sheet of paper
- A green coloured marker
- A double sided tape
- Any adhesive or glue
Procedure
Step 1: Take The Paper And Fold It
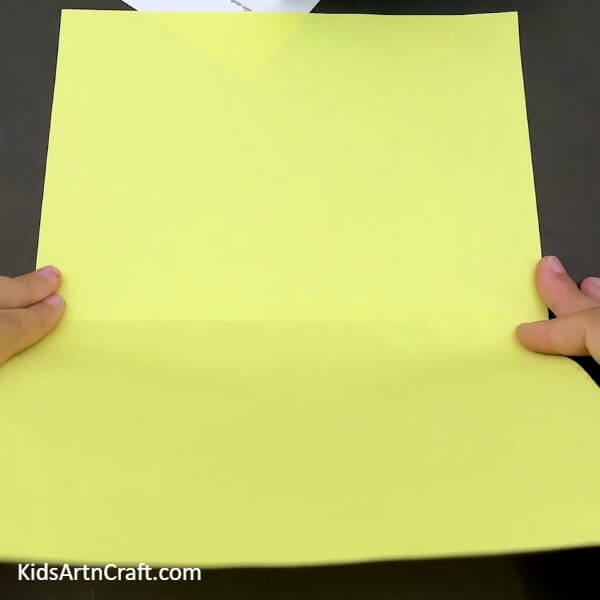

Firstly, take the yellow coloured sheet of paper and fold it into two halves. Then, using the pair of scissors, cut one of the two halves of the yellow sheet .
Step 2: Take One Side Of The Paper And Fold It
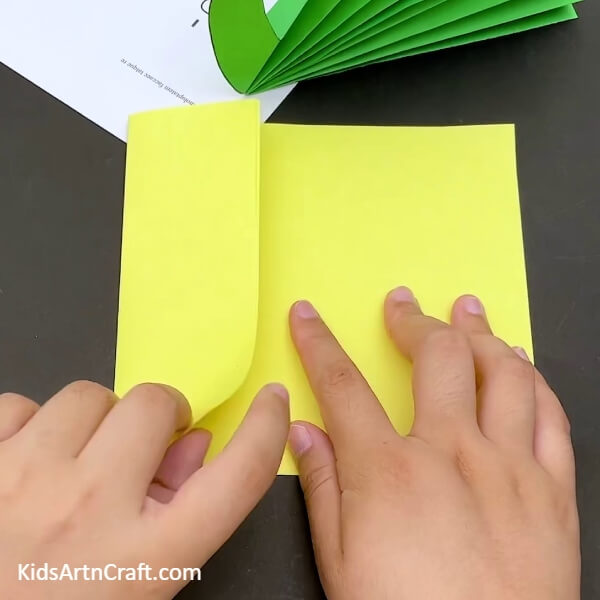
Next, take almost five to seven centimeters portion of the yellow coloured sheet of paper and fold it.
Step 3: Draw And Cut The Shape Of A Peacock

Now, using the pen, draw the shape of neck and other facial features of the peacock . Next, using the pair of scissors cut the shape of the peacock .
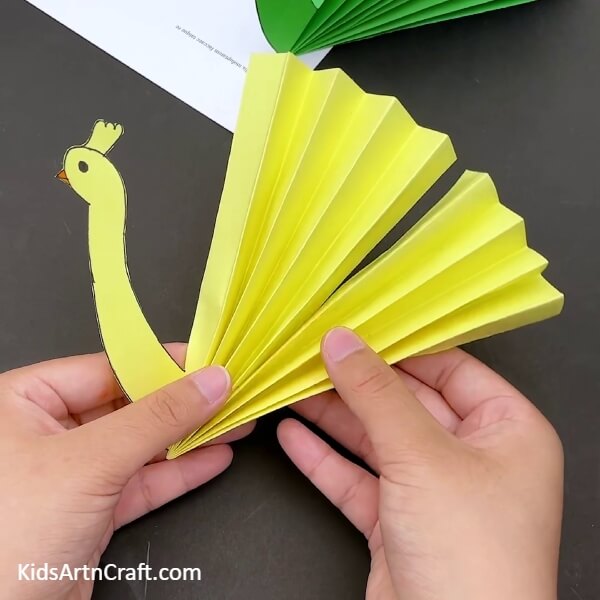
Step 4: Create A Folds One After The Other

Now, take the leftover portion and take a few centimeters of crease and then create successive folds one after another in the same way as you would do while making a paper fan.
Step 5: Fold The Fan Design And Paste A Double Sided Tape
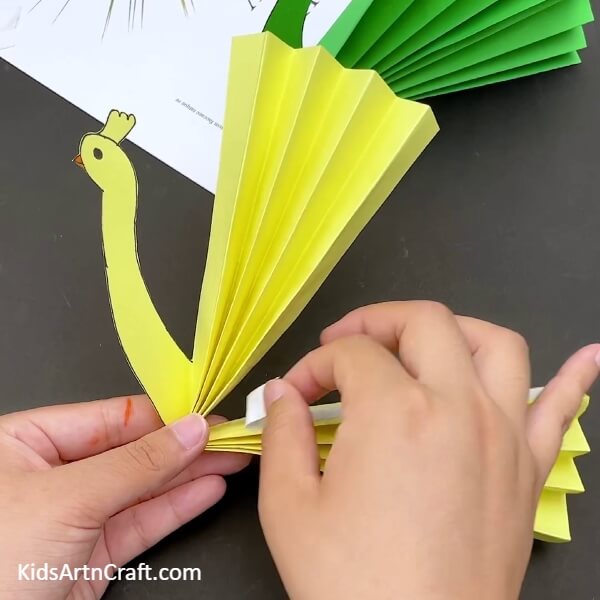
Now, take the middle portion of the whole design and fold it into two halves. Now, put the double sided tape and remove its upper layer as shown in the image below.
Step 6: Paste The Two Halves Together
Next, paste the two halves together by pressing them.
Step 7: Paste The Peacock Design Cutout
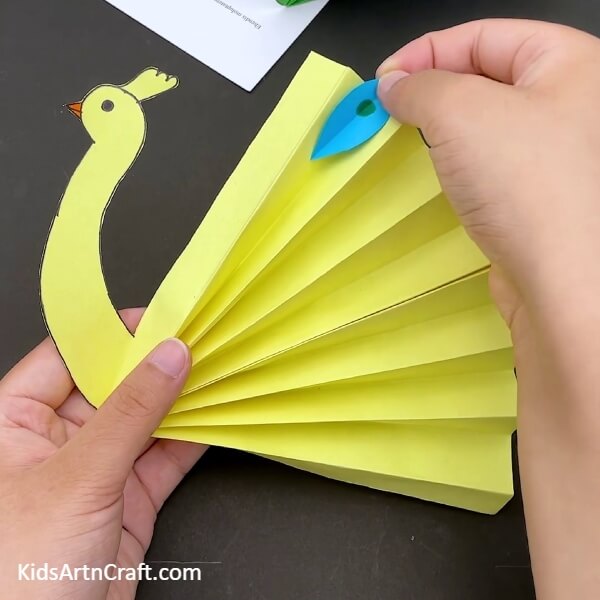
Now, Take the blue coloured sheet of paper and cut it into various cutouts of the shape of leaves, next fold these leaves into two halves . Then take the green coloured marker and draw small green circles on the cutouts and then paste the first cutout on the bird as shown in the image below.
Hurray !Your Paper Peacock Is Ready!
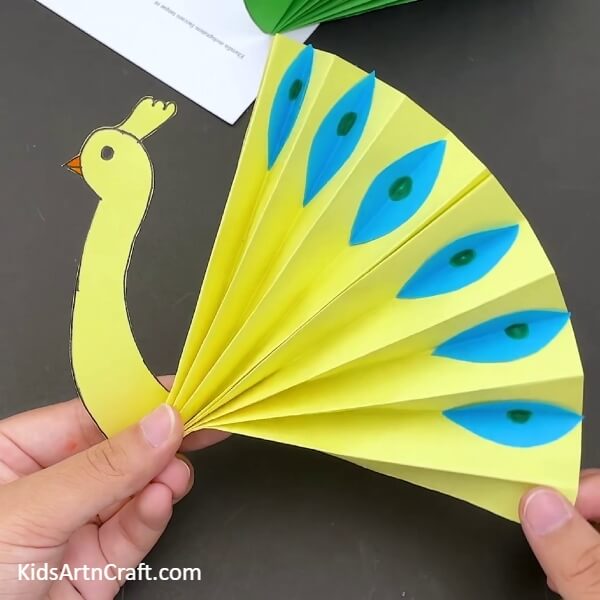
Similarly, take all the other cutouts and paste them on the bird cutout as well. And finally, your bird is ready !! This idea is so pretty looking and simple to make, that it would be loved by your little artists. Whether you are looking for some quality time with your kids or an innovative art and craft assignment to prepare, this one would surely steal everyone’s hearts away !!
Do let us know your thoughts in the comment section below and check out our other posts for more such fun and easy art and craft ideas for kids, until then, Happy crafting!!
Some More Peacock Craft Tutorial
Making Paper Strips Peacock Craft For Kids

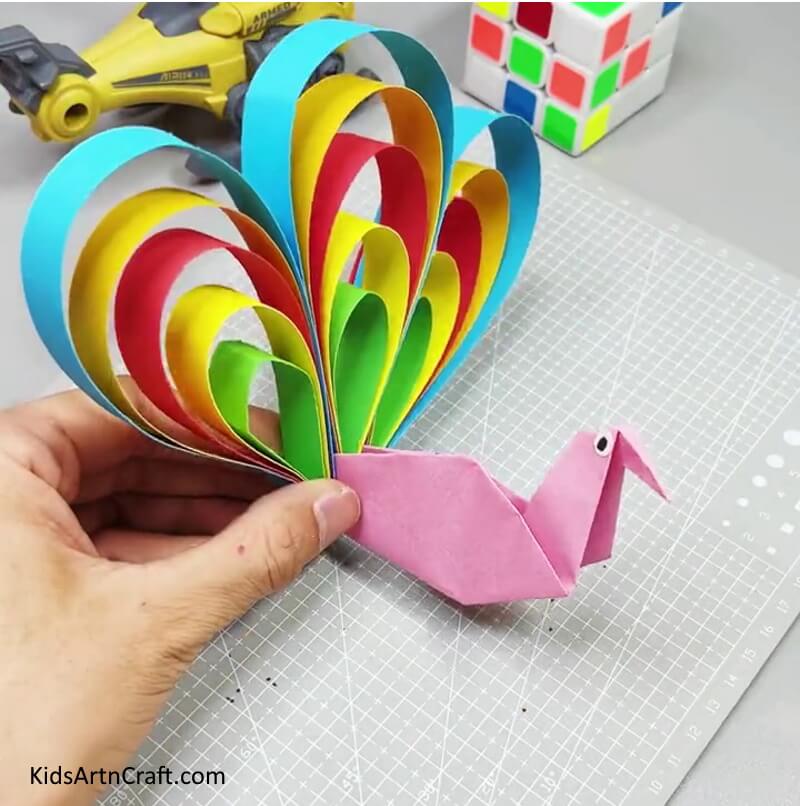
Image Source/Tutorial: Kids Art & Craft
Making paper strips peacock craft is a fun and easy activity for kids. They will enjoy the creative process of creating their own peacock from colorful paper strips. It is a great way to spend quality time with your kids and help them learn the basics of crafting.
Follow us on Youtube for art and craft tutorials and much more.
More Articles from Kids Art & Craft
- Simple Paper Crab Craft – Step By Step Tutorial
- Learn To Make Easy Heart Shaped Paper Mouse Craft
- How to Make Easy Paper Snowflakes Tutorial
- DIY Paper Tree Crafts for Kids Easy Tutorial
- Easy Paper Craft Tree with Bird Nest for Kids