Paper Crafts
Origami Paper Plane Craft Tutorial For Kids

Bring the fun of origami to your kids with these exciting paper plane craft ideas! This step-by-step tutorial will show you how to make simple and complex models of planes from just a few pieces of paper. Get ready to create some amazing paper planes with your kids!
Welcome to our Origami Paper Plane Craft Ideas For Kids – Step-by-Step Tutorial! If you are looking for fun and creative ways to entertain and engage your children, then this tutorial is for you. We’ll show you step-by-step how to make origami paper planes for your kids, using simple materials like paper, scissors, and a few other common items. With our easy-to-follow instructions, your children will be able to make their own paper planes in no time. So let’s get started!
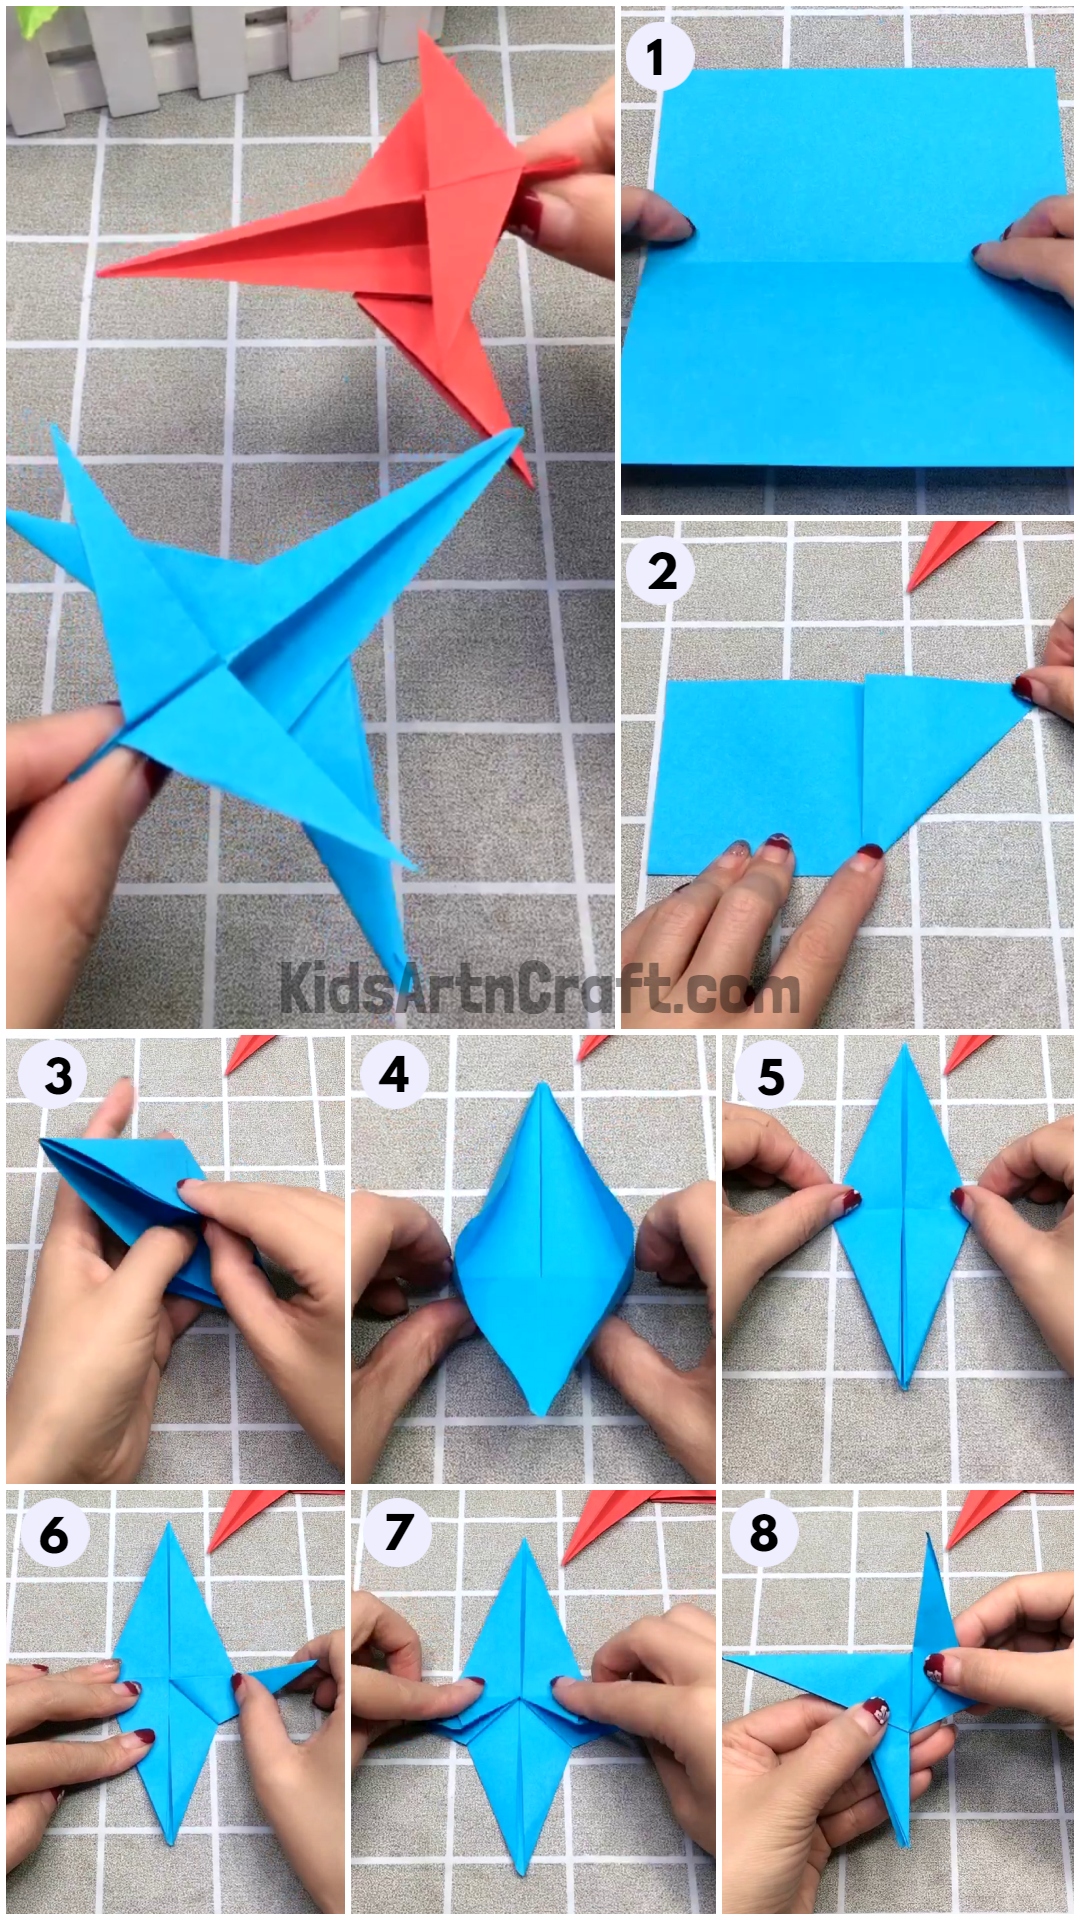
Fun To Make Origami Paper Plane Craft – Step by Step Tutorial

Read More: Colorful Fish Paper Craft To Make With Kids
Material Used:
- Blue And Red Craft Paper
Instructions: –
Step-1: Take a Blue Craft Paper
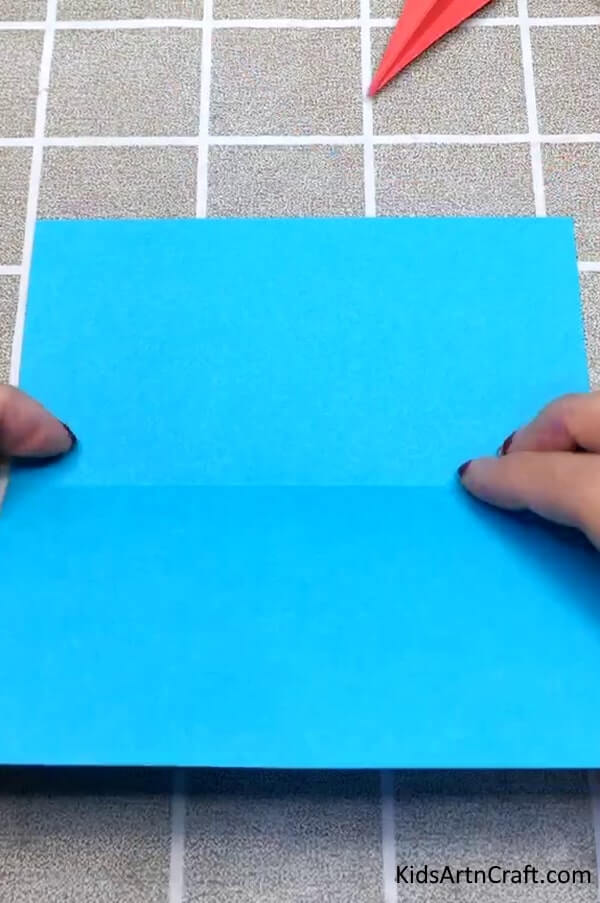

Take a blue craft paper square shape.
Step-2: Folding Into Two Halves
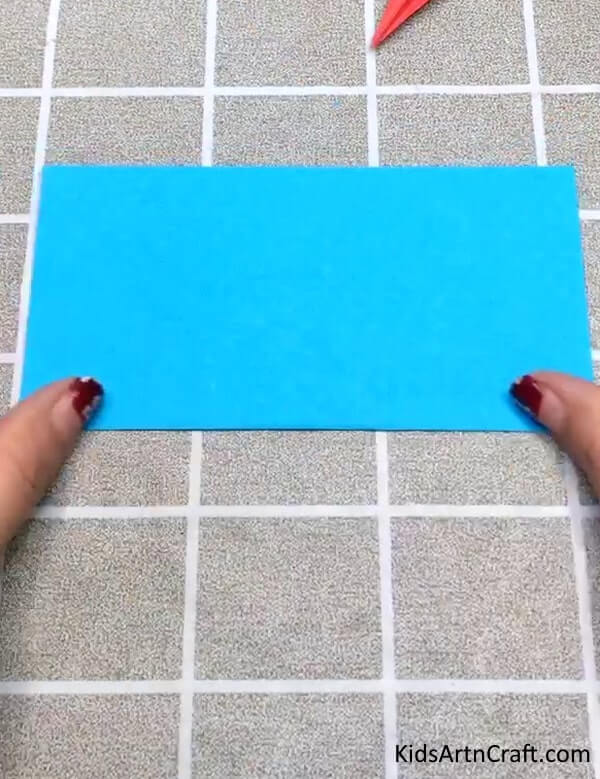

Fold the paper into two halves.
Step-3: Folding It Again
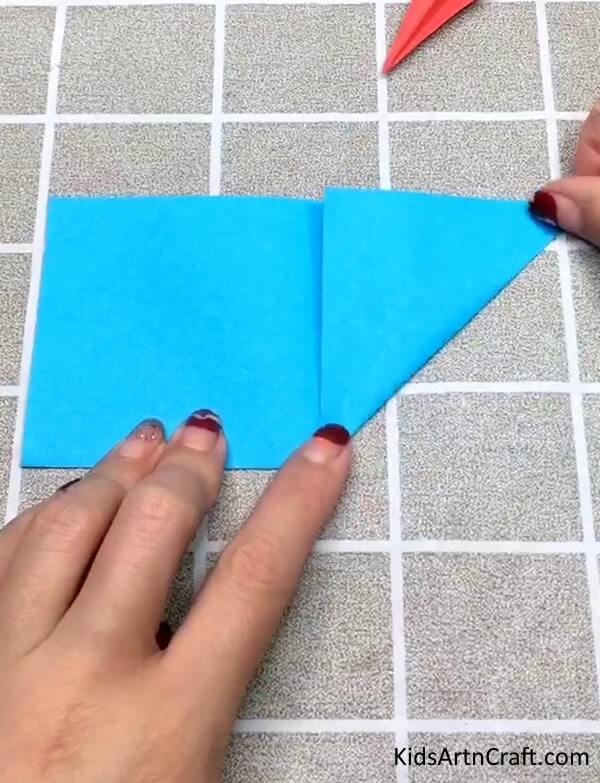

Now, fold it into two halves and unfold it. Hold one end of the rectangle and fold it to the visible line drawn from the unfolded paper.
Step-4: Making It Conical
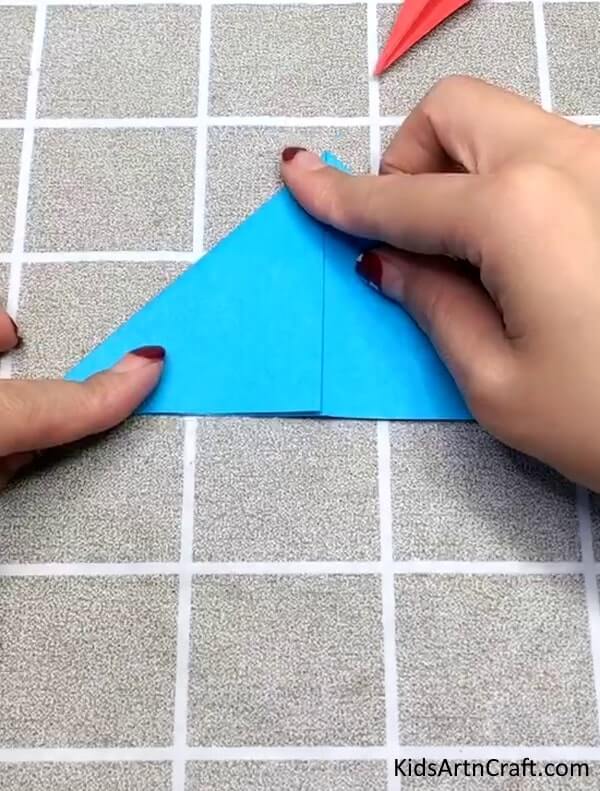

Similarly, fold from another corner.
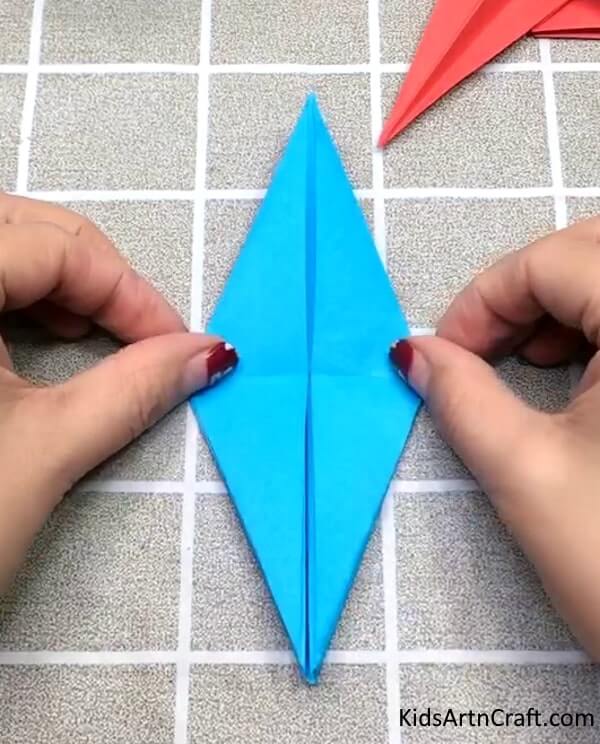
Step-5: Inserting Finger In The Pocket


Step-6: Giving The Shape Of a Diamond
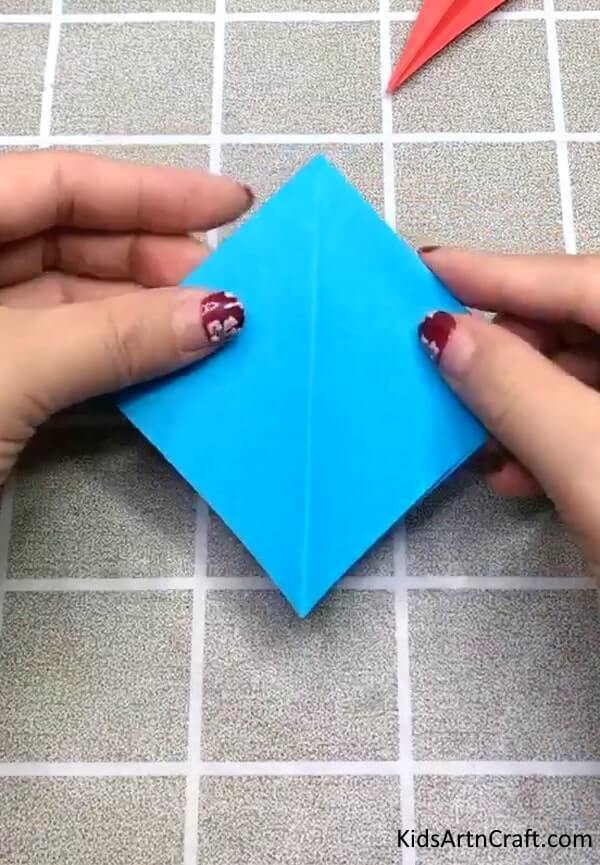

Press the paper outwards from inside and then press it from above.
Step-7: Folding The Upper Sheet
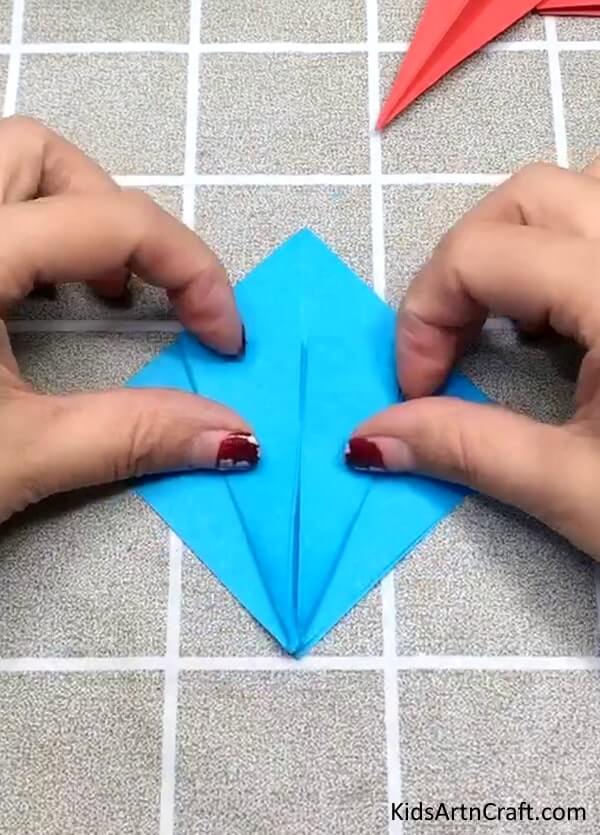

Hold the paper from the bottom and fold the paper from both sides.
Step-8: Turning The Paper Upside Down


Turn the paper upside down and open the back paper.
Step-9: Fold The Paper
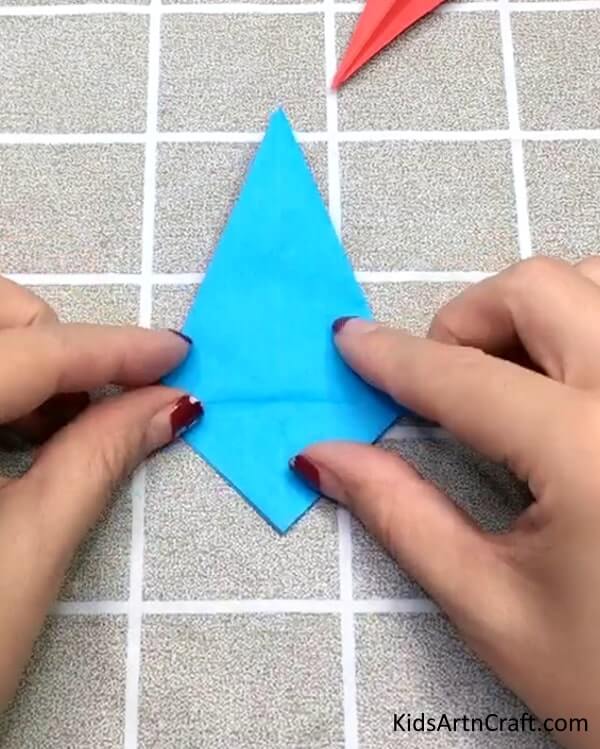

Fold the paper upside.
Step-10: Opening The Both Upper And Lower Side

Open both the upper and lower flaps.
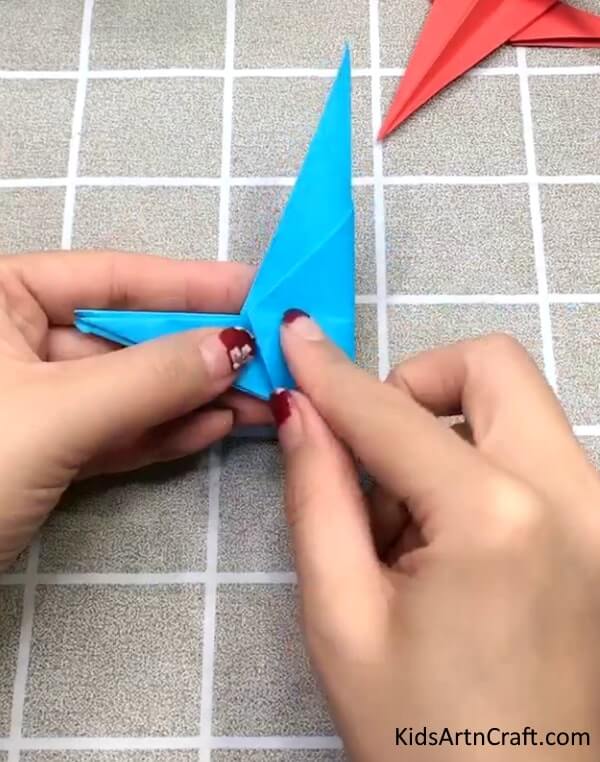
Step-11: Creasing The Lower Right Part Towards Right
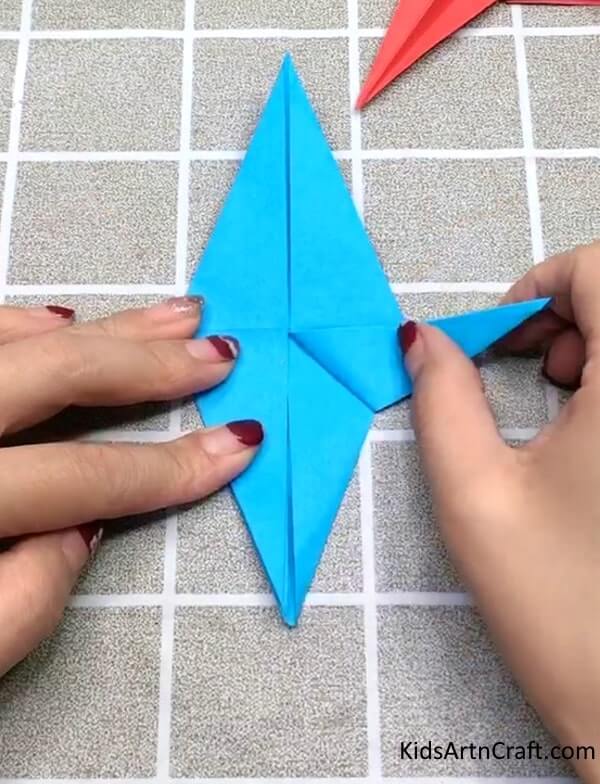

As you can see there are four triangles formed, two on top and two on the bottom. You need to hold the right triangle from your side on the bottom side and fold it towards the right.
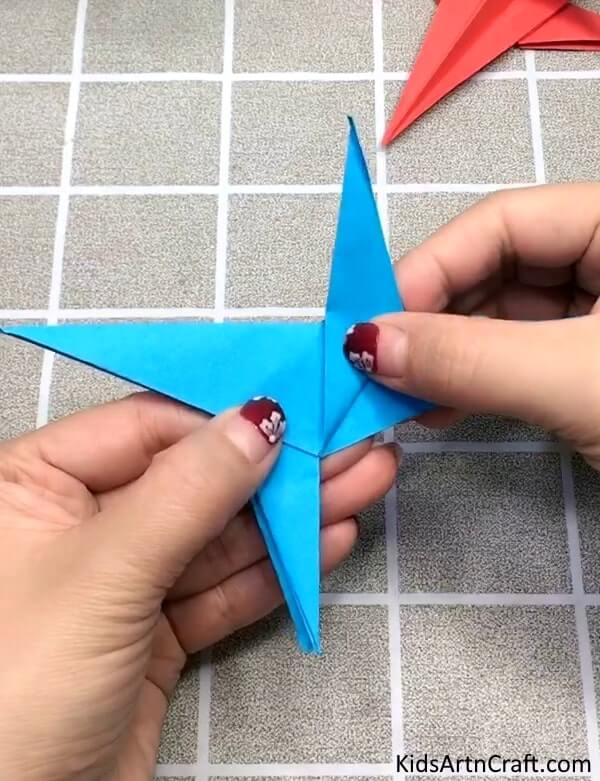
Step-12: Folding Another Upper Triangle
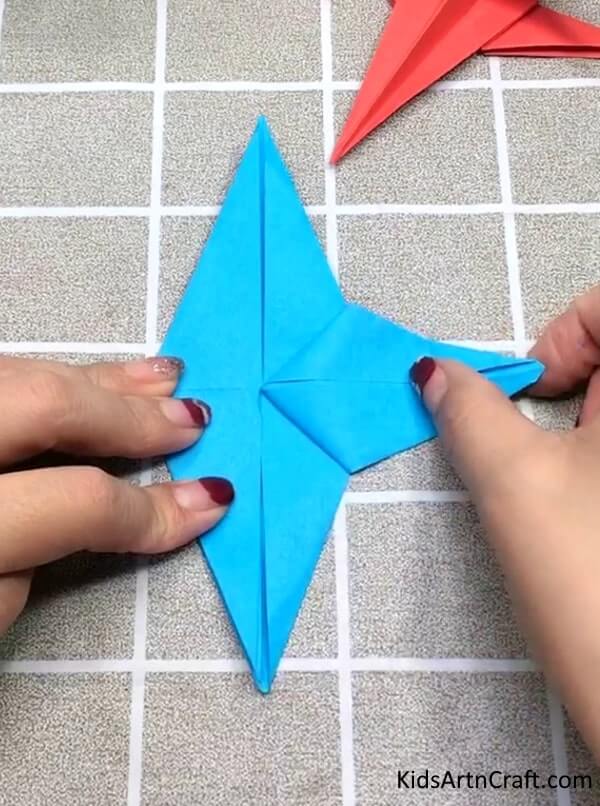

Hold the upper right triangle and fold it towards the right touching the already folded triangle.
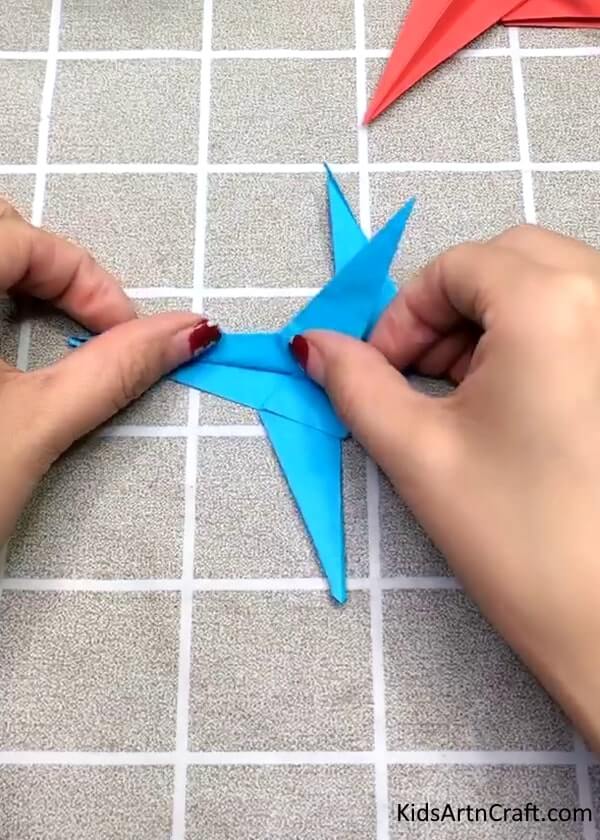
Step-13: Repeating On Left Side
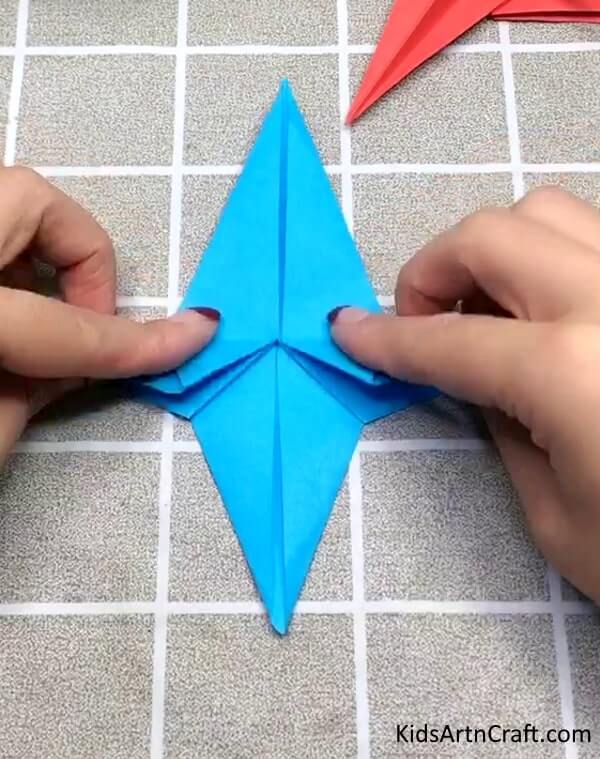

Repeat the previous two steps on the left side and then fold the upper folded parts towards downside touching the previously folded part.
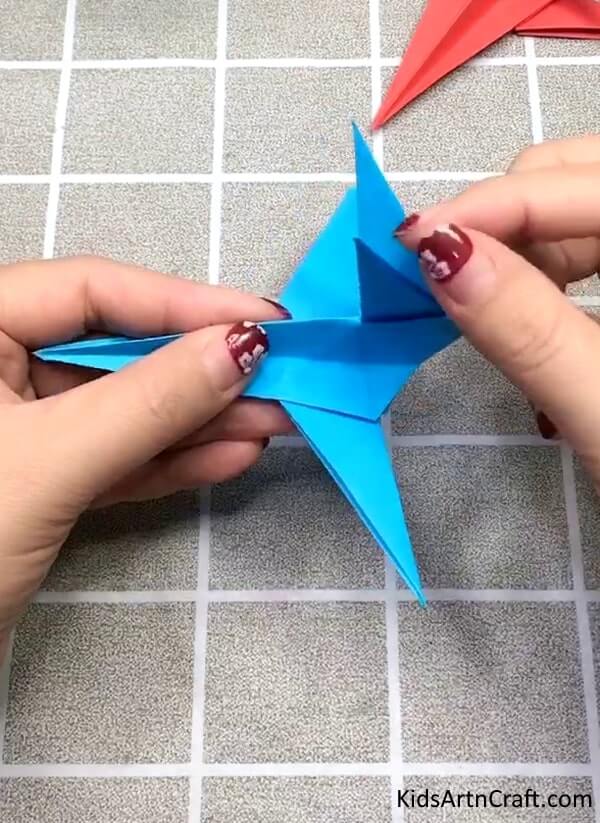
Step-14: Joining Both The Sides

Join the right part with the left part.
Step-15: Opening Wings Of The Plane

Turn the plane horizontally and open the two flaps from both sides.
Step-16: Folding From The Downside

Hold the plane from the top and from the bottom fold the paper upwards making a base.
Step-17: Splitting The Upper Fin Of the Plane

Hold the upper fin and split it apart.
Final Step: Your Plane Is Ready!
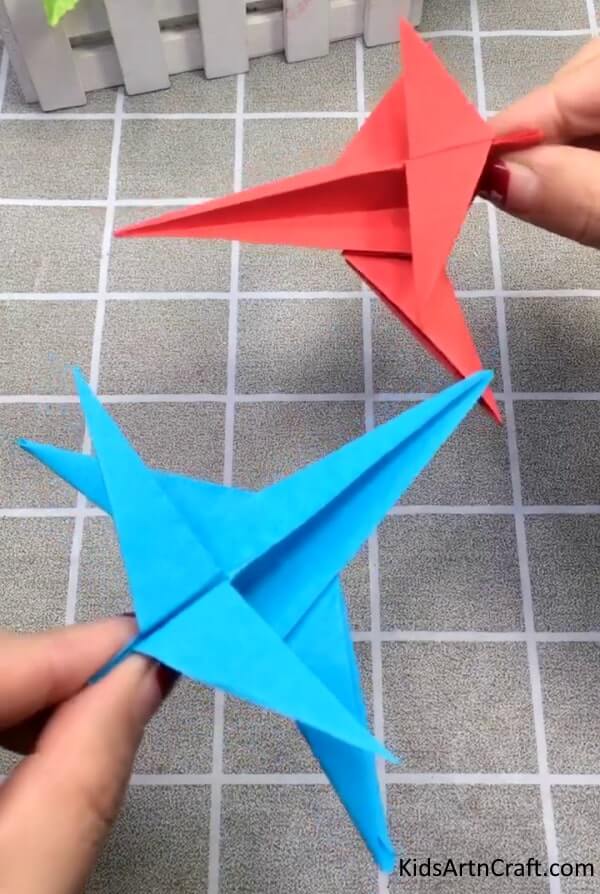

Your paper plane is ready to fly! You can make it using different colored papers at your home.
Some More Paper Plane Craft Tutorial
Designing Paper Airplane Origami

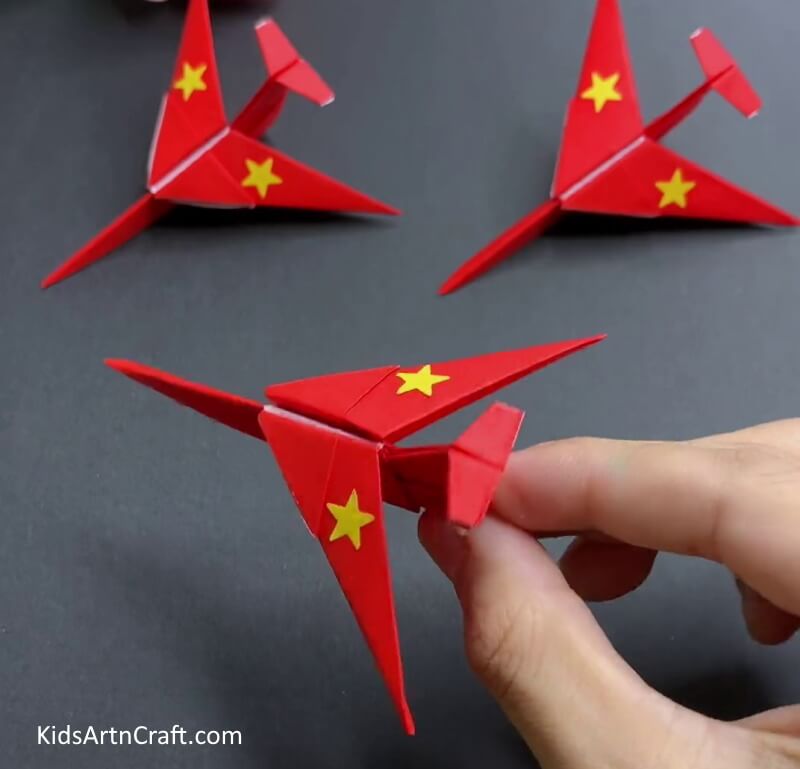
Image Source/Tutorial: Kids Art & Craft
Designing paper airplane origami is a fun way to create something with your hands. It is an activity that requires creativity, patience, and imagination to make unique and creative designs. It is a great way to explore the world of origami and have fun with friends and family.
FAQs
What types of paper are suitable for making origami paper planes?
Any type of thin, lightweight paper can be used for making origami paper planes, such as tissue paper, printer paper, or even newspaper.
What tools do I need to make paper planes?
All you need is a pair of scissors and a ruler.
How do I fold a paper plane?
There are several ways to fold a paper plane. One of the most popular methods is the Harrier fold, which requires you to fold the paper in half diagonally, then fold the wings in half and tuck them under the body of the plane.
How do I make my paper plane fly further?
The key to making a paper plane fly further is to make sure it is balanced and has enough lift. You can adjust the wings, tail, and body of the plane to find the most efficient design.
What is the best way to make a paper plane?
The best way to make a paper plane is to experiment with different designs and find out which one works best for you.
This article provided a step-by-step tutorial to craft paper planes with origami paper for kids.
Follow us on Youtube for art and craft tutorials and much more.
More Articles from Kids Art & Craft
- DIY Easy Paper Flower Craft For Kids – Step-by-Step Tutorial
- How to Make Paper Flower Craft With Paper Cup
- Simple Paper Crab Craft – Step-By-Step Tutorial
- Easy Leaf Art For Kindergarteners With Your Parents – Step-by-Step Tutorial
- Paper-Cutting Designs For Projects