


Drawing
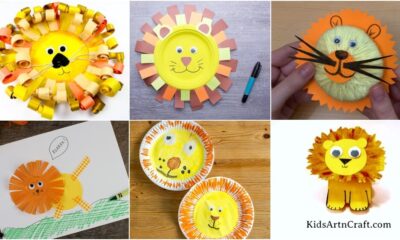
Rainbow Train Artwork Craft Tutorial For Kids

Welcome, aspiring artists! Are you ready to start on an exciting and creative adventure? Today’s craft guide will teach you how to bring the wonder of rainbows to life. Prepare your paintbrushes, scissors, and imagination as we explore the world of Rainbow Train Artwork!
In this article, we’ll show you how to make a vivid and lovely rainbow train artwork out of simple materials. This project will allow you to not only develop your artistic abilities, but also teach you about colours, patterns, and the satisfaction of making something unique with your own hands. So, let us begin and discover the rainbow’s beauty!
Easy Rainbow Train Tutorial For Kids
Read More: Simple Drawing Trick on Paper Video Tutorial for Kids
Material Required
- A white coloured sheet of paper
- A black coloured marker
- A blue coloured sheet of paper
- A pair of scissors
- Any adhesive
- Poster colours or paints of various colours
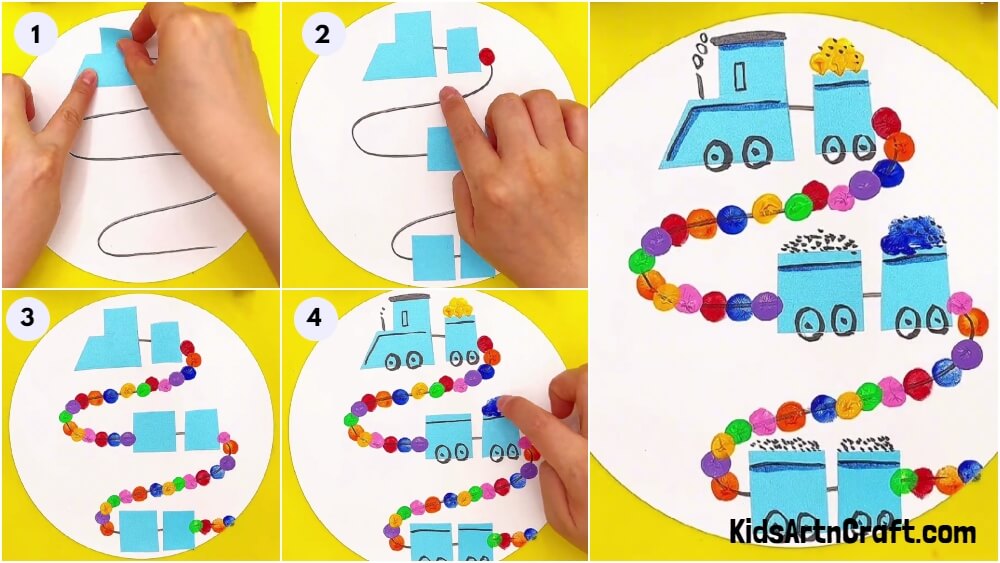
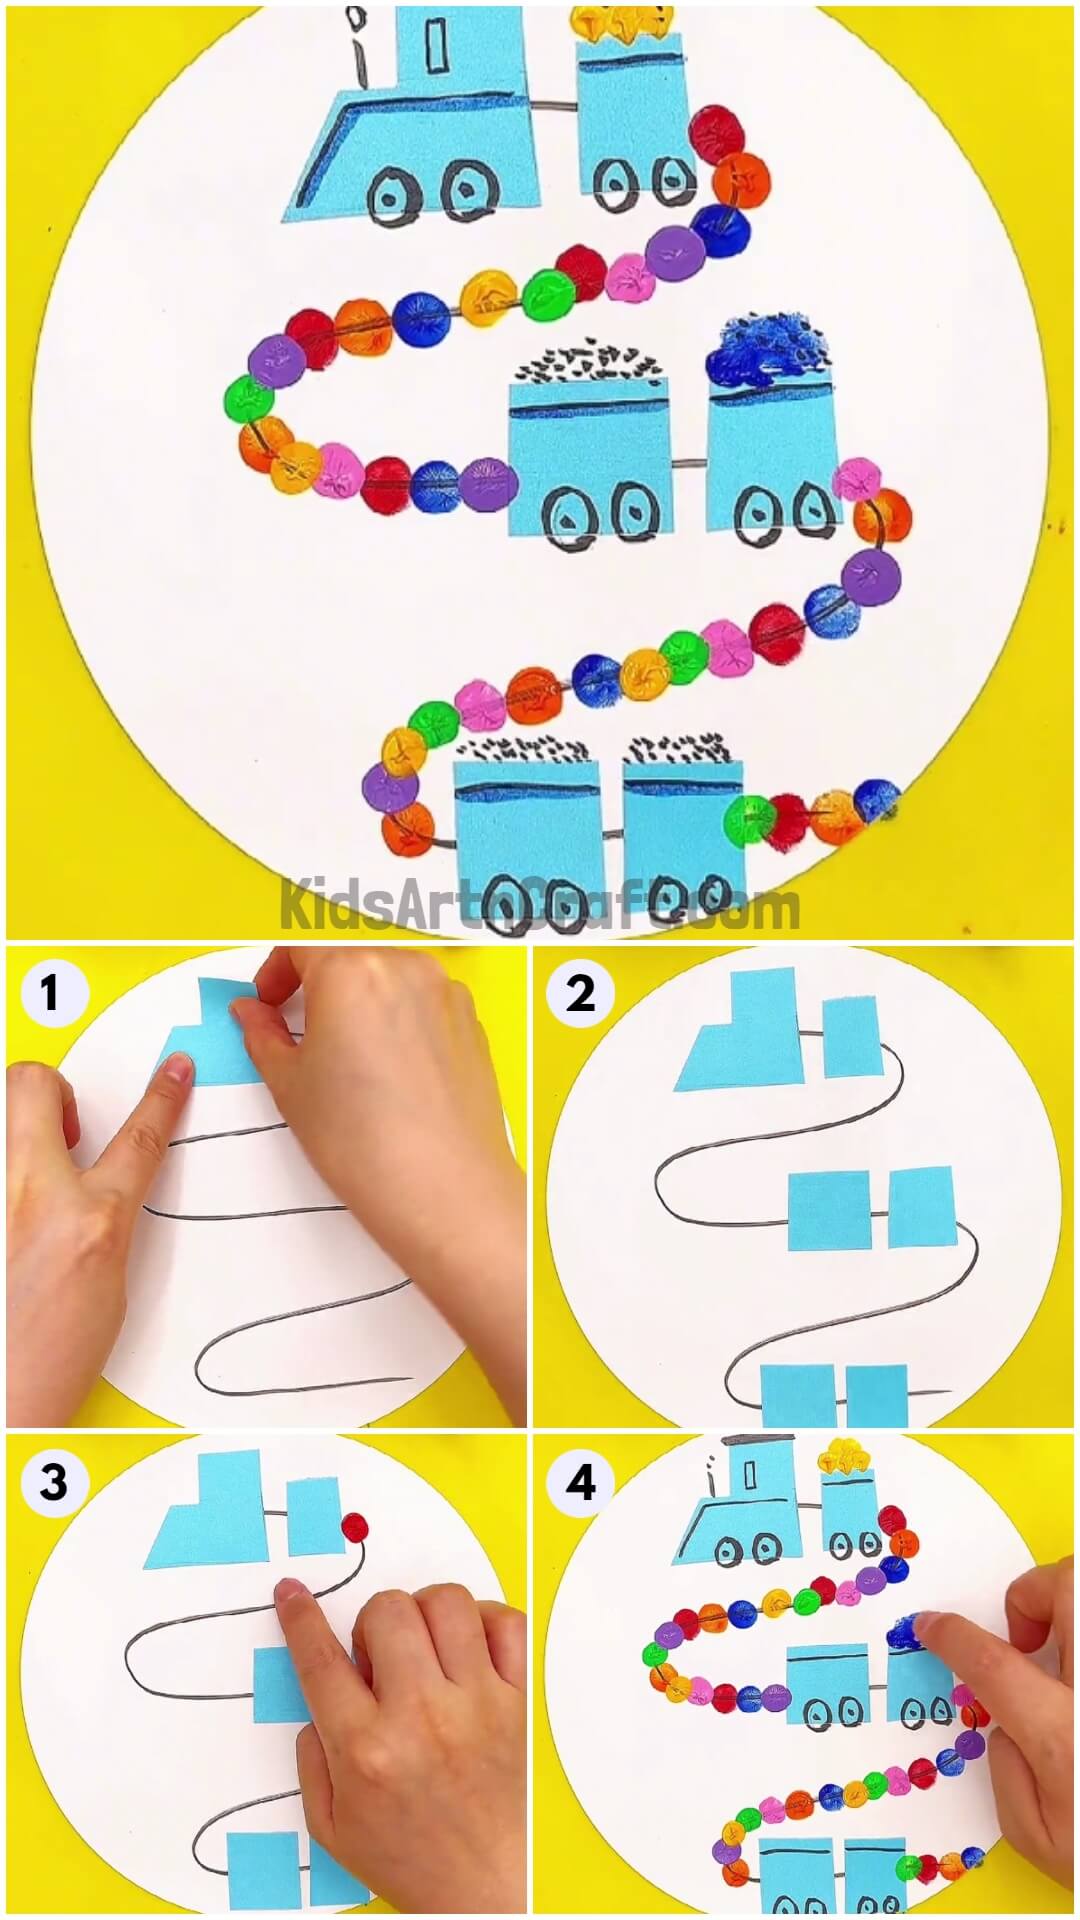
Procedure
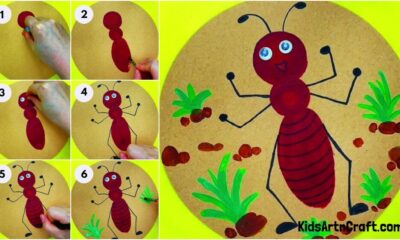
Step 1: Drawing a curvy pathway
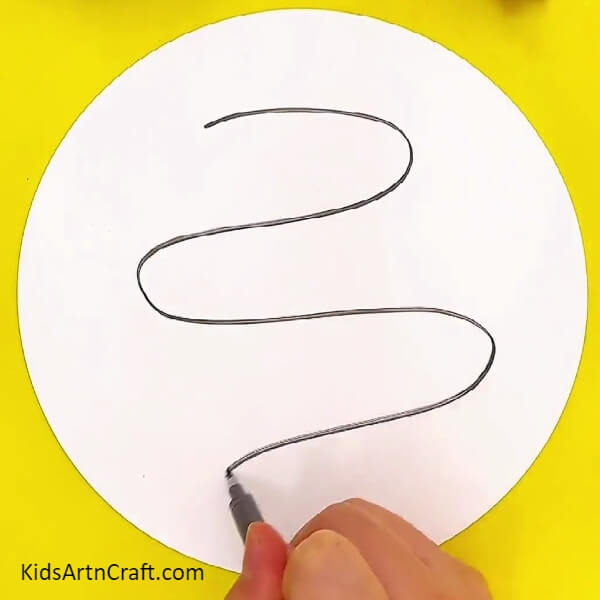
Firstly, take a white coloured sheet of paper, and using the pair of scissors, cut it into the shape of a circle. Then using the black coloured marker, draw a curvy pathway on the paper.
Step 2: Pasting one cutout on one side of the pathway
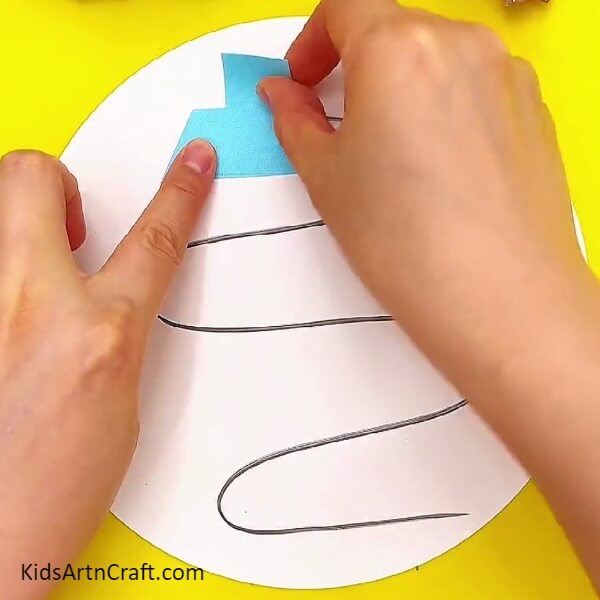
Then, take the blue coloured sheet of paper and cut out the shapes of train, in variants of quadrilateral. Paste the first cutout of the engine on the paper.
Step 3: Pasting all the other cutouts on the pathway
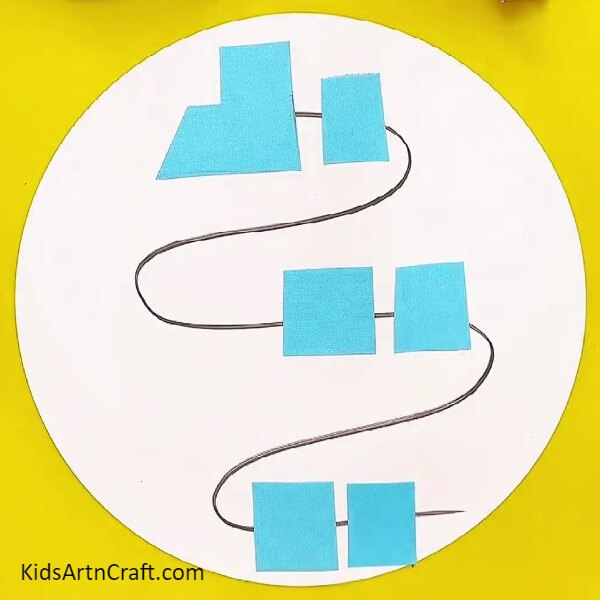
Then, paste all the other cutouts on the paper using the adhesive.
Step 4: Dipping your finger into the red paint
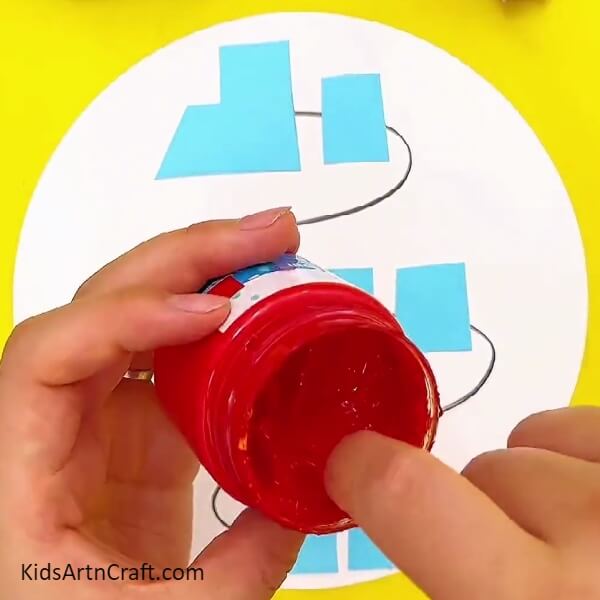
Now, take the red painting colour and dip your finger into it.
Step 5: Pressing the finger against the paper
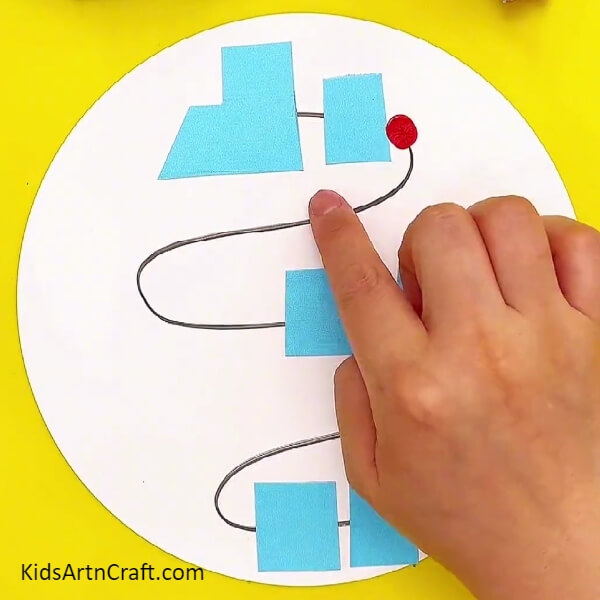
Now, press your finger against the paper, randomly on the pathway lines.
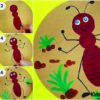
Step 6: Using different colours
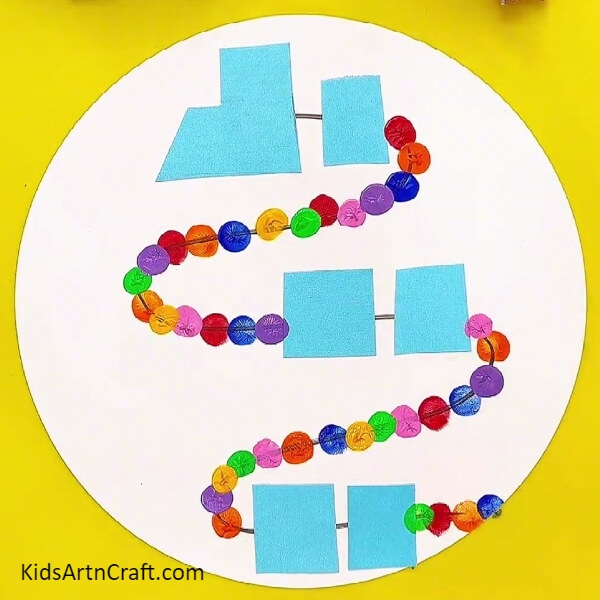
Now, use different colours to create a complete vibrant and colourful pathway for your train.
Step 7: Drawing details of the train
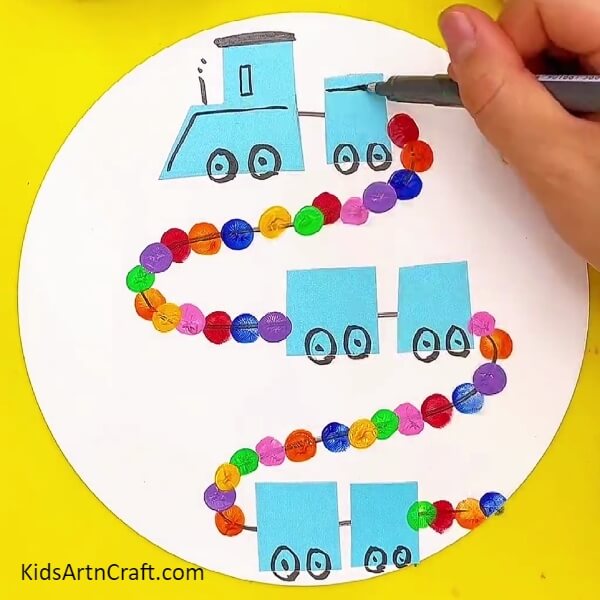
Now, take the black marker to create windows and wheels of the train.
Step 8: Adding goods to the trains using paints
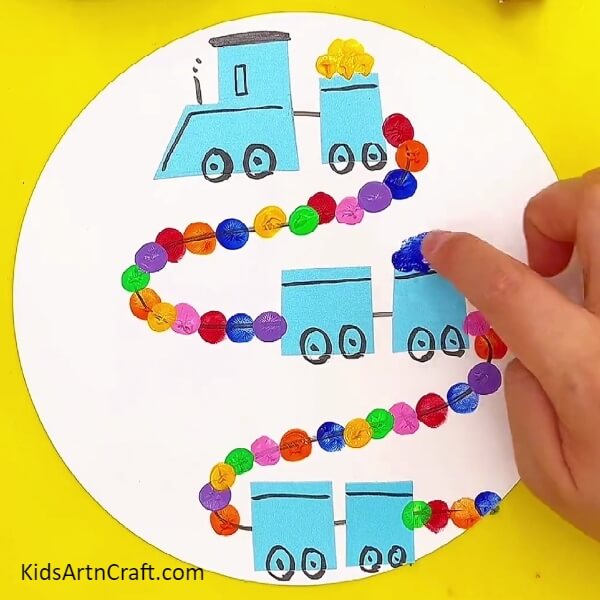
Then, again using the painting colours, create the goods.
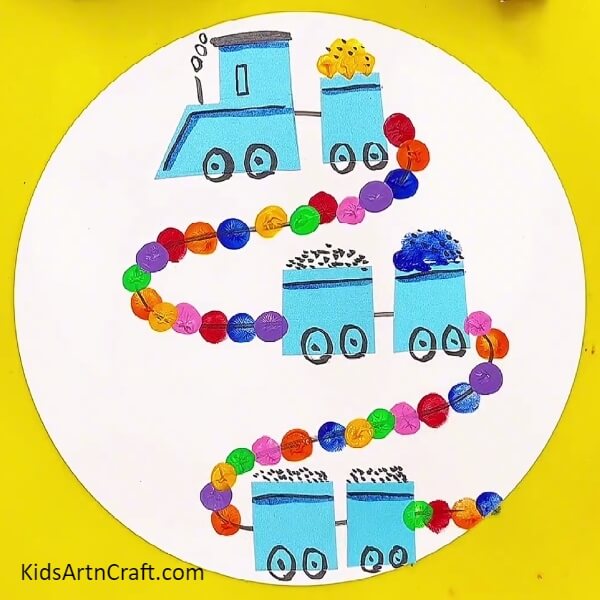
Step 9: Adding coal using the marker

Then, using the black marker, add coal to your train.
And it is finally done!
Congratulations on finishing your Rainbow Train Artwork, young painters! You have created a wonderful train that is brimming with rainbow colours. You have not only displayed your creativity but also learnt about colours, patterns, and the joy of making art by following this guide.
Remember that art is a wonderful method to express yourself and let your imagination run free. Don’t be nervous to try new things and make your own masterpieces. With each brush stroke, you gain confidence and improve your artistic abilities.
We hope you had a good time with this craft instruction. Your rainbow train artwork demonstrates your ingenuity and love of painting. Share your creation with loved ones and relatives, and allow the brilliant colours to inspire them.
Do let us know your thoughts in the comment section below, and do not forget to check out our other posts for more such amazing art and craft ideas for your little artists!
Follow us on Youtube for art and craft tutorials and much more.
More Articles from Kids Art & Craft
- Simple Drawing For 3D Art Video Tutorial
- Easy to Make Animal Drawing Video Tutorial for All
- Simple Animal Drawings Video Tutorial for Beginners
- Easy to Draw 3D Drawing Tricks Video Tutorial
- Easy Drawing with Crayons Video Tutorial for Kids