Clay Crafts
Rainbow Butterfly Clay Craft Tutorial For Kids

Hello everyone! Hope you are doing well. A simple clay butterfly art for kids. Kids can embody their creative vision in creating this insect, choose the desired colors of clay, and make the wings round, and oval, in the form of droplets.
The wings themselves can also be of different sizes. Begin a whimsical journey with this unique clay butterfly craft tutorial! Unleash your child’s creativity through a step-by-step process filled with hands-on fun and artistic expression. In this craft, you need different colors of clay, sketchy colors, googly eyes, and cardboard. It is a budget-friendly craft for kids. So what are you waiting for?
Let’s get started crafting this beautiful butterfly with me…..
Easy Butterfly Using Clay Tutorial For Kids
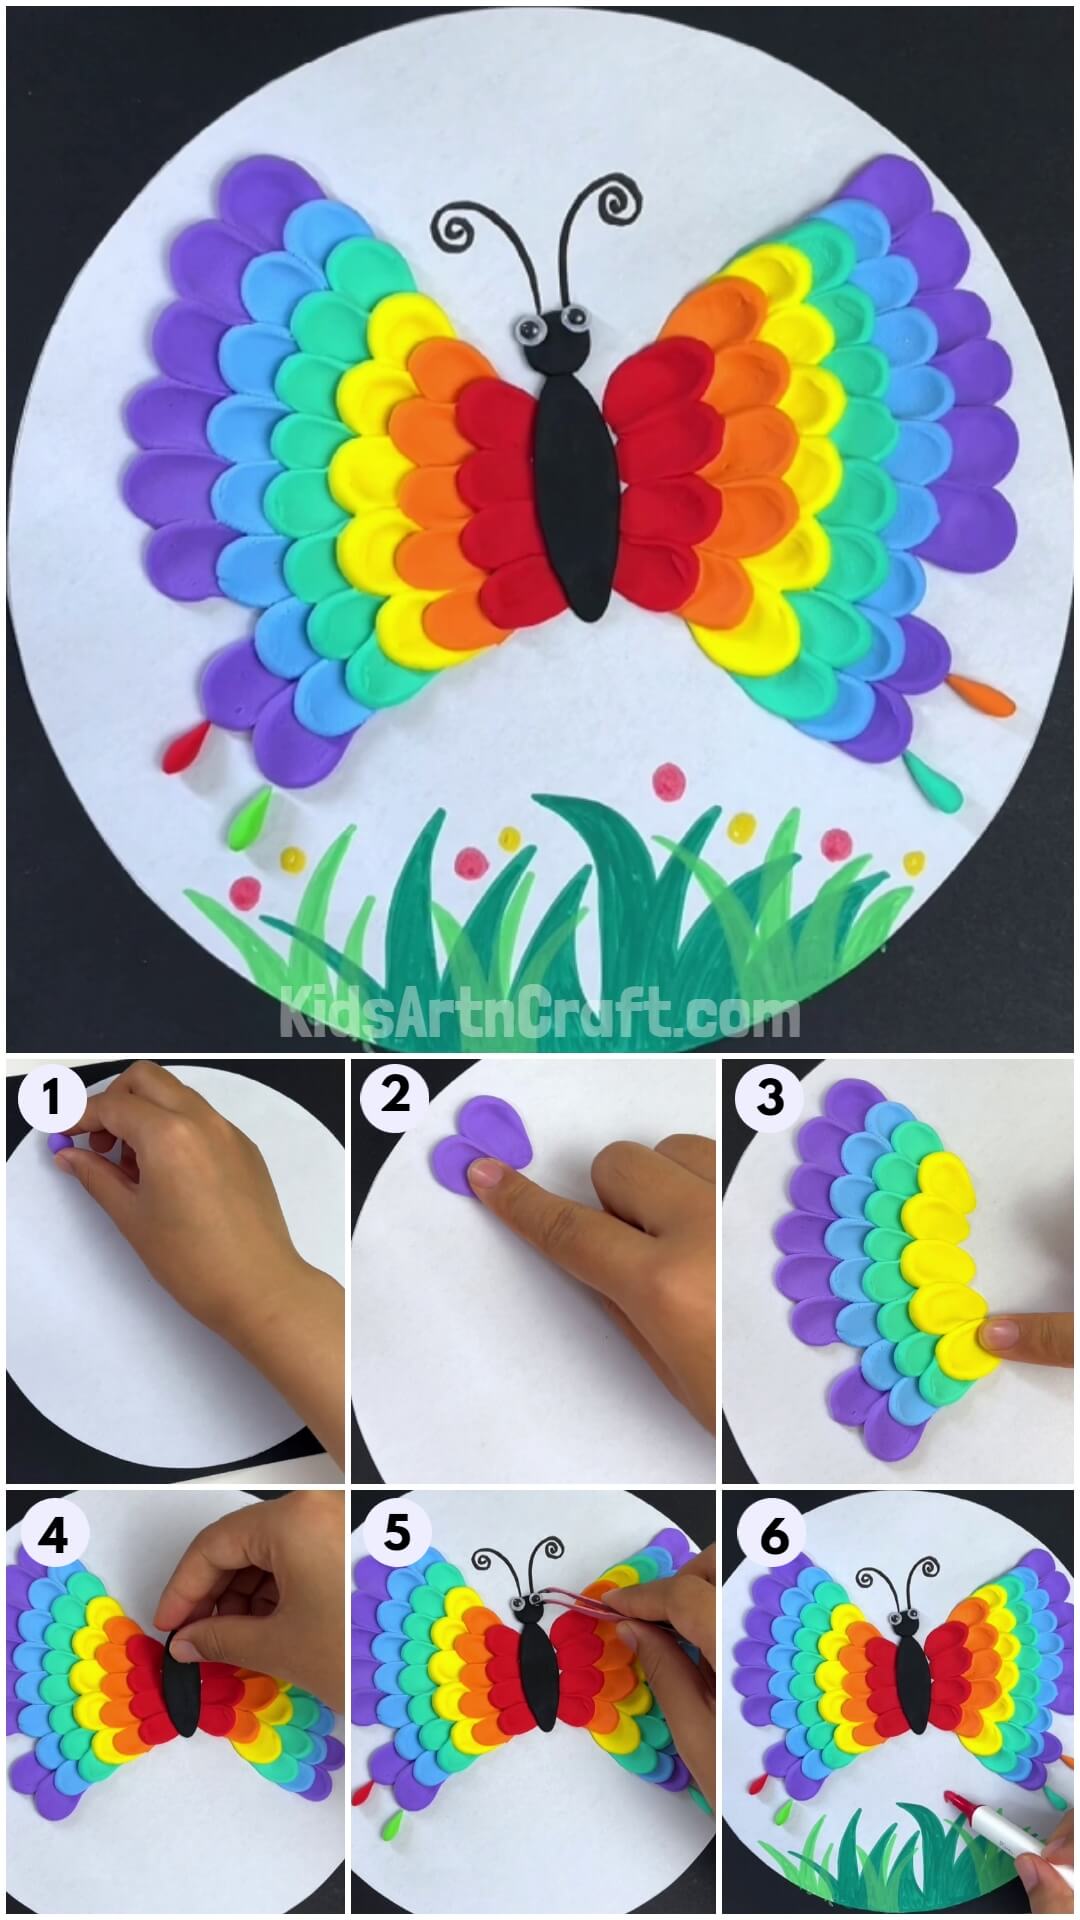

Step 1: Take A Purple Clay Ball
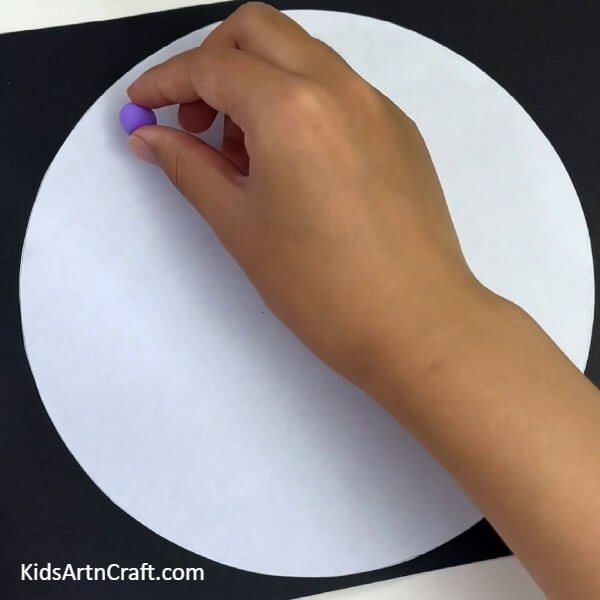

To make this beautiful butterfly, start by taking a purple clay ball and a circle-shaped cardboard.
Step 2: Creating Droplet Design For Forewing
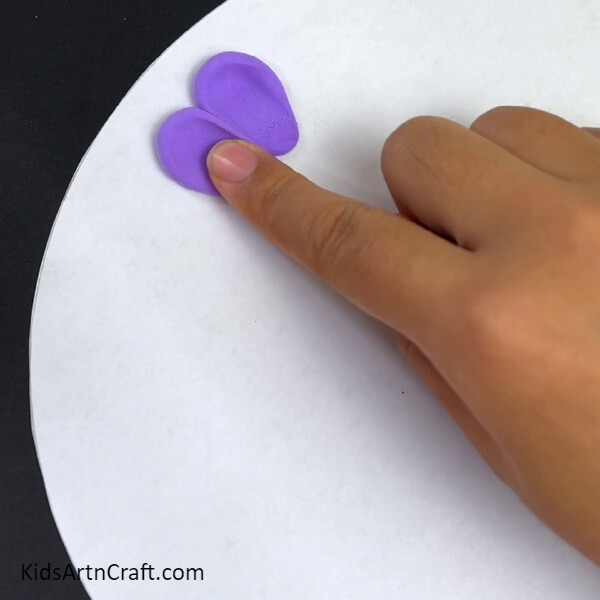
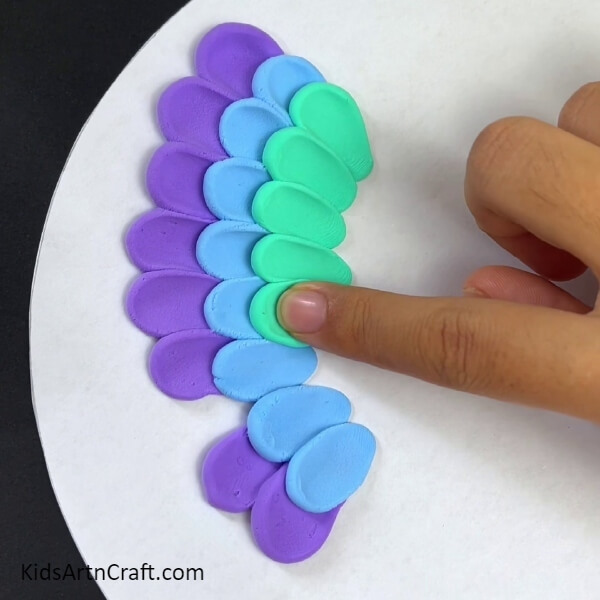
To make its wings, start creating droplet shapes with purple clay.
Step 3: Creating Hindwing With Purple Clay
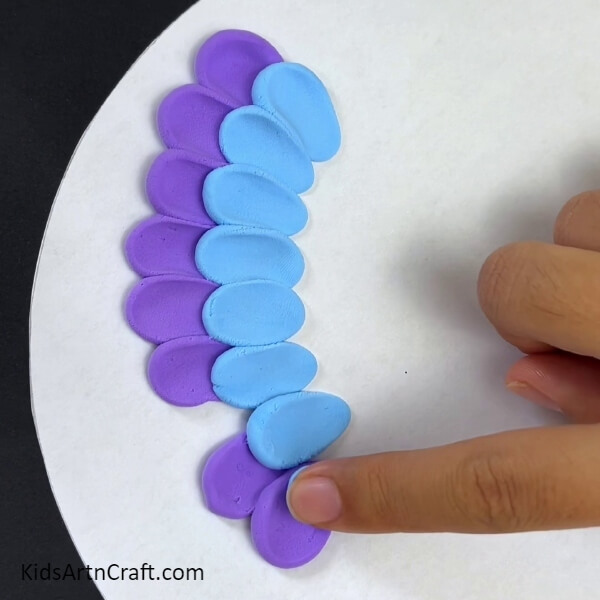
Creating some droplet shapes with blue clay under the purple clay droplets. After that to create the butterfly’s hindwing create two droplets at the bottom leaving a gap with purple clay.
Step 4: Repeat The Step 3 With Green Clay
After the blue clay create some droplet designs with green clay.
Step 5: Take Yellow Clay
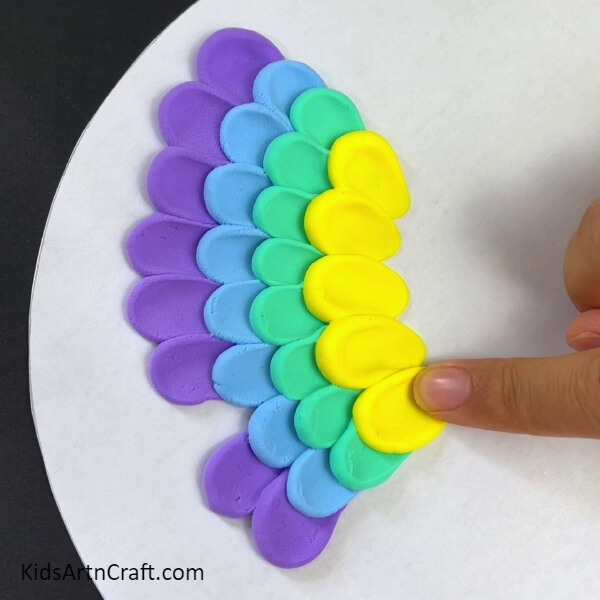
Making droplet shape with yellow color.
Step 6: Take Orange And Rad Clay
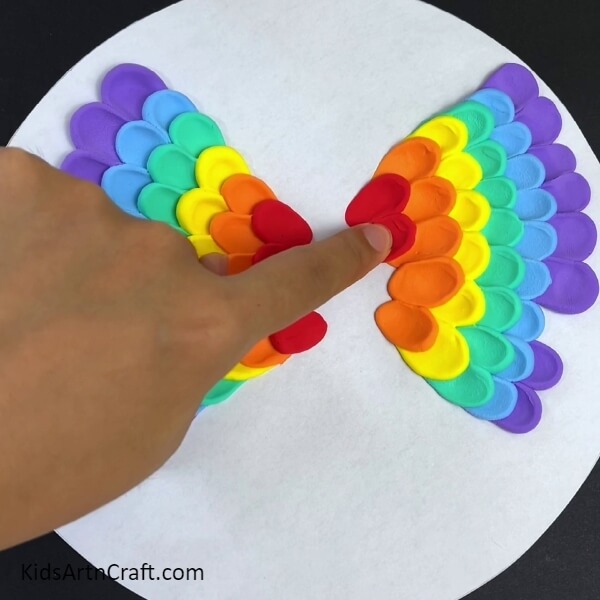
Do the same with the orange and red clay as you did before.
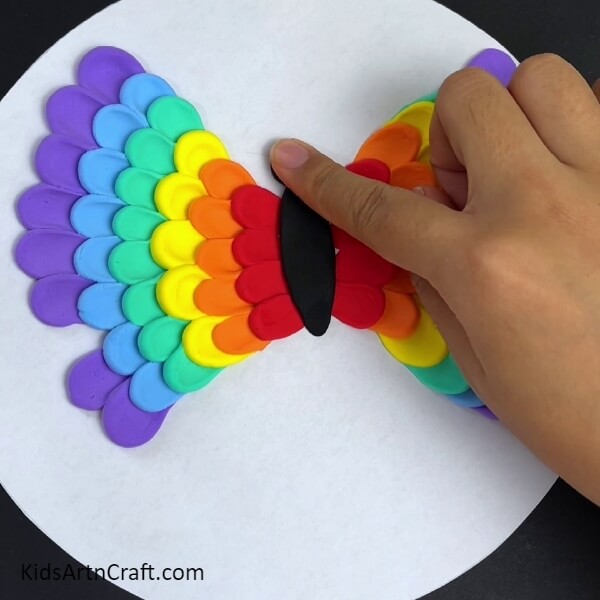
Step 7: Take Black Clay
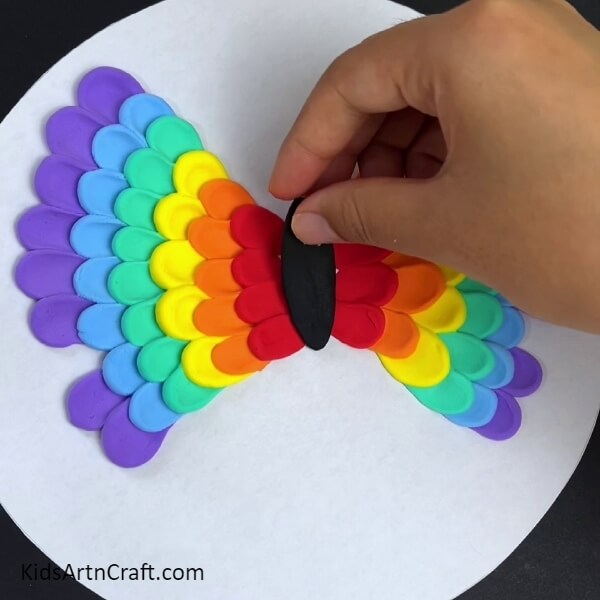
To make its thorax and abdomen take a piece of black clay and then press it from the hand to give a flat look. Put the black clay in the center as shown above.
Step 8: Creating The Head Of The Butterfly
Take a small flat piece of black clay and then place it above the thorax part of the butterfly to create its head.
Step 9: Draw The Antennas
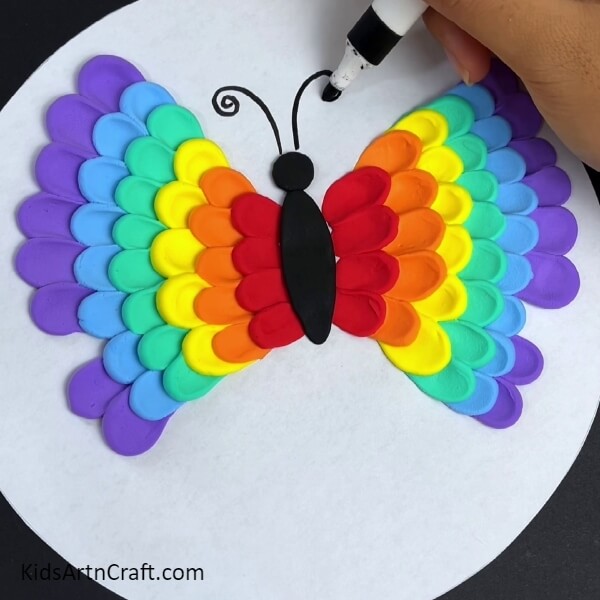
Take a Black marker and draw the antennas.
Step 10: Creating Tail Of Butterfly
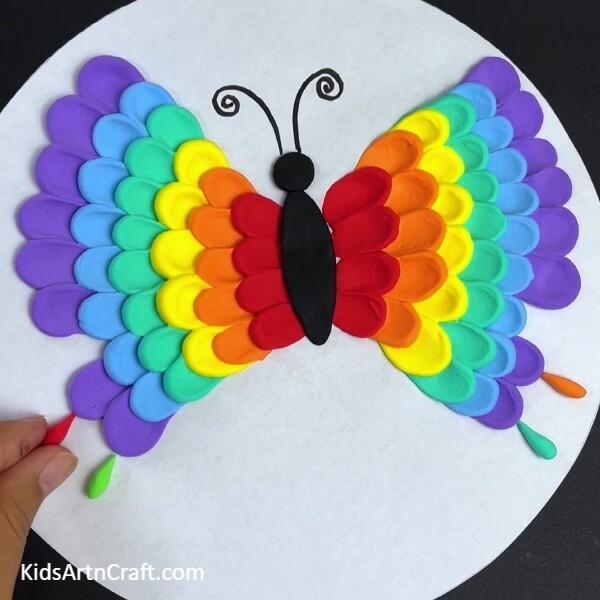
Take a very small quantity of red, neon, green, and orange and make the tail of the butterfly as shown above.
Step 11: Pasting The Googly Eyes
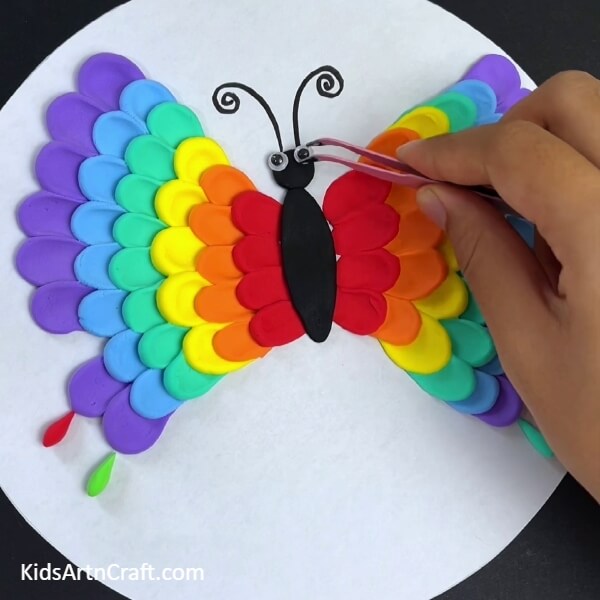
To give it a charming look paste googly eyes at the head part of the butterfly.
Step 12: Constructing A Greenary Look

Take a green sketch pen and start making grass at the bottom of the white cardboard.
Step 13: Make Some Red Dots
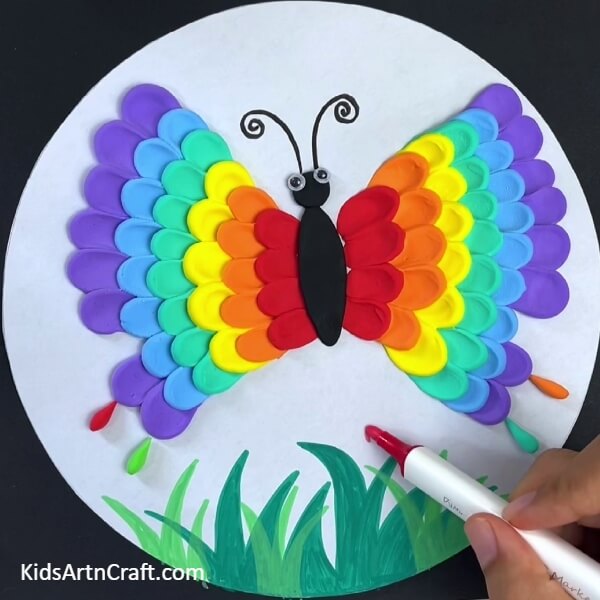
Grab your red sketch pen and create some to give this art a beautiful look.
Final Image: Wow! Your Amazing Colorful Clay Craft Is Ready Now!
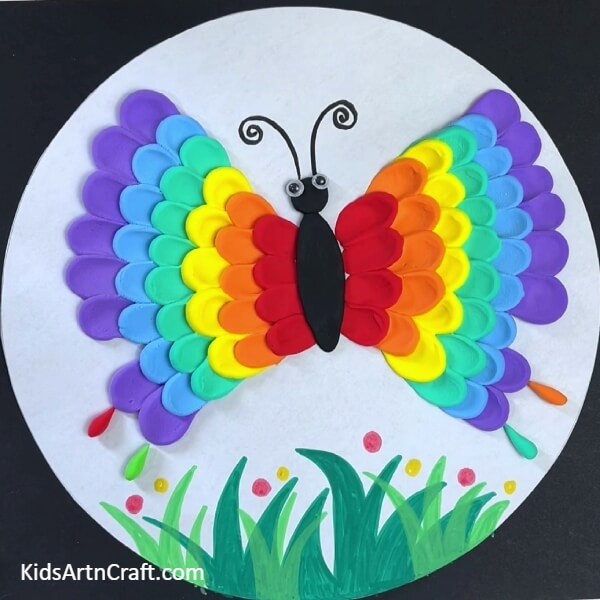
Congratulation! You are doing a fantastic job. By following all the above steps, you will get this amazing one.
This colorful clay craft is a delightful way to foster your kid’s creativity and dexterity. The easy-to-follow tutorial ensures a rewarding experience, leaving them with a beautiful butterfly creation to display with pride. You don’t need to make much effort for that. You should try this at home. It will increase your creative skills. I hope you have had a lot of fun and created some long-lasting memories while creating this beautiful yet simple craft. Share your experience and views with us. For more such super cool and easy arts and crafts tutorials visit our website. So what are you waiting for? Start to create this amazing butterfly craft. Bye-bye for now let’s meet in the next article……