DIY and Crafts
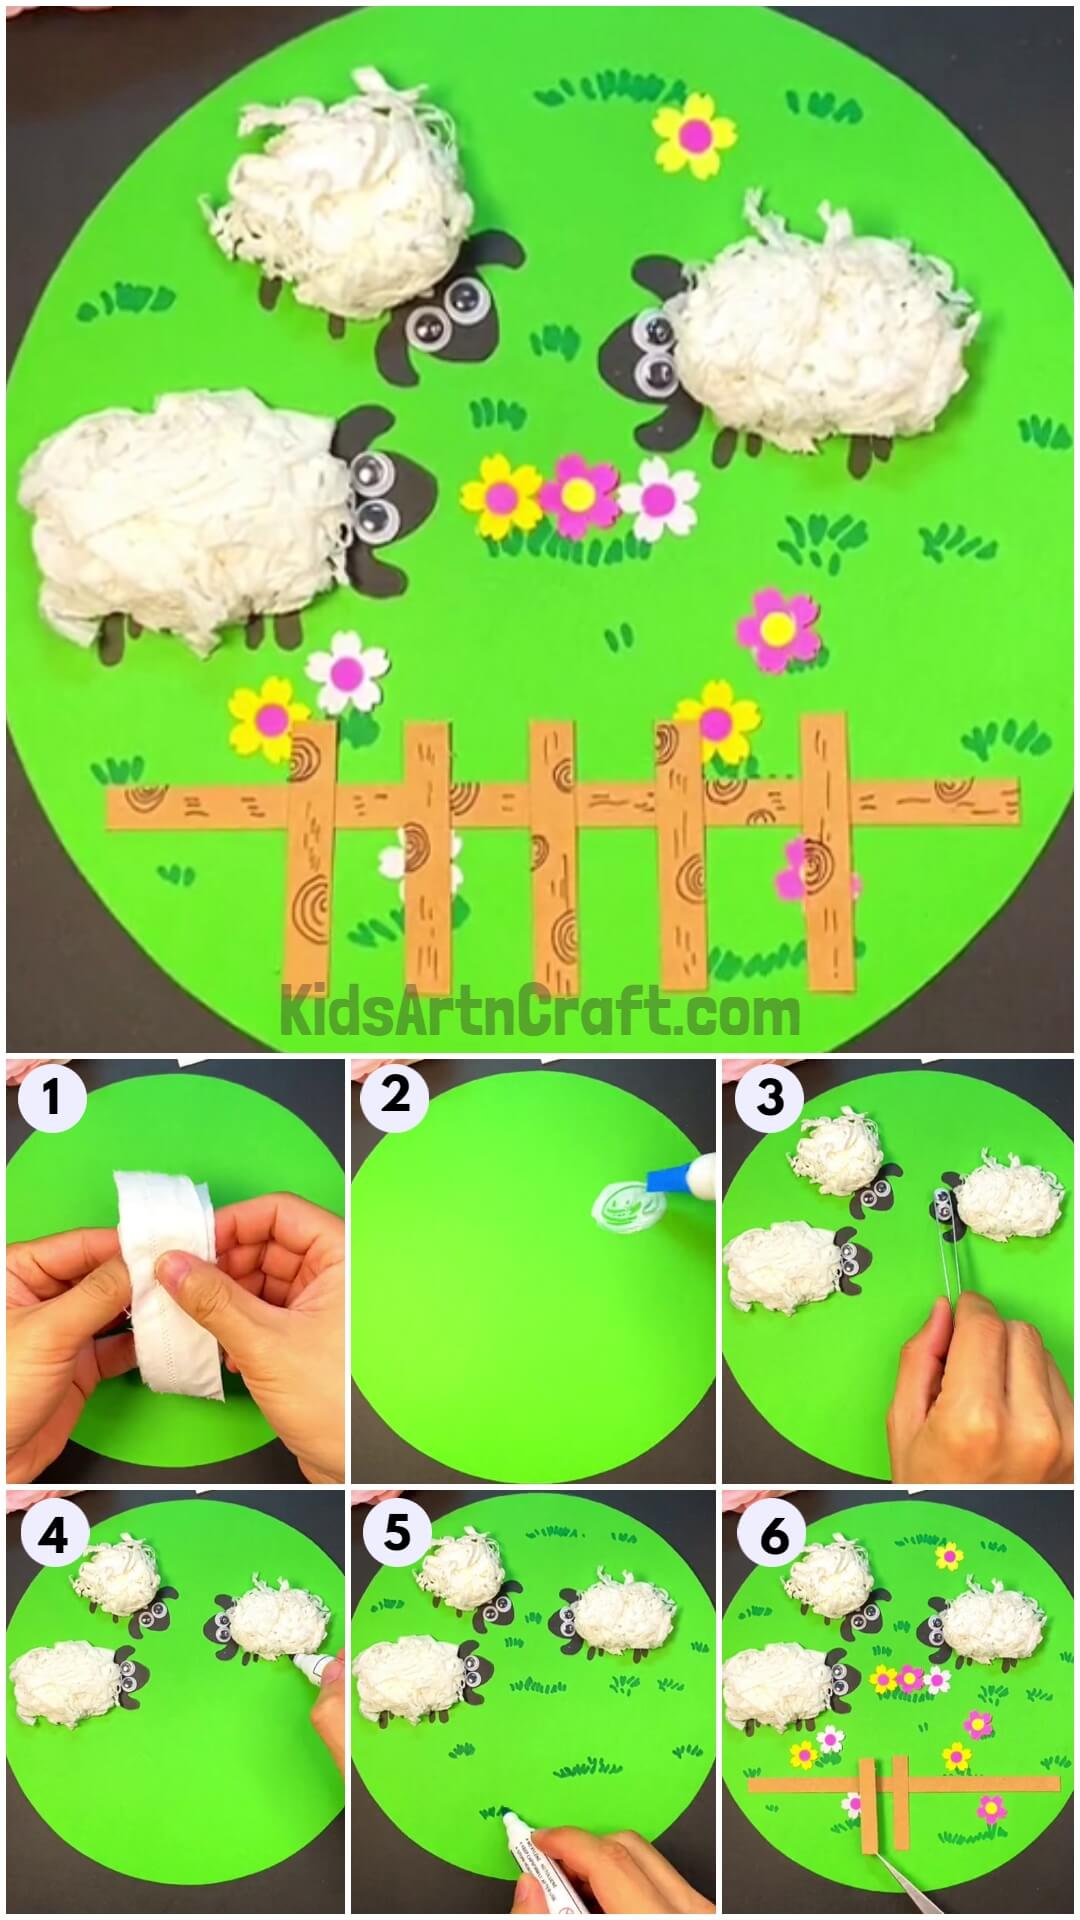
DIY Tissue Paper Sheep Artwork Easy Tutorial For Kids

Make sure your kids have a fun and creative afternoon with this easy DIY Tissue Paper Sheep Artwork Tutorial. With step-by-step instructions and a materials list, it’s the perfect activity to keep your kids entertained for hours!
Welcome to this step-by-step tutorial on how to make tissue paper Sheep Artwork! This fun and easy project is perfect for kids and adults alike. In this tutorial, we will show you how to make your own tissue paper Sheep in just a few simple steps. You’ll need just a few materials, such as tissue paper, scissors, paint, and a glue stick. With some basic craft skills, you’ll be able to make your own paper turtle in no time. Let’s get started!
Easy Tissue Paper Sheep Artwork Tutorial For Kids

Read More: DIY Easy Paper Cup Octopus Craft For Kids
Materials Required
- Tissue Paper
- Canvas
- Glue
- Doll Eyes
- Markers
- Craft Papers
- Green Paint
Procedure
Step 1: Start With A Set Of Tissue Paper

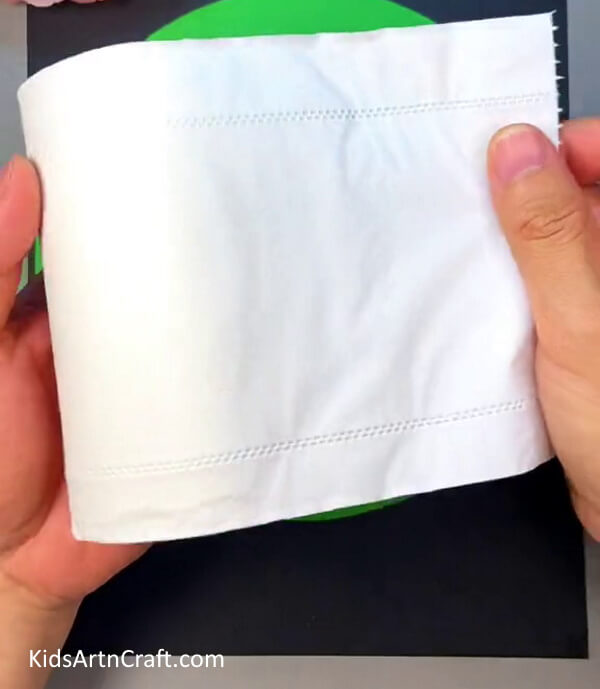
Let’s begin making this tissue paper Sheep Artwork with a set of clean tissue papers.
Step 2: Tear The Tissue Papers


Start the artwork by tearing up the tissue paper into thin strips exactly as shown in the picture.
Step 3: Apply Glue On Canvas Board

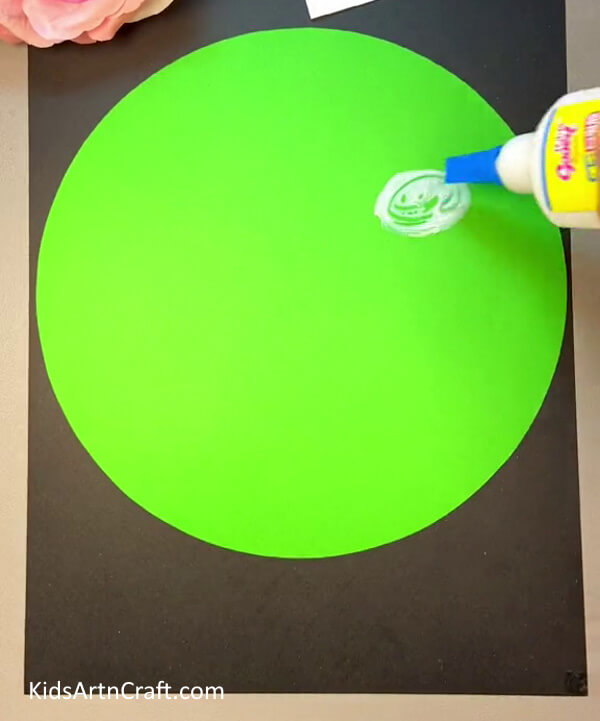
Take a Canvas as shown and paint the whole Canvas green for the background. After it is completely dried, apply a minimal amount of glue in the areas you want sheep.
Step 4: Stick A Bunch of Strips Of Papers On The Glue
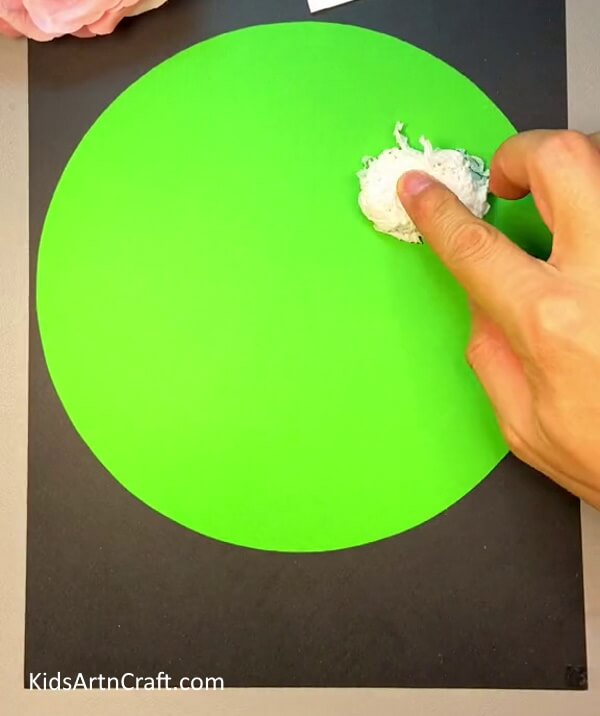

Make a small messy ball with small strips of tissue paper and stick them firmly on the glue.
Step 5: Make Heads For Your Sheep Using Craft Paper
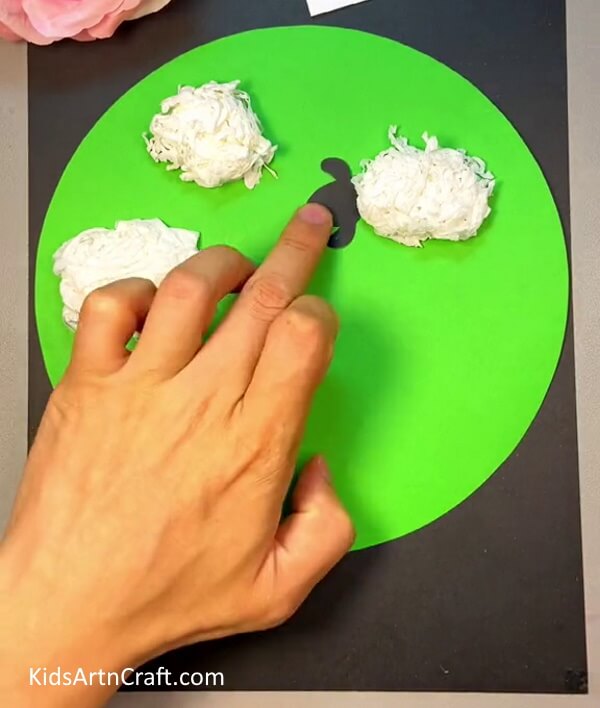
Likewise, make a couple more messy balls with strips of tissue paper and stick them firmly on the glue. And make heads for your sheep using black craft paper and stick them to each of your Sheep.
Step 6: Glue A Couple Of Doll Eyes To Tour Sheep
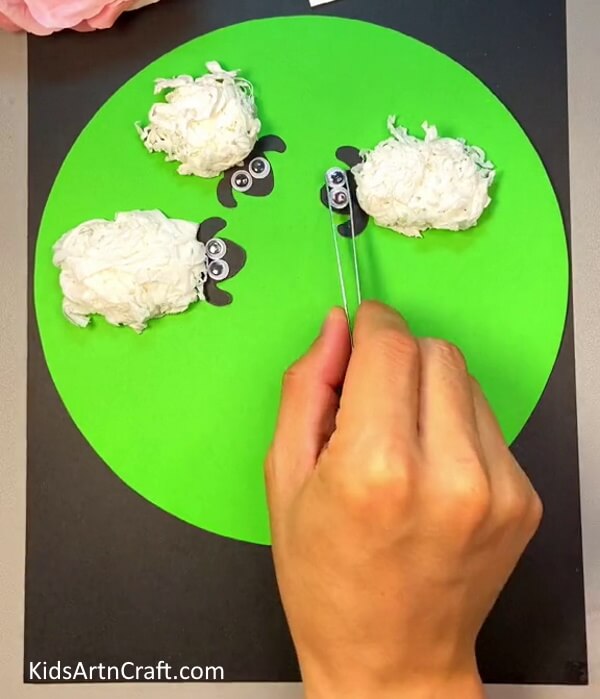

Now that the Sheep is done and set, Glue eyes are on the face of each sheep as shown above.
Step 7: Finish Up By Detailing The Legs
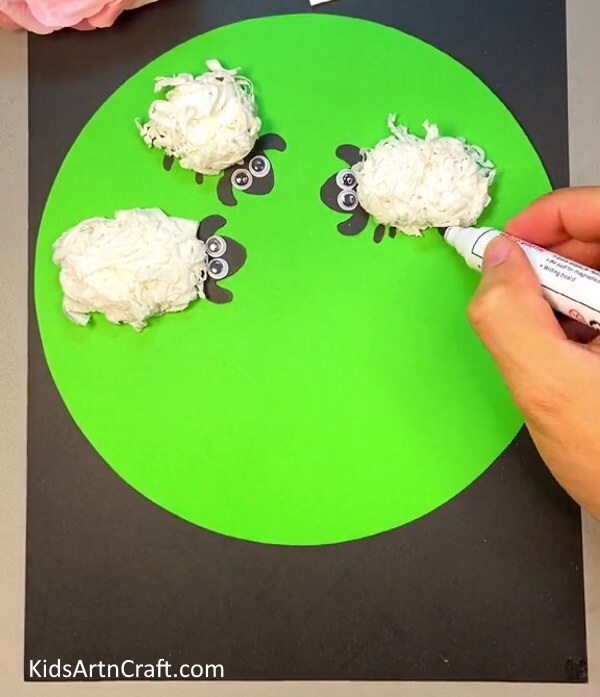

After the eyes are done, draw legs as shown in the picture for your sheep using a black marker.
Step 8: Draw Green Here And There
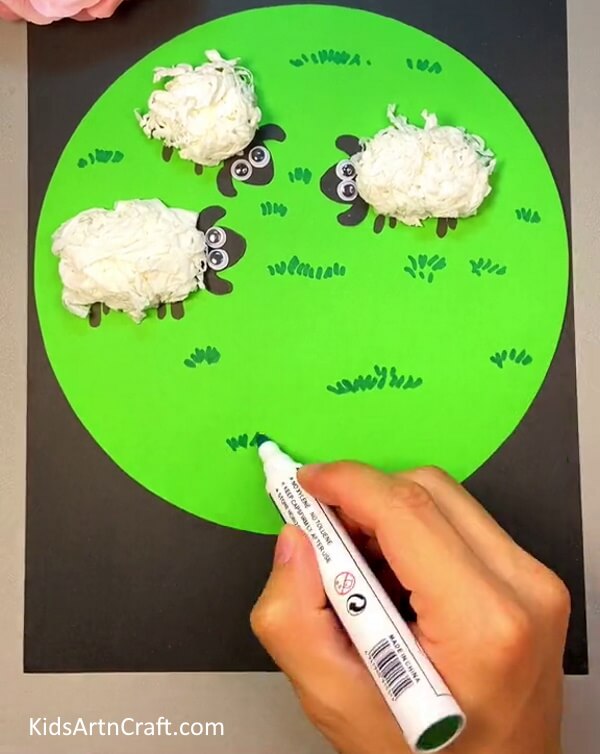

Now that the sheep are done, Take a green marker and draw grasses here and there around the sheep.
Step 9: Give Your Art Some Flower Detailing
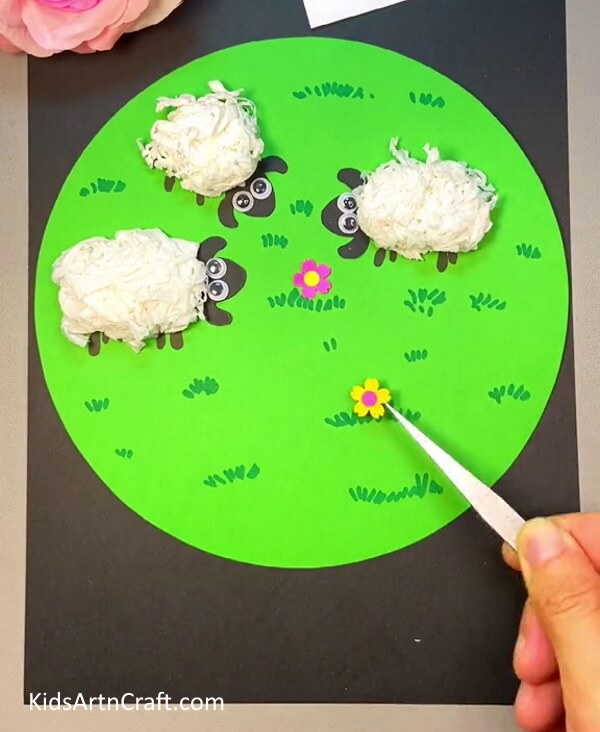

As the grasses are done, Make tiny flowers using craft paper, as you prefer. Apply some glue behind them and stick them on the grasses here and there in the field.
Step 10: Fence The Garden For Your Flock
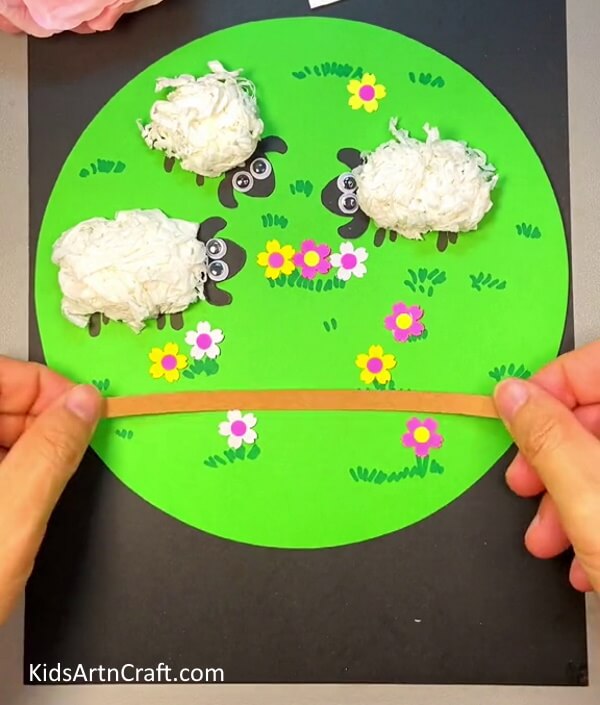

Take a strip of Brown paper and stick it right below the sheep to start creating Fence.
Step 11: Stick A Couple Of Other Strips To Finish Up The Fence
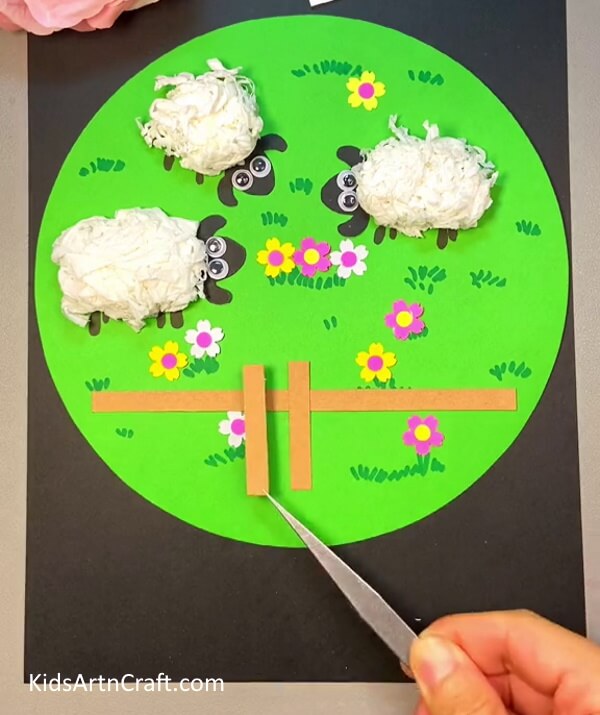

Finish up the fencing with couple more small strips of brown craft paper by sticking them on the first one. As shown in the picture.
Ta-da Your Tissue Paper Sheep Artwork is ready!
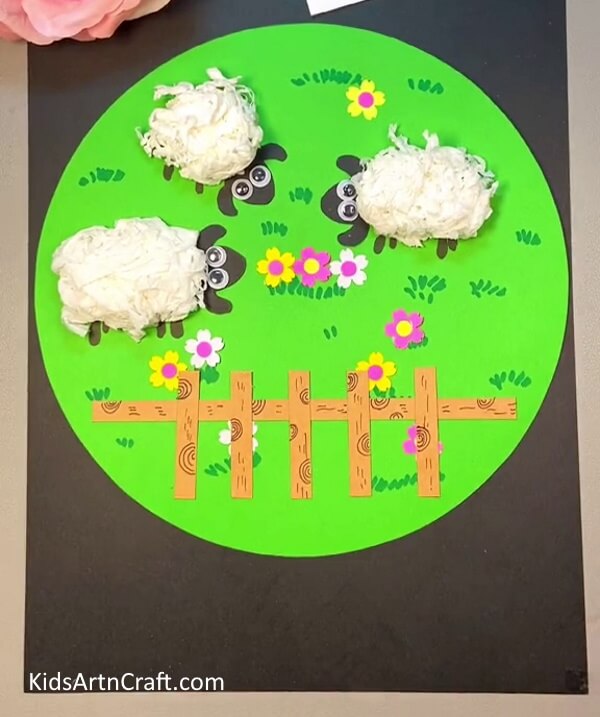

Finish up by drawing some details on the fencing to make it look realistic. Just like it’s shown in the picture using a pen. Get creative and give this Artwork a try.
Hope you had fun creating Tissue Paper Sheep Artwork. Let us know your views and thoughts in the comment section below. Do browse our website for such creative ideas.
Thank you for visiting our website.
Follow us on Youtube for art and craft tutorials and much more.
More Articles from Kids Art & Craft
- Easy to Make Doll with Yarn and Tissue Paper
- Easy to Make Snowman by Bottle Craft Tutorial
- How to Make Paper Cup Wrist Watch Tutorial for Kids
- Easy Ladybugs Craft from Recycled Egg Carton
- How to Make Bubble Wrap Corn Craft Easy Tutorial