DIY and Crafts
Easy to Make Snowman by Bottle Craft Tutorial

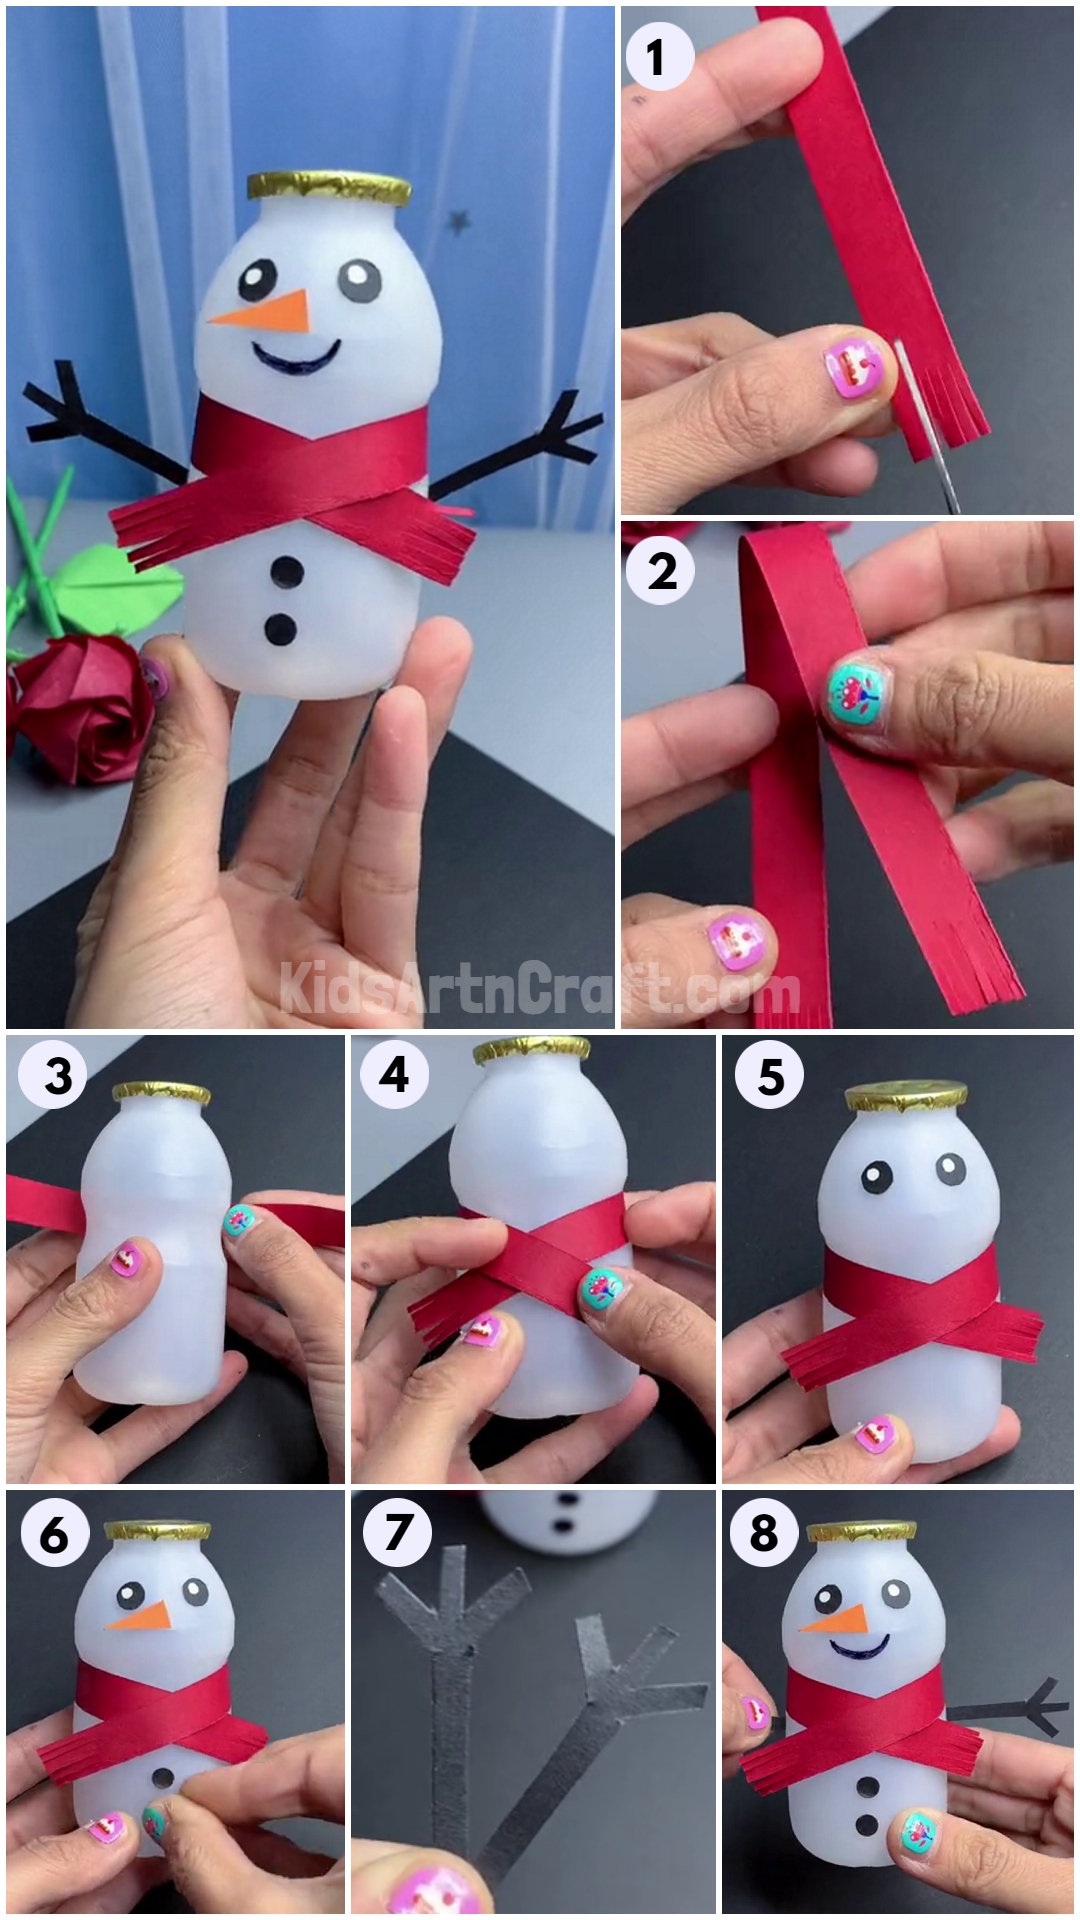
Make an adorable snowman using an empty water bottle, some paper, markers, and ribbon. This easy craft tutorial is perfect for winter fun!
Are you looking for a creative and fun craft to do with your kids this winter season? Look no further than this Make Snowman by Bottle Craft Tutorial! This easy-to-follow tutorial will show you how to make an adorable snowman out of an empty plastic bottle. Not only is this craft great for kids, but it’s a great way to recycle and reuse materials you might otherwise throw away. Plus, you can customize the snowman however you like! So grab your supplies and let’s get crafting!
How To Make a Snowman Using a Bottle

Read More: DIY Paper Crafts Video Tutorial for All
Materials Required
- White Milk Plastic Bottle
- Color Papers
- Scissors
- Marker
- Glue
Procedure
Step 1: Making Ribbon For Clothing
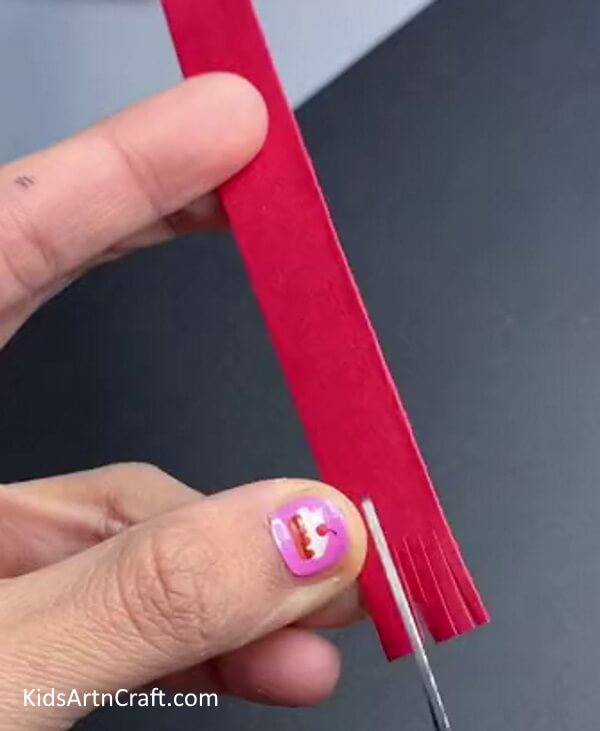

Let’s make a paper ribbon first for the snowman. To make a ribbon, take a red paper strip and cut some strands at both ends of the strip.
Step 2: Making Ribbon
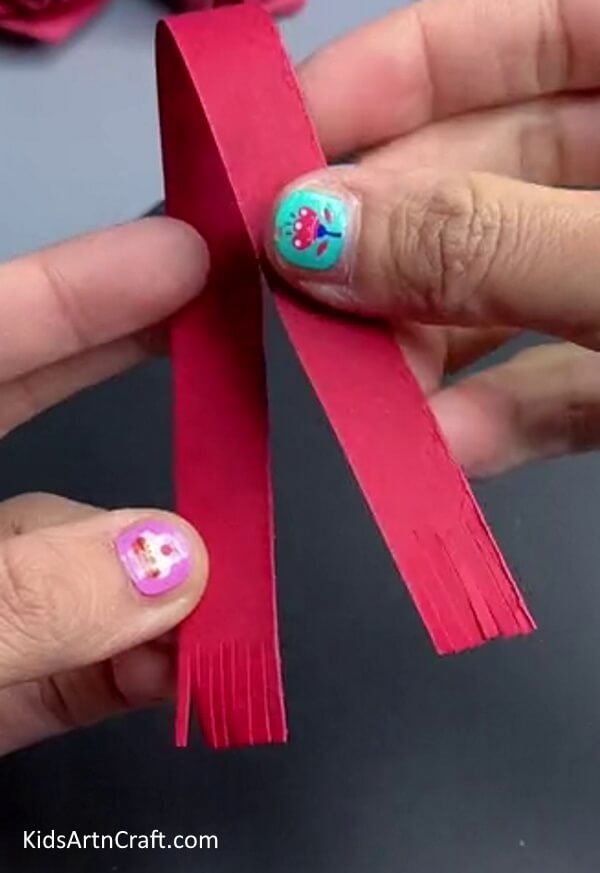

Your red paper ribbon should look like this.
Step 3: Wrapping Ribbon On Bottle
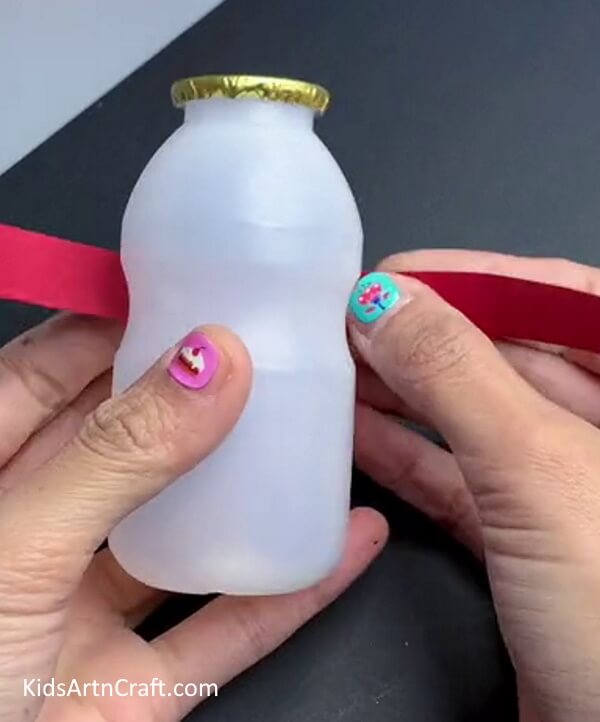

Now, take a white milk plastic bottle and wrap the ribbon around it.
Step 4: Pasting Ribbon
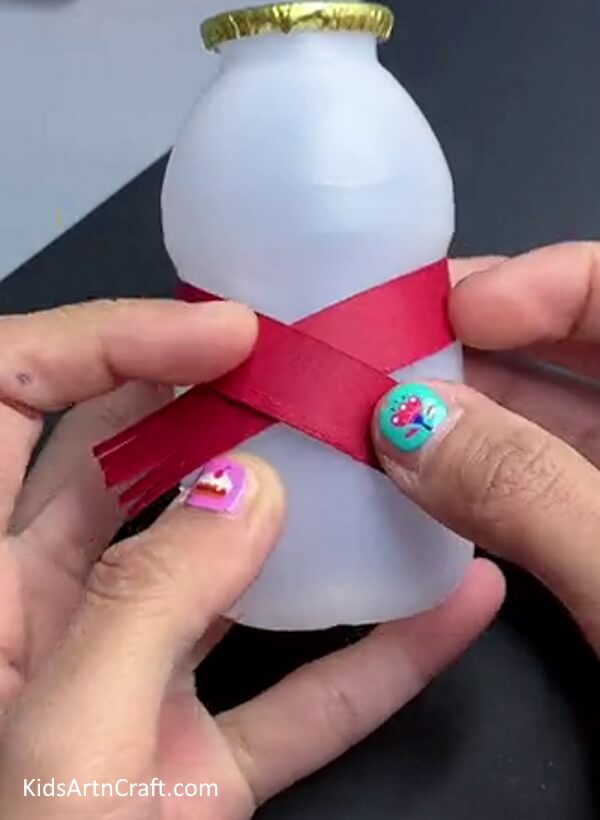

To attach the ribbon from the back use glue.
Step 5: Making Eyes
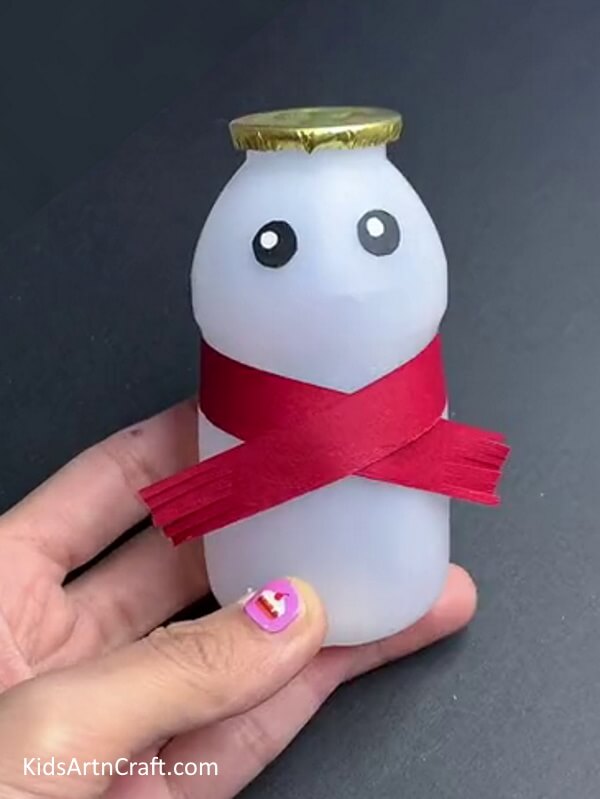

Make the eyes of the snowman using back and white sheets and paste them on the bottle.
Step 6: Adding Nose and Buttons
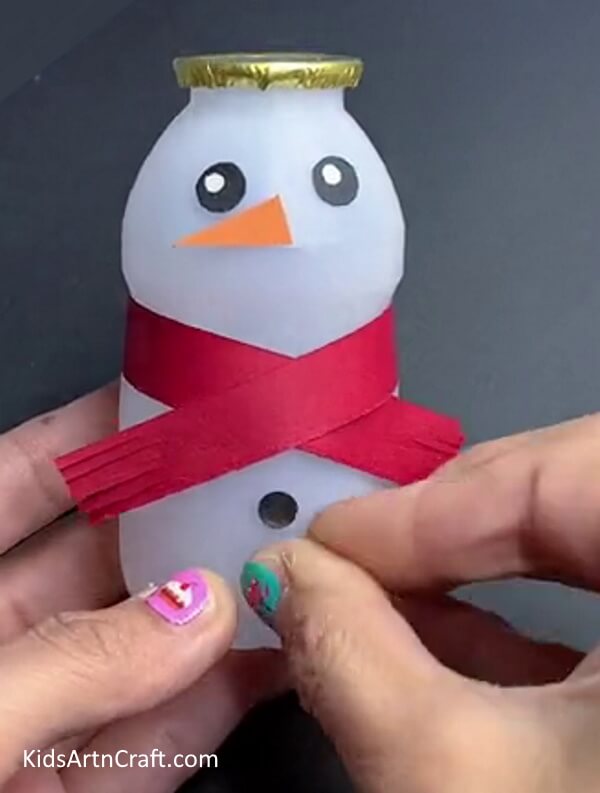

Cut an orange triangle to make the nose and two small black circles to make buttons. Paste them on the bottle using glue.
Step 7: Making Hands
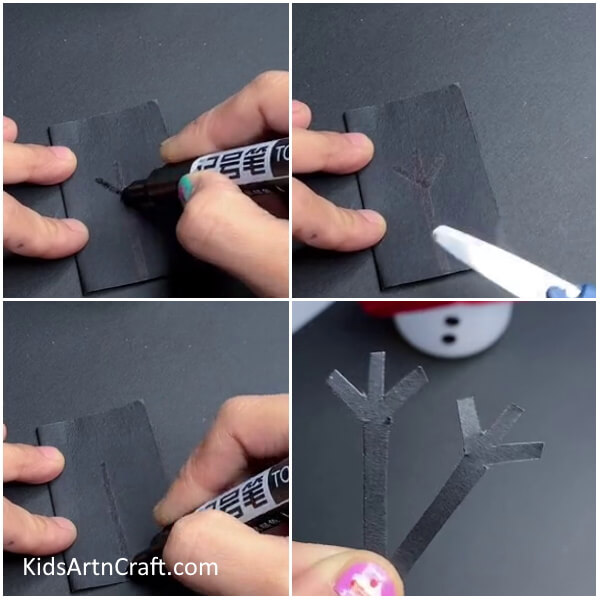

To make hands, take a black sheet and draw hands on it. Cut the hands out of the paper using scissors.
Step 8: Pasting Hands
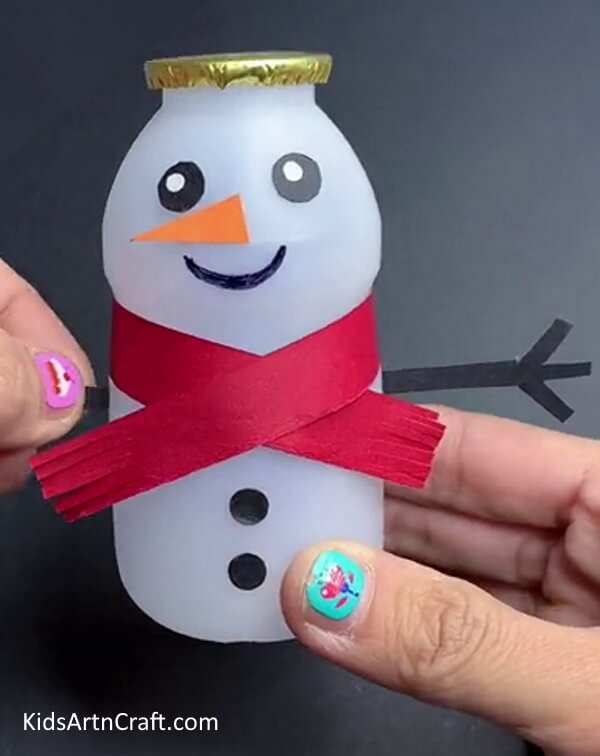

Paste the hands on the side of the bottle using glue. Also, draw a smile on its face using a black marker.
Step 9: Here is Your Snow Man!
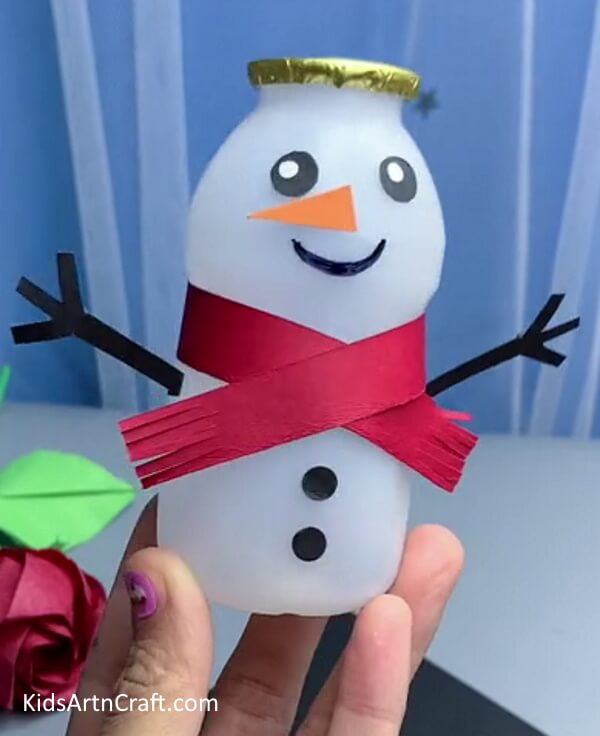

Your snowman is ready to be a decoration this Christmas!
Bottle Snowman is Ready!
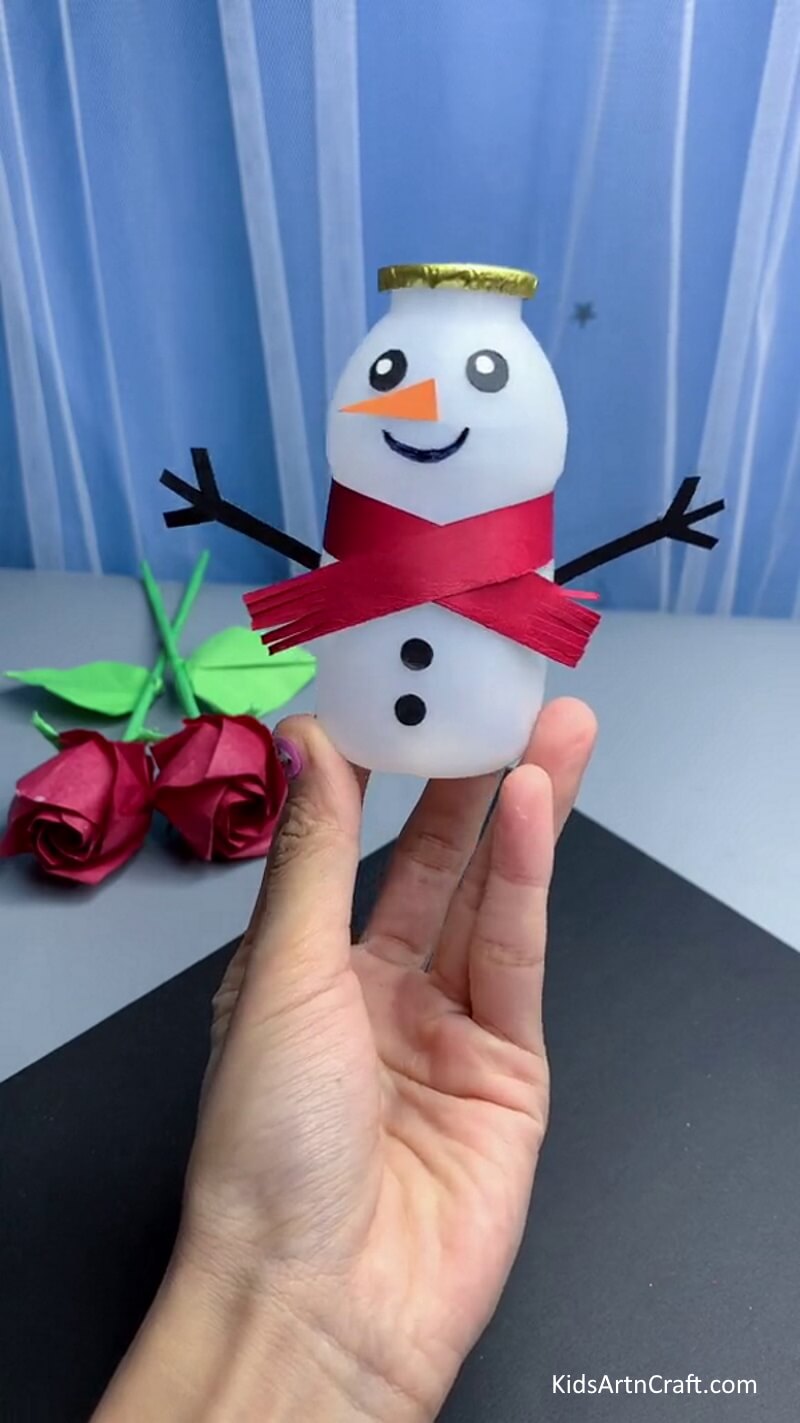

Creating a snowman out of a recycled bottle is a fun and creative way to reduce waste and make a unique holiday decoration. This snowman bottle craft tutorial is a great way to get started with a fun winter craft project. With just a few simple supplies and a little creativity, you can make a cute and festive snowman that everyone can enjoy.
Some More Snowman Craft Tutorial
Handmade Snowman Finger Puppet Paper Craft for Kids

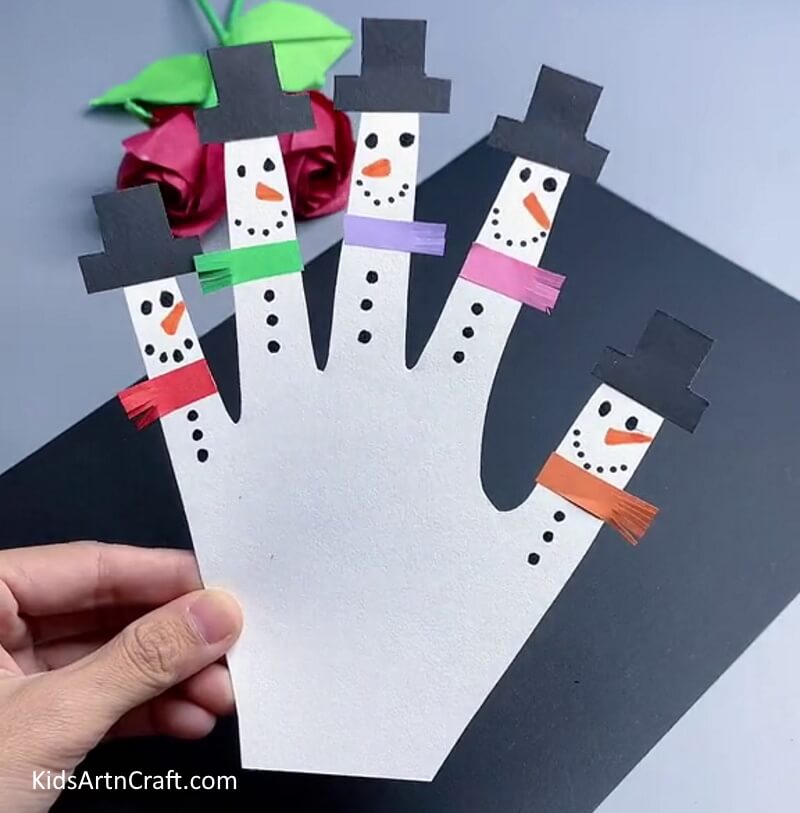
Image Source/Tutorial: Kids Art & Craft
This DIY Snowman Finger Puppet is a fun and easy craft project to do with kids. All you need is a few supplies and a few minutes to make a cute and cuddly snowman finger puppet. Kids will love making and playing with this fun winter craft!
FAQs Related To Easy to Make Snowman by Bottle Craft Tutorial
1. What materials do I need for this snowman craft?
You need a plastic bottle, white paint, a black marker, glue, cotton, a red ribbon, and other decorations of your choice.
2. How big should the bottle be?
You can use any size bottle, but a 1-liter bottle works best.
3. How long does it take to make the snowman?
This snowman craft should take about 30 minutes.
4. Can I make the snowman any size?
Yes, you can make the snowman any size you want.
10. Is this a difficult craft to make?
No, this is a simple craft that only requires basic materials and steps.
This Easy-to-Make Snowman by Bottle Craft Tutorial is a great way to get creative and have some fun this winter. With just a few simple materials, you can create a snowman that is sure to bring joy to your home. Give it a try today!
Follow us on Youtube for art and craft tutorials and much more.
More Articles from Kids Art & Craft
- Easy Craft Ideas Make At-Home Video Tutorial
- Creative Art and Crafts Video Tutorials for Kids
- Easy Craft Activities that Make Everyone Video Tutorial for All
- Art & Craft Activities Video Tutorial for All
- Easy Paper Crafts DIY Video Tutorial for All