Kids Activities
Water Bottle Airplane Tutorial for Kids

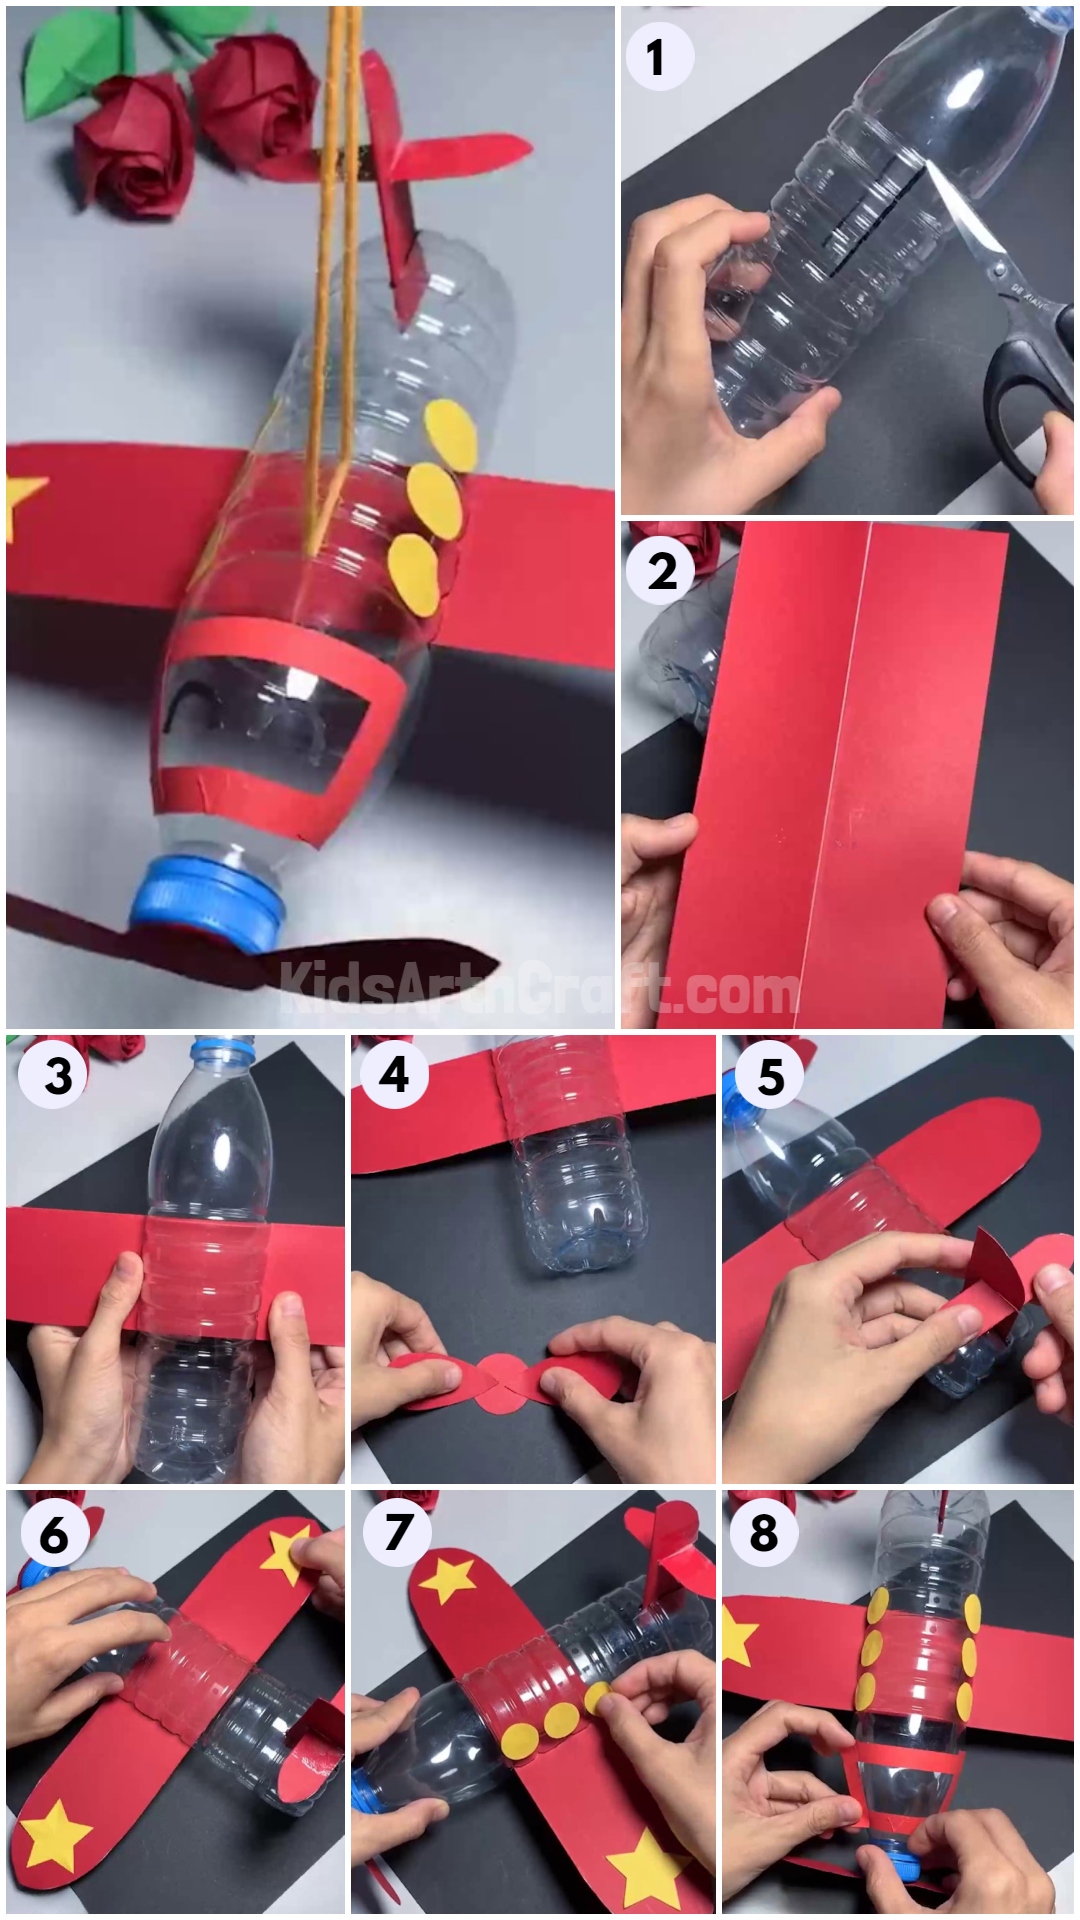
This tutorial provides an easy-to-follow guide to making an airplane craft out of a plastic water bottle. With easy-to-find materials, your kids will have a blast constructing and flying their own creations!
Are you looking for a fun and easy activity to do with your children? This tutorial is the perfect way to get your kids excited about creating their very own airplane using recycled water bottles. This activity allows them to have fun while also learning some basic engineering principles. Not only is this tutorial fun and educational, but it’s also an environmentally-friendly way to reuse old water bottles. This tutorial will cover all the necessary steps from gathering supplies to launching the airplane. So let’s get started and make some awesome water bottle airplane!
Recycled Water Bottle Airplane Tutorial With Step By Step Instructions

Materials Required:-
- Plastic Water Bottle
- Construction Papers (Yellow and Red)
- Scissors
- Glue
- Black Sketch Pen
Read More: Creative Art & Craft Activities Video Tutorial for All
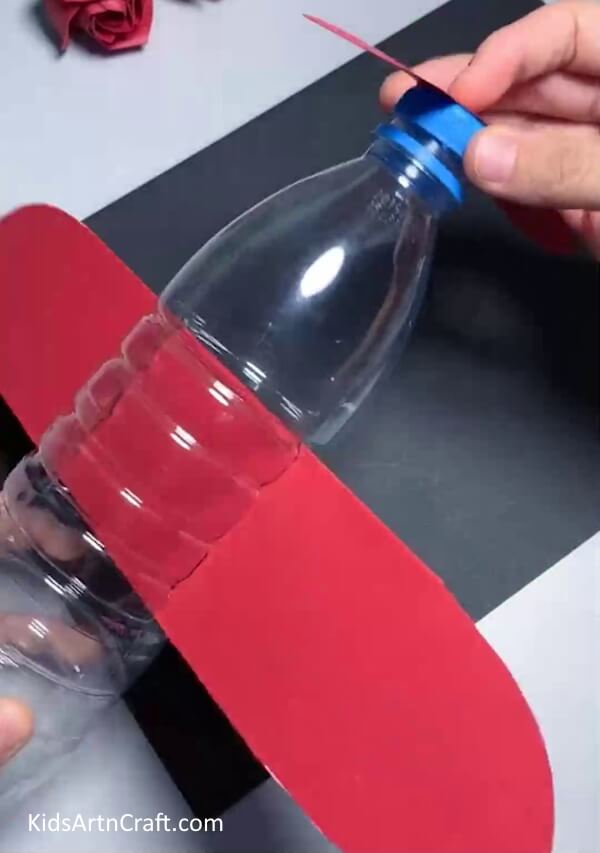
Step 1: Cutting Water Bottle
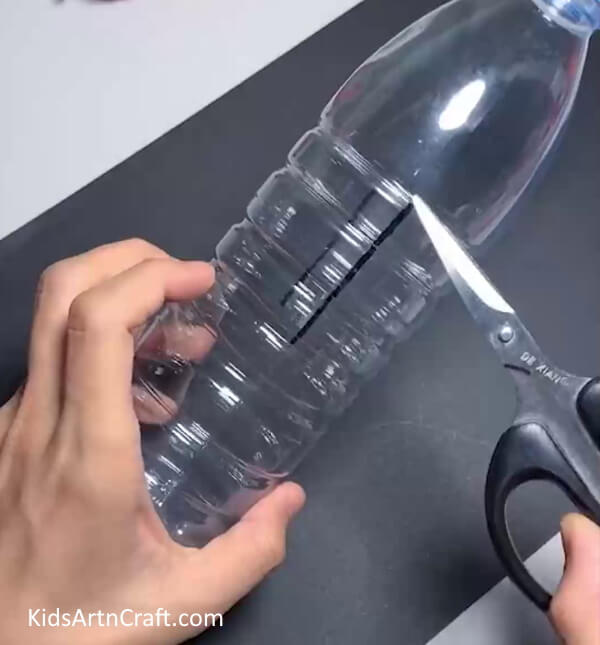

Let’s start crafting airplanes using water bottles. Make two small lines on the side surface of the bottle using a black marker. Now, using scissors make cuts on the line.
Step 2: Making Wings Of The Aircraft
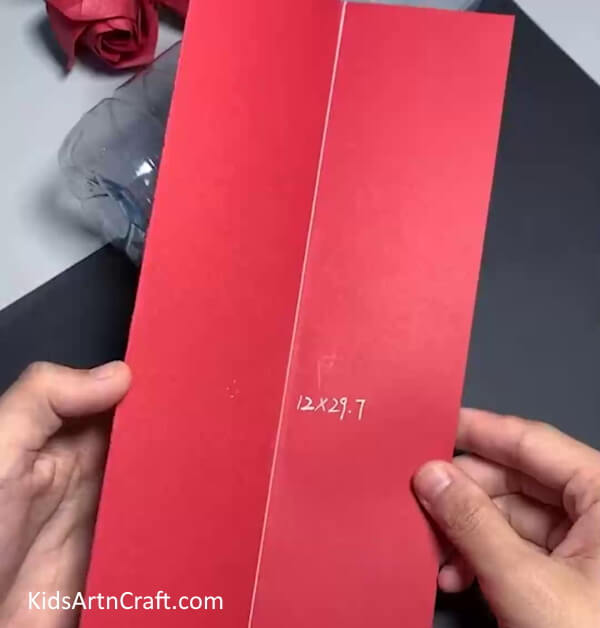

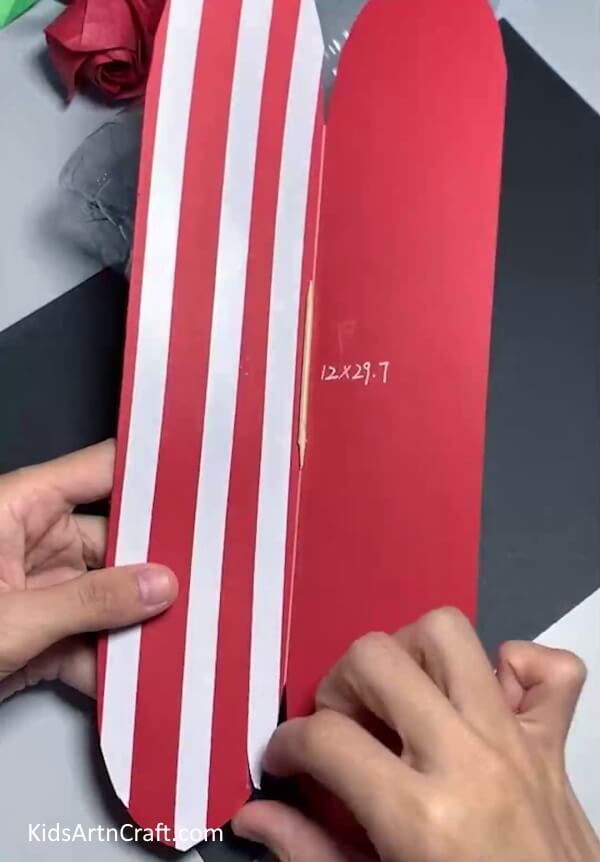
Take a 12*29.7 cm red paper and fold it in half to make the wings of the airplane.
Step 3: Cutting Wings
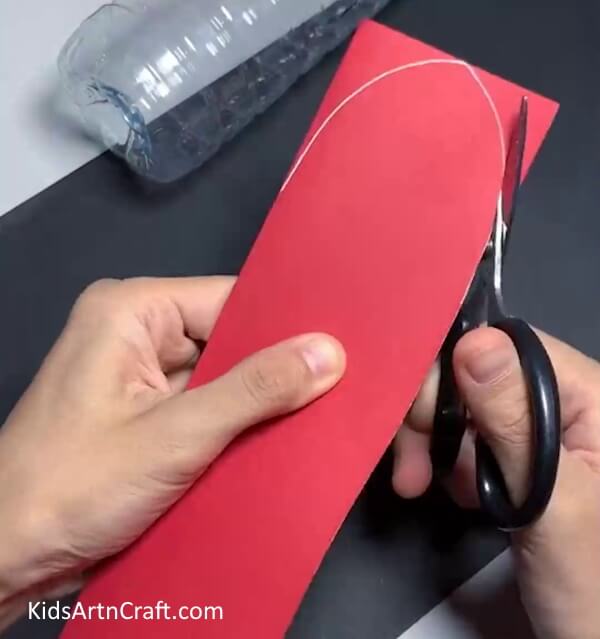

Cut a curve shape on the top of the red paper using scissors as shown in the above image.
Step 4: Unfolding And Apply Tape

Now, unfold the wings and apply double side tape on one side of the wing. Close it and press it well.
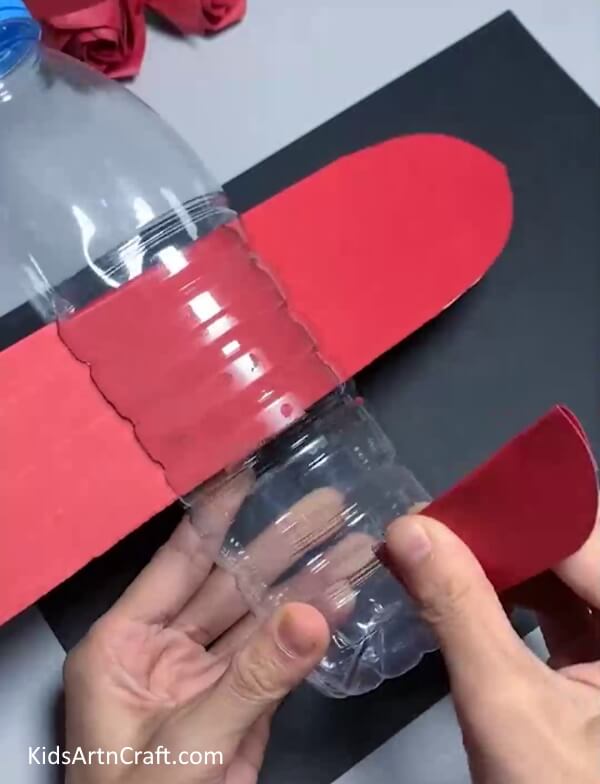
Step 5: Inserting Wings In Bottle
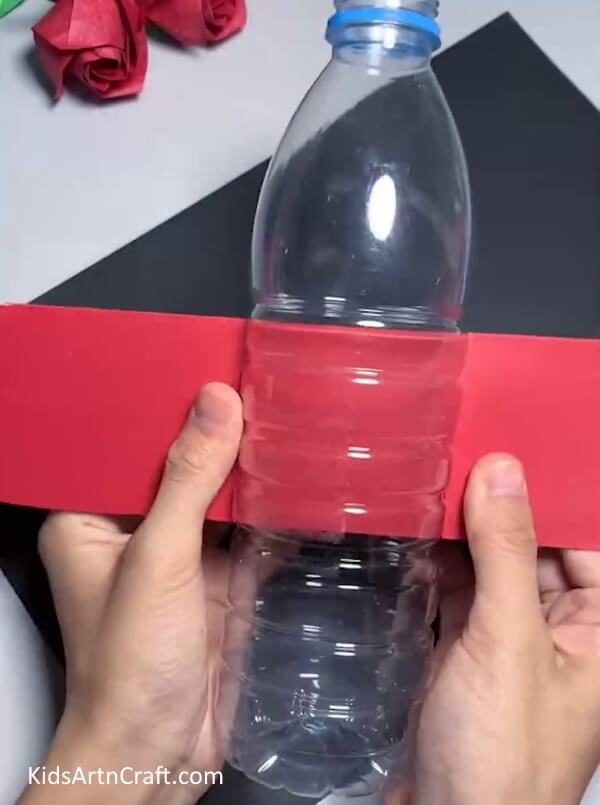

Insert the wings in the cut made earlier on the bottle.
Step 6: Making Fan Of Aircraft
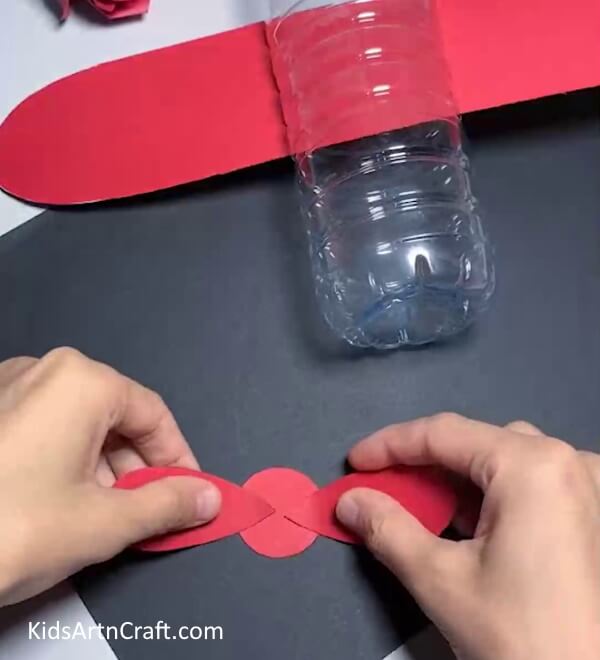

Cut a circle and two drop shapes out of the red paper and assemble them to form a fan.
Step 7: Pasting Fan On Bottle Cap
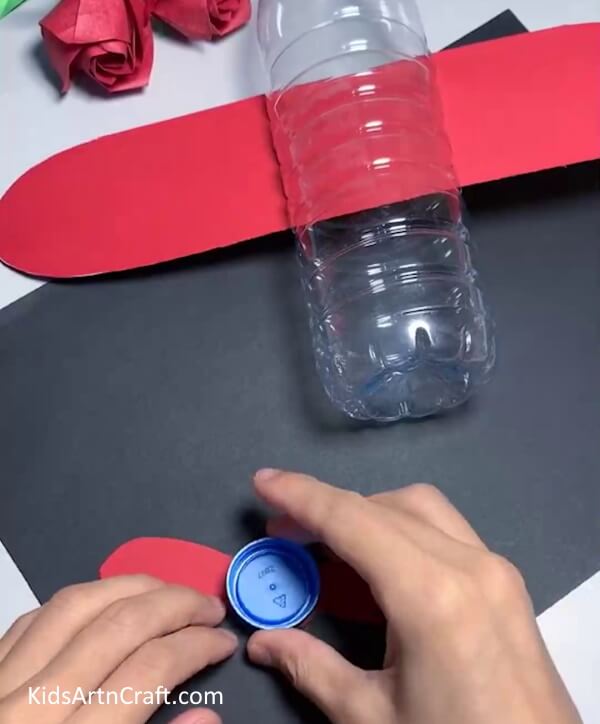

Paste the fan on the bottle cap using glue.
Step 8: Closing Bottle With Cap

Close the bottle with the cap to attach the fan to the aircraft.
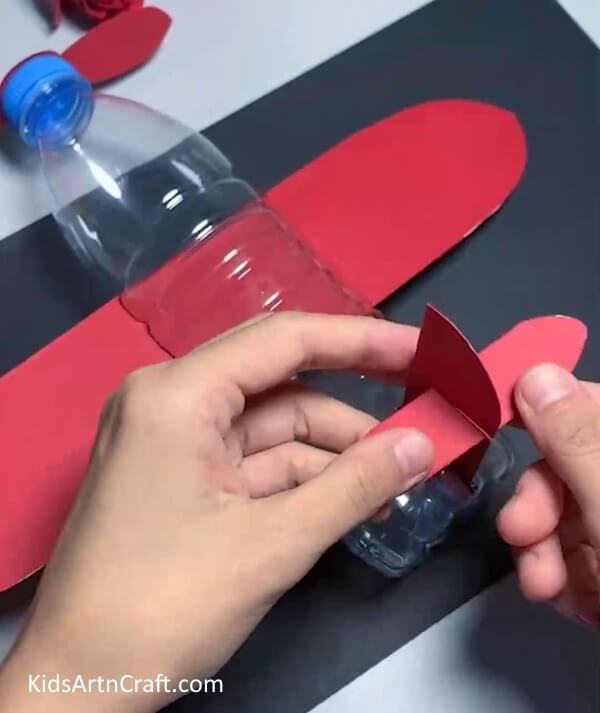
Step 9: Making Fin Of The Aircraft

Make a small cut on the bottom body of the bottle using scissors. Make a fin using red paper by folding it in half and cutting it in curve and pasting it with double side tape. Insert the fin in the cut of the bottle.
Step 10: Completing Fin

Make a small cut in the fin and insert another fin in it as shown in the above image and secure it with tape.
Step 11: Adding Stars
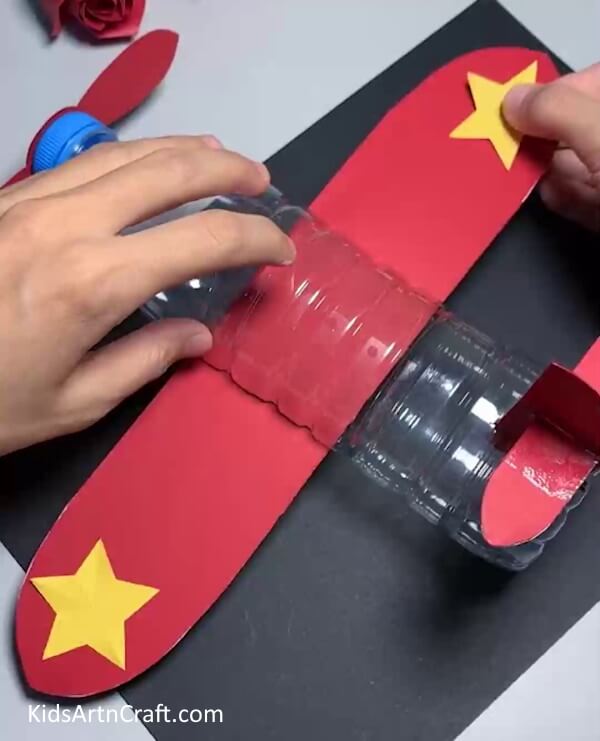

Cut two stars out of yellow paper using scissors and paste them on the end of the wings using glue.
Step 12: Pasting Circles
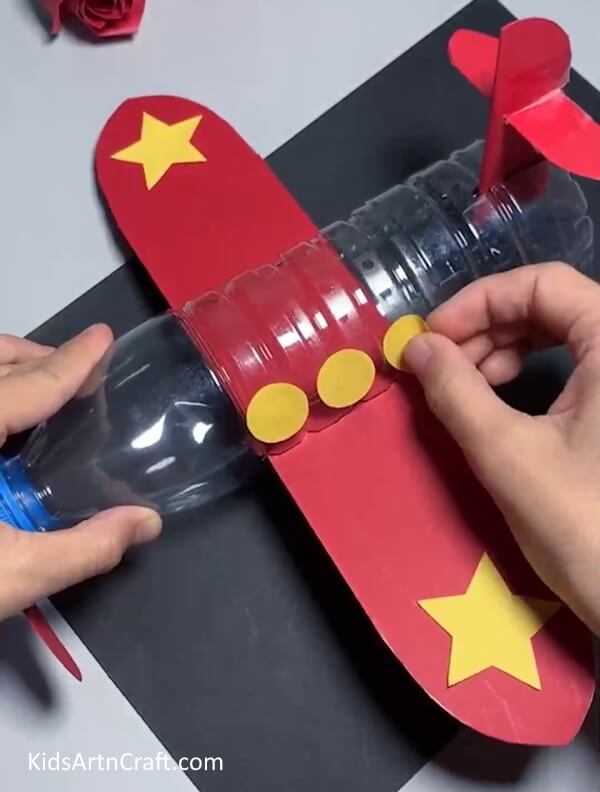

Cut a few circles out of yellow paper and paste them on the side surface of the bottle using glue.
Step 13: Pasting Strips
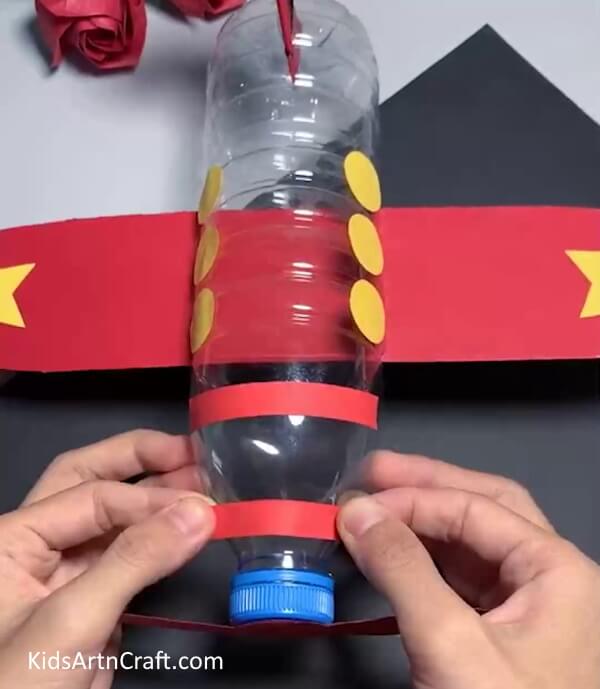

Cut two small strips from red paper and paste them horizontally on the front surface of the bottle using glue.
Step 14: Pasting Strips Vertically
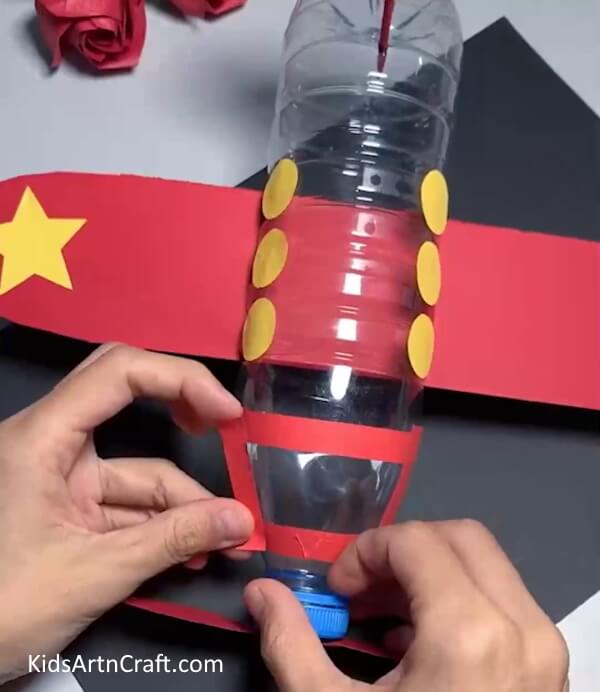

Now, paste two more red strips but in a vertical slant, direction using glue.
Final Image – Water Bottle Airplane Craft Is Ready!
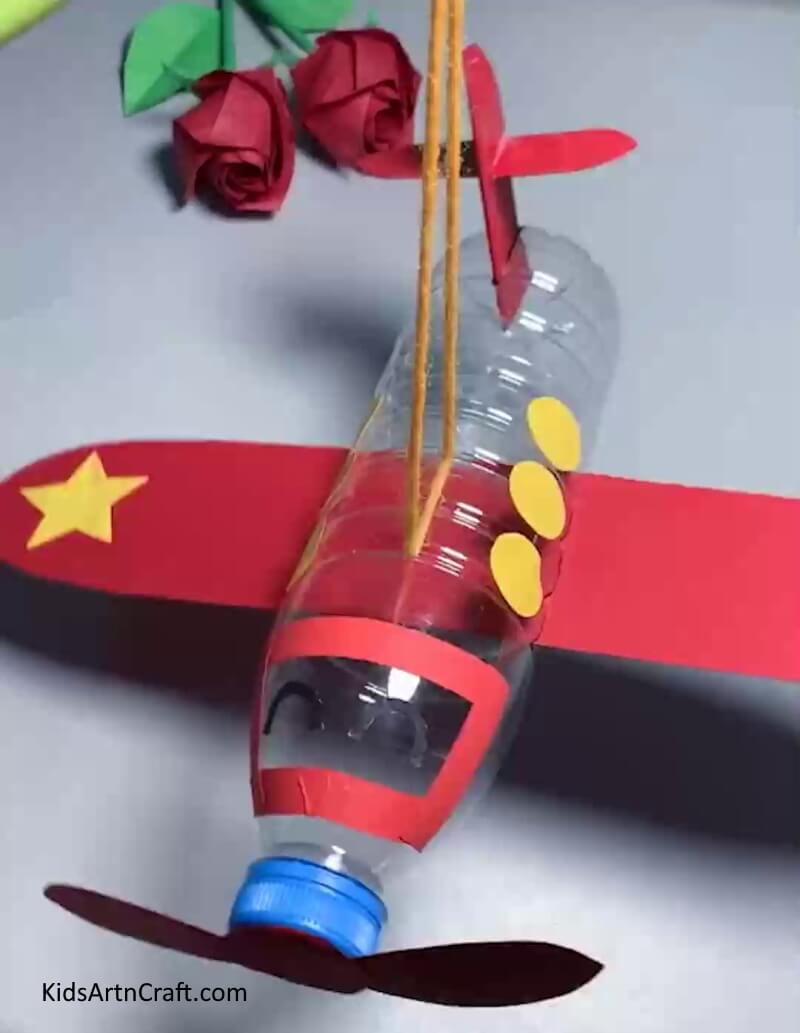

Add a thread on the bottle by making a small cut on the top surface of the bottle to hang it on the wall.
Making a water bottle airplane craft is a fun and creative way to spend your weekend! This tutorial has been a great way to introduce children to the exciting world of aerodynamics. With easy-to-follow instructions and materials, kids can enjoy making their own water bottle aircraft and learning a valuable lesson in the process. Have fun and fly safely!
Making a water bottle aircraft is a fun and easy way to teach your kids about the basics of flight and aerodynamics. With just a few supplies and a little bit of imagination, you can help your kids build their very own flying machine.
FAQs Related To Water Bottle Air Craft Tutorial for Kids
1. What supplies will I need for the water bottle aircraft tutorial?
You will need a two-liter plastic water bottle, scissors, a marker, and tape.
2. What types of decorations can I add to the craft?
You can add streamers, ribbons, or other decorations to the craft to make it more visually appealing.
3. Is this craft suitable for younger kids?
Yes, this project is suitable for children aged 8 and above.
4. Is this craft easy to make?
Yes, this craft is fairly simple to make and requires minimal tools and supplies.
5. How can I make the craft fly?
You can make the craft fly by attaching a rubber band or a balloon to the back of the craft and releasing it.
6. How high can the craft fly?
Depending on the strength of the rubber band or balloon, the craft can fly as high as 10 to 30 feet.
Follow us on Youtube for art and craft tutorials and much more.
More Articles from Kids Art & Craft
- Easy Craft Activities that Make Everyone Video Tutorial for All
- Recycled Plastic Jewellery Craft Ideas
- Easy Paper Crafts DIY Video Tutorial for All
- Easy Craft Ideas Make At-Home Video Tutorial
- Recycled Bookmark Ideas for Kids