Science Experiments
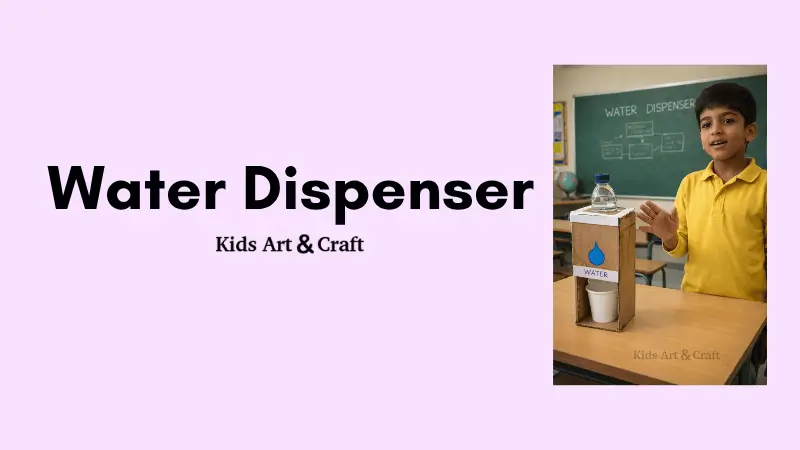
Mini Water Dispenser Science Project for Kids

Have you ever used a water dispenser at school or in an office? In this fun science project, you will build a small working water dispenser using simple materials like cardboard, a bottle, and a cup. When you press or open the outlet, water flows into the cup just like a real dispenser!
This project is perfect for 7th-grade students and helps you understand how liquids flow and how simple machines work.
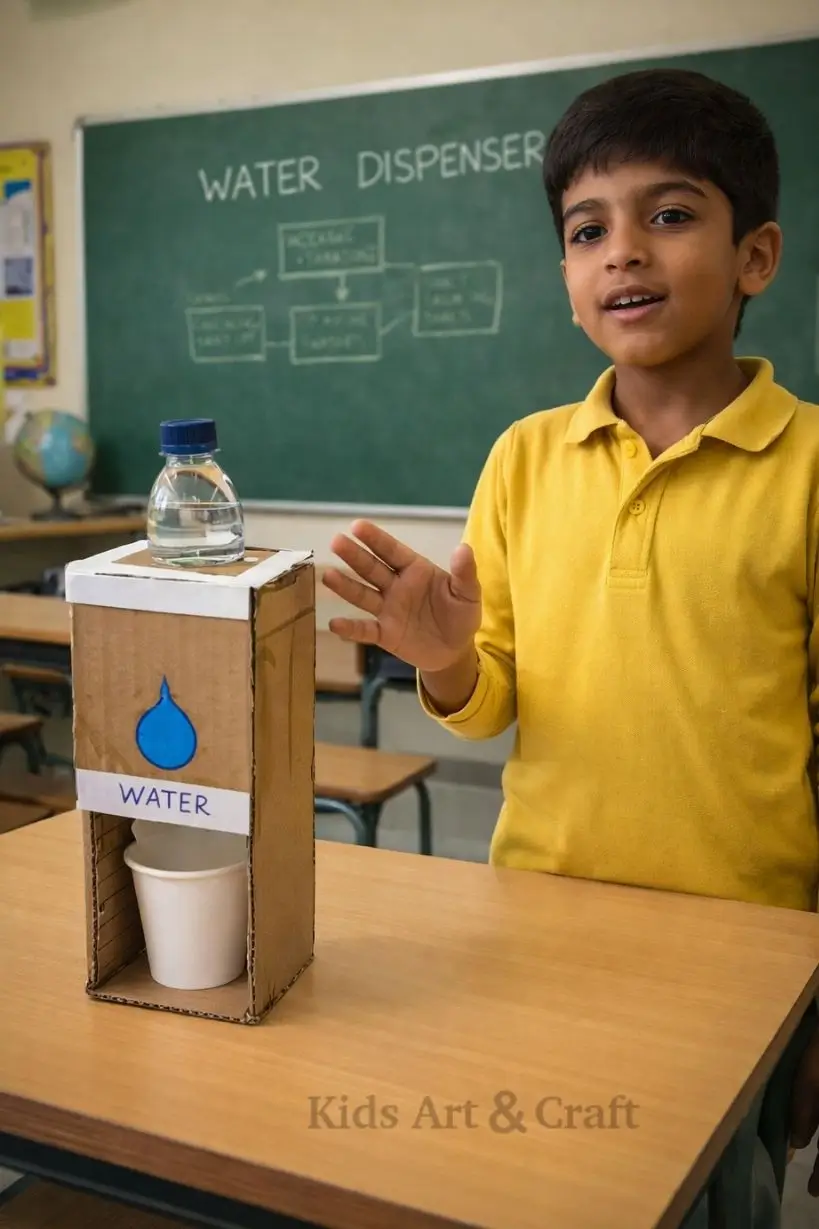
Easy water dispenser model showing gravity-based liquid flow mechanism
Science Behind Water Flow & Gravity Concept
This project demonstrates gravity and water flow.
- Gravity pulls the water downward from the bottle.
- When the outlet is opened, air enters the bottle, allowing water to flow out.
- The dispenser controls the flow so water only comes out when needed.
In simple words:
Water moves from a higher place to a lower place because of gravity.
Materials Required
- Plastic bottle
- Cardboard box
- Paper cup
- Straw or small pipe
- Glue or hot glue
- Tape
- Scissors or cutter
- Marker or sketch pens
- Colored paper (for decoration)
Step-by-Step Water Dispenser Model Making
Step 1: Make the Dispenser Body
Cut and fold cardboard to create a tall box structure that will hold the bottle at the top.
Step 2: Create a Cup Space
Cut an opening at the bottom so you can place the paper cup inside.
Step 3: Add the Water Outlet
Insert a straw or small pipe through the cardboard near the bottom. This will act as the water outlet.
Step 4: Place the Bottle
Fill the bottle with water and place it upside down at the top of the box.
Step 5: Connect the Bottle to the Straw
Make sure the straw connects with the bottle opening so water can flow through it.
Step 6: Decorate the Dispenser
Add labels like “WATER” and draw water drops for a realistic look.
Step 7: Test It!
Place the cup under the outlet and allow the water to flow.
Congratulations! Your mini water dispenser is ready.
What Kids Learn
- How gravity affects liquids
- Basic engineering and model building
- Problem-solving and creativity
- Safe use of simple tools
- Understanding how everyday machines work
Real-Life Uses
This project helps students understand how:
- Water dispensers work in schools and offices
- Water tanks supply water to homes
- Gravity-based water systems work
- Simple machines control liquid flow
Safety Tips for Kids Science Projects
- Ask an adult for help when using scissors or cutters.
- Do not spill water near electric devices.
- Use non-toxic glue.
- Ensure the bottle is placed securely.
Why This Project Is Great for Kids
- Easy to build with low-cost materials
- Teaches science through hands-on learning
- Encourages creativity and design
- Perfect for school exhibitions and science fairs
- Makes learning fun and interactive
Extension Ideas
- Add a Tap Button: Attach a small lever so water flows only when pressed.
- Create a Two-Cup Dispenser: Design a model that can fill two cups at the same time.
- Measure Water Flow: Use a stopwatch to check how long it takes to fill one cup.
A water dispenser is a smart, hygienic solution for homes and offices, providing instant access to hot and cold water. It improves convenience, saves time, and supports healthier hydration habits, making it an essential appliance for modern, comfort-focused lifestyles today. Stay connected with us through our Telegram group and follow us on YouTube & Facebook for creative art and craft tutorials.