Drawing
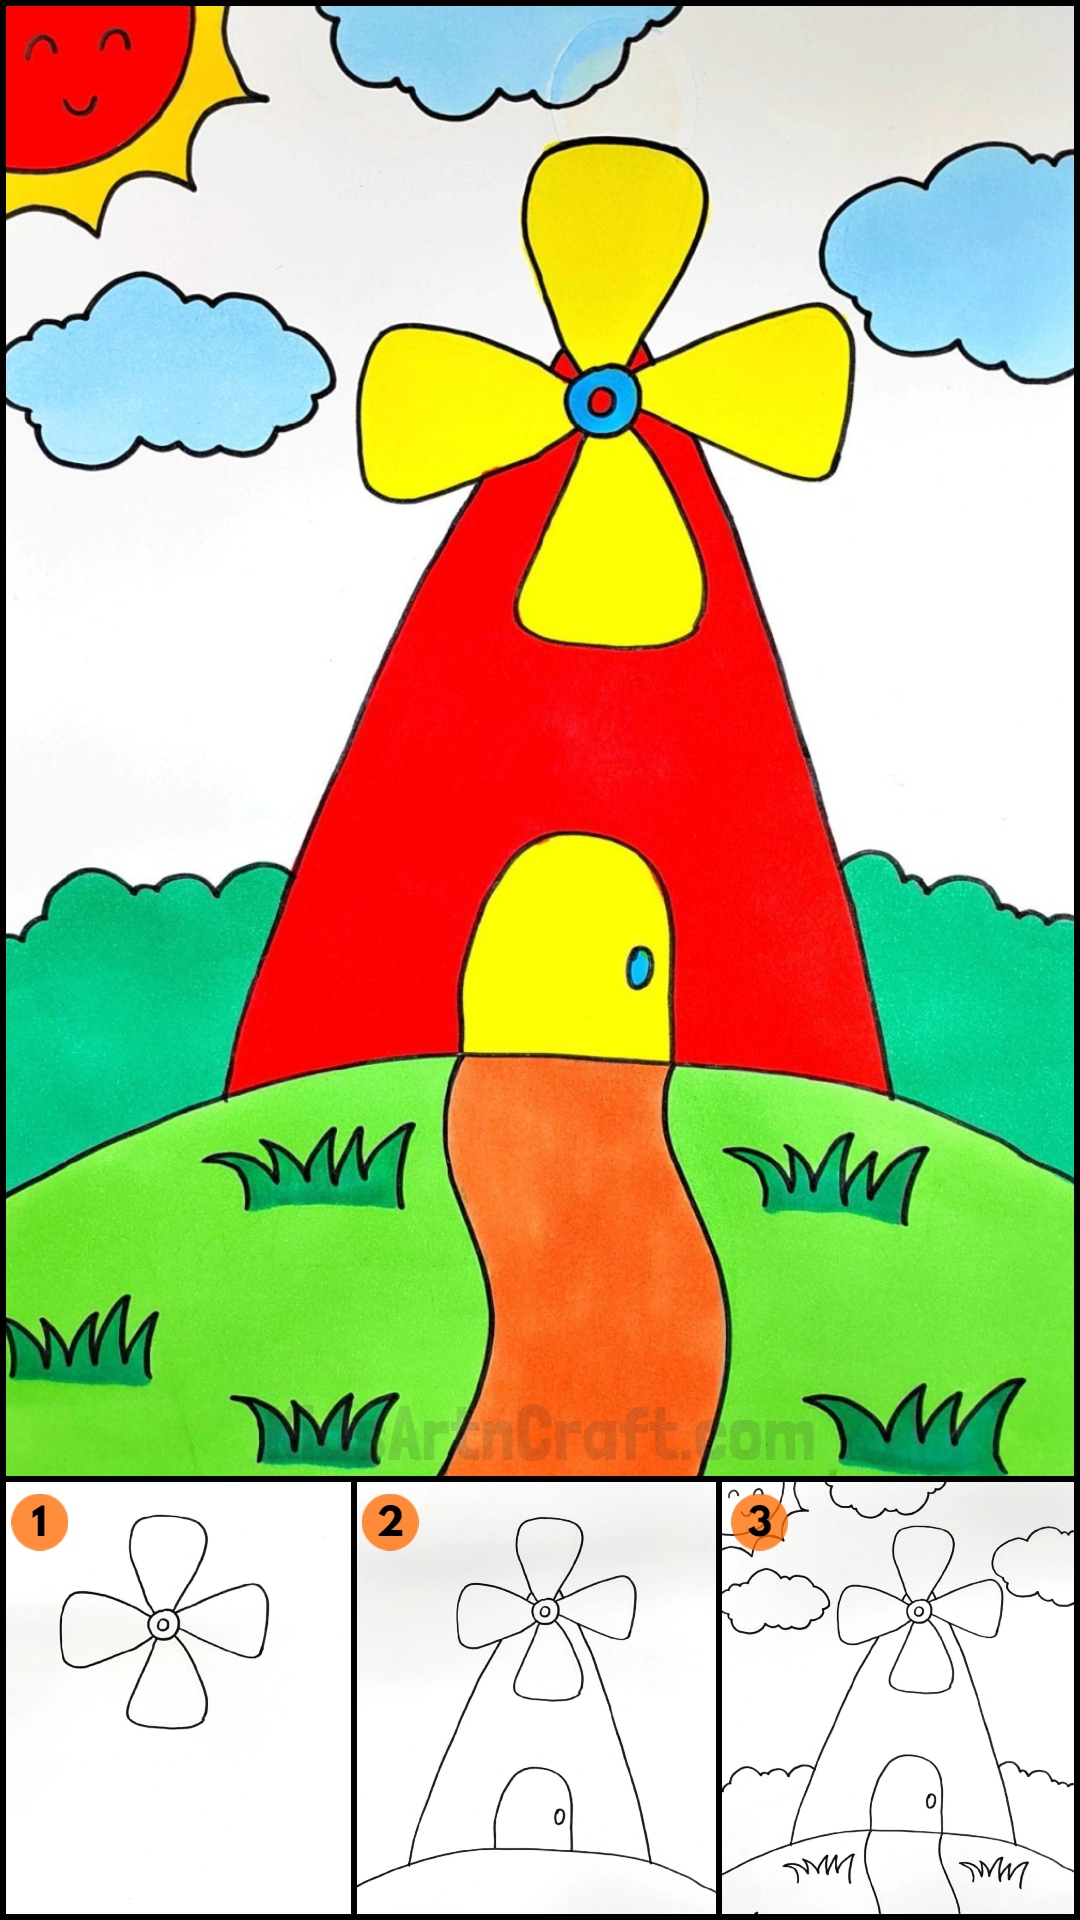
Windmill Drawing And Coloring Tutorial For Kids

You might have been confused about how to introduce windmills to kids. We have an idea! Drawing is one of the best and simple activities to introduce kids to new concepts and things.
Welcome to the article on Windmill Drawing and Coloring Tutorial! It explains step-by-step instructions and includes visuals to make the process easier for children to follow. We will be using simple shapes and techniques to make the drawing process easy and fun. This is not only a fun and enjoyable activity but also introduce kids to windmills and answer their questions. Plus, it will bring drawing skills in them. So, grab your paper, pens, and colors and follow the following steps!
Handmade Windmill Drawing & Coloring Idea With Step By Step Tutorial

Read More: Easy Drawing with Crayons Video Tutorial for Kids
Materials Required
- White Paper
- Black Pen
- Colors
Procedure
Step 1: Drawing Fan
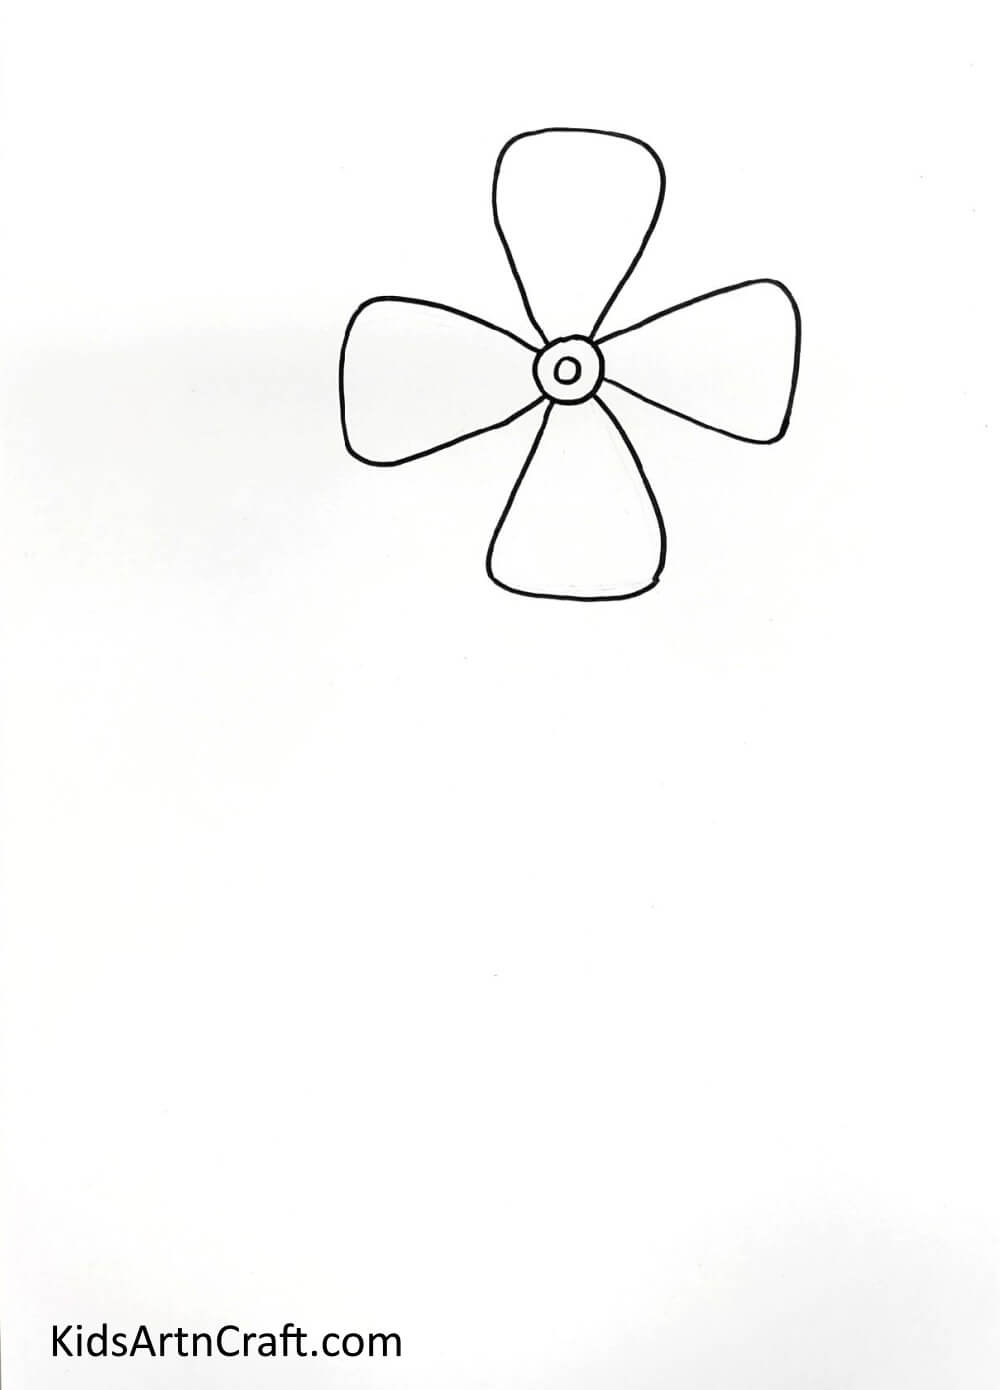

Firstly, take white paper and draw a four-blade fan on the top middle of the paper using a black pen or marker.
Step 2: Drawing Windmill
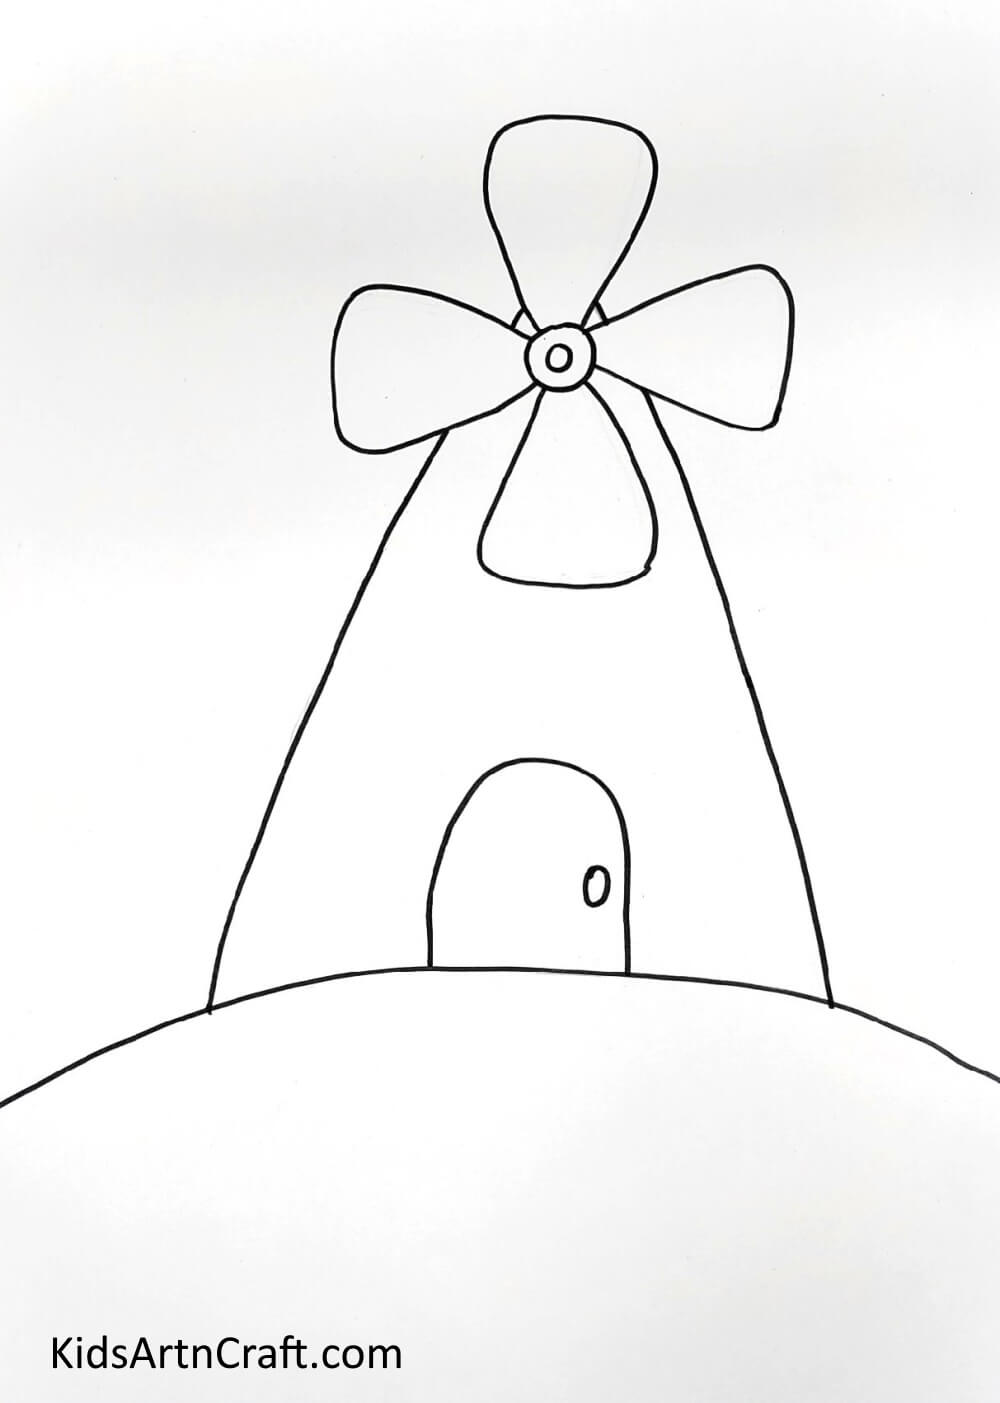

Next, draw a windmill by drawing slant lines. Draw a curve to make the land. Add a door to the windmill.
Step 3: Drawing Grass and Bushes
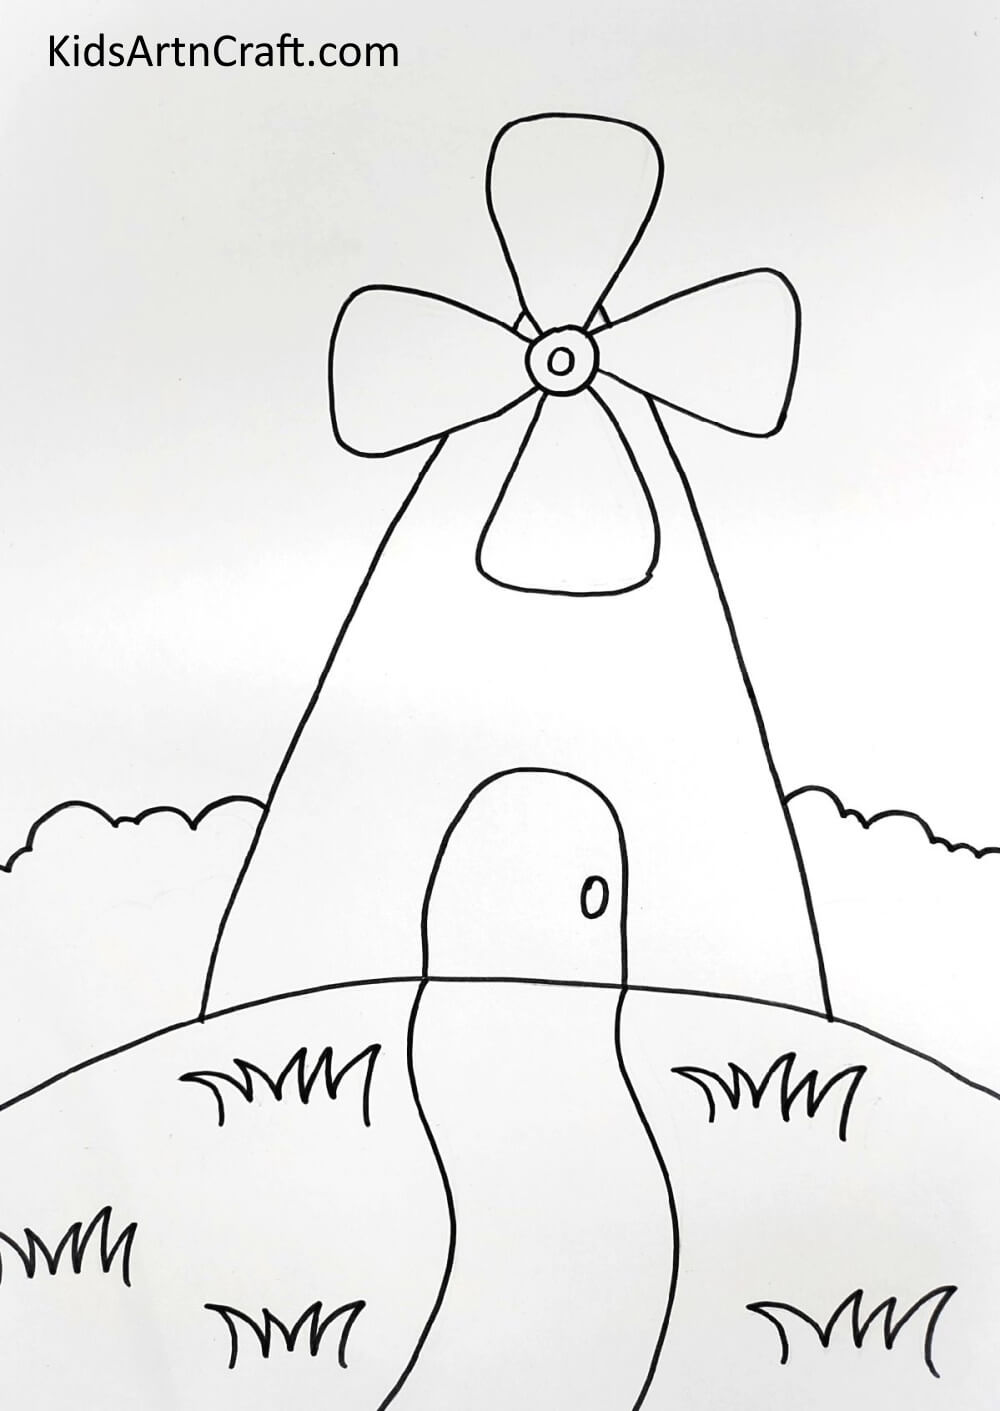

Draw grass and bushes using a black pen.
Step 4: Drawing Sun and Clouds


Finally, draw the sun and some clouds in the sky of the drawing.
Coloring The Drawing
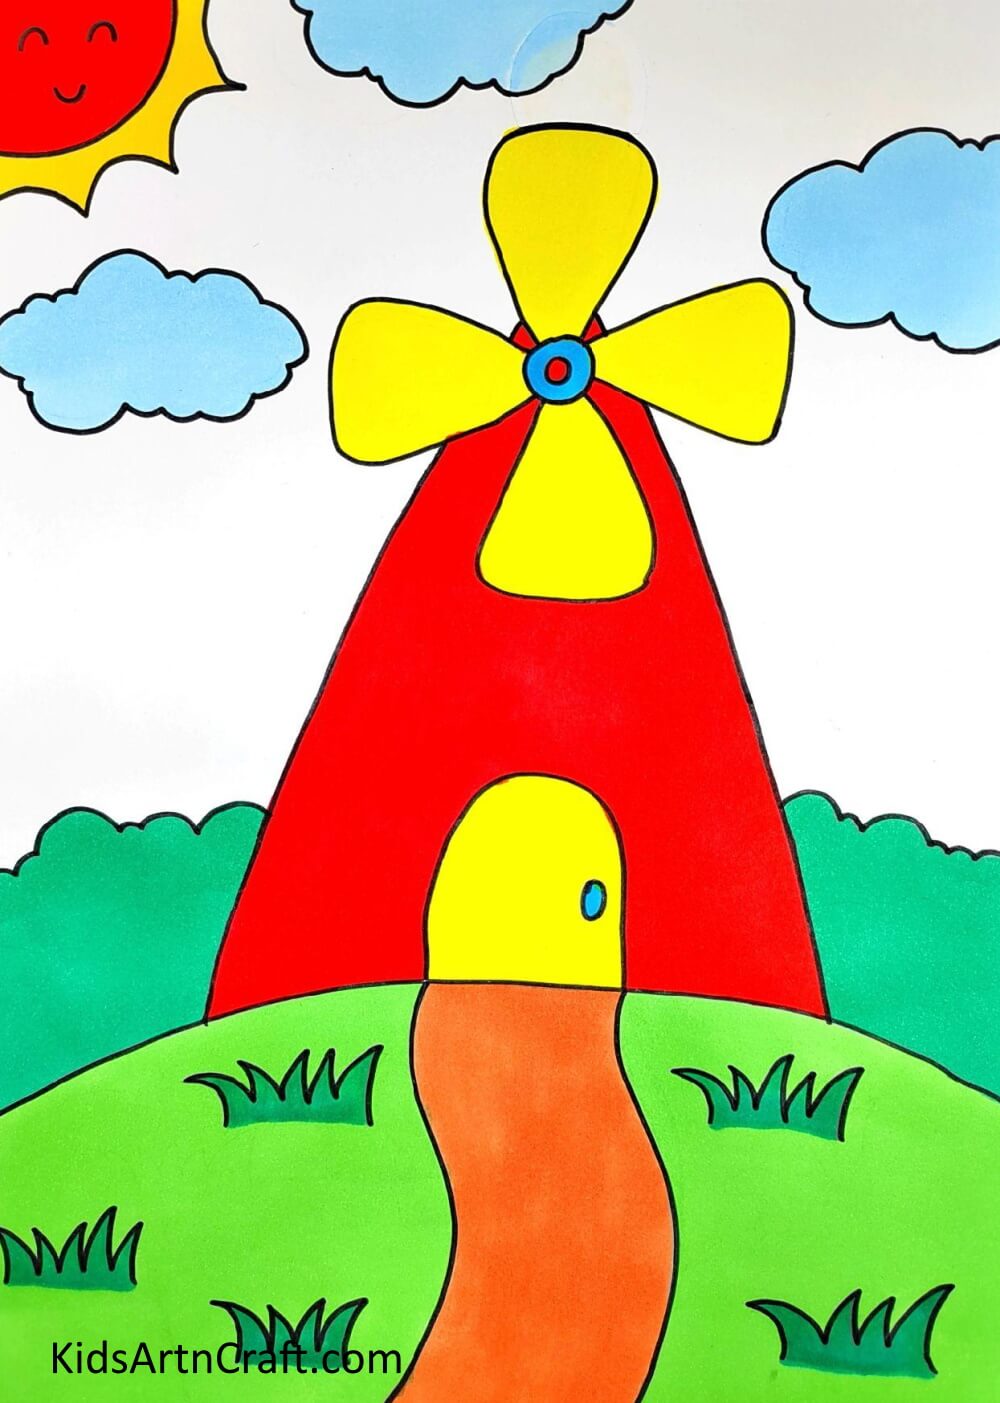
Lastly, use different and colorful colors to add a final touch to your drawing. You can customize the drawing using different color shades to increase imagination and creativity.
This windmill drawing and coloring tutorial for kids is a great way to get children interested in art and get them started with drawing and coloring. Not only this drawing will increase drawing and coloring skills but also improve the fine motor skills of your child. So, what are you waiting for? Stay Colorful and creative!
Follow us on Youtube for art and craft tutorials and much more.
More Articles from Kids Art & Craft
- Easy Drawing Video Tutorial for Kids
- Easy Drawing Tricks to Make Easy Video Tutorials for All
- Easy Pencil Drawing Ideas At Home Video Tutorial for Kids
- Easy Crayons Drawing At Home Video Tutorial for Beginners
- Easy Drawing Tricks to Draw Video Tutorial for Kids