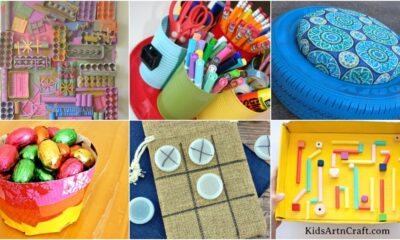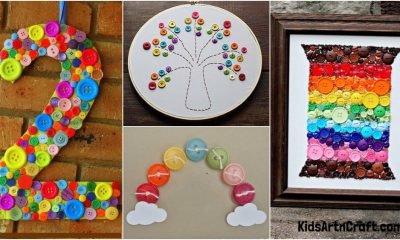
Recycled Crafts
Easy to Make Recycled Crafts For Kids


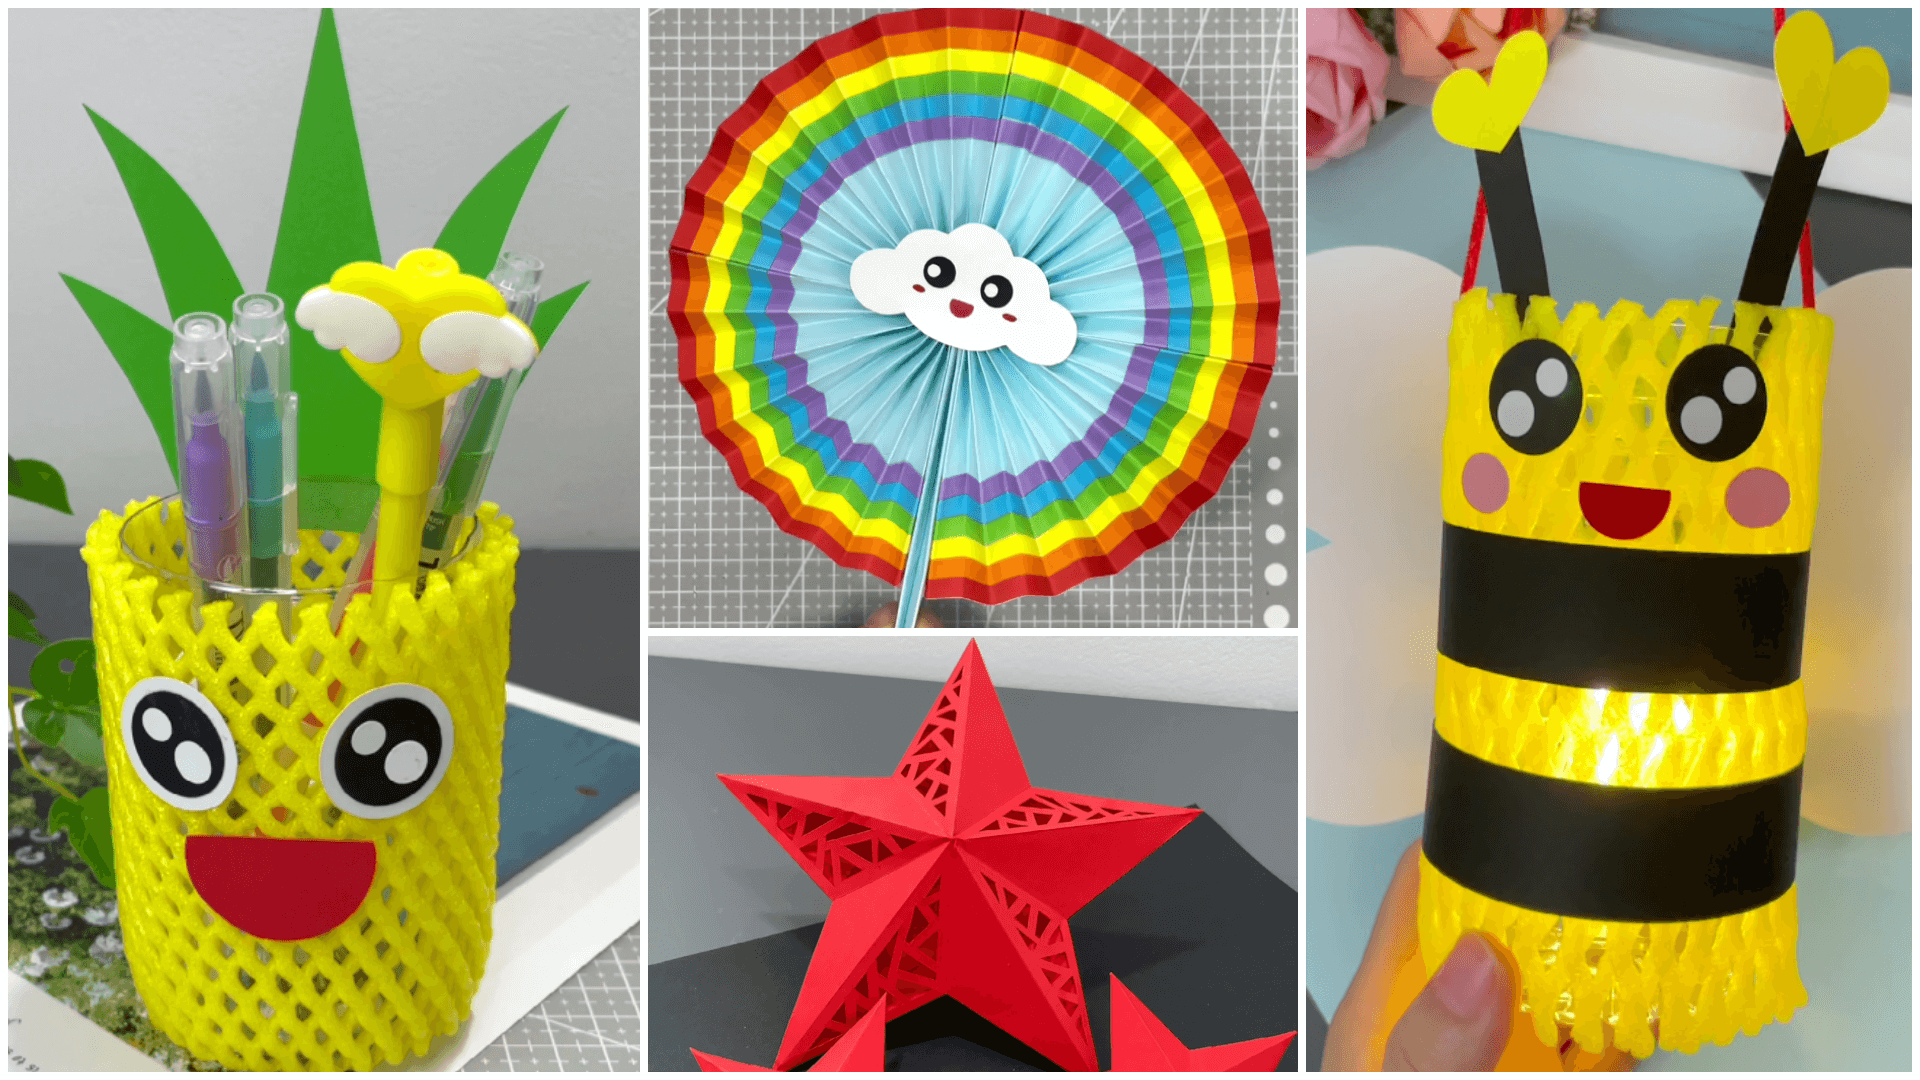
If you’re searching for an easy lantern paper craft for kids to do at home, you’re in the right place! Keep your learning spirit alive with our curated list of easy lantern paper crafts like paper red lantern craft, lantern paper craft for home decor, DIY beautiful bee lantern craft using fruit foam net, cloud rainbow girly paper craft, pen holder handmade craft, etc.
Many people spend more to buy craft items for their kids; it’s good, though some may not be able to afford those. So here we are sharing that we can make amazing craft items from useless things, too. I could say this is a recycling section too. Our rooms may fill with unwanted items, which end up in landfills too. What if we can create DIY in those? We’ll benefit in two ways: one is creating crafts at zero cost, which will free up space in our house, and the other is developing our creativity.
If you wanna see all craft demo videos in one short, then click here.
Easy to Make Paper Craft For Kids
Paper Red Lantern Craft
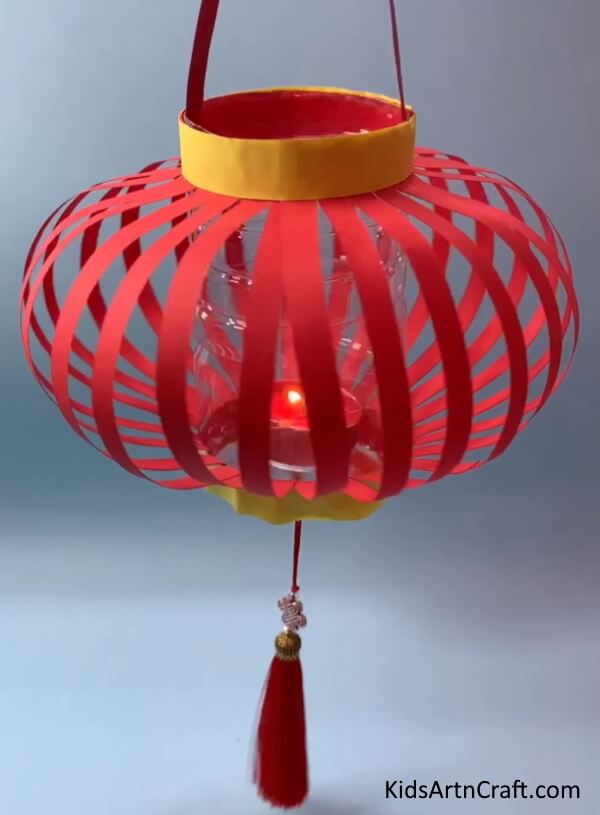
Materials required: Cardstock(red and yellow here), ruler, scissors, glue, pencil, cutter, plastic bottle, scented candle, and decorative items.
Difficulty level: Easy
Description: This is an easy paper craft, and as it deals with a cutter, be cautious if your kid is doing this. This can be done by kids aged 10 or above.
Procedure: Take a red cardstock, measure 2cm from both the top and bottom, and mark it with a pencil. Bend it to make it flexible. Mark the entire paper at a distance of 1cm each, and with the ruler, we are gonna cut that measurement in a vertical direction. Take a plastic bottle and cut it into two pieces. Select your desired height; always choose the length of the bottle to be less than the height of the red cardstock, and we need the bottom piece of the bottle, not the top portion. Paste the yellow cardstock in the 2cm red cardstock space as shown in the above image. By shrinking the height of the cardstock, you will get the bulge, like in the image.
Now glue that cardstock to the bottle edge. Place the scented candle at the base of the bottle. If you wish to make some more decorations, then you can hang the decorative item as shown in the image. You can hang this in your home and taste the beauty of your handwork. For your reference, use this as a demo video.
Lantern Paper Craft For Home Decor
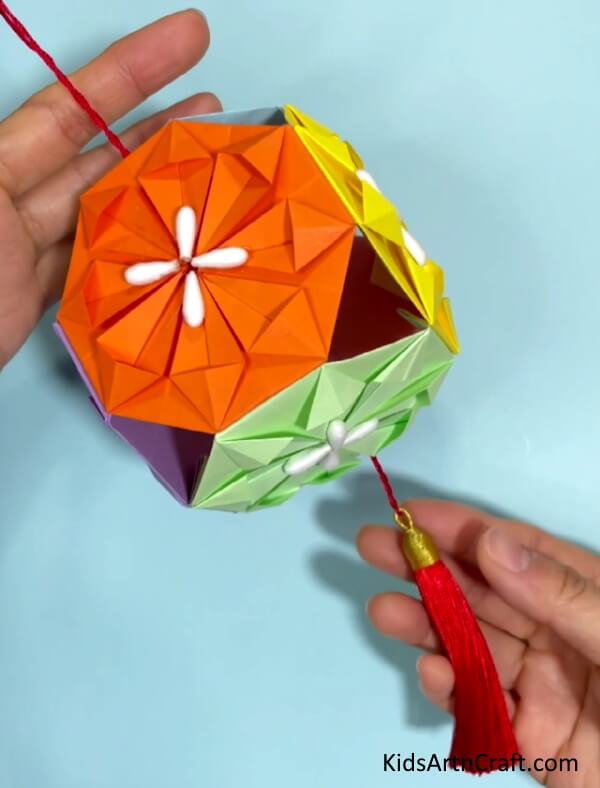
Materials required: Colourful construction paper, buds, glue, scissors or cutter, and tassel.
Difficulty level: Moderate
Description: This image gave me the feeling of difficulty in doing this. To be factual, I visited this craft after I had done all the other craft activities, which are listed in this post. But once I checked the demo video of how to do this craft, I was surprised that this is the easiest craft, but it looks difficult.
Procedure: Take a sheet of colourful construction paper; you need several careful foldings. You may not hit the right direction of folding at first, but don’t quit; try again and again, watch the video carefully, and if you want, change the playback speed as slow as possible. Initially, the folding was easy, but later on, we needed sharp concentration to follow the way. Once you are done with the first paper design, you are through! Here we have made a hexagon shape. Try different shapes too. To decorate it, we have used buds. I thought of these as beads initially, but they’re not. Cut the cotton pieces of the buds, which you can spot in your home easily, and paste them into the paper. You can leave it at this point, or else add a tassel at the end. That’s all!
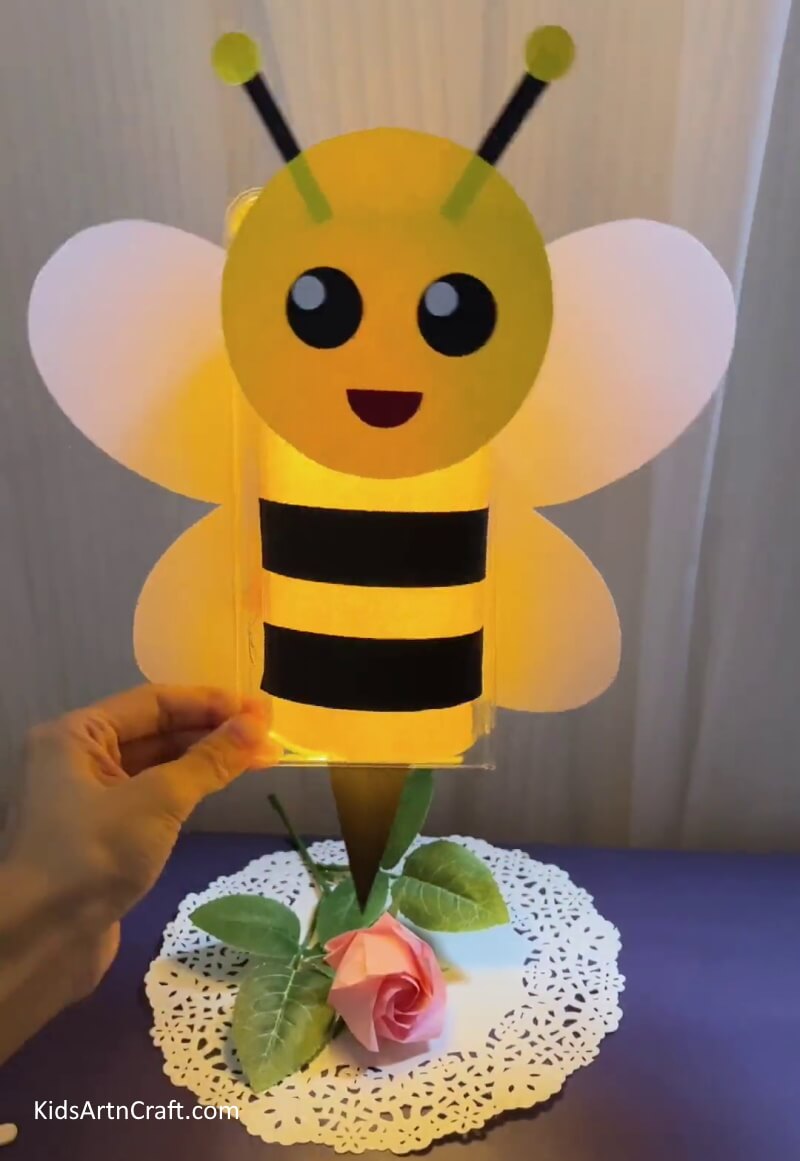
DIY Beautiful Bee Lantern Craft Using Fruit Foam Net
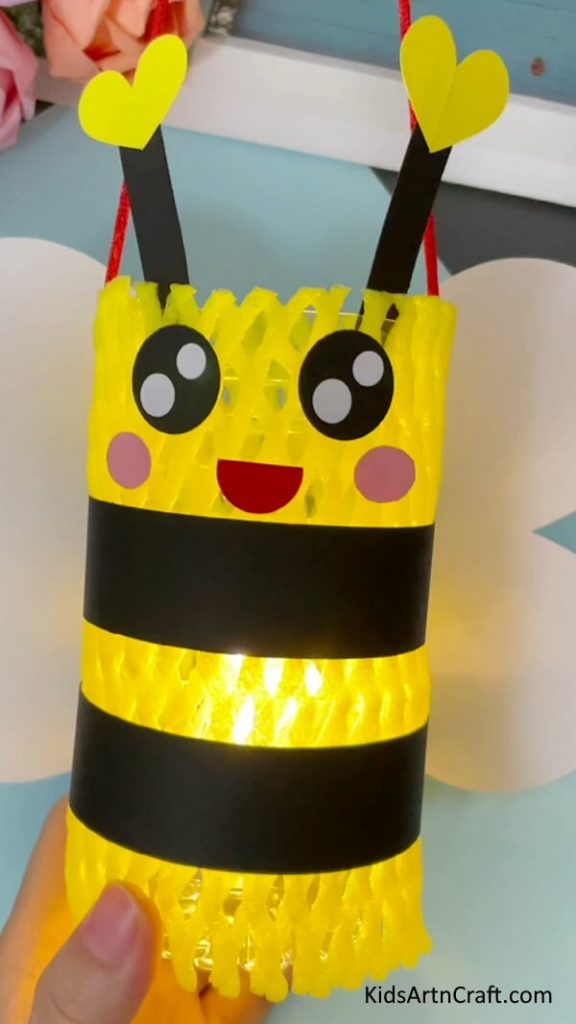
Materials required: Fruit foam net, plastic bottle, yellow paint spray, bulb, black, white, red, pink and yellow construction paper, scissors and glue.
Difficulty level: Easy
Description: When I first saw this, I didn’t find it easy, but don’t judge a book by its cover; it’s really simple. School kids can do this. Get ready with the materials listed above to give a smooth finish.
Procedure: First, paint the fruit foam net with yellow colour. This is easily available at shops, and you can use the ones that are wrapped in fruit. As we are making haPokémon lamp craft here, you will see Pokémon outlook instructions here. Try this one and make any cartoon character in this model. Cut the bottle, and we need the bottom piece. Insert the bottle in the fruit foam and try to get the length of the bottle and the foam to be the same length so that it’ll cover the entire bottle. Let’s play the Pokémon cartoon now.
Cut 2 black strips and paste them around the bottle foam with some distance as shown in the above image. Now cut the black paper for eyes and a small 4 white paper in a round shape to place inside the black paper to give a glittery and shining look. Cut the small red paper into a semi-circle for the mouth and pink paper for the cheeks. To place wings, use white paper or any colour, cut in a heart shape, and horizontally place those 2 papers (in an east-west direction). To make an antenna, cut a strip of black paper and a heart shape of yellow paper and stick them together and place them in the head of the bee. Finally, place the bulb inside the bottle and let it glow. Now see the beauty of the bee lantern craft.
Cloud Rainbow Girly Paper Craft
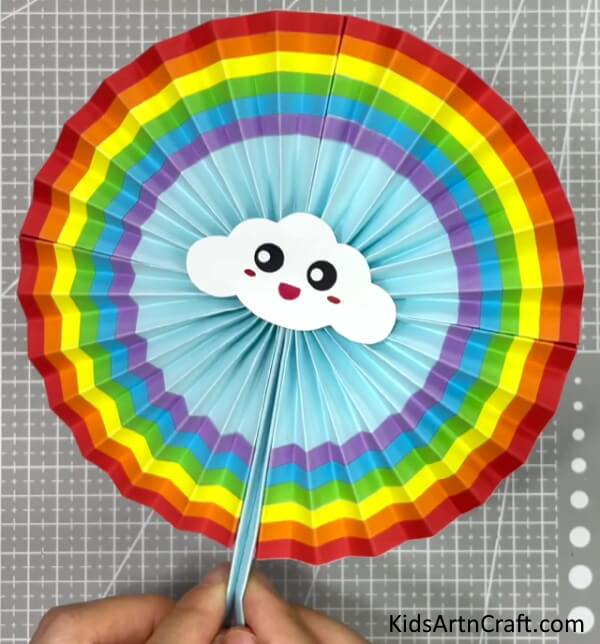
Materials required: Rainbow colour construction papers, small white cardboard, scissors,s and glue.
Difficulty level: Easy
Description: This is the easiest and has the fewest materials of all. I had done this craft in my childhood, but not at this level. It was plain. But this gives a good look. I wonder how to attach these rainbow colours here, but it is so simple, and a kindergarten kid can do this stuff.
Procedure: Take a piece of sky blue construction paper. Cut a strip of paper in other colours like red, orange, yellow, green, blue, indigo, and violet. Paste those strips of colour on top as well as the bottom of the white or light blue coloured paper. Fold layer by layer, and with your finger, divide that folded paper into equal sections. With a string, make a knot at the centre(where you divided it with your finger) and join the two sections with glue. Repeat this process once again and merge all those. As done before, on another paper(any colour), fold layer by layer twice, apply y the glue to the rainbow paper, and use that as the holder of this papercraft. Finally, place the cloud shape by drawing and cutting the cardboard; this step is optional. This looks amazing!
Easy Paper Star Craft For Home Decor
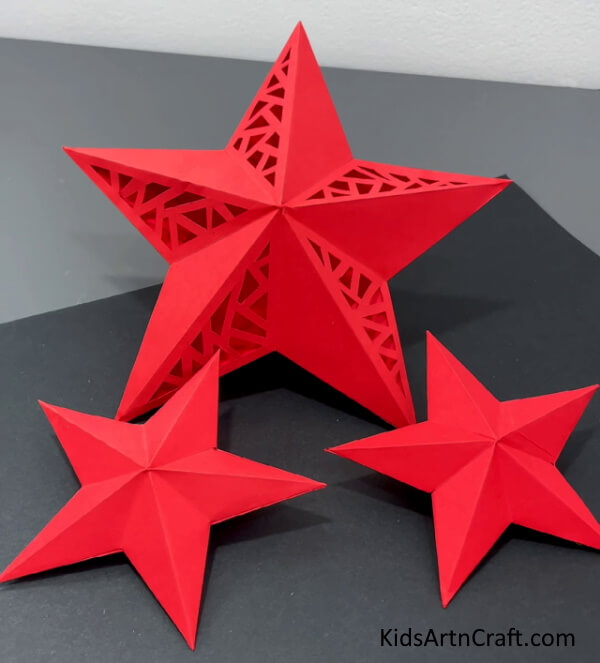
Materials required: Colourful construction paper and scissors
Difficulty level: Moderate
Description: Reaching Christmas? Wanna decorate your home? No worries, you are in the right segment at the right time! Do this craft and hang them on Christmas trees and in your home as decorations. Use multiple colours for stars and have colourful stars in your home. With some folding, cutting, and pasting, you can make this amazing and gorgeous 3D effect star at home. You may not get the right direction of folding in the above-given single video, but don’t worry, I’ve added a link below where you can find each step in a clear-cut way. Moreover, you or your kid may not get that exact awesome star at first, but try until you get it. Watch the video carefully and try making things. Merry Christmas!
Paper Rainbow Card For Kids
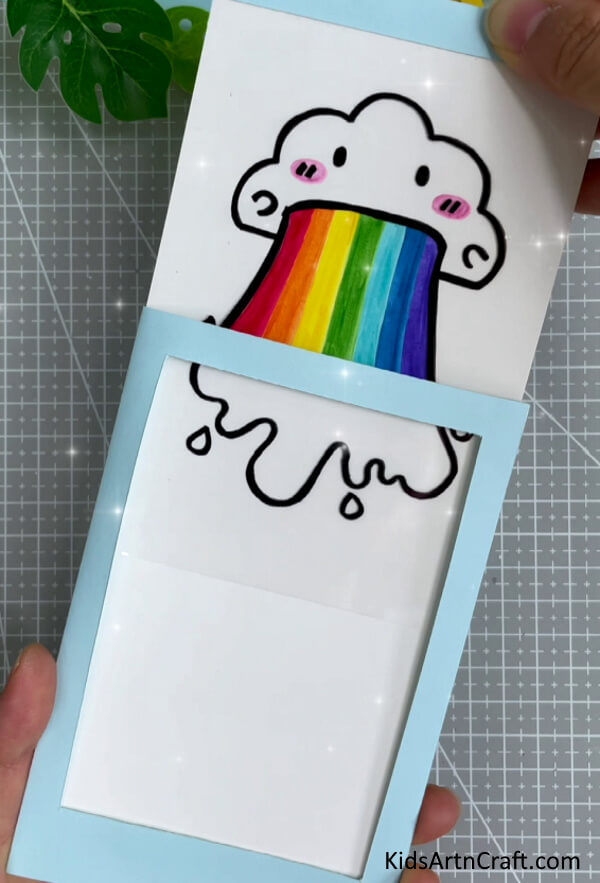
Materials required: White paper, black marker, glue, scissors, colour pencils or crayons, cutter, blue or any colour sheet, and transparent PVC sheet.
Difficulty level: Easy
Description: This is an innovative idea. The simple drawing, plus the idea, gives us a wonderful DIY. Do this and show this magic drawing to your friends. If you are a kindergarten teacher, then give this as a weekly task to your students, and they will surely love this. Your kid may create innovative crafts like this, so give them more fun and interesting craft activities.
Procedure: Draw a cloud and a rainbow on white paper, or you can draw any diagram you want and colour it. Place a transparent PVC sheet above the drawing paper and copy the diagram(only the outline, not the colours) with a black marker. Paste the top border of the drawing paper and the transparent paper, and leave the other sides(without sticking). Take blue paper and fold it in half, which should fit the size of the drawing paper(where you drew). With a cutter, cut the frame size as shown in the above image and seal the bottom and sides with glue. Place white thin cardboard inside the envelope. Insert the coloured drawing paper and transparent sheet behind and above the white cardboard, respectively. Now pull and push the attached borders of the drawing, and you can see the appearance of an empty and colourful image.
Pen Holder Handmade Craft Using Fruit Foam Net
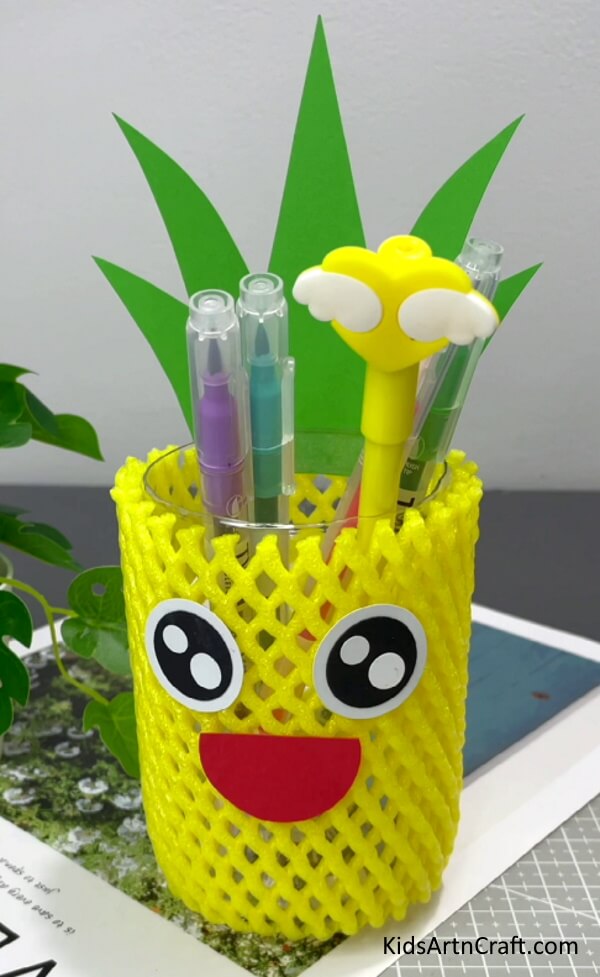
Materials required: Unusable bottle or jar or glass, fruit foam, paint spray, construction paper, glue,e and scissors.
Difficulty level: Easy
Description: Look at your working tab. Isis anything missing there? Is that a pen stand? Then this craft is for you. Do you have an idea to buy pen stands in shops? Then hold on, we have a simple and good-looking pen stand that you can make in less than 10 minutes. If you can see any non-usable bottle, jar, or glass, then use that for the pen stand. But wait! It won’t be good if you directly place that on your desk, right? With some more easily available things, let us decorate this. Here we have used a Pokémon cartoon, which you can customize based on your requirements or taste. Kids of any age can make this craft. Why not? Kindergarten kids can also make this, but be sure not to give them a glass jar or bottle.
Procedure: Cover the bottle, jar,r or glass in Fruit foam. Before this, paint the foam yellow with the help of a paint spray. Cut black and white construction paper for the eyes and paste it on the foam. You can use just black inside white, but again, a small white circle inside black will give a more attractive look. Cut and paste red construction paper in a semi-circle shape for the mouth. If you wanna decorate some more, then use green construction paper for a grass-like structure and attach that to the background. Ta-Da! We are ready with a simple and cute Pokémon pen stand.
I hope you tried and loved each craft listed here. Share this with your friends and family too, and let them enjoy this feed with their kids. Visit our other craft idea post too; we have tons of craft activities with detailed procedures. Choose which one you like and start doing it! Fill your room and home with your creative DIY products and let your friends and neighbours be surprised by your work.
DIY instructions for kids to make a bee-related craft
This article provides DIY instructions for kids to make a creative bee-related craft. It is a fun and educational activity for kids to learn more about bees and get creative. It will also help them to develop their artistic skills.
Easy Recycled Crafts for Kids | DIY Best Out of Waste Craft Ideas Tutorial
Turn Simple Paper into Amazing Creations
Paper crafts are an excellent way to inspire creativity while teaching children valuable hands-on skills. With just a few basic supplies, kids can transform ordinary paper into colorful animals, flowers, decorations, greeting cards, and imaginative toys. These easy projects encourage creative thinking and provide hours of screen-free entertainment.
Craft Supplies You’ll Need
Most of these paper crafts can be made using everyday materials found at home or in the classroom.
- Colored craft paper
- Construction paper
- Safety scissors
- Glue stick or craft glue
- Markers or crayons
- Pencil and eraser
- Googly eyes
- Stickers
- Ribbon or yarn
- Decorative paper scraps
Learning Beyond Craft Time
Paper crafting helps children build fine motor skills, strengthen hand-eye coordination, improve concentration, and develop problem-solving abilities. It also encourages patience and self-expression while giving kids confidence as they complete each project.
Display Your Finished Crafts
Completed paper crafts can be used to decorate bedrooms, classrooms, bulletin boards, greeting cards, gift packages, or seasonal displays. Children can also create handmade gifts for family members and friends, making each project even more meaningful.
FAQs
Q1. What age are these paper crafts suitable for?
Answer: Most projects are suitable for preschoolers, kindergarteners, and elementary school children, with adult supervision for cutting activities.
Q2. Can these crafts be made using recycled paper?
Answer: Yes. Old magazines, newspapers, cardboard, and scrap paper can be reused to create fun and eco-friendly craft projects.
Q3. What skills do children learn from paper crafts?
Answer: Paper crafts improve creativity, fine motor skills, concentration, problem-solving, and hand-eye coordination while encouraging imaginative play.
These easy paper crafts offer children a fun way to learn, create, and explore their imagination while making colorful projects that can be proudly displayed or shared with family and friends. Create, learn, and have fun with simple crafts and exciting projects. Connect with us on Telegram, YouTube, & Facebook.
Reviewed By Yash Beniwal
More Articles from Kids’ Art & Craft
- Accordion Paper Craft Ideas for Kids
- Alligator Crafts & Activities for Kids
- Catapult Craft Ideas For Kids
- Dragon Crafts & Activities for Kids
- Beehive Craft Ideas For Kids